
PeacefulHues Fx687lJwy5nQamQTqh-MMAH2I
PeacefulHues 9000 BTU Mini Split AC User Manual
Model: Fx687lJwy5nQamQTqh-MMAH2I
Brand: PeacefulHues
1. Safety Information
Read all safety warnings and instructions carefully before installing, operating, or performing maintenance on this appliance. Failure to follow these instructions may result in electric shock, fire, property damage, personal injury, or death.
- Electrical Safety: This unit operates on 230V. Ensure proper grounding and use a dedicated circuit. All electrical work must be performed by a qualified electrician in accordance with local codes and regulations.
- Refrigerant Handling: This unit contains R32 refrigerant. Handling of refrigerant should only be performed by certified technicians. Improper handling can cause injury or environmental damage.
- Installation: Installation should be performed by qualified personnel. Incorrect installation can lead to water leakage, electric shock, or fire.
- Maintenance: Always disconnect power before cleaning or servicing the unit. Do not attempt to repair the unit yourself. Contact qualified service personnel for repairs.
- Children and Pets: Keep children and pets away from the outdoor unit and ensure they do not play with the appliance.
2. Product Overview
The PeacefulHues 9000 BTU Mini Split AC is a versatile 3-in-1 system designed for efficient cooling, heating, and dehumidification in rooms up to 450 sq ft. It features an inverter heat pump for energy savings and ultra-quiet operation.
Key Features:
- Powerful Climate Control: 9000 BTU capacity for rooms up to 450 sq ft, maintaining temperatures between 62-82°F. Inverter compressor technology saves up to 30% on energy costs.
- 4-Mode All-Season Comfort: Combines Cooling, Heating, Dehumidifying, and Fan functions in one unit.
- Library-Quiet Operation: Indoor unit operates as low as 23 dB in sleep mode; outdoor unit under 42 dB.
- All-Weather Durability: Operates reliably from 122°F to -4°F, featuring gold-fin anti-corrosion coils, a rust-resistant base pan, and automatic defrost.
- DIY Ready Installation: Includes a 10ft pre-charged copper line set and wall bracket for straightforward setup using a standard 230V outlet.
Included Components:
- Indoor Unit
- Outdoor Unit
- 10ft Pre-Charged Copper Line Set
- Wall Bracket
- Remote Control
- Installation Kit (various fasteners, insulation tape, etc.)
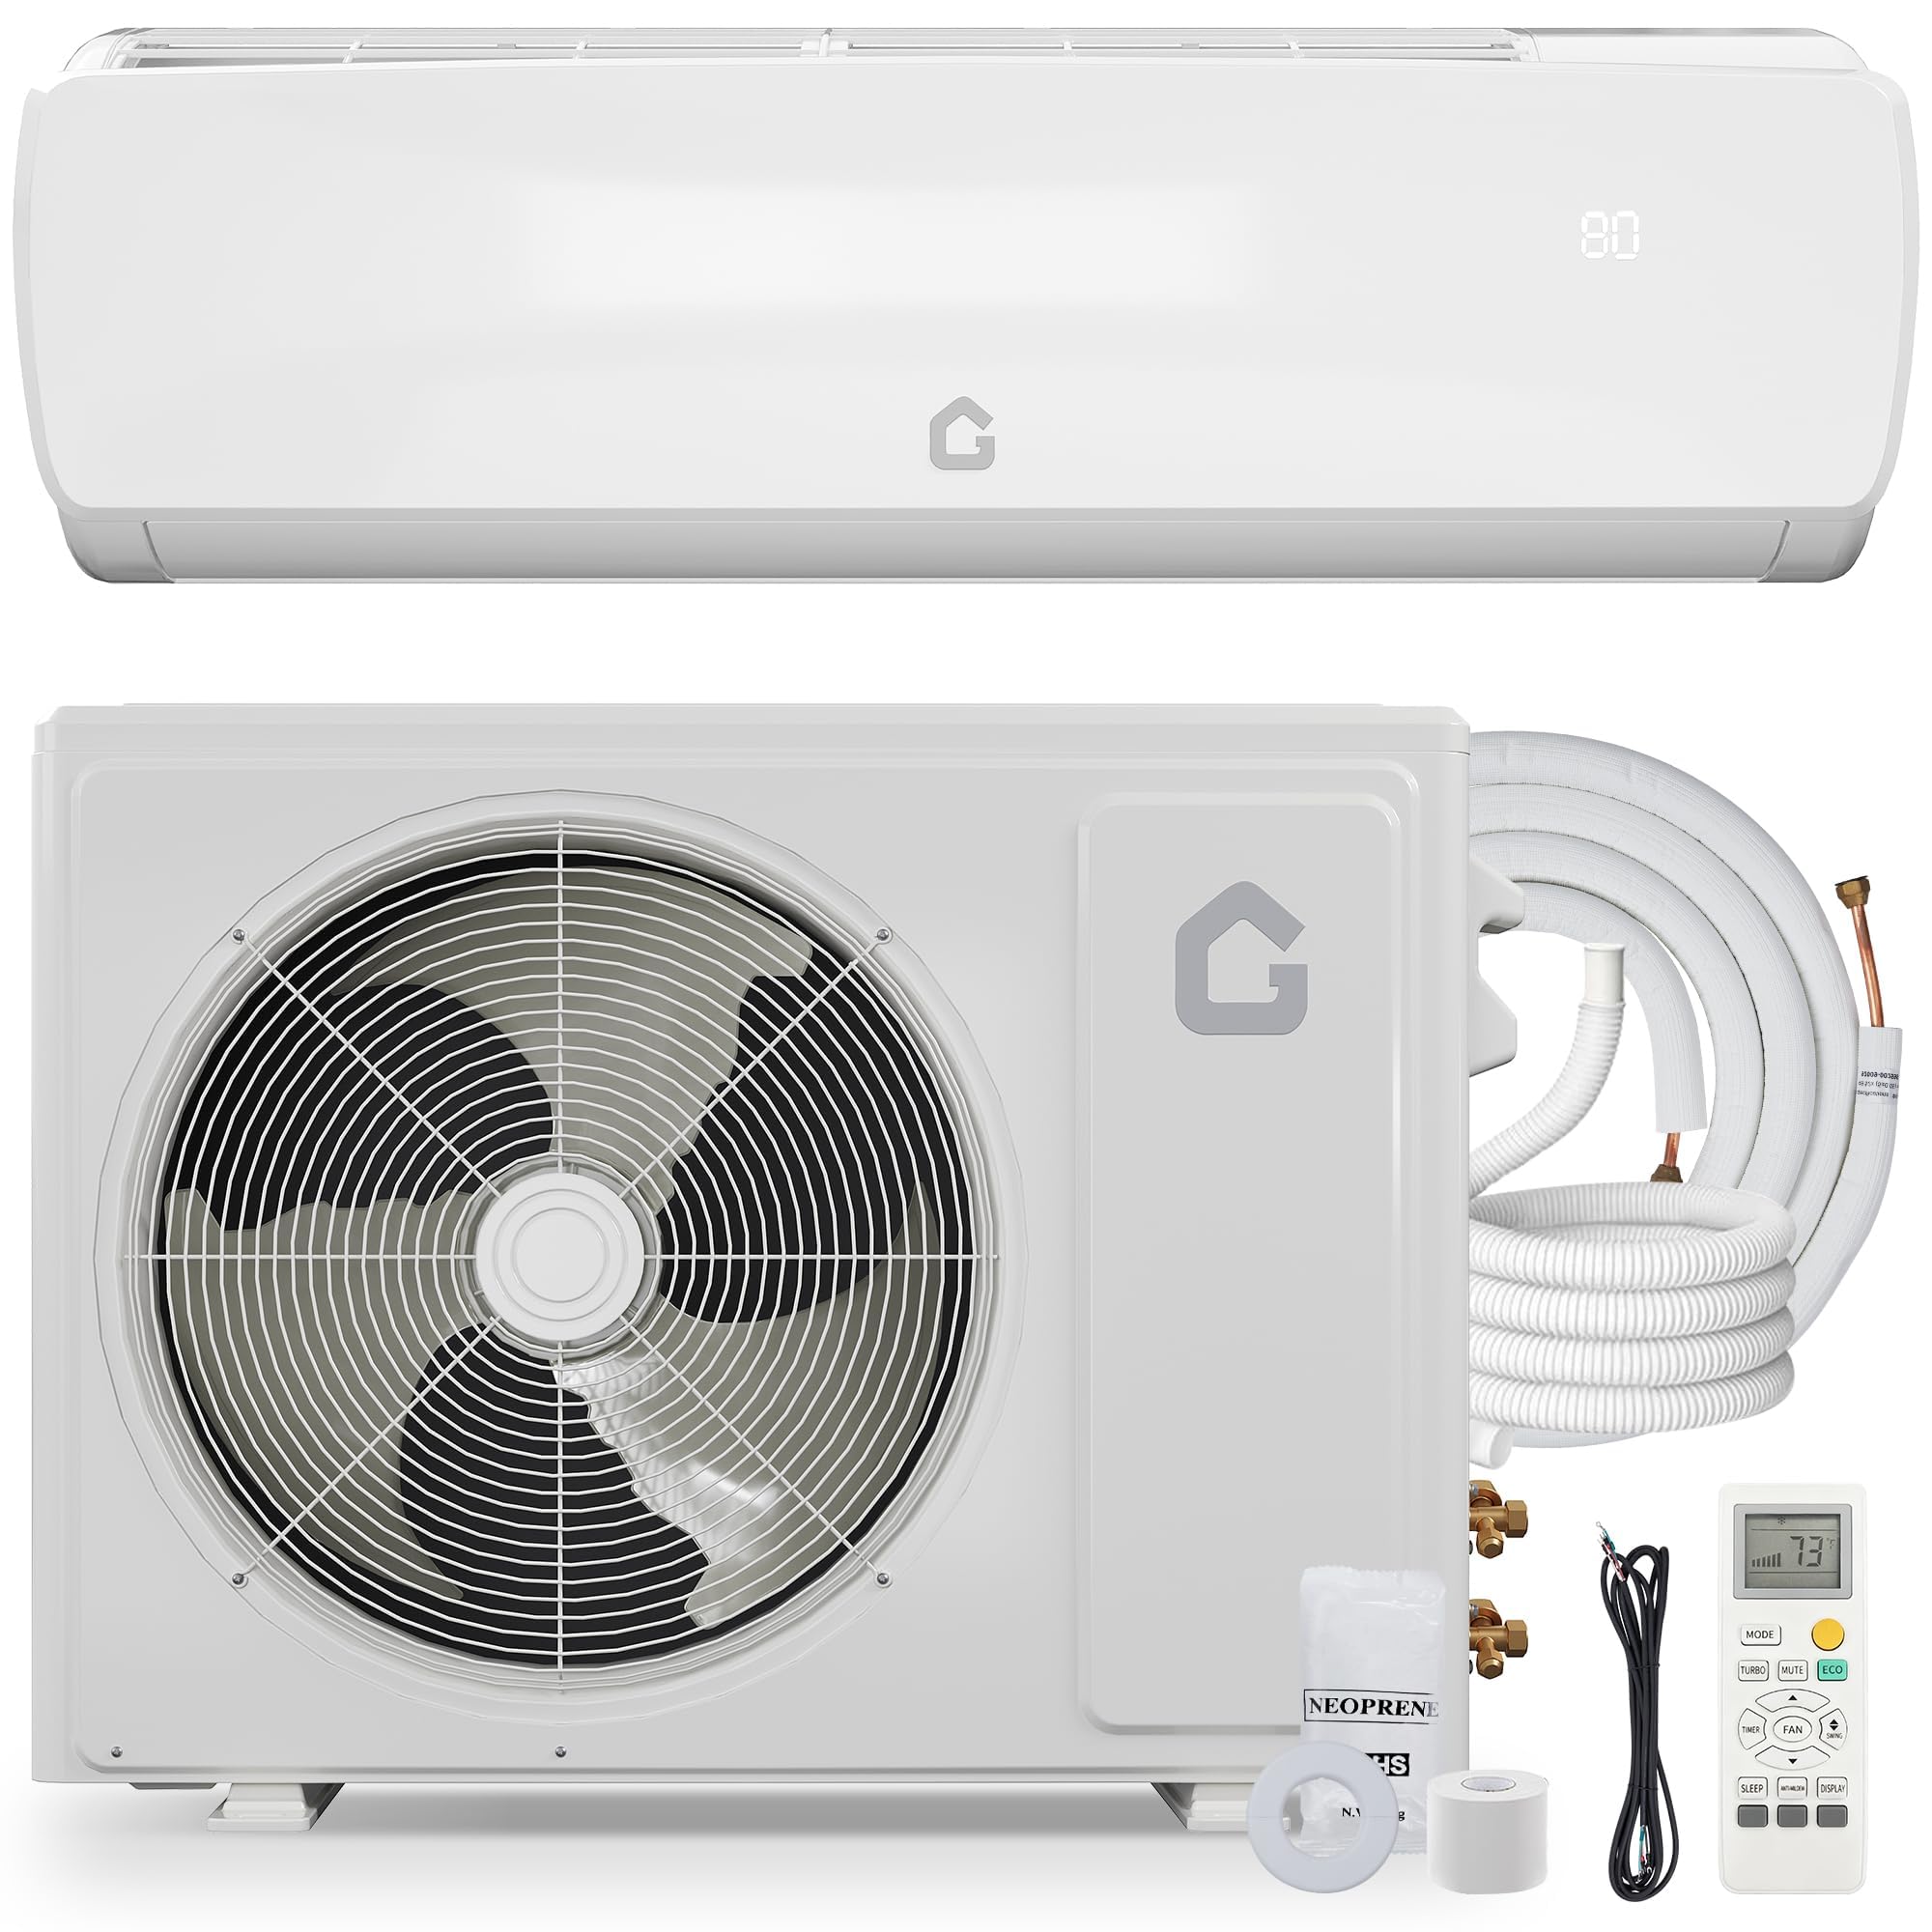
Figure 2.1: Overview of the PeacefulHues Mini Split AC system, including indoor and outdoor units.

Figure 2.2: The PeacefulHues Mini Split AC indoor unit installed in a living space, demonstrating its sleek design and air distribution.

Figure 2.3: A bar chart illustrating the energy efficiency of the 19 SEER2 PeacefulHues Mini Split AC compared to lower SEER2 rated units, highlighting up to 30% energy savings.
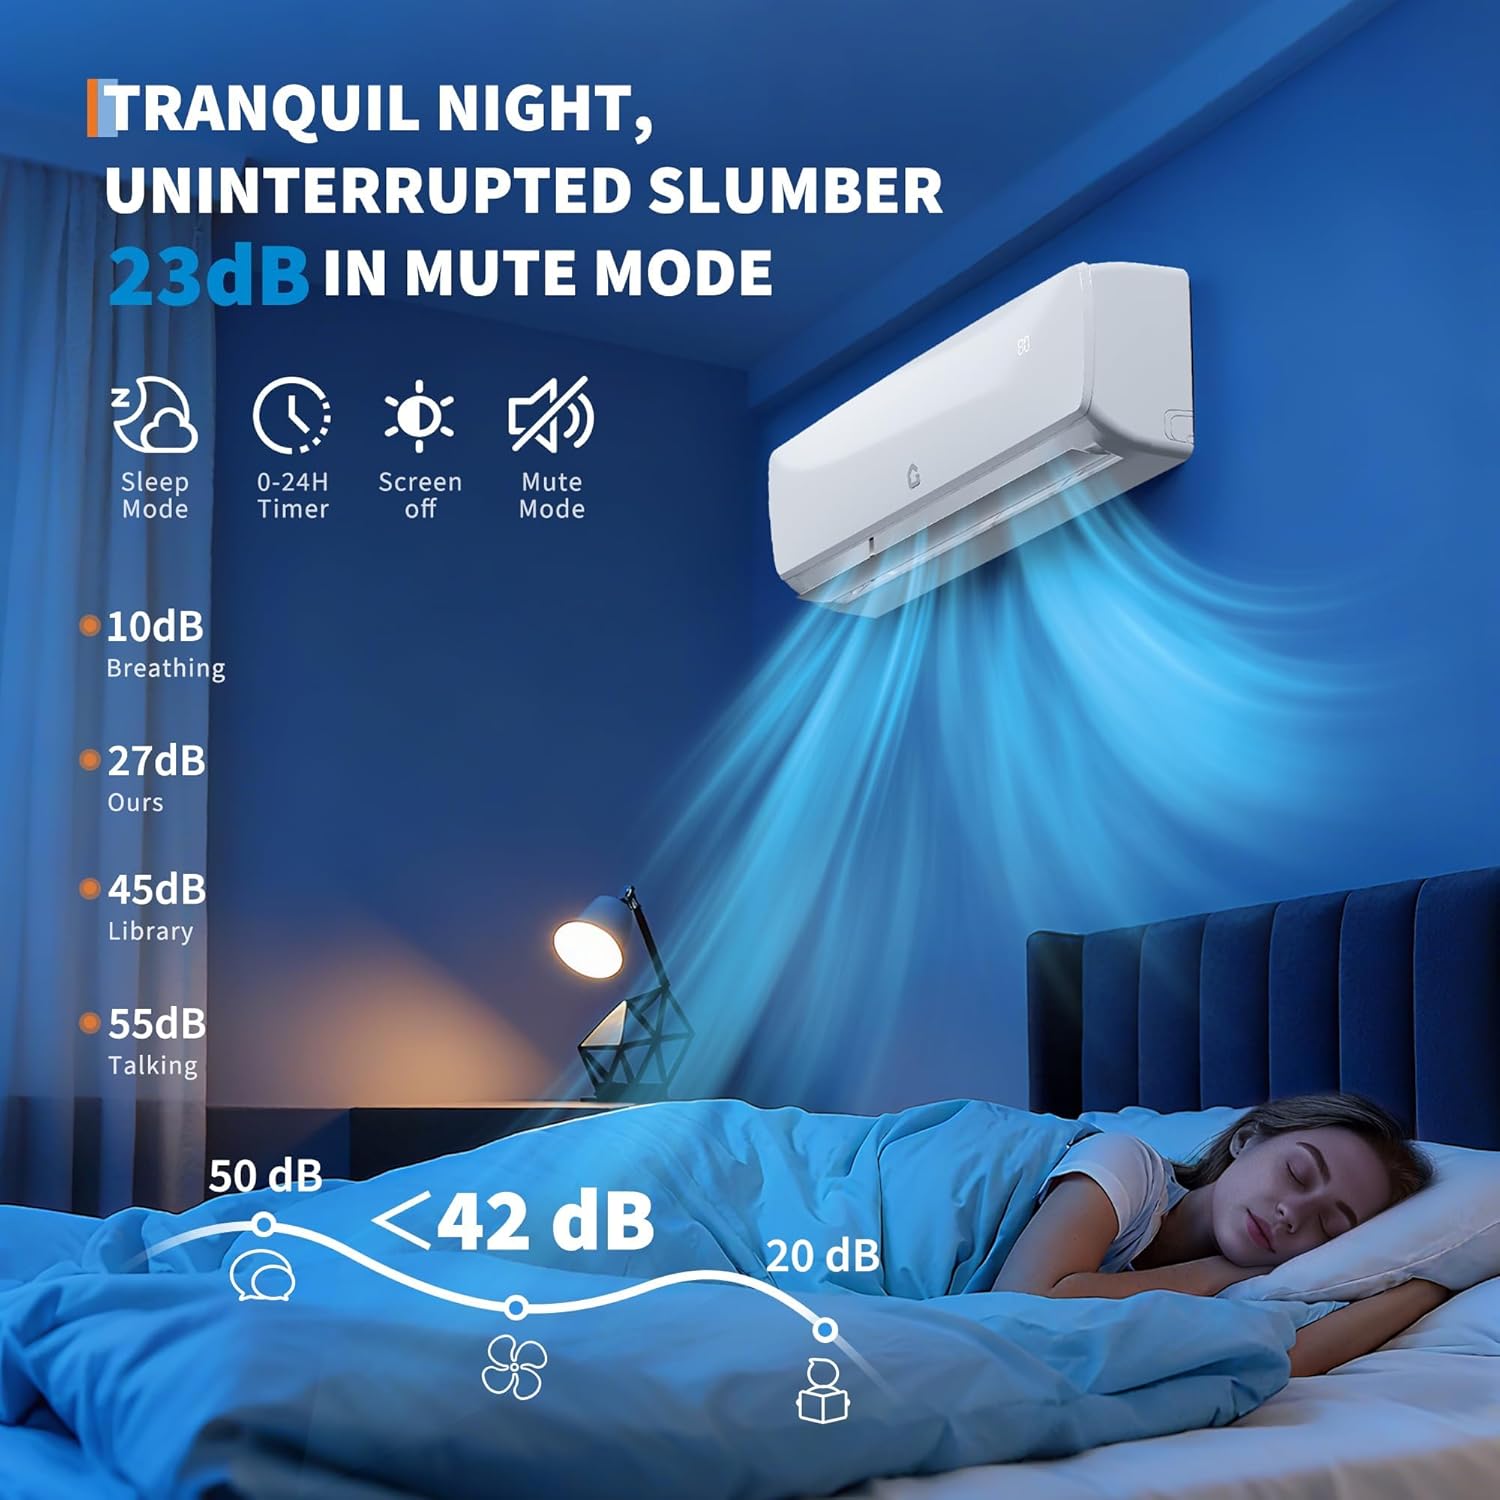
Figure 2.4: An illustration showing the quiet operation of the indoor unit, with noise levels as low as 23 dB in sleep mode, comparable to a library whisper.
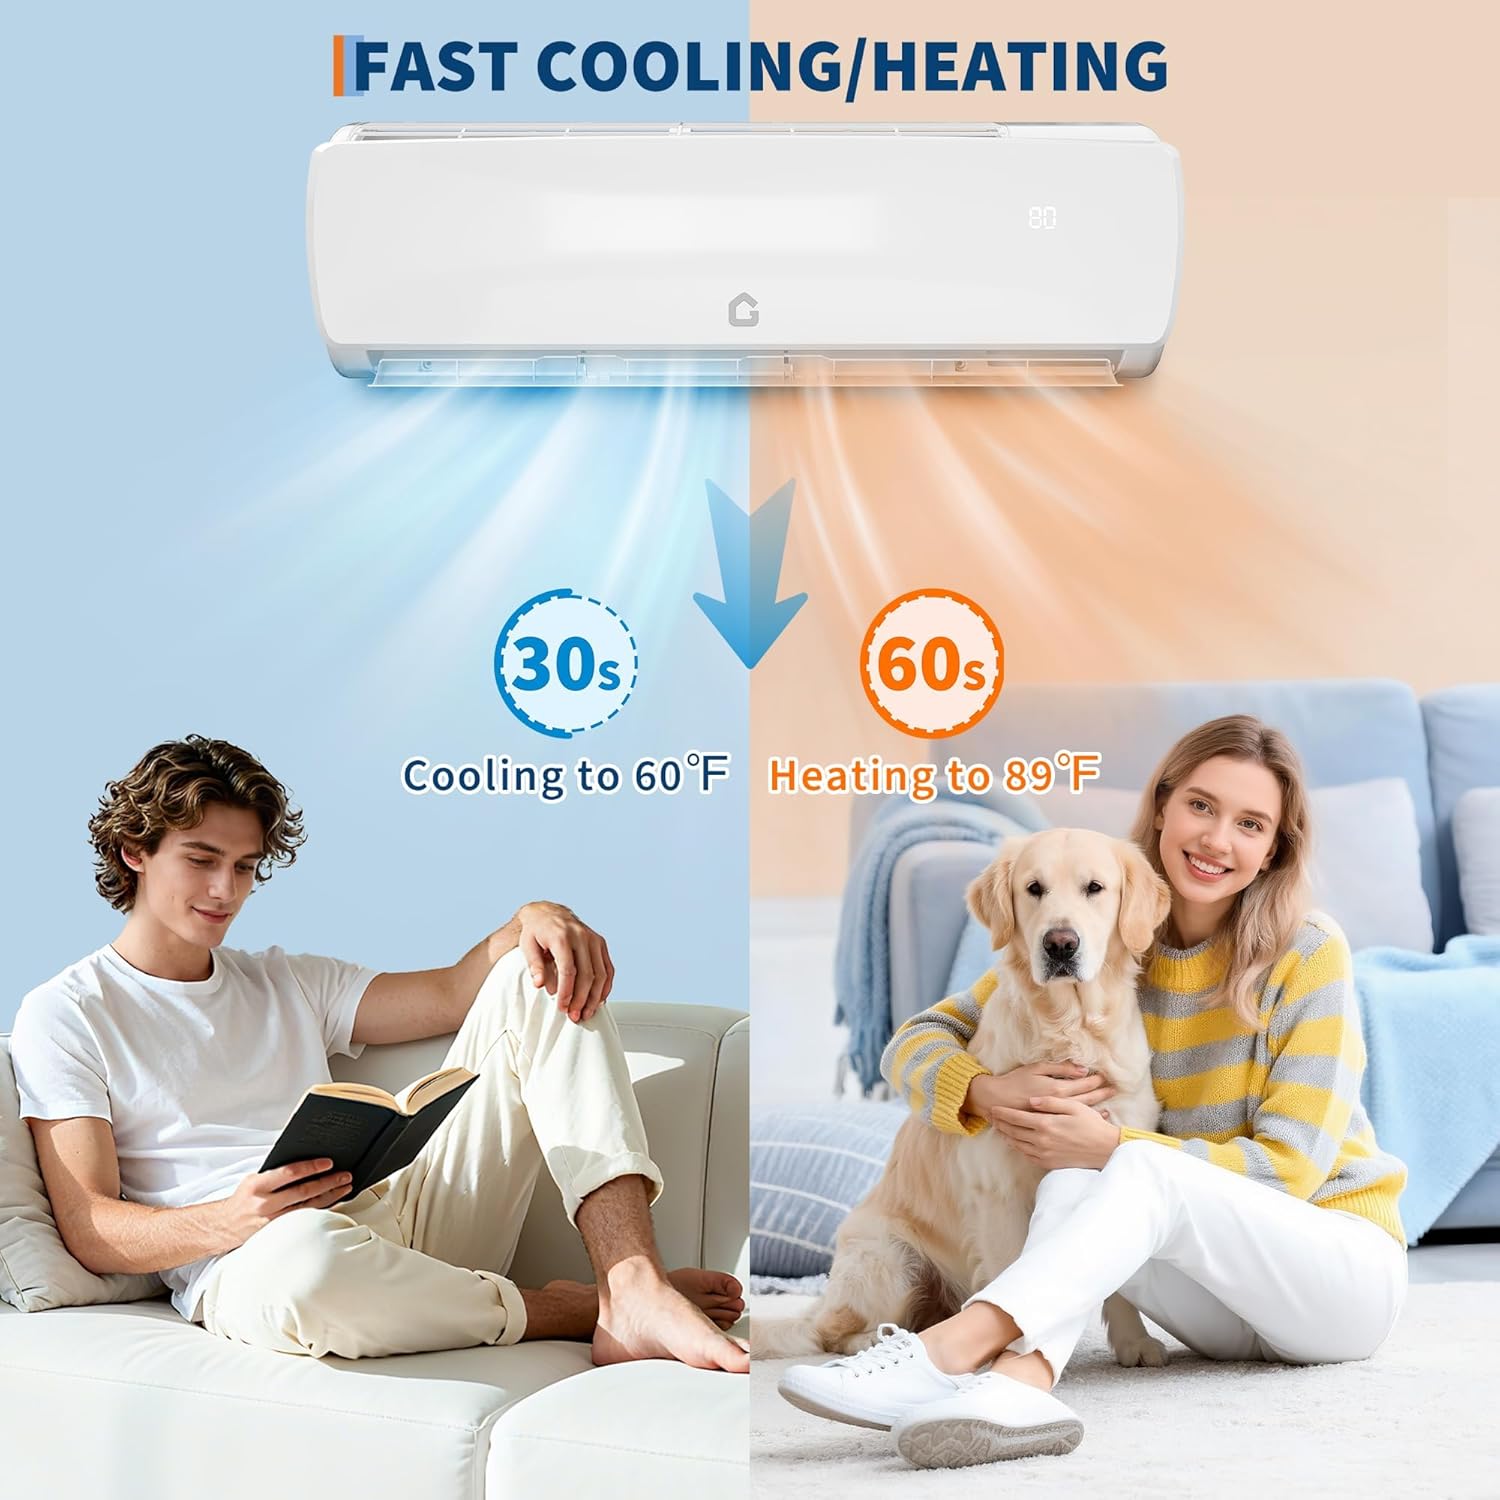
Figure 2.5: Depiction of the rapid cooling (to 60°F in 30 seconds) and heating (to 89°F in 60 seconds) functions of the Mini Split AC.

Figure 2.6: Image highlighting the use of R32 refrigerant, emphasizing its energy efficiency, eco-friendliness, low carbon footprint, and role in reducing greenhouse gas emissions.

Figure 2.7: Visual representation of the unit's ability to operate in extreme temperatures, from 122°F in summer to -4°F in winter.

Figure 2.8: Display of the remote control and various functions including swing, quiet operation, display light, 24H timer, 4 wind speeds (Low, Medium, High, Turbo), and 7 modes (Fan, Cool, Heat, Auto, Sleep, ECO, Dehumidify).
3. Installation
This section provides detailed instructions for installing your PeacefulHues Mini Split AC. While designed for DIY installation, professional assistance is recommended for electrical and refrigerant connections to ensure safety and optimal performance.
3.1 Preparation Before Installation
- Ensure all accessories are complete and undamaged.
- Select a hard and firm wall for the indoor unit to prevent vibration.
- Reserve adequate space around the indoor unit: 15cm above to the ceiling, 20cm to side walls, and 230-260cm from the floor.
- For the outdoor unit, ensure sufficient clearance: 50cm above to obstruction, 10cm above for air intake, 30cm to side obstructions, and 200cm above for air outlet.

Figure 3.1: Diagram showing recommended dimensions and clearances for both indoor and outdoor units to ensure proper airflow and operation.
3.2 Indoor Unit Installation
- Mounting Plate Installation: Drill holes and use "+" type screws to fasten the pegboard horizontally on the wall, ensuring it is level and vertical.
- Wall Hole Drilling: Create a wall hole (typically Ø60mm-Ø80mm) for piping. Avoid pre-buried power wires and hard walls. The hole should slant outwardly by 5-10° to facilitate drainage.
- Electrical Connection (Indoor Unit):
- Open the front panel of the indoor unit.
- Pass the power cable out from the back of the indoor unit and fix it on the terminal board.
- Fix the cable with a clamp.
- Secure the electrical cover.
- Piping Preparation:
- According to piping direction, remove the knock-out panel with a knife and remove burrs to prevent the drain pipe from being broken.
- Use both hands to turn the pipe in the desired direction.
- Connect the connecting pipe to the indoor unit. Aim at the pipe center, tighten the taper nut with fingers, then tighten with a torque wrench according to the provided torque table.
- Carefully check for any damage to joints before installation. Joints should not be reused unless re-flared.
- Use the insulation sleeve to wrap the joint part of the indoor unit and the connection pipe. Seal insulation material to prevent condensate water generation on the joint part.
- Connect the water outlet with drain pipes and make the connection pipe cables and the drain hose straight.
- Use plastic cable ties to wrap the connecting pipes, cables, and drain hose. Run the pipe sloping downward.
- Put the refrigerant piping out of the wall hole.
- Hang the indoor unit on the peg board. Move the unit from left to right to ensure the hook is properly positioned. Push toward the lower left side and the upper right side of the unit toward the peg board until the hook is embedded in the slot and makes a click sound.
- To protect piping and wires, install a pipe protecting ring sealed with putty.
3.3 Outdoor Unit Installation
- Mounting Bracket Installation: Use at least 6 expansion bolts to fix brackets firmly on the wall. Ensure the brackets are level.
- Outdoor Unit Placement: Carefully place the outdoor unit onto the brackets. Use 4 screws to fix the feet of the outdoor unit to the brackets.
- Refrigerant Pipe Connection:
- Remove the nut from the stop valves.
- Aim at the pipe center of the stop valve, tighten the taper nut with fingers.
- Tighten the taper nut with two wrenches.
- Electrical Connection (Outdoor Unit):
- Remove the electrical box cover.
- Connect the cables respectively to the corresponding terminals of the terminal board of the outdoor unit (refer to the wiring diagram).
- Remove the grounding screw out of the electric bracket, cover the grounding wire end onto the grounding screw, and screw it into the grounding hole.
- Fix the cable reliably with fasteners (pressing board).
- Put the E-parts cover back in its original place and fasten it with screws.
- Vacuuming and Refrigerant Release:
- Before working on the air conditioner, remove the cover of the stop valve (gas and liquid valves) and be sure to retighten it afterward.
- Connect the stop valve, charge hose, manifold, and vacuum pump as shown in the diagram.
- Fully open the handle Lo of the manifold valve and apply vacuum for at least 15 minutes. Check that the compound vacuum gauge reads -0.1MPa (-76cmHg).
- After applying vacuum, fully open the stop valve with a hex wrench.
- Screw all the caps and tighten up.
Video 3.1: Detailed installation guide for the PeacefulHues Mini Split AC, covering preparation, indoor unit setup, outdoor unit mounting, electrical connections, and refrigerant line procedures. This video provides visual instructions for each step of the installation process.

Figure 3.2: Image illustrating the importance of professional installation for optimal efficiency, compliance with codes, and prevention of leaks or damage.
4. Operating Instructions
Your PeacefulHues Mini Split AC offers multiple operating modes and settings for personalized comfort. Use the remote control to access these functions.
4.1 Operating Modes:
- Cooling Mode: Reduces room temperature. Adjust desired temperature and fan speed.
- Heating Mode: Increases room temperature. Adjust desired temperature and fan speed.
- Dehumidifier Mode: Removes excess moisture from the air.
- Fan Mode: Circulates air without cooling or heating. Select desired fan speed.
- Auto Mode: Automatically selects the operating mode (cooling, heating, or fan) based on the room temperature and desired set point.
- Sleep Mode: Adjusts temperature and fan speed for comfortable sleep while conserving energy. Operates at a very low noise level (23 dB).
- ECO Mode: Optimizes energy consumption for efficient operation.
4.2 Remote Control Functions:
The remote control allows you to adjust various settings from a distance of up to 26 feet.
- Temperature Adjustment: Set desired temperature within the range of 62-82°F.
- Fan Speed: Choose from Low, Medium, High, or Turbo settings.
- Swing Function: Adjust the airflow direction.
- Display Light: Turn the unit's display light on or off.
- 24H Timer: Program the unit to turn on or off at specific times.
5. Maintenance
Regular maintenance ensures the longevity and efficient operation of your Mini Split AC. Always disconnect power before performing any maintenance.
5.1 Filter Cleaning:
- The unit features a filter-cleaning reminder.
- Open the front panel of the indoor unit.
- Remove the air filters.
- Clean the filters with a vacuum cleaner or wash them with lukewarm water.
- Allow filters to dry completely before reinstalling.
- Clean filters every two weeks or more frequently depending on usage and air quality.

Figure 5.1: Visual guide on how to remove and clean the air filters of the indoor unit for optimal performance and air quality.
5.2 Outdoor Unit Cleaning:
- Periodically clean the outdoor unit's coil and fan blades to remove dirt and debris.
- Ensure the area around the outdoor unit is clear of obstructions to maintain proper airflow.
6. Troubleshooting
This section addresses common issues you might encounter with your Mini Split AC. Before contacting support, review these solutions.
| Problem | Possible Cause | Solution |
|---|---|---|
| Unit does not turn on | No power, circuit breaker tripped, remote control batteries dead. | Check power supply, reset breaker, replace remote batteries. |
| Insufficient cooling/heating | Dirty air filters, blocked outdoor unit, incorrect mode/temperature setting, low refrigerant. | Clean filters, clear obstructions, verify settings, contact technician for refrigerant check. |
| Water leakage from indoor unit | Clogged drain hose, improper installation angle. | Clear drain hose, ensure proper slope during installation. |
| Unusual noise | Loose parts, fan obstruction, unit not level. | Check for loose components, remove obstructions, ensure unit is level. |
| Remote control not working | Dead batteries, obstruction between remote and unit, remote out of range. | Replace batteries, remove obstructions, operate within 26ft range. |
If the problem persists after trying these solutions, please contact customer support.
7. Specifications
| Feature | Detail |
|---|---|
| Brand | PeacefulHues |
| Model Number | Fx687lJwy5nQamQTqh-MMAH2I |
| Cooling Power | 9000 British Thermal Units (BTU) |
| SEER2 Rating | 19 |
| Special Feature | Fast Cooling |
| Product Dimensions (D x W x H) | 32.95"D x 13.35"W x 21.42"H |
| Color | White |
| Voltage | 230V |
| Noise Level (Indoor Sleep Mode) | 23 Decibels |
| Noise Level (Outdoor) | Under 42 Decibels |
| Item Weight | 45.19 Pounds |
| Controller Type | Remote Control |
| Installation Type | Split System |
| Refrigerant Type | R32 |
| Line Set Length | 10ft (Pre-Charged) |
8. Warranty and Support
8.1 Manufacturer's Warranty:
This PeacefulHues Mini Split AC unit comes with a 2 Years Manufacturer Warranty. Please retain your proof of purchase for warranty claims.
The warranty covers defects in materials and workmanship under normal use and service. It does not cover damage resulting from improper installation, misuse, abuse, accident, neglect, or unauthorized repair.
8.2 Customer Support:
For technical assistance, troubleshooting, or warranty inquiries, please contact PeacefulHues customer support. You can find contact information on the product packaging or the official PeacefulHues website.
When contacting support, please have your model number (Fx687lJwy5nQamQTqh-MMAH2I) and proof of purchase readily available.
Ask a question about this manual
Ask about setup, troubleshooting, compatibility, parts, safety, or missing instructions. Manuals+ will review the question and use this page’s manual context to help answer it.