
1. Introduction
Thank you for purchasing the Romicta S-188 Pro 2.1 Channel Stereo Audio Amplifier. This amplifier is designed to provide high-fidelity audio for your home theater or stereo system, featuring Bluetooth 5.0, USB, and AUX inputs, along with dedicated controls for bass, treble, and subwoofer output. Please read this manual carefully before use to ensure proper operation and to maximize your audio experience.

Image: The Romicta S-188 Pro amplifier integrated into a home audio setup.
2. Safety Information
To prevent electric shock, fire, or damage to the unit, please observe the following safety precautions:
- Do not expose this unit to rain or moisture.
- Do not open the casing. Refer all servicing to qualified personnel.
- Ensure proper ventilation around the unit. Do not block ventilation openings.
- Use only the provided power adapter.
- Keep the unit away from heat sources, direct sunlight, and strong magnetic fields.
- Disconnect the power adapter from the wall outlet if the unit will not be used for an extended period.
3. Package Contents
Verify that all items are present in the package:
- Romicta S-188 Pro 2.1 Channel Stereo Audio Amplifier
- Remote Control
- 12V 5A DC Power Adapter
- Instruction Manual (this document)

Image: All components included in the Romicta S-188 Pro package.
4. Product Overview
Front Panel Controls
- SUB VOL Knob: Adjusts the volume level of the connected subwoofer.
- MODE Button: Switches between input modes (Bluetooth, USB, AUX).
- Previous/Next Buttons: Navigates tracks in USB/SD card mode.
- Play/Pause Button: Plays or pauses audio in USB/SD card mode.
- USB Input: Connects USB flash drives for audio playback.
- Display Screen: Shows current input mode and track information.
- BASS Knob: Adjusts the bass level of the main speakers.
- TREBLE Knob: Adjusts the treble level of the main speakers.
- VOLUME Knob: Master volume control for all outputs.
Rear Panel Connections
- AUX1 Input (RCA): Connects external audio sources via RCA cables.
- AUX2 Input (3.5mm Jack): Connects external audio sources via a 3.5mm audio cable.
- LINE Output (RCA): Provides a line-level audio output.
- FR/FL Speaker Outputs: Connects passive right and left speakers.
- SUB Output: Connects a passive subwoofer.
- 12V 5A Power Input: Connects the DC power adapter.
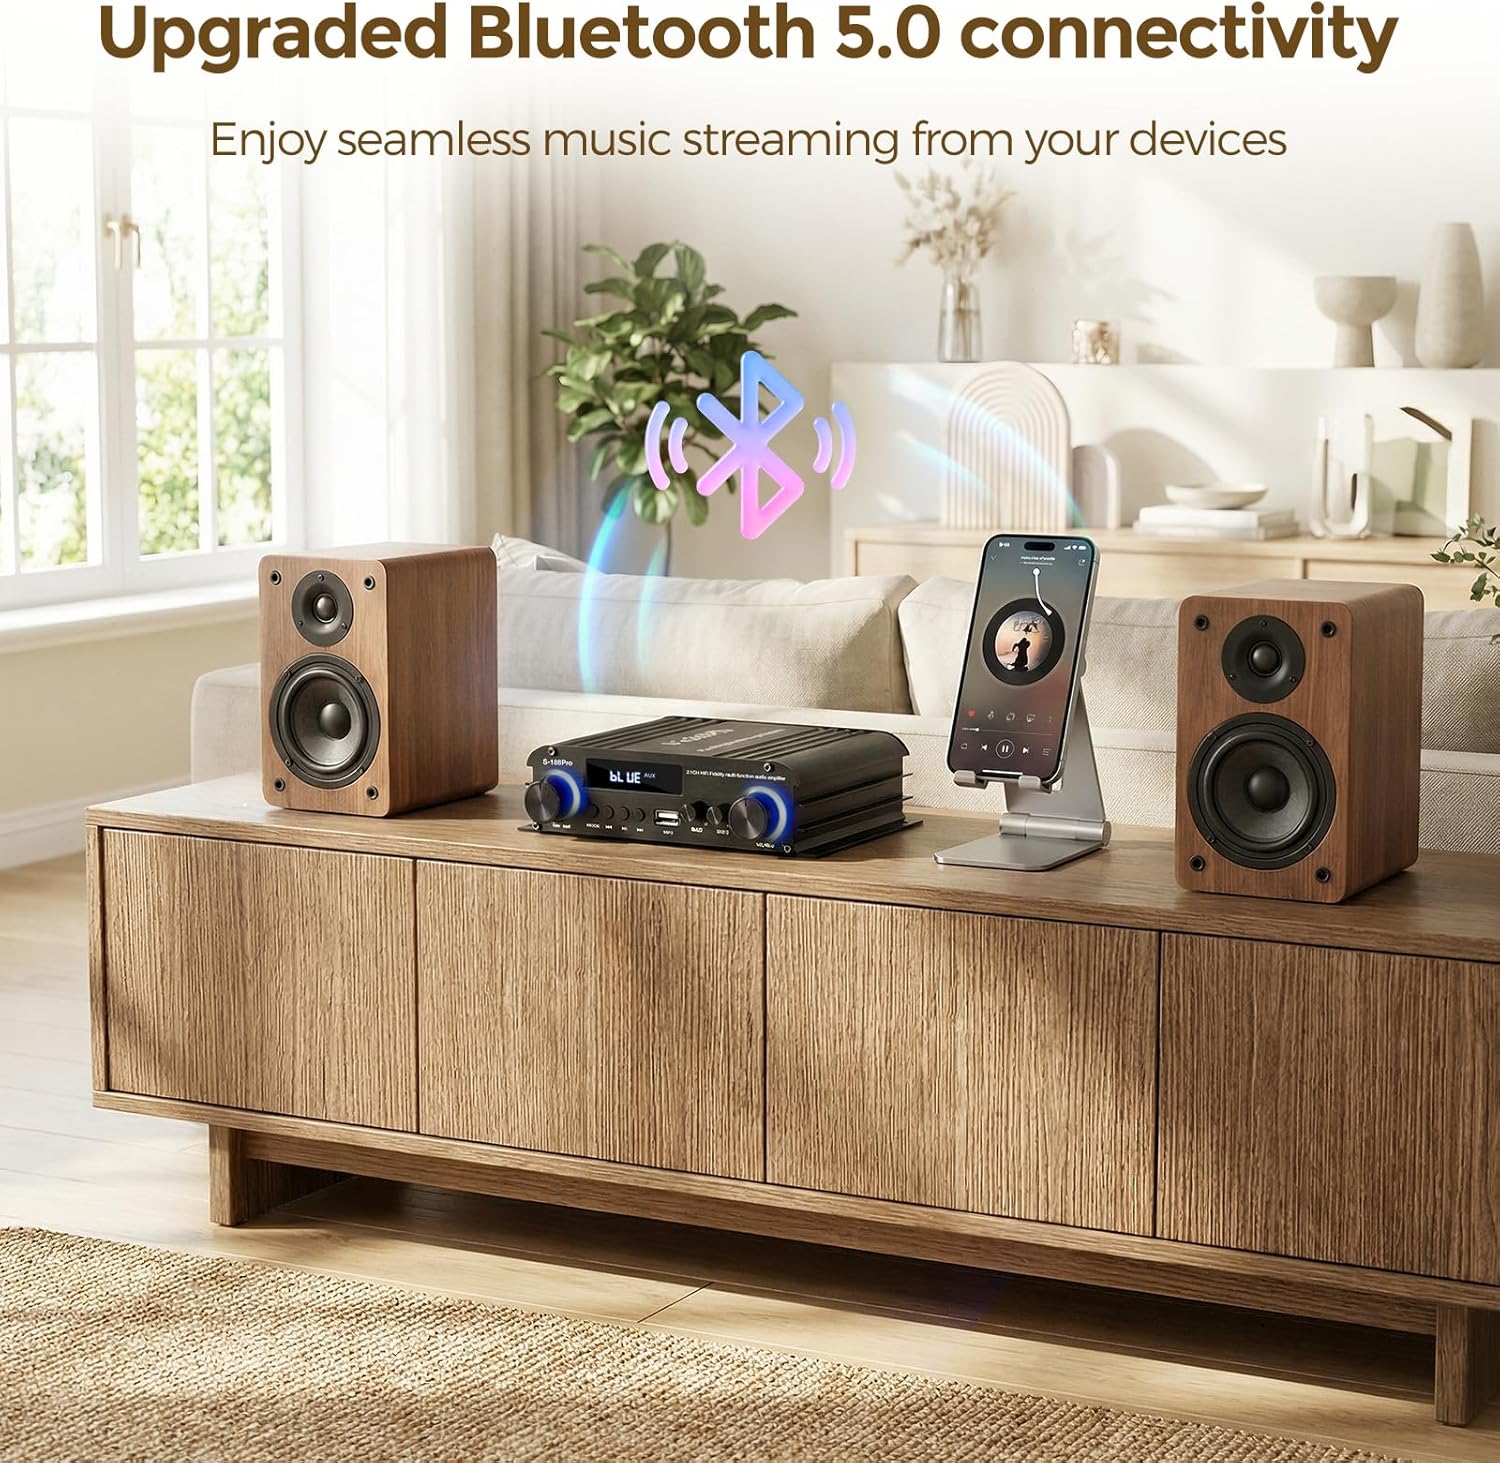
Image: Front and rear panel layout of the Romicta S-188 Pro amplifier.
5. Setup
5.1 Speaker Connections
The S-188 Pro supports both passive speakers and subwoofers, as well as active subwoofers.
- Passive Speakers: Connect your passive left (FL) and right (FR) speakers to the corresponding speaker terminals on the rear panel using speaker wire. Ensure correct polarity (+ to + and - to -).
- Passive Subwoofer: Connect a passive subwoofer to the 'SUB' terminals on the rear panel using speaker wire.
- Active Subwoofer: Connect an active (powered) subwoofer to the 'LINE Output' RCA ports on the rear panel using an RCA cable.
5.2 Audio Input Connections
- Bluetooth: For wireless audio streaming from your smartphone, tablet, or computer.
- USB: Insert a USB flash drive containing audio files into the front panel USB port.
- AUX (RCA): Connect devices like CD players, TVs, or PCs to the 'AUX1 Input' RCA ports.
- AUX (3.5mm): Connect devices with a 3.5mm audio output to the 'AUX2 Input' 3.5mm jack.

Image: Connectivity options for the Romicta S-188 Pro amplifier.
5.3 Power Connection
Connect the provided 12V 5A DC power adapter to the '12V 5A Power Input' on the rear panel of the amplifier, then plug the adapter into a wall outlet.
6. Operating Instructions
6.1 Power On/Off
Turn the master VOLUME knob clockwise until the unit powers on and the display illuminates. To turn off, rotate the VOLUME knob counter-clockwise until it clicks off.
6.2 Input Selection
Press the 'MODE' button on the front panel or the remote control to cycle through available input sources: Bluetooth (BT), USB, and AUX.
6.3 Bluetooth Pairing
- Switch the amplifier to Bluetooth mode (display shows 'BT').
- On your device (smartphone, tablet), enable Bluetooth and search for available devices.
- Select 'S-188 Pro' from the list to pair. A confirmation sound will indicate successful pairing.
- You can now stream audio wirelessly to the amplifier.

Image: Bluetooth 5.0 connectivity for seamless music streaming.
6.4 USB Playback
Insert a USB flash drive into the USB port. The amplifier will automatically switch to USB mode and begin playing supported audio files. Use the Previous/Next and Play/Pause buttons on the front panel or remote to control playback.
6.5 Audio Adjustments
- VOLUME: Use the large VOLUME knob to adjust the overall output level.
- BASS/TREBLE: Use the BASS and TREBLE knobs to fine-tune the low and high frequencies of your main speakers.
- SUB VOL: Use the SUB VOL knob to independently adjust the volume of the connected subwoofer.
6.6 Remote Control Functions
The included remote control provides convenient access to various functions:
- ON/OFF: Power the unit on or off.
- MODE: Switch input sources.
- CH+/CH-: Navigate tracks (USB/SD).
- EQ: Cycle through equalizer presets (if available).
- Volume +/-: Adjust master volume.
- Number Buttons: Direct track selection (USB/SD).
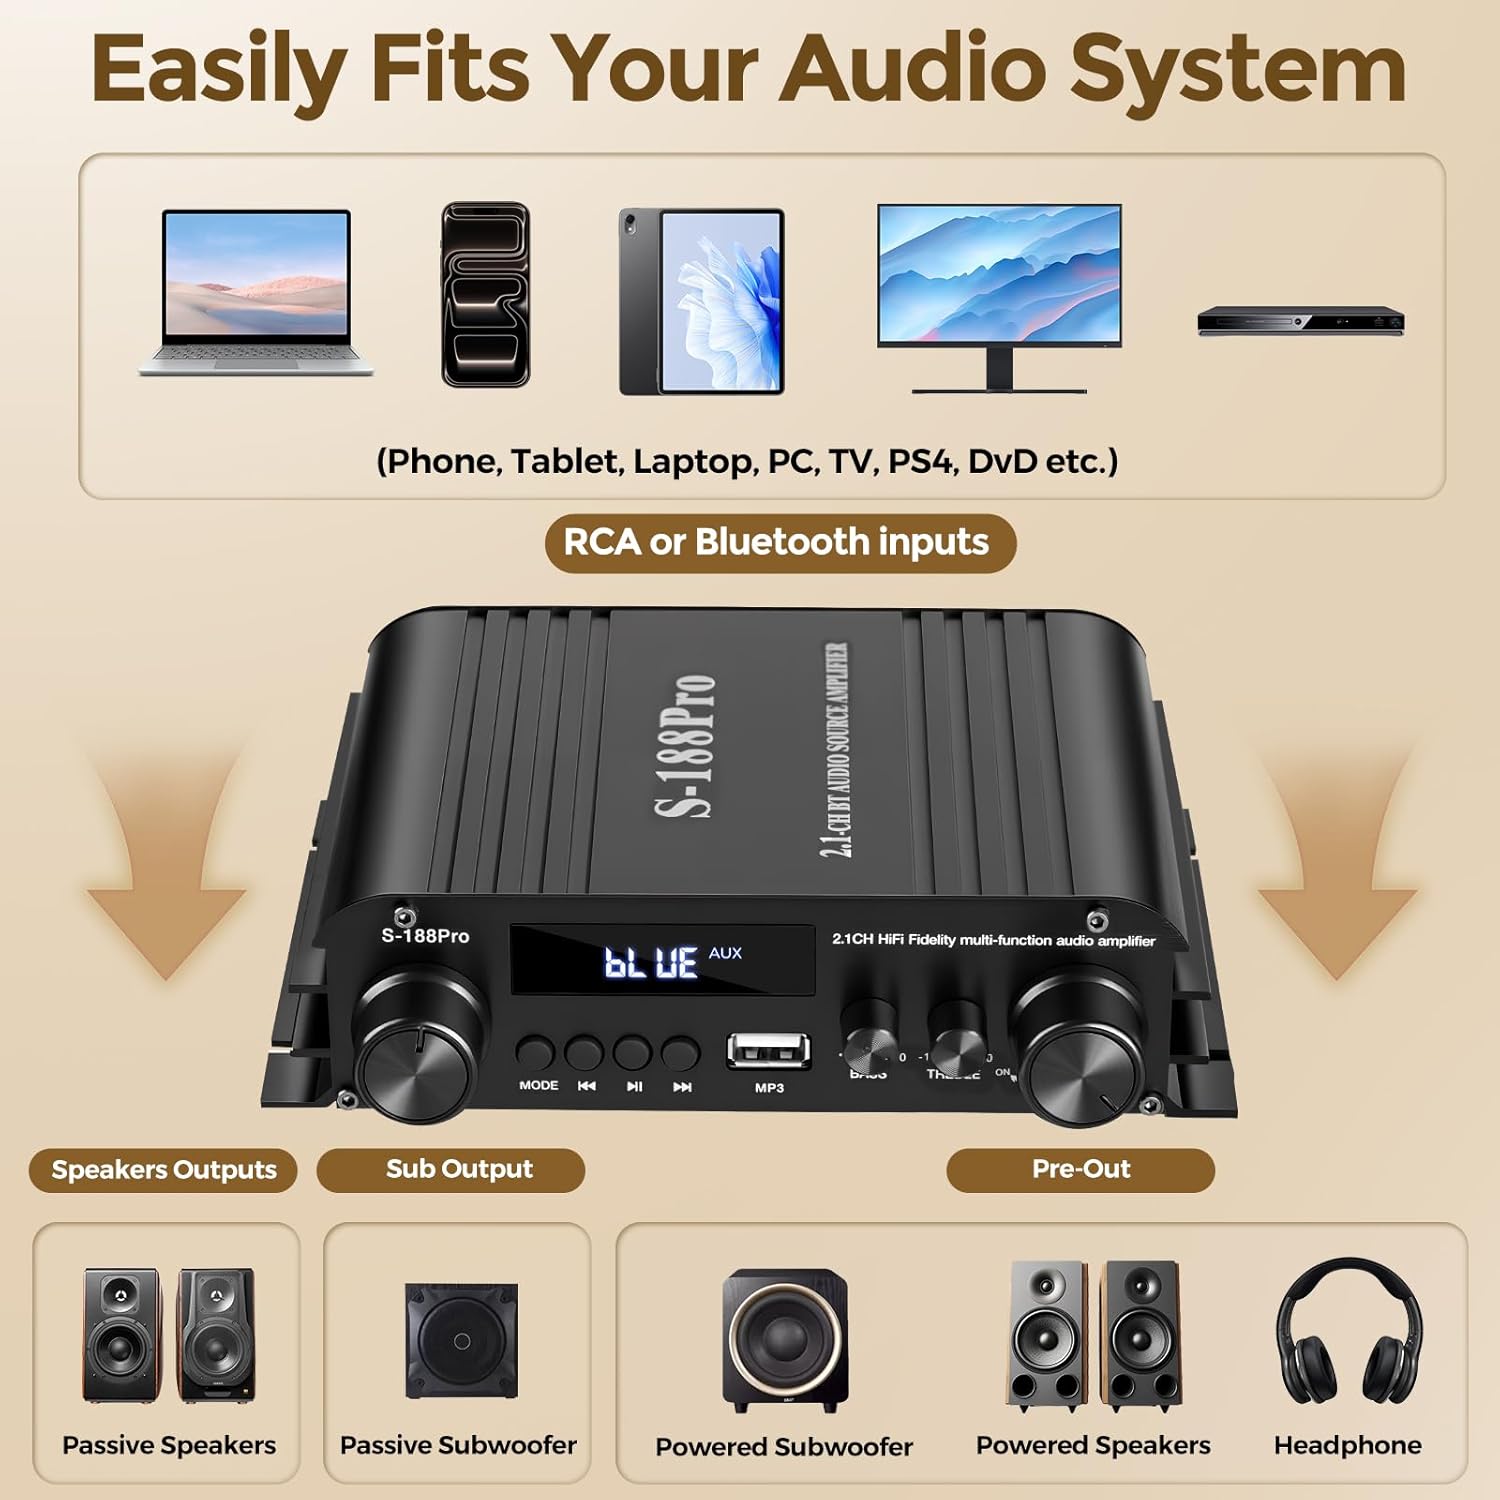
Image: Remote control for the Romicta S-188 Pro amplifier.
7. Troubleshooting
If you encounter issues, refer to the following common problems and solutions:
| Problem | Possible Cause | Solution |
|---|---|---|
| No power | Power adapter not connected; power outlet not active; VOLUME knob off. | Ensure power adapter is securely connected and plugged into a live outlet. Turn VOLUME knob clockwise to power on. |
| No sound output | Incorrect input mode; speaker wires loose; volume too low; incorrect source connection. | Select correct input mode. Check speaker wire connections and polarity. Increase VOLUME. Verify audio source is properly connected to the correct input. |
| Bluetooth pairing fails | Amplifier not in BT mode; device Bluetooth off; too far from amplifier. | Ensure amplifier is in BT mode. Enable Bluetooth on your device. Move device closer to the amplifier (within 50 feet). |
| Distorted sound | Volume too high; incorrect impedance speakers; poor source quality. | Reduce volume. Ensure speakers match the amplifier's impedance (4-8 Ohm). Use high-quality audio sources. |
8. Specifications
| Model Number | S-188 Pro |
| Channels | 2.1 Channel |
| Rated Power Output | 50W x 2 (main speakers) + 60W (subwoofer) |
| Peak Power Output | 300W x 2 (main speakers) + 360W (subwoofer) |
| Connectivity Technology | Bluetooth 5.0, USB, AUX (RCA, 3.5mm Jack) |
| Speaker Impedance | 4-8 Ohm |
| Power Supply | DC 12V 5A |
| Special Features | Dedicated Subwoofer Control, Bass/Treble Control, Remote Control |
| Chassis Material | All-metal |
9. Maintenance
To ensure the longevity and optimal performance of your amplifier:
- Cleaning: Use a soft, dry cloth to wipe the exterior of the unit. Do not use liquid cleaners or solvents.
- Ventilation: Keep the ventilation openings clear of dust and obstructions.
- Storage: When not in use for extended periods, store the amplifier in a cool, dry place away from direct sunlight and extreme temperatures.
10. Warranty and Support
Romicta products are designed for reliability and performance. For warranty information or technical support, please refer to the contact details provided with your purchase or visit the official Romicta website. Keep your purchase receipt as proof of purchase for warranty claims.