
1. Introduction
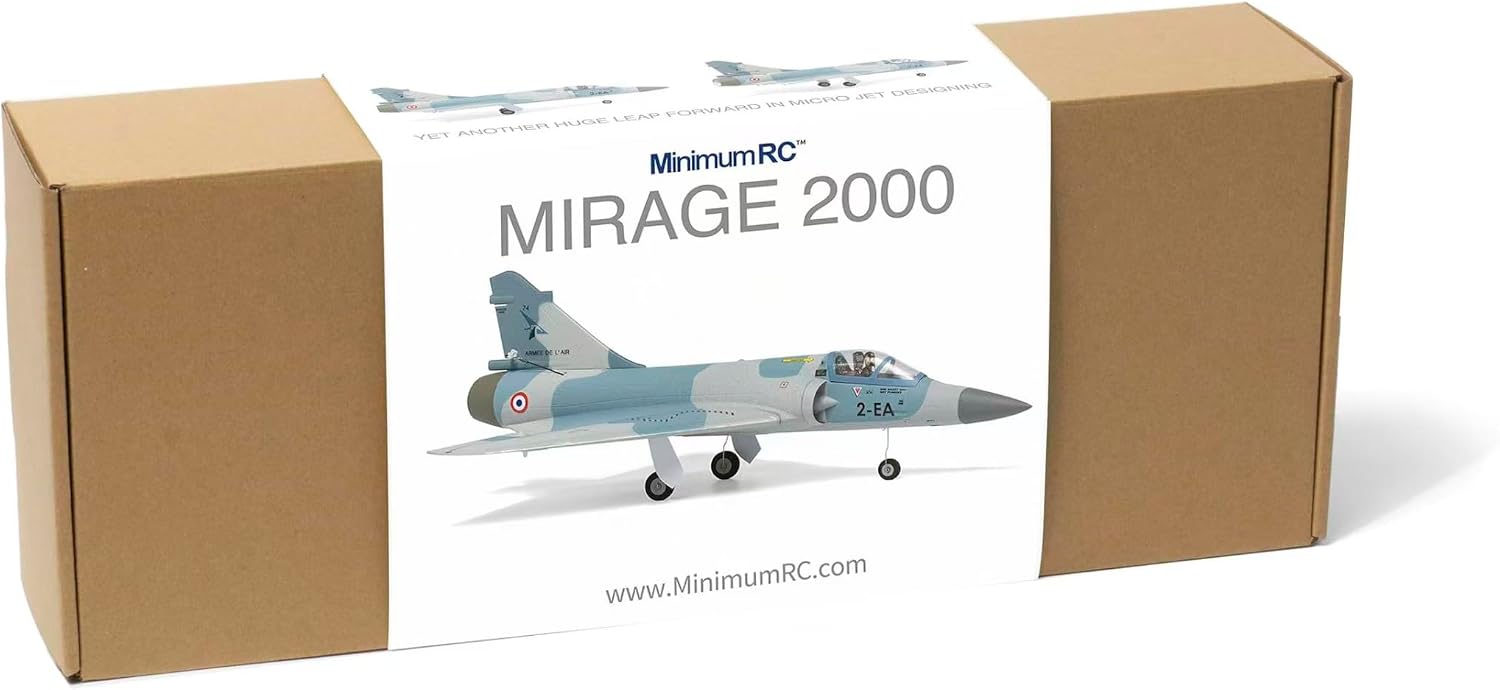
This manual provides essential information for the safe and efficient operation of your MinimumRC Mirage 2000 30mm EDF RC Airplane. This ultra-lightweight, detailed 4-channel RC airplane offers excellent gliding performance and outstanding maneuverability, capable of rolls and complex aerobatic moves. Equipped with a 30mm brushless EDF power system, hidden servo design, and constructed from lightweight EPS foam, it provides a high-speed, competitive flight experience. Available in Ready-to-Fly (RTF) and Bind-N-Fly (BNF) options, please read thoroughly before assembly and flight.
2. Safety Information
This product contains a battery. Please charge it safely. The ducted fan propeller may cause injury if it hits your fingers. The aircraft flies at high speed. Do not fly it toward people.
3. What's in the Box
- Remote
- Battery
- Charger
- Glue
- Receiver
4. Specifications
| Weight | 75g (With 7.4V 180mAh battery) |
| Servos | 2.0g x 3 |
| Wingspan | 310mm |
| Material | EPS Foam |
| Battery | 7.4V 180mAh |
| Motor | 1104 Brushless |
| ESC | 7.4V Brushless ESC |
| Channels | Throttle, Rudder, Aileron, Elevator (Delta mix) |
| Propulsion System | Brushless 7.4V 30mm EDF |
| Flight Modes | Active Leveling, Assisted Stabilization, Manual |
| Product Dimensions | 18 x 14 x 8 inches |
5. Setup and Assembly
Follow these steps to assemble your MinimumRC Mirage 2000 RC Airplane:
- Unpack Components: Carefully remove all parts from the packaging. Ensure all items listed in the 'What's in the Box' section are present.

All components included in the MinimumRC Mirage 2000 package. Ensure all parts are present before beginning assembly.
- Install Landing Gear: Attach the front landing gear by carefully inserting the wire into the designated slot on the fuselage. Then, install the main landing gear wires into the slots on the underside of the wings. Ensure they are securely in place.

Attach the front landing gear by carefully inserting the wire into the designated slot on the fuselage.

Install the main landing gear wires into the slots on the underside of the wings. Ensure they are securely in place.
- Attach Wings and Tail: Connect the main wings to the fuselage. Apply a small amount of glue if necessary for a secure fit, as indicated in the manual. Attach the vertical stabilizer (tail fin) to the rear of the fuselage, ensuring proper alignment.

Connect the main wings to the fuselage. Apply a small amount of glue if necessary for a secure fit, as indicated in the manual.

Attach the vertical stabilizer (tail fin) to the rear of the fuselage. Ensure proper alignment.
- Connect Control Linkages: Connect the control linkages from the servos to the control surfaces (ailerons, rudder, elevator). Adjust for neutral position.

Connect the control linkages from the servos to the control surfaces (ailerons, rudder, elevator). Adjust for neutral position.
- Apply Stickers: Apply any included stickers to enhance the model's appearance, following the provided diagram.
Apply any included stickers to enhance the model's appearance, following the provided diagram.
Watch this video for a visual guide on the assembly process and initial setup of your Mirage 2000 RC plane.
6. Operating Instructions
Pre-Flight Check
- Ensure all control surfaces (ailerons, rudder, elevator) move freely and correctly in response to transmitter inputs.
- Verify the aircraft battery is fully charged.
- Check for any visible damage to the foam, propeller, or linkages.
Transmitter Pairing (RTF Version)
- Turn on your remote controller.
- Connect the aircraft battery.
- Move the throttle stick on the transmitter fully up, then fully down to bind the aircraft to the remote.
Flight Modes
- Active Leveling: Provides automatic self-leveling assistance, ideal for beginners.
- Assisted Stabilization: Offers enhanced stability and control, suitable for intermediate pilots.
- Manual: Full manual control with no stabilization, for experienced pilots performing aerobatics.
Takeoff
For hand launching, hold the aircraft firmly, apply full throttle, and gently toss it forward with a slight upward angle. For ground takeoff, place the aircraft on a smooth, flat surface, apply full throttle, and allow it to accelerate until it lifts off.
Controls
- Throttle: Controls motor speed and altitude.
- Aileron: Controls roll (banking left/right).
- Elevator: Controls pitch (nose up/down).
- Rudder: Controls yaw (nose left/right).
Landing
Approach the landing area into the wind. Gradually reduce throttle and maintain a gentle descent. Flare the aircraft slightly before touchdown to reduce impact. For wheeled landings, aim for a smooth, level surface.
Observe flight characteristics and maneuvers in this demonstration video of the Mirage 2000 RC plane.
7. Maintenance
- Battery Care: Always charge the battery safely using the provided charger. Do not overcharge or over-discharge. Disconnect the battery from the aircraft when not in use.
- Cleaning: Wipe down the aircraft with a soft, dry cloth after each flight to remove dirt or debris.
- Inspection: Regularly inspect the foam airframe for cracks or damage. Check control linkages, servos, and the propeller for proper function and wear. Replace damaged parts as needed.
- Storage: Store the aircraft in a cool, dry place away from direct sunlight and extreme temperatures.
8. Troubleshooting
- Aircraft not responding to controls:
- Check if the aircraft battery is connected and charged.
- Ensure the remote controller is powered on and has fresh batteries.
- Re-bind the aircraft to the remote controller (refer to 'Transmitter Pairing' section).
- Poor flight performance/unstable flight:
- Check if all control surfaces are trimmed to neutral.
- Verify the battery is fully charged and properly secured.
- Inspect the propeller for damage or imbalance.
- Ensure the flight mode is appropriate for your skill level.
- Motor not spinning:
- Check the battery connection to the ESC.
- Ensure the throttle stick is at the lowest position before connecting the battery.
- Inspect motor wires for any disconnections or damage.
9. Warranty & Support
For warranty claims or technical support, please refer to the contact information provided with your purchase or visit the official MinimumRC website. Keep your proof of purchase for any warranty-related inquiries.