
1. Important Safety Instructions
Before operating the VUA 3L Ultrasonic Cleaner, please read and understand all safety instructions to prevent injury or damage to the unit.
- Grounding: Ensure the grounding wire is securely connected and the machine-end wiring is firmly attached to prevent electric leakage. Verify that the power outlet is properly grounded. Failure to connect to true grounding may cause damage to the circuit board and render the equipment unusable.
- Water Level: Do not operate the unit without sufficient water in the tank. The water level must be above the minimum fill line but below the maximum fill line.
- Handling: Do not touch the power socket with wet hands to reduce the risk of electric shock.
- Maintenance: Do not disassemble the unit except for authorized service personnel.
- Placement: Place the unit on a stable, level surface away from heat sources and direct sunlight.
- Children: Keep the appliance out of reach of children.
2. Product Overview
The VUA 3L Ultrasonic Cleaner is designed for professional-grade cleaning performance, utilizing 40kHz high-frequency ultrasonic waves to effectively remove dirt, grime, and oxidation from various items. It features a durable 304 stainless steel tank, a digital control panel for precise time and temperature settings, and a built-in memory function for convenience.
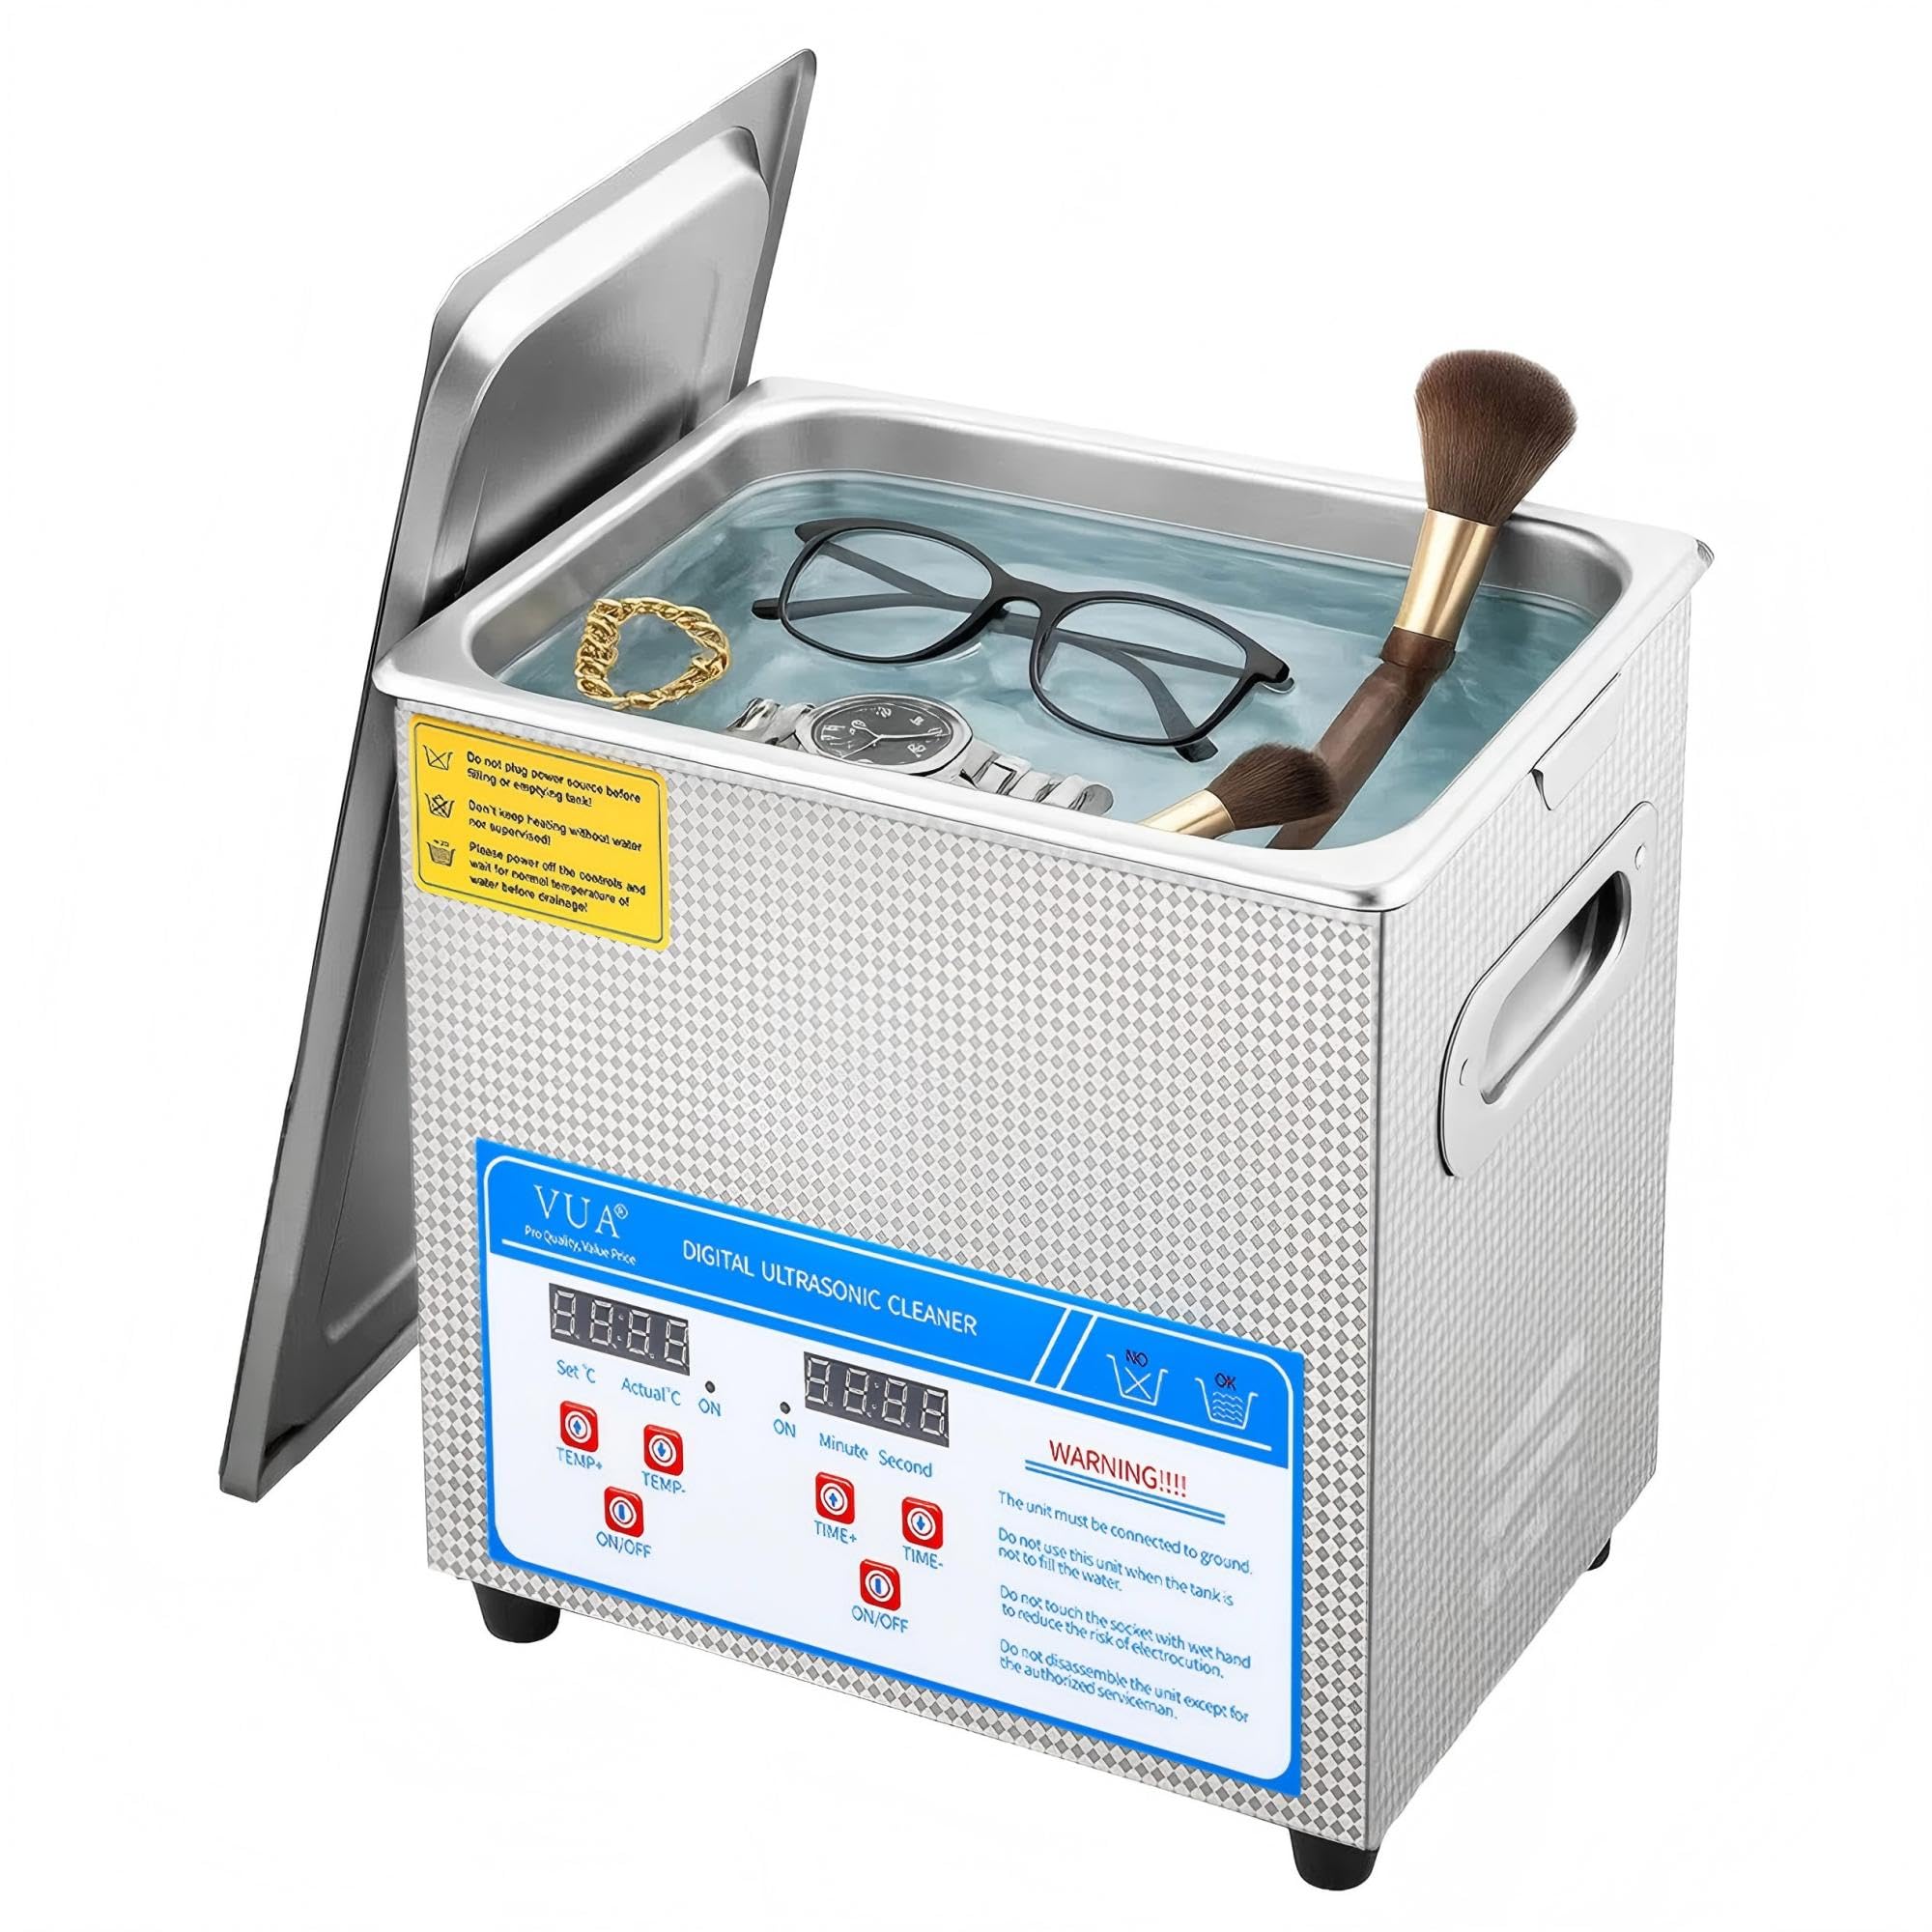
Image 2.1: The VUA 3L Ultrasonic Cleaner main unit, showcasing its compact design and digital control panel.
3. Components
The VUA 3L Ultrasonic Cleaner package includes the following items:
- 1 x VUA 3L Ultrasonic Cleaner Unit
- 1 x User Manual (this document)
- 1 x Cleaning Basket
- 1 x Power Cord
The unit consists of a stainless steel tank, a lid, a digital control panel, and two efficient ultrasonic transducers at the bottom of the tank. The included cleaning basket helps organize small items and prevents them from touching the tank bottom directly.

Image 3.1: The VUA 3L Ultrasonic Cleaner unit and its accompanying cleaning basket, with key dimensions indicated.
4. Setup
- Unpack: Carefully remove the ultrasonic cleaner and all accessories from the packaging.
- Placement: Place the unit on a firm, level, and dry surface. Ensure there is adequate ventilation around the unit.
- Fill Tank: Open the lid and fill the stainless steel tank with an appropriate cleaning solution or water. Ensure the liquid level is between the 'MIN' and 'MAX' marks. Do not overfill.
- Connect Power: Plug the power cord into a properly grounded electrical outlet.
5. Operating Instructions
5.1 Digital Control Panel
The intuitive digital control panel allows for precise adjustment of cleaning time and temperature.

Image 5.1: Detailed view of the digital control panel, showing buttons for temperature, time, and ultrasonic/heating functions.
- Set Temp / Actual Temp: Displays the set temperature and the current actual temperature of the liquid.
- TEMP+ / TEMP-: Buttons to increase or decrease the desired cleaning temperature.
- Heating ON/OFF: Activates or deactivates the heating function. An indicator light shows when heating is active.
- Time Display: Shows the set cleaning time in minutes and seconds.
- TIME+ / TIME-: Buttons to increase or decrease the desired cleaning time (0-30 minutes).
- Ultrasonic ON/OFF: Activates or deactivates the ultrasonic cleaning function. An indicator light shows when ultrasonic is active.
5.2 Basic Operation
- Prepare Items: Place the items to be cleaned into the cleaning basket. For delicate items, ensure they are not directly touching each other or the tank walls.
- Load Basket: Carefully lower the cleaning basket with items into the tank.
- Set Temperature (Optional): If heating is desired, press the 'TEMP+' or 'TEMP-' buttons to set the target temperature. Press 'Heating ON/OFF' to start heating. For light oil stains, 50-60°C is often sufficient. For heavy oil stains, up to 80°C may be used.
- Set Time: Press the 'TIME+' or 'TIME-' buttons to set the desired cleaning duration (0-30 minutes).
- Start Cleaning: Press 'Ultrasonic ON/OFF' to begin the ultrasonic cleaning cycle. The unit will emit a humming sound, and bubbles will be visible in the liquid.
- Monitor Process: The digital display will count down the remaining time. The unit will automatically stop when the time expires.
- Remove Items: Once the cycle is complete, carefully lift the cleaning basket out of the tank.
- Rinse and Dry: Rinse the cleaned items with clean water and dry them thoroughly.
5.3 Cleaning Process Demonstration
Watch this video to see the VUA Ultrasonic Cleaner in action, demonstrating its effective cleaning process and results.
Video 5.3.1: A demonstration of the VUA Ultrasonic Cleaner's cleaning process, showing how it removes dirt and grime from various items.
The cleaner uses two highly efficient and stable ultrasonic transducers to generate 40kHz high-frequency ultrasonic waves, creating cavitation bubbles that dislodge contaminants.

Image 5.3.1: Illustration of the VUA Ultrasonic Cleaner's internal structure, highlighting the two powerful ultrasonic transducers at the base of the tank.
The heating function assists in dissolving stubborn grease and enhances cleaning efficiency, with recommended temperatures for different types of stains.

Image 5.3.2: Visual guide to recommended heating temperatures for the ultrasonic cleaner, differentiating between light and heavy oil stains.
6. Applications
The VUA 3L Ultrasonic Cleaner is suitable for a wide range of applications, both professional and household, including:
- Jewelry: Rings, necklaces, bracelets, earrings.
- Eyewear: Glasses, sunglasses, contact lens accessories.
- Watches: Waterproof watches (do not immerse non-waterproof watches).
- Dental Items: Retainers, partial dentures, night guards, dental tools.
- Small Machine Parts: Carburetors, engine components, RC parts.
- Tools: Small hand tools, circuit boards.
- Other: Vape parts/pipes, razors, makeup brushes.
It is ideal for use in medical and dental clinics, scientific laboratories, opticians, watchmakers, jewelers, hardware stores, electronic workshops, tattoo shops, and for personal use at home or in a garage/tool room.
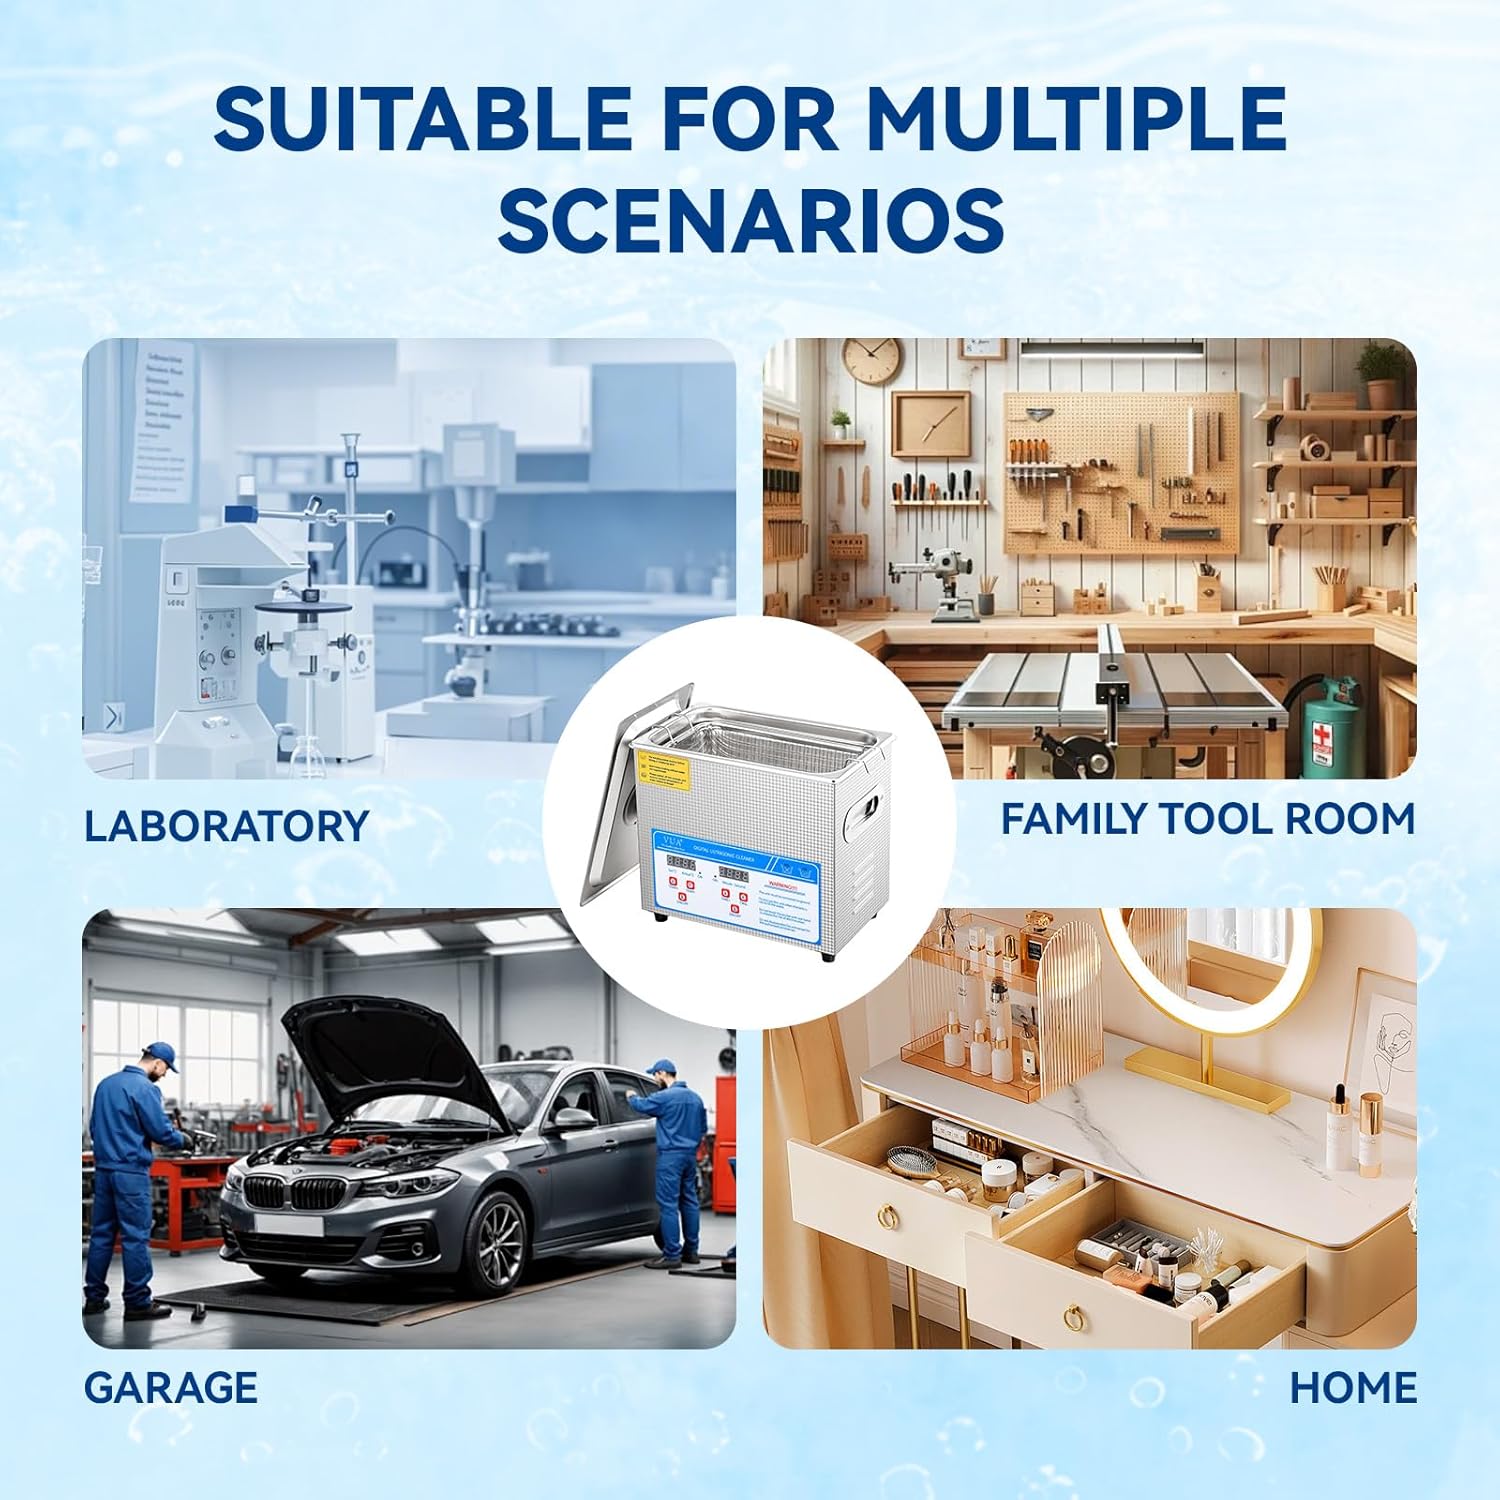
Image 6.1: The VUA Ultrasonic Cleaner is versatile for use in diverse settings such as laboratories, garages, tool rooms, and homes.
7. Maintenance and Care
- Draining: After each use, especially with cleaning solutions, drain the liquid from the tank.
- Cleaning the Tank: Wipe the inside of the tank with a soft cloth. Do not use abrasive cleaners or steel wool. Ensure the tank is dry before storage.
- Exterior Cleaning: Wipe the exterior of the unit with a damp cloth. Do not immerse the unit in water.
- Storage: Store the ultrasonic cleaner in a cool, dry place away from direct sunlight and moisture.
- Cooling Vents: Ensure the cooling vents are clear of obstructions to prevent overheating and extend the lifespan of the unit.
8. Troubleshooting
If you encounter issues with your VUA 3L Ultrasonic Cleaner, refer to the following common troubleshooting steps:
- Unit Does Not Power On:
- Check if the power cord is securely plugged into both the unit and a grounded electrical outlet.
- Verify that the power outlet is functioning correctly.
- No Ultrasonic Action (No Bubbles/Humming):
- Ensure the tank is filled with liquid above the 'MIN' line.
- Check if the 'Ultrasonic ON/OFF' button has been pressed and its indicator light is on.
- Confirm that the cleaning time has been set.
- Poor Cleaning Results:
- Ensure the correct cleaning solution is used for the type of items and dirt.
- Increase the cleaning time or temperature if appropriate for the items.
- Check if items are overloaded or touching the tank bottom, which can impede ultrasonic waves.
- For heavily soiled items, pre-soaking or light scrubbing may be necessary.
- Heating Not Working:
- Verify that the 'Heating ON/OFF' button has been pressed and its indicator light is on.
- Ensure a target temperature has been set using 'TEMP+' or 'TEMP-'.
A comprehensive troubleshooting guide is included with the product. Please refer to it for further assistance and optimal product usage.
9. Specifications
Technical specifications for the VUA 3L Ultrasonic Cleaner (Model MH-020S):
| Feature | Specification |
|---|---|
| Model Number | MH-020S |
| Capacity | 3L |
| Ultrasonic Frequency | 40kHz |
| Ultrasonic Power | 120W |
| Heating Power | 100W |
| Temperature Range | Room Temperature (RT) to 80°C (176°F) |
| Timer Settings | 0-30 minutes (Digital) |
| Inner Tank Material | 304 Stainless Steel |
| Product Weight | 3.7kg / 7.98 pounds |
| Package Dimensions | 12.25 x 11 x 8.25 inches |
| Manufacturer | VUA |
10. Warranty and Support
Specific warranty details for the VUA 3L Ultrasonic Cleaner are not provided in this document. For warranty information, technical support, or service inquiries, please contact the manufacturer or your point of purchase. Keep your purchase receipt as proof of purchase.