
1. Introduction
Thank you for choosing the Kooper Vintage Double Door Refrigerator. This appliance combines ample storage capacity with reliable performance and a functional design. Constructed from cold-rolled steel, it ensures durability and longevity. This manual provides important information for the safe installation, operation, and maintenance of your refrigerator. Please read it thoroughly before use and keep it for future reference.
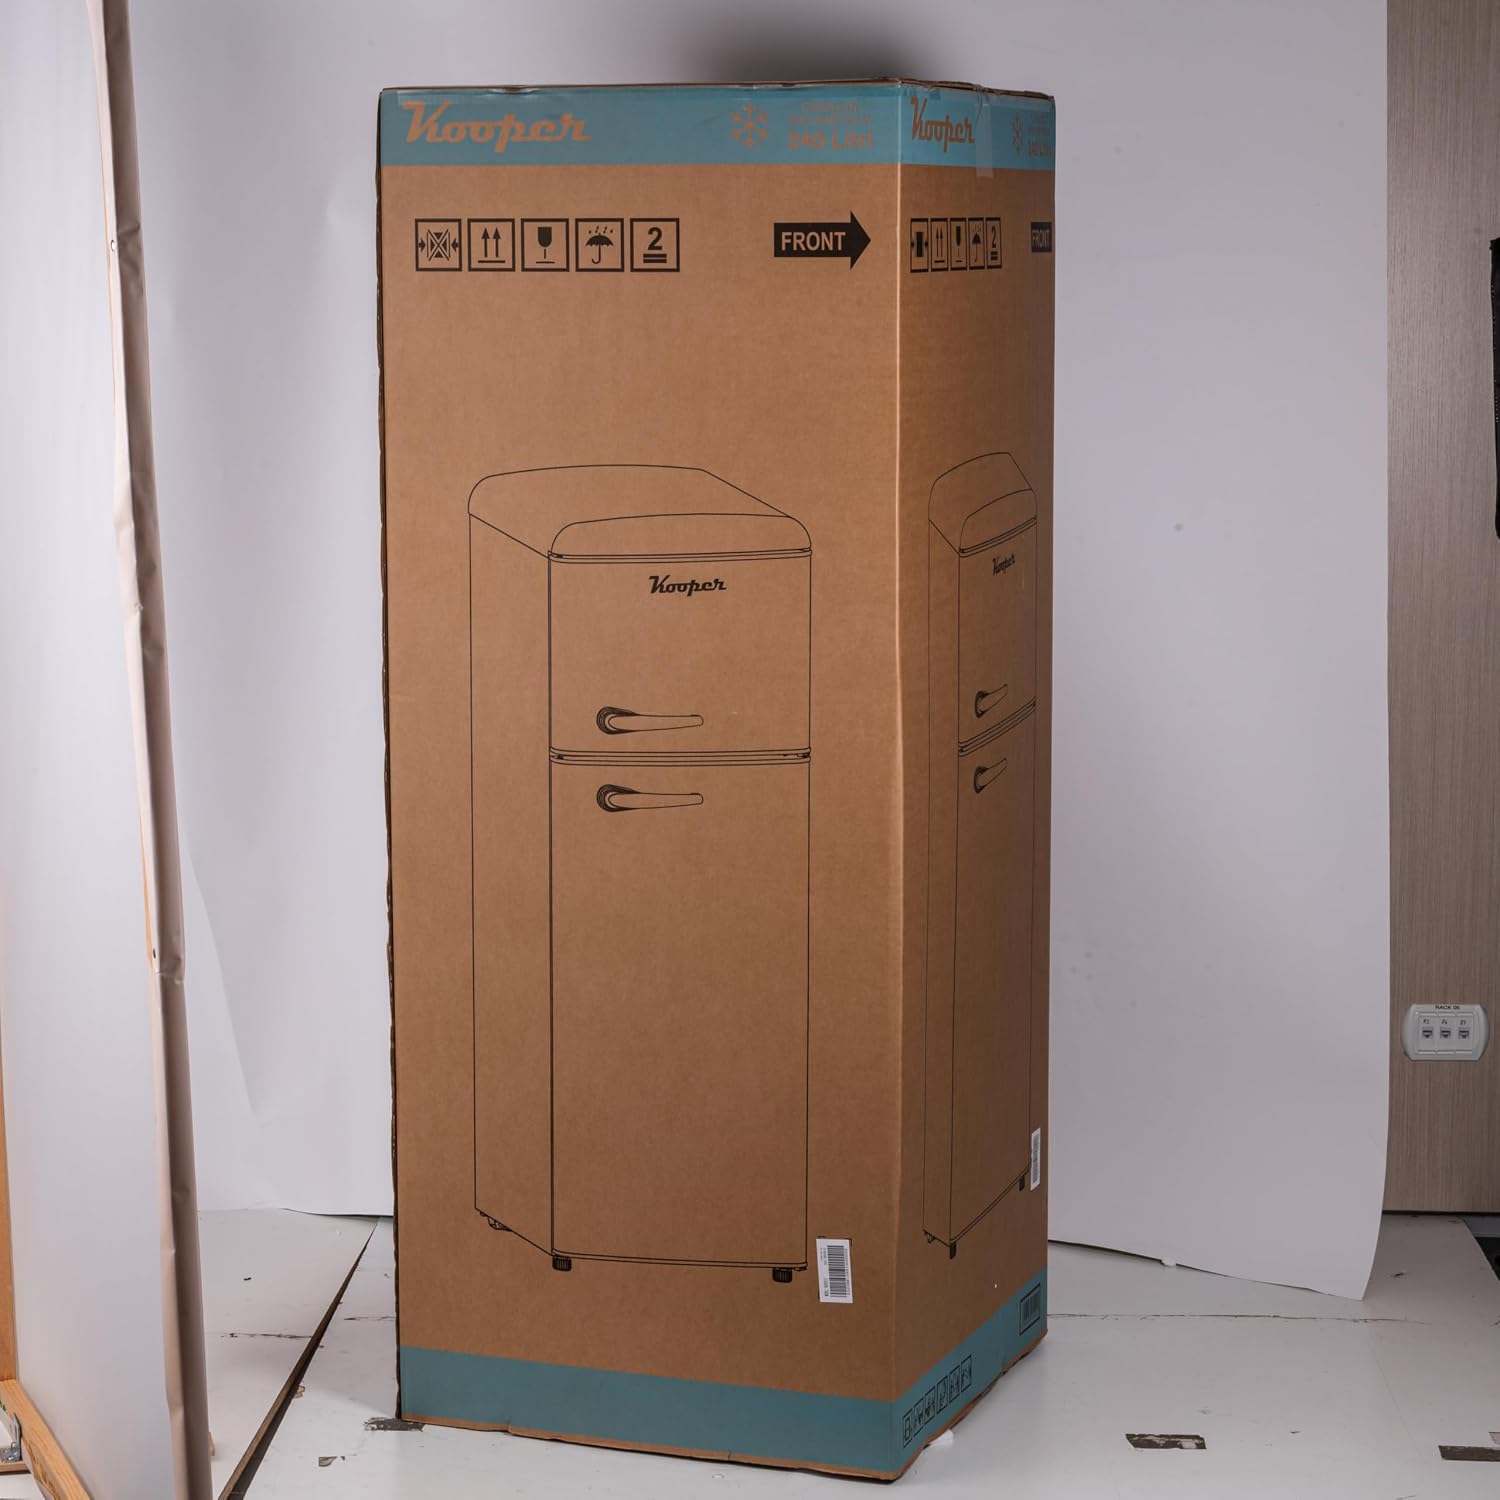
Image 1.1: Front view of the Kooper Vintage Double Door Refrigerator.
2. Safety Instructions
Always follow basic safety precautions when using electrical appliances to reduce the risk of fire, electric shock, or injury.
- Electrical Safety: Ensure the refrigerator is connected to a properly grounded outlet. Do not use extension cords or adapters. Disconnect power before cleaning or performing maintenance.
- Refrigerant: This appliance uses R600A refrigerant. Handle with care. Do not damage the refrigerant circuit.
- Ventilation: Ensure adequate air circulation around the appliance. Maintain a minimum clearance of 10 cm (4 inches) from walls and other objects.
- Placement: Place the refrigerator on a firm, level surface away from direct sunlight, heat sources, and moisture.
- Children: Keep packaging materials out of reach of children. Supervise children to ensure they do not play with the appliance.
- Disposal: Dispose of the appliance according to local regulations for refrigerants and flammable insulation gases.
3. Setup
3.1 Unpacking
Carefully remove the refrigerator from its packaging. Inspect for any damage during transit. Keep all packaging materials until you are satisfied with the product.

Image 3.1: The refrigerator as it appears in its packaging box.
3.2 Placement and Leveling
Position the refrigerator on a flat, stable floor. Use the two adjustable front feet to level the appliance. The two rear wheels assist with positioning. Ensure sufficient space for door opening and proper ventilation.
3.3 Initial Cleaning
Before first use, clean the interior and exterior of the refrigerator with a soft cloth and mild detergent. Rinse with clean water and dry thoroughly.
3.4 Power Connection
After placement and cleaning, wait at least 2-4 hours before plugging the refrigerator into a power outlet. This allows the refrigerant to settle. Connect to a dedicated, grounded 220-240V AC power supply.
3.5 Door Reversal (Optional)
The refrigerator door is reversible. If you wish to change the door's opening direction, refer to the detailed instructions in the full PDF manual for the necessary steps and tools.
4. Operating Instructions
4.1 Temperature Control
The refrigerator features adjustable temperature settings for both the fridge and freezer compartments.
- Refrigerator Compartment: The temperature can be adjusted from 0°C to +10°C. Use the internal thermostat dial to set the desired cooling level.
- Freezer Compartment: The temperature can be adjusted from 0°C to -18°C.

Image 4.1: Interior view of the refrigerator showing the temperature control dial.
4.2 Storage Guidelines
The refrigerator is equipped with two adjustable glass shelves and three plastic door balconies for organized storage. A plastic fruit drawer is provided for fresh produce.

Image 4.2: Interior view showing adjustable glass shelves and door balconies.
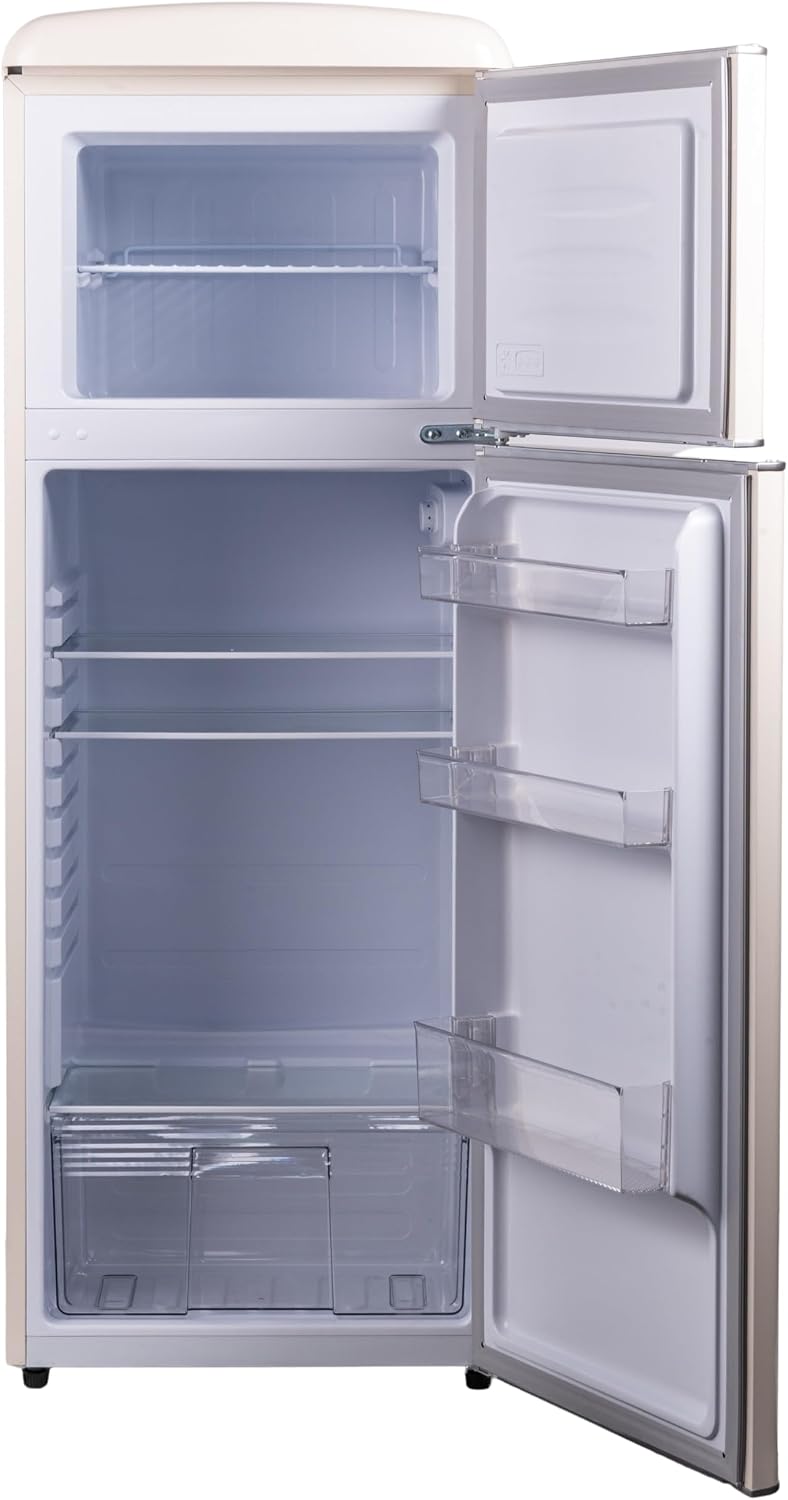
Image 4.3: Interior view showing the fruit and vegetable drawer.
4.3 Internal Light
The refrigerator compartment is equipped with an internal light for improved visibility.
5. Maintenance
5.1 Manual Defrosting
This refrigerator features manual defrosting. When ice buildup in the freezer compartment reaches approximately 5mm (0.2 inches) thick, it is recommended to defrost the unit. To defrost:
- Unplug the refrigerator from the power outlet.
- Remove all food items and store them in a cool place.
- Leave the freezer door open to allow ice to melt naturally. Do not use sharp objects or heating devices to speed up defrosting.
- Once all ice has melted, clean and dry the interior thoroughly.
- Plug the refrigerator back in and return food items after the temperature has stabilized.
5.2 Cleaning
Regularly clean the interior and exterior surfaces with a mild detergent and soft cloth. Avoid abrasive cleaners or solvents. Clean the door seals periodically to ensure a tight seal.
5.3 Power Saving Tips
- Do not place hot food directly into the refrigerator.
- Avoid opening the doors too frequently or for extended periods.
- Ensure the door seals are clean and intact.
- Defrost the freezer regularly to prevent excessive ice buildup.
6. Troubleshooting
Before contacting customer service, check the following common issues:
| Problem | Possible Cause | Solution |
|---|---|---|
| Refrigerator not cooling | Power outage; Plug not inserted; Temperature setting too high; Door left open. | Check power supply; Ensure plug is secure; Adjust thermostat to a lower setting; Close door properly. |
| Excessive noise | Appliance not level; Objects touching the back; Compressor noise (normal). | Adjust leveling feet; Ensure clearance from walls; Compressor noise is normal during operation. |
| Water on floor | Drain hole blocked; Door not sealed properly. | Clear drain hole; Check door seal for obstructions. |
| Internal light not working | Bulb faulty; No power. | Replace bulb (if accessible); Check power supply. |
7. Specifications
| Feature | Specification |
|---|---|
| Model Number | 5925512 |
| Brand | GALILEO (Kooper) |
| Type | Vintage Double Door Refrigerator |
| Color | Ivory |
| Total Volumetric Capacity | 240 Liters |
| Total Effective Capacity | 208 Liters |
| Freezer Capacity | 43 Liters |
| Dimensions (D x W x H) | 55P x 56l x 149H cm (54.6 x 55.4 x 148.7 cm) |
| Energy Class | E |
| Annual Energy Consumption | 176 kWh/annum |
| Noise Level | 42 dB |
| Refrigerant Type | R600A (58g) |
| Defrost System | Manual |
| Shelves | 2 adjustable glass shelves |
| Door Balconies | 3 plastic door balconies |
| Fruit Drawer | 1 plastic (PS) fruit drawer |
| Climate Class | ST |
7.1 Energy Label

Image 7.1: Energy efficiency label for the Kooper refrigerator.
For more details, refer to the official EU EPREL database: https://eprel.ec.europa.eu/qr/2410042
8. Warranty and Support
This product comes with a standard manufacturer's warranty. For specific warranty terms, conditions, and duration, please refer to the documentation provided with your purchase or contact GALILEO customer support.
For further assistance, technical support, or to report any issues, please contact the manufacturer or your retailer.
A detailed PDF instruction manual is available for download: Download User Manual (PDF)
