
1. Setup and Initial Configuration
1.1 Unpacking and Inspection
Carefully remove the backpack from its packaging. Inspect all components for any signs of damage. Ensure all included accessories, such as dividers and straps, are present.
1.2 Adjusting the AceFrame Suspension System
The backpack features a Mountaineering-Grade AceFrame Suspension System designed for comfort and breathability. Proper adjustment is crucial for weight distribution and reducing fatigue.
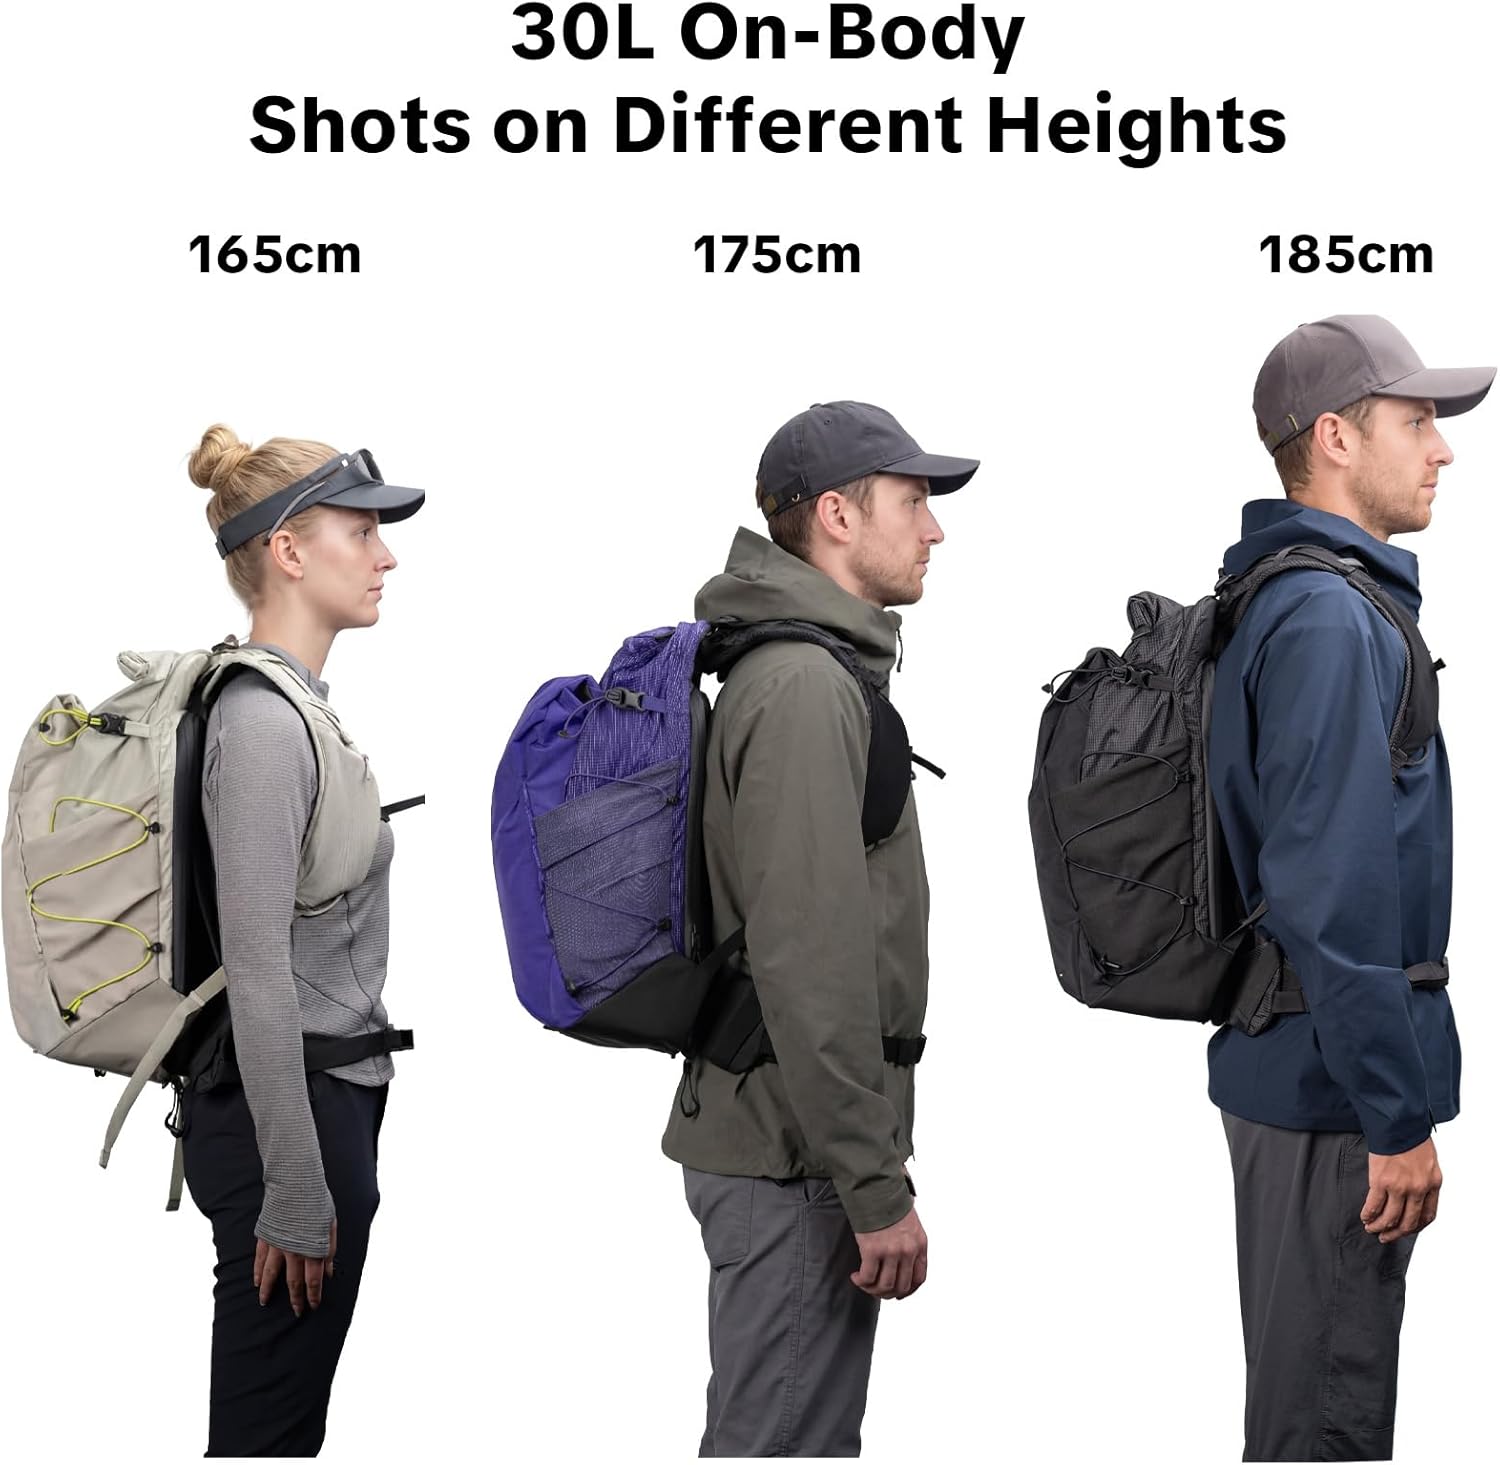
- Adjustable Back Length: For the 30L model, the back length is adjustable between 48-51cm. Locate the adjustment mechanism on the back panel and slide it to fit your torso length.
- Padded Wide Shoulder Straps: Adjust the shoulder straps to ensure the backpack sits comfortably on your back, distributing weight evenly across your shoulders.
- Detachable Lightweight Waist Belt: Secure the waist belt around your hips. This belt helps transfer weight from your shoulders to your hips, enhancing comfort during extended wear. It can be detached if not needed.
- Adjustable Chest Strap: Fasten the chest strap across your sternum and adjust its height and tension to stabilize the backpack and prevent swaying.


1.3 Configuring Internal Dividers
The backpack includes removable dividers to customize the internal compartment for various gear configurations. These dividers use strong Velcro for secure placement.
- Arrange the dividers to create compartments suitable for your camera body, lenses, and other accessories.
- The inner compartment can be configured for imaging creation (e.g., 2 cameras + 3 lenses), hiking photography (e.g., 1 camera + 2 lenses), or leisure hiking (daily essentials/clothing).
- The entire inner compartment can be removed to convert the backpack into a general-purpose daypack.

2. Operating the Backpack
2.1 Accessing Your Gear
- 180° Full-Access Rear Panel: The main compartment opens fully from the back, providing complete visibility and easy access to all your stored equipment.
- Side Access Window: For quick retrieval of your camera, use the zippered side access window on the left. This allows you to grab your camera without fully removing the backpack.

2.2 Expanding Storage Capacity
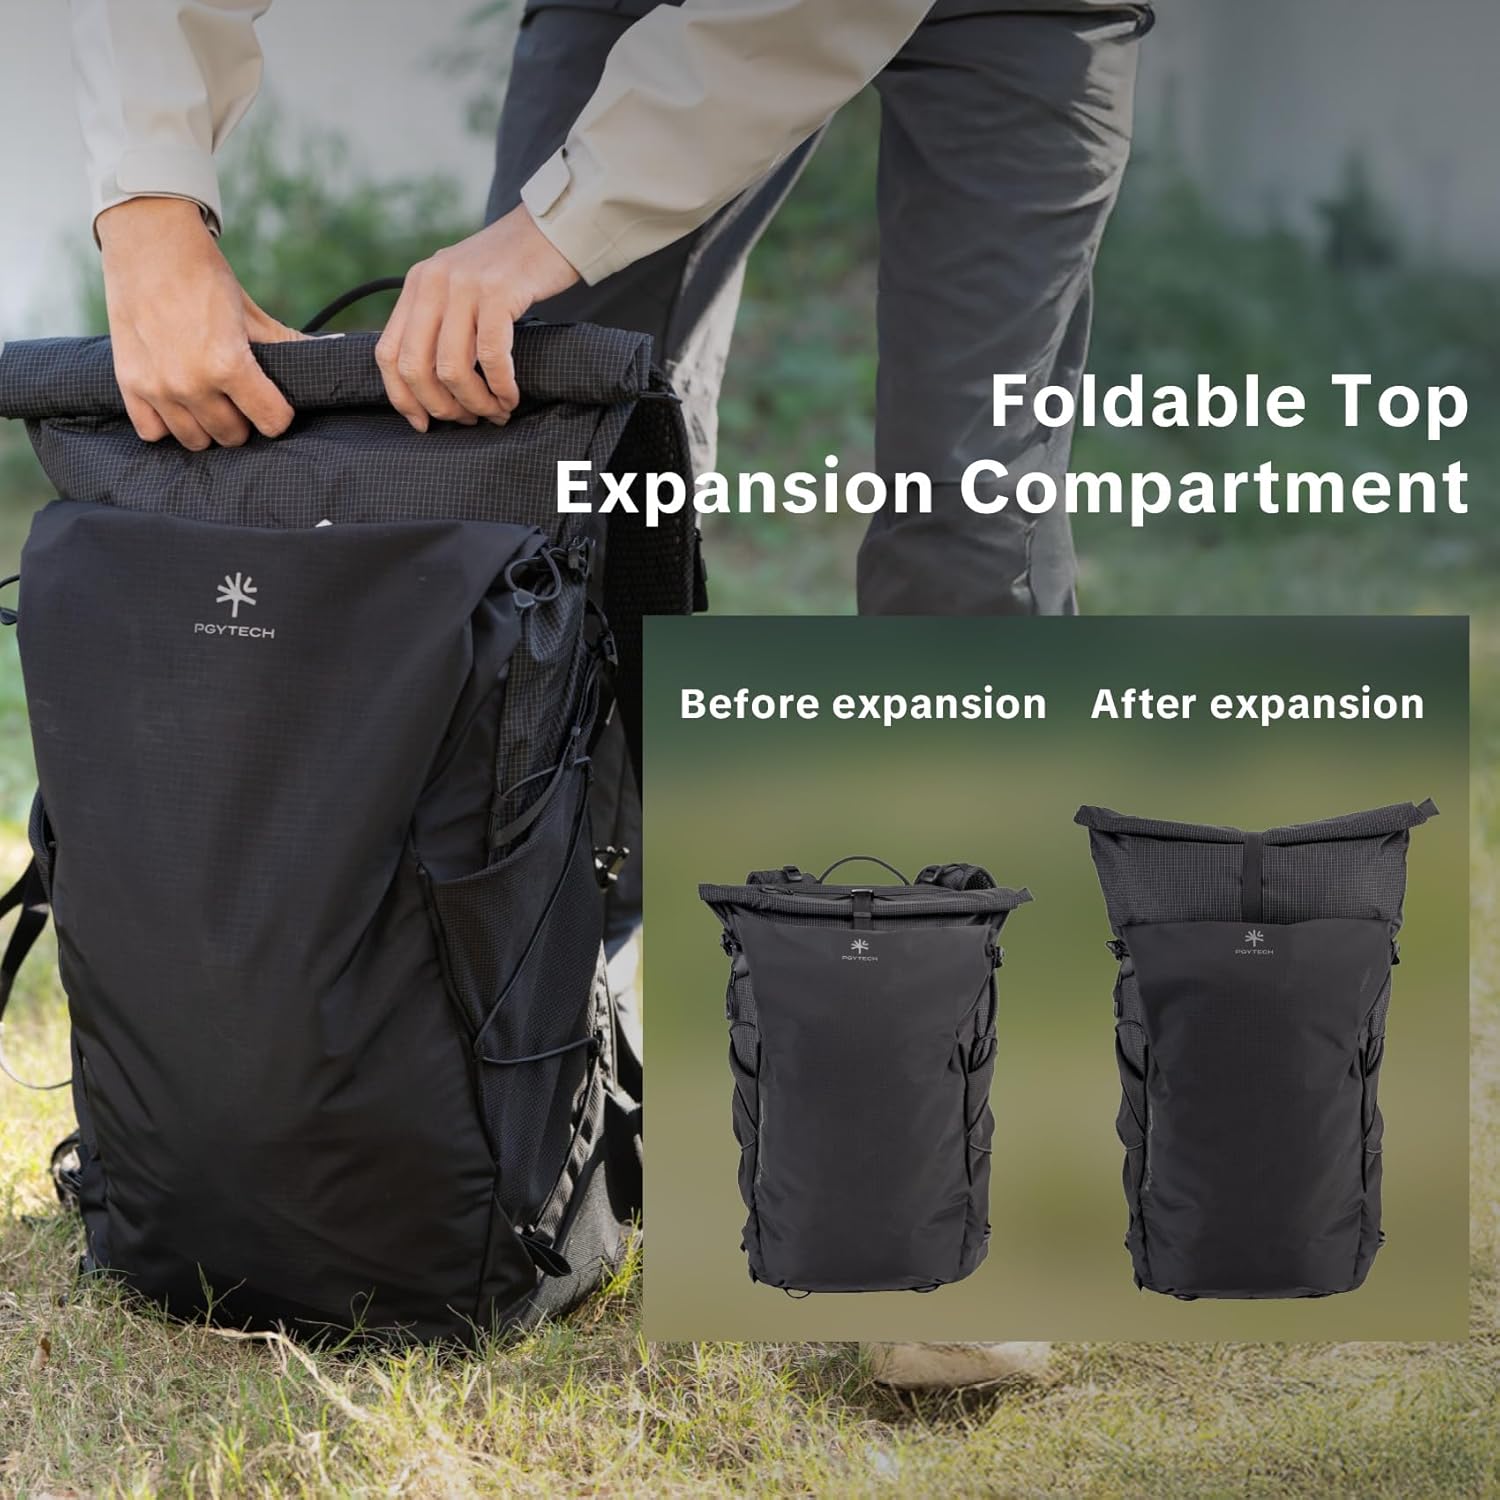
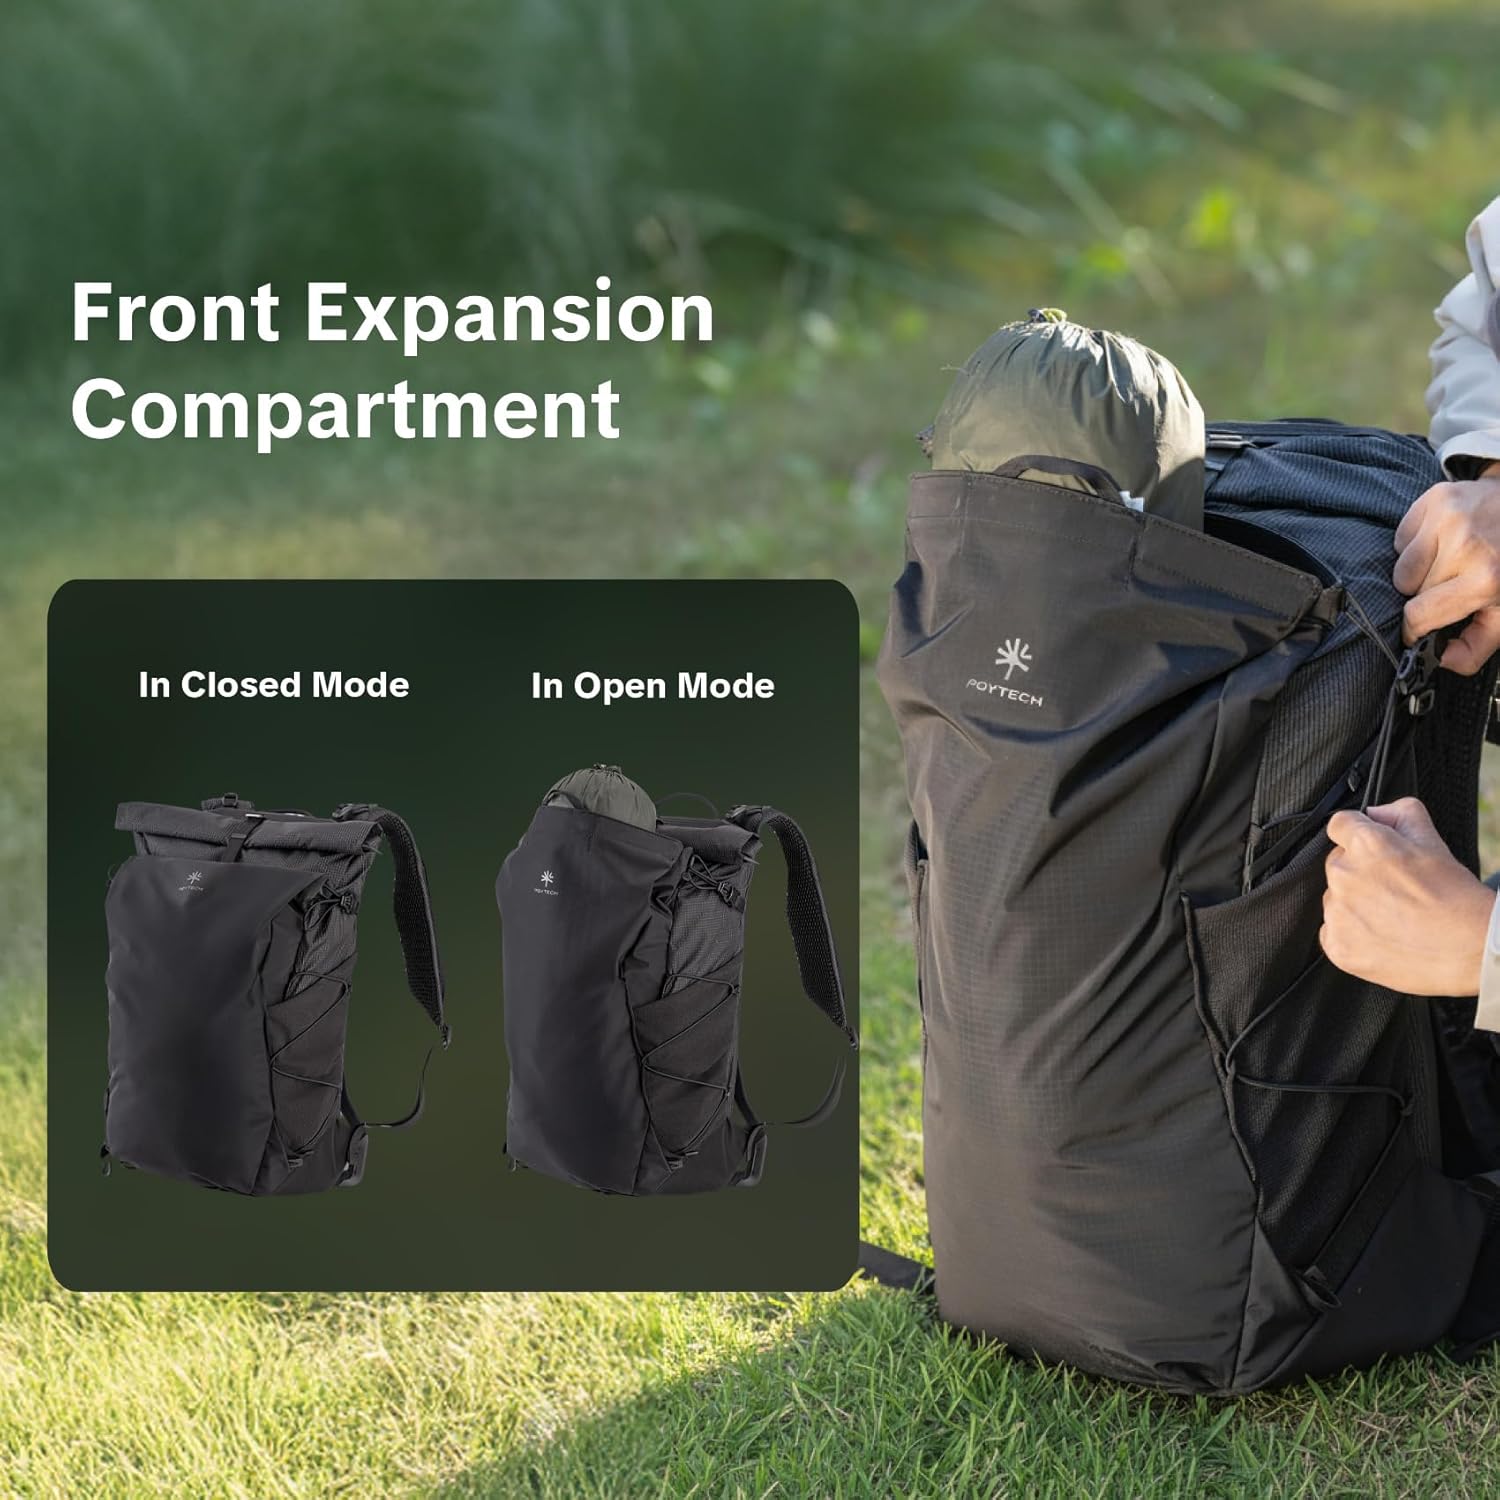
- Front Expansion Compartment: The front kangaroo-style pocket can be used in a closed mode for compact items or expanded to store larger gear like a gimbal or hydration pack.
- Foldable Top Expansion Compartment: The roll-top section provides additional storage capacity, expanding the backpack by approximately 7 liters for extra clothing or gear.

2.3 External Attachment Points
- Shoulder Strap Attachments: Quick-release camera clips can be attached to the shoulder straps for convenient camera access.
- Side Attachments: Trekking poles can be secured to the side of the backpack.
- Bottom Attachment Points: Use the included compression straps to secure tripods or other items to the bottom of the backpack.

2.4 Dedicated Storage Areas
- Laptop Compartment: The 30L backpack includes a dedicated sleeve for a 16-inch laptop, located within the rear access panel.
- Battery Storage Pouch: A signature battery storage pouch with clear charge level indicators helps you keep track of your battery status.
- Top Pocket: An independent top-mounted pocket is suitable for storing small items like phone charging cables.
- Rain Cover Pocket: A separate small pocket at the bottom stores the included rain cover (30L/40L models only).
- Front Mesh Pocket: The front mesh pocket can hold power banks and other small items.
- External Side Pockets: Two external side pockets are designed to hold water bottles or additional tripods.


2.5 Official Product Video
3. Maintenance
3.1 Cleaning Instructions
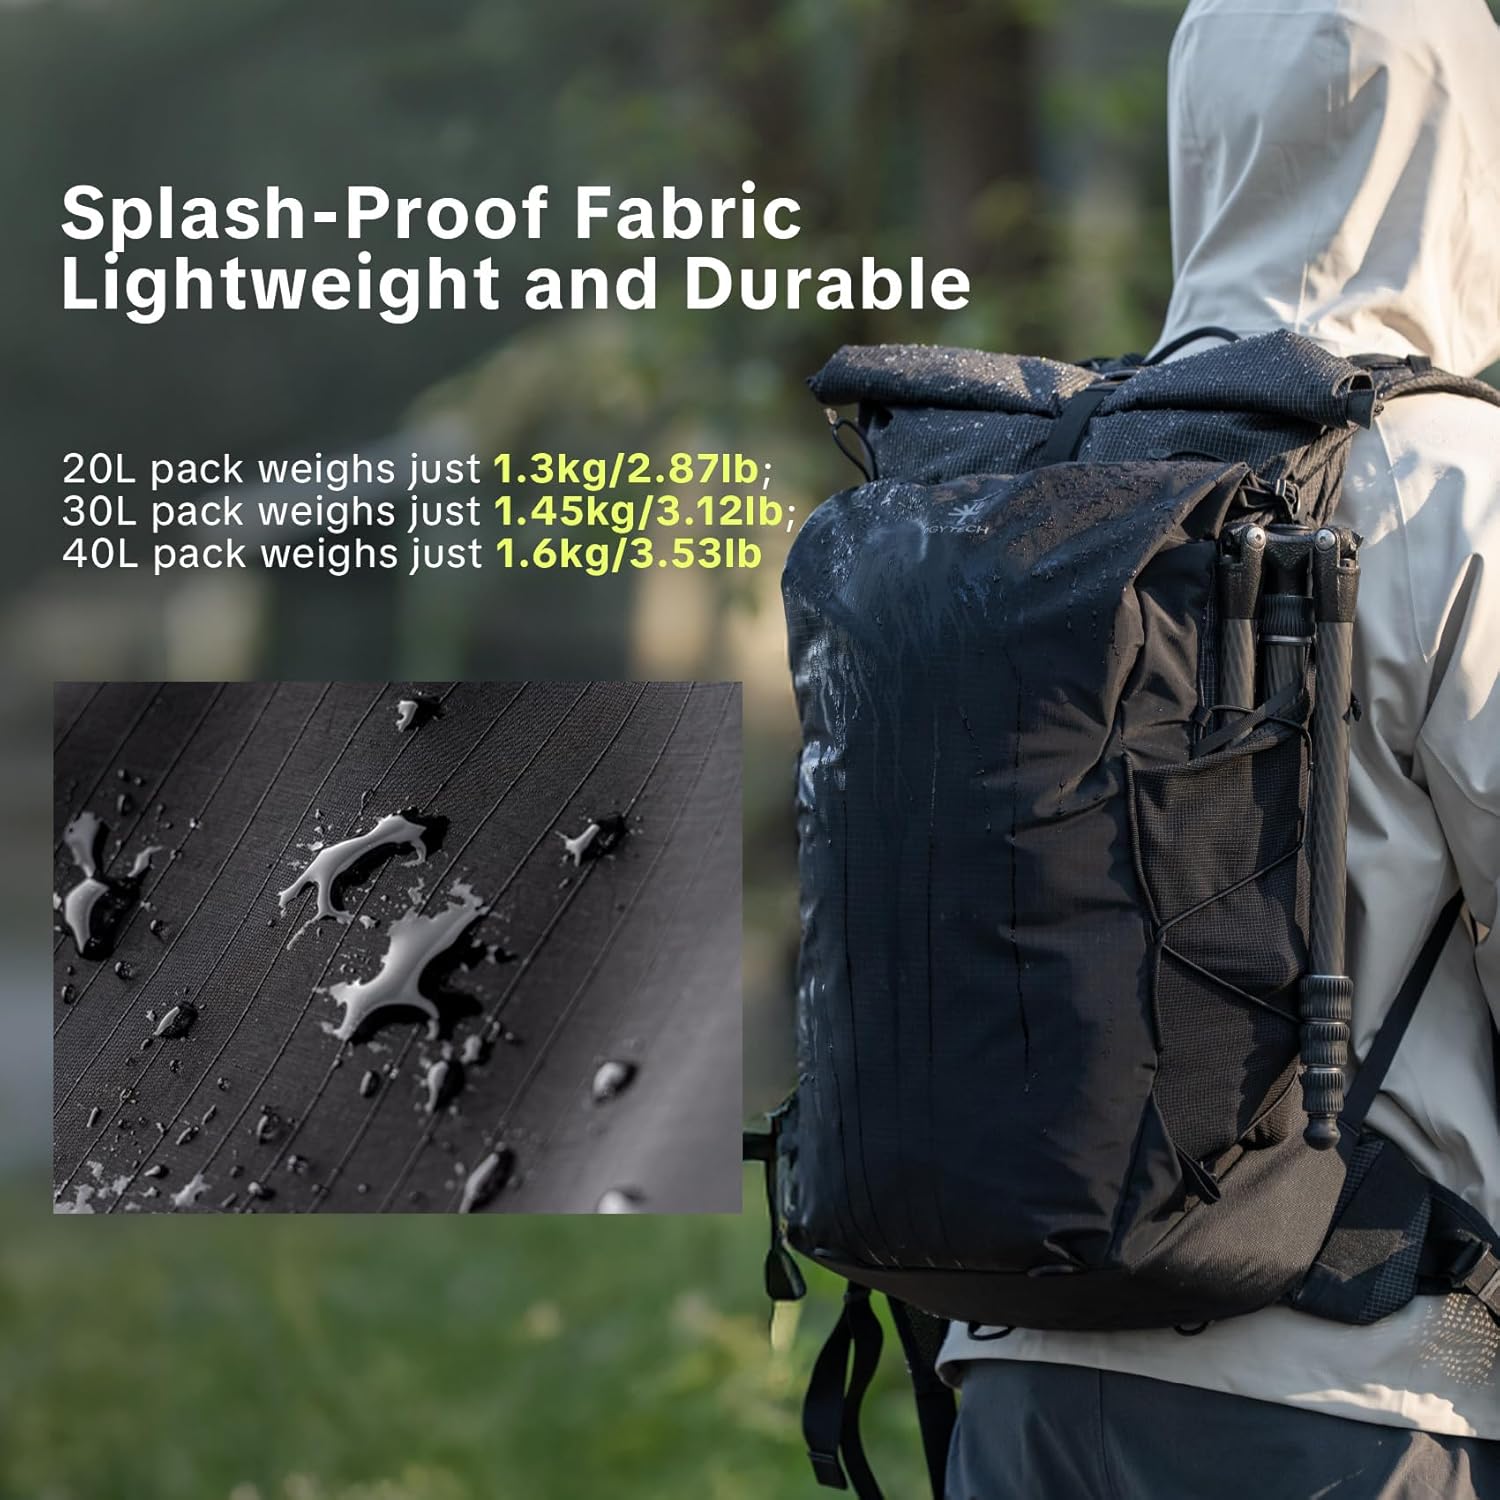
The PGYTECH OnePro Ultralight Camera Backpack is constructed from high-strength nylon blend fabric with splash-proof properties. To maintain its condition:
- For light dirt, wipe the exterior with a damp cloth and mild soap. Avoid harsh detergents or abrasive cleaners.
- For stubborn stains, use a soft brush with mild soap and water, then rinse thoroughly with clean water.
- Ensure the backpack is completely dry before storing to prevent mildew. Air dry in a shaded area; do not use a machine dryer or direct heat.
- Clean zippers regularly to ensure smooth operation.
3.2 Storage
When not in use, store the backpack in a cool, dry place away from direct sunlight. Avoid compressing the backpack with heavy objects to maintain its shape and structural integrity.
4. Troubleshooting
4.1 Zipper Stiffness or Snagging
The backpack features YKK water-resistant zippers, which may feel stiffer than standard zippers due to their design. If a zipper becomes difficult to move or snags:
- Lubrication: Apply a small amount of zipper lubricant or a graphite pencil to the zipper teeth.
- Clear Obstructions: Ensure no fabric or debris is caught in the zipper path.
- Gentle Operation: Operate the zipper slowly and evenly. Avoid forcing it.

4.2 Divider Instability
If internal dividers do not hold their position securely:
- Ensure Full Contact: Press the Velcro strips of the dividers firmly against the interior fabric to ensure maximum adhesion.
- Proper Placement: Verify that the dividers are correctly aligned and fully engaged with the loop fabric inside the backpack.
- Avoid Overloading: Do not place excessive weight or pressure on individual dividers, as this can cause them to detach.
4.3 Discomfort During Wear
If the backpack feels uncomfortable after adjusting the suspension system:
- Re-adjust Torso Length: Re-evaluate the adjustable back length setting to ensure it matches your torso.
- Load Distribution: Ensure the heaviest items are packed closest to your back and centered.
- Waist Belt Position: The waist belt should sit comfortably on your hip bones, not around your waist.
- Shoulder Strap Tension: Adjust shoulder strap tension to lift the pack slightly off your shoulders, allowing the hip belt to bear most of the weight.
5. Specifications
| Feature | Detail |
|---|---|
| Model Name | OnePro Ultralight Camera Backpack |
| Model Number | P-CB-413 |
| Capacity | 30 Liters (expandable) |
| Color | Space Black |
| Net Weight (30L) | 1.45kg / 3.12lb (excluding dividers and straps) |
| Material Type | Nylon Blend (Outer), Polypropylene (PP) |
| Water Resistance Level | Water Resistant |
| Backpack Design | Framed Backpack (AceFrame Suspension System) |
| Laptop Compatibility | Up to 16-inch laptop |
| Number of Compartments | 10 |
| Number of Pockets | 8 |
| Recommended Uses | Leisure, Travel, Hiking, Trekking |
6. Warranty Information
PGYTECH products are designed for durability and performance. For specific warranty terms and conditions, please refer to the official PGYTECH website or contact customer support. Keep your proof of purchase for any warranty claims.
7. Support
For further assistance, technical support, or inquiries regarding your PGYTECH OnePro Ultralight Camera Backpack, please visit the official PGYTECH website or contact their customer service department. Contact details can typically be found on the product packaging or the official website.


