
1. Introduction
This BTF-LIGHTING 5V 30A 150W Power Supply Adapter is designed to provide a stable 5V DC output from a universal AC input. It is suitable for a wide range of 5V devices requiring between 1A and 30A of current, with a maximum power output of 150W.
The adapter features a universal input voltage range of 100-240V AC (50/60Hz) and maintains a stable output voltage regulation of ±10% (4.5V to 5.5V).
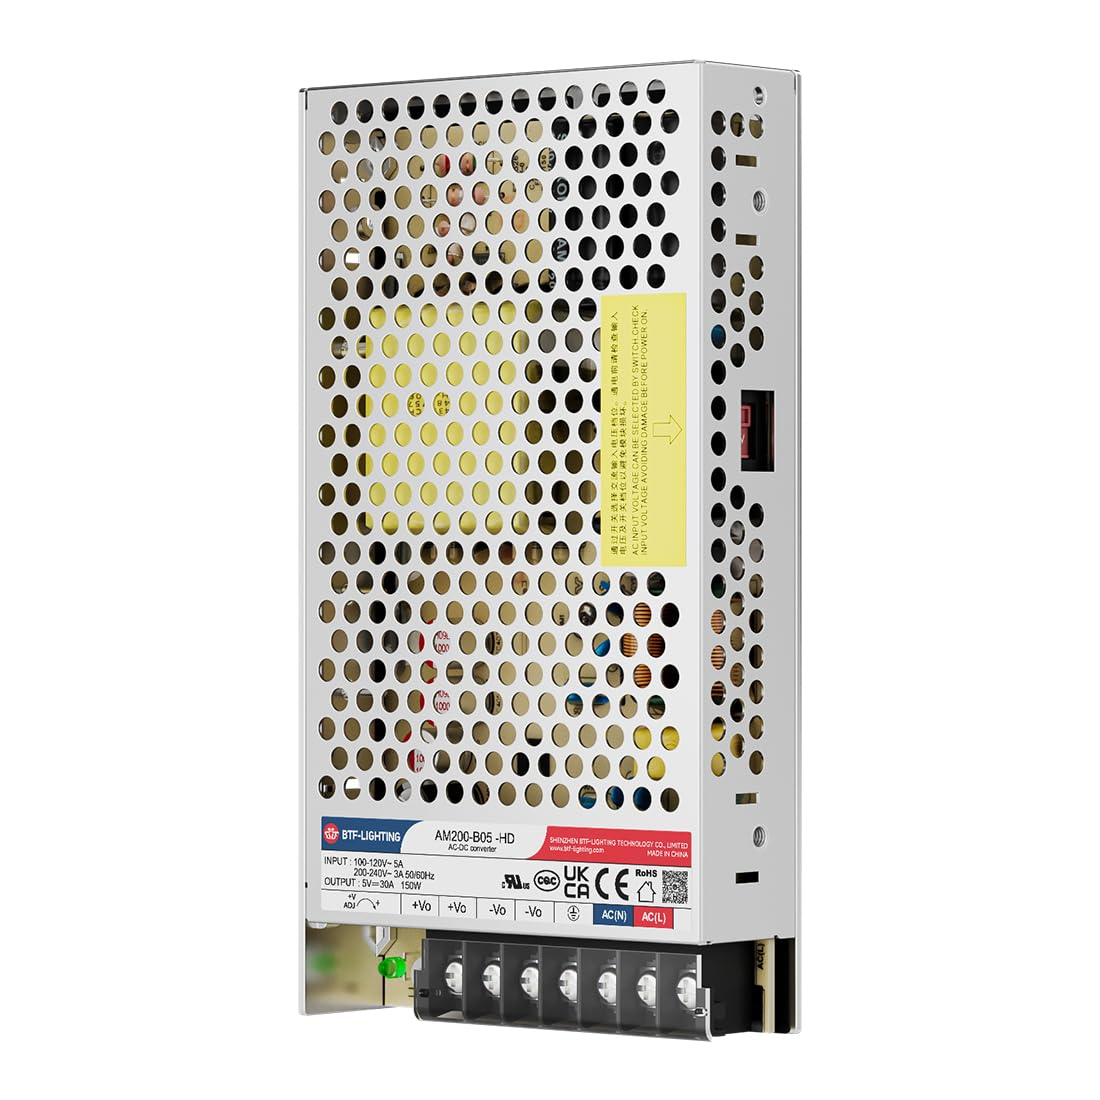
Image 1.1: BTF-LIGHTING 5V 30A 150W Power Supply Adapter.
2. Safety Information
This power supply is a UL Recognized Component (File Number E551185), ensuring compliance with rigorous North American safety standards. It incorporates a multi-protection safety system to safeguard against various electrical hazards.
- Overload Protection: Automatically shuts down if the connected load exceeds the rated capacity.
- Over-voltage Protection: Prevents damage from excessive voltage output.
- Over-temperature Protection: Protects the unit from overheating.
- Short Circuit Protection: Safeguards against short circuits in the output.
- Grounded Protection: Ensures electrical safety through proper grounding.
The fanless design, featuring a perforated aluminum case, facilitates efficient and silent heat dissipation, contributing to quiet operation and extended product life.
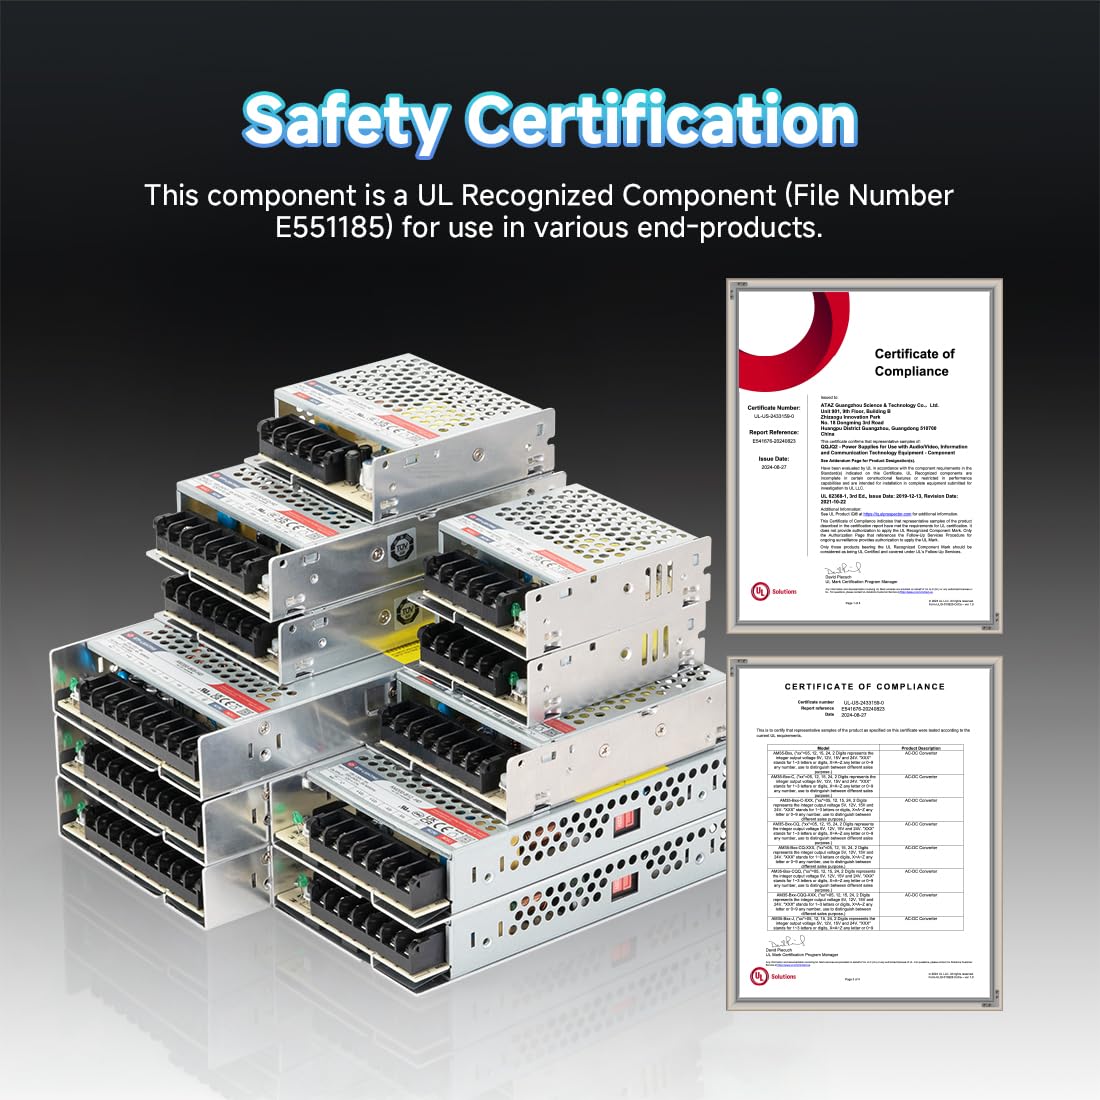
Image 2.1: Safety Certification details, indicating UL Recognized Component status.
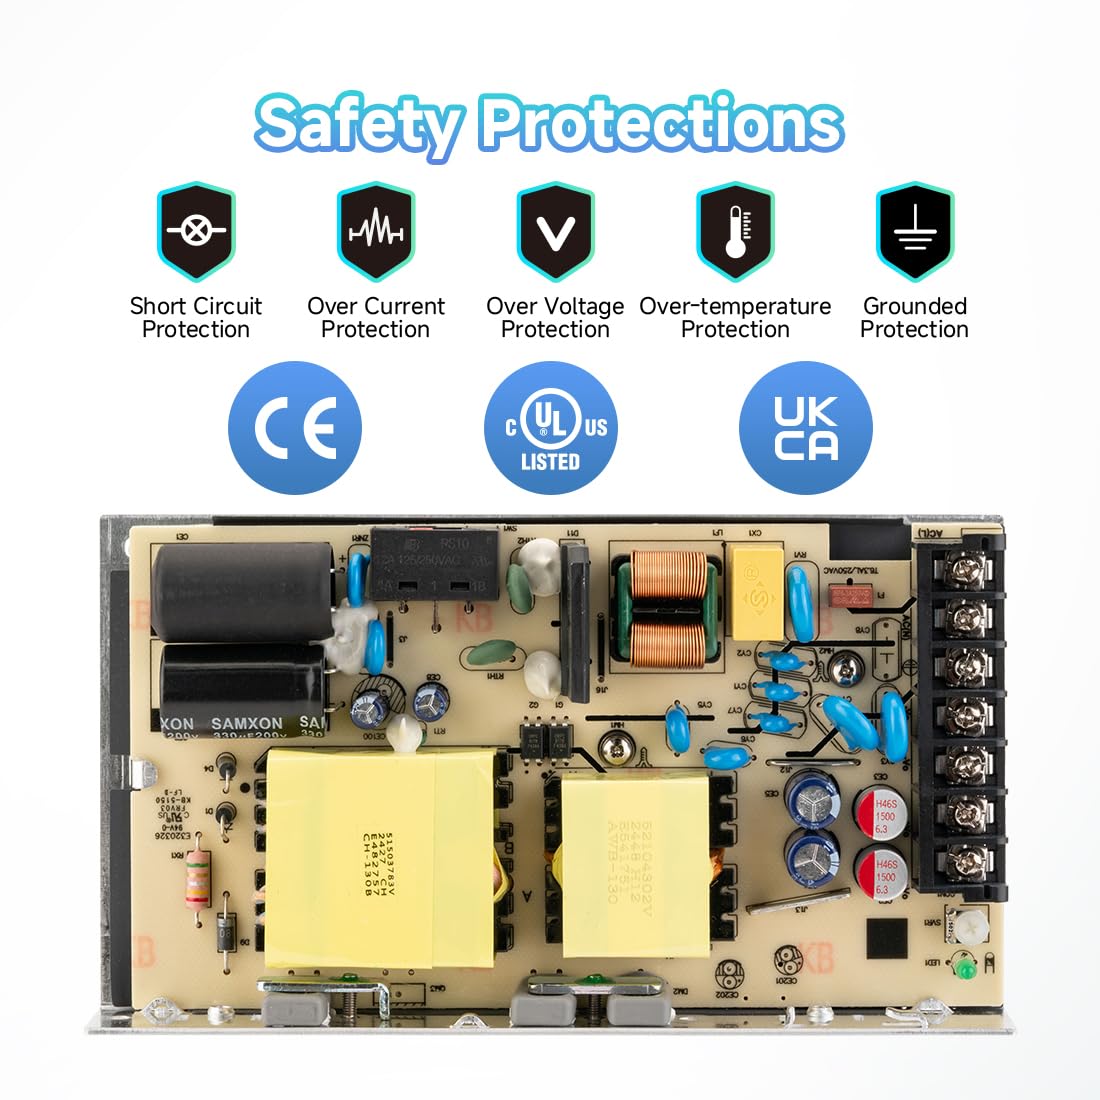
Image 2.2: Overview of the safety protection features including Short Circuit, Over Current, Over Voltage, Over-temperature, and Grounded Protection.
3. Product Features and Details
The power supply unit is designed with user-friendly interfaces and robust construction for reliable performance.
- AC Input Terminals: For connecting the main AC power (100-240V).
- Ground Wire Terminal: For safety grounding.
- DC Output Terminals: Positive (+Vo) and Negative (-Vo) terminals for 5V DC output.
- Output Voltage Fine-tuning Knob (ADJ): Allows for minor adjustments to the output voltage (range: 4.4V-5.5V).
- Indicator Light: Illuminates when the power supply is functioning correctly.
- Heat Dissipation Holes: Perforated aluminum casing for effective heat management.
- Fixed Screw Holes: For secure mounting of the unit.
- Input Voltage Selector Switch: Allows selection between AC 115V and AC 230V input.
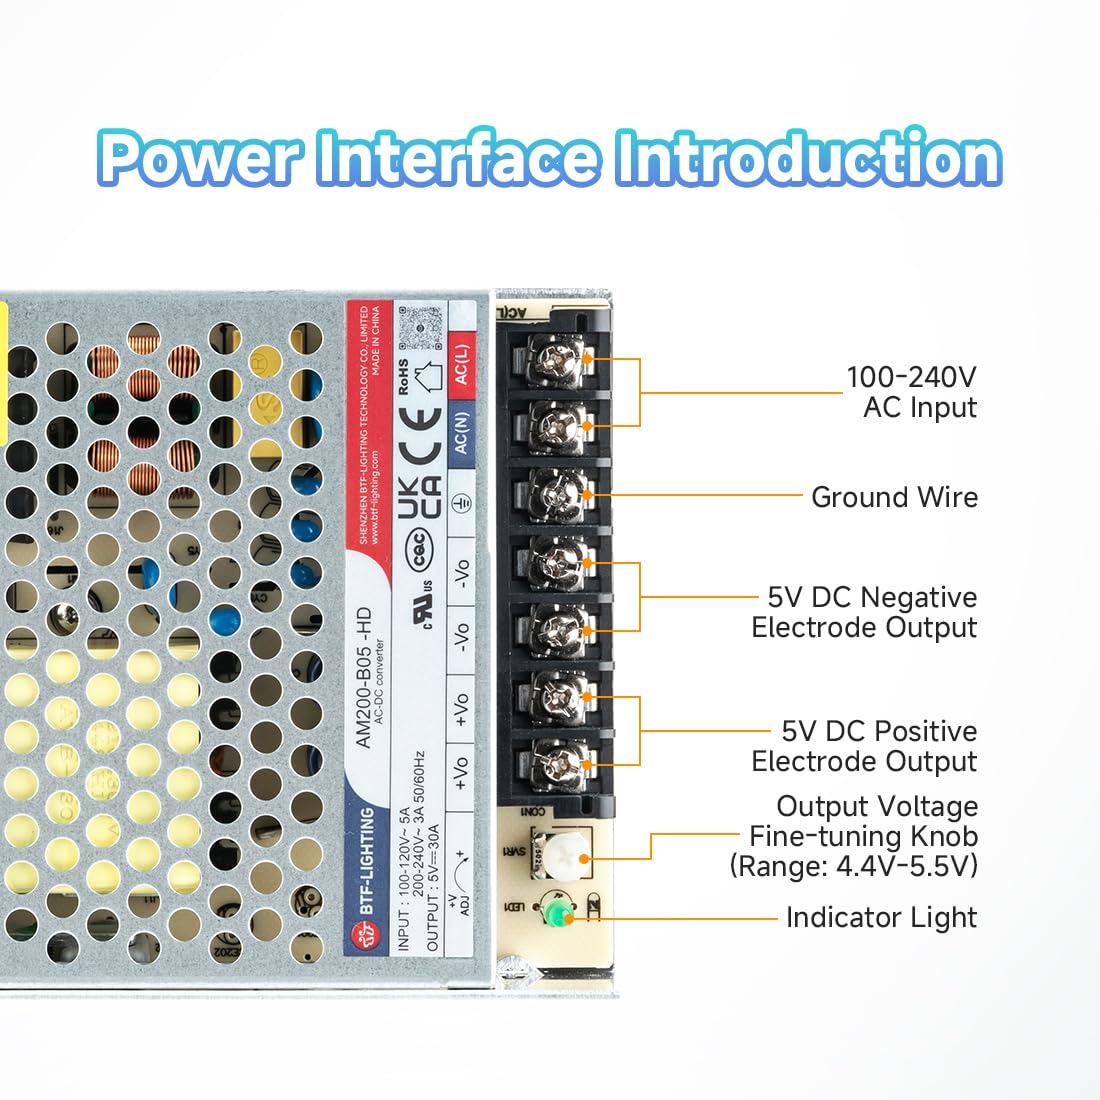
Image 3.1: Detailed view of the power interface, showing AC input, ground, DC output, voltage adjustment knob, and indicator light.

Image 3.2: Close-up details of the heat dissipation holes, fixed screw holes, output voltage fine-tuning knob, and input voltage selector switch.

Image 3.3: Illustration of the aluminum shell cooling system, highlighting effective heat dissipation.
4. Setup and Installation
Before installation, ensure the power supply is disconnected from any power source. Installation should be performed by qualified personnel to ensure safety and proper functionality.
4.1 Input Voltage Selection
The power supply has an input voltage selector switch. The default setting is AC 230V. You must adjust this switch according to your local power supply voltage (AC 115V or AC 230V) before connecting the unit to power.

Image 4.1: Locate the red input voltage selector switch on the side of the unit and set it to the appropriate voltage (115V or 230V) for your region.
4.2 Wiring Instructions
Follow these steps for safe and correct wiring:
- Set Input Voltage: According to your local power supply, use your hand or a screwdriver to toggle the input voltage selector switch to AC 115V or AC 230V.
- Connect AC Input: Use a screwdriver to loosen the screws on the input and ground terminals. Insert the AC live (L) and neutral (N) wires, and the ground wire, then tighten the screws securely. A 3-prong AC power cord is required but not included.
- Connect DC Output: Loosen the screws on the output terminals (+Vo and -Vo). Insert the positive and negative DC wires for your device, then tighten the screws.
- Verify Connections: Double-check that all connections are correct and that all screws are tightened to prevent loose connections and potential hazards.
- Secure Terminal Cover: Align the terminal cover with the slots and press down to secure. This protects the wires and terminal screws.
- Power On: Connect the AC power cord to a wall outlet. Power on the unit and check if the power indicator light is functioning properly.

Image 4.2: Visual guide for the six-step installation process, from voltage selection to power-on.

Image 4.3: Example wiring diagram showing AC input and DC output connections to a controller and LED strip.
5. Operating Instructions
Once properly installed and wired, the power supply is ready for operation. Ensure that your connected device operates at 5V and has a power consumption below 150W.
To ensure optimal performance and extend the product's service life, it is recommended to operate the power supply within 80% of its maximum capacity (i.e., 120W or less for this 150W model). Exceeding this limit may lead to overheating and significantly shorten the lifespan of the power supply.
The output voltage can be fine-tuned using the 'ADJ' knob if minor adjustments within the 4.4V to 5.5V range are required for your specific application.
6. Maintenance
To ensure long-term reliability and performance of your power supply, consider the following maintenance guidelines:
- Keep Clean: Periodically clean the exterior of the power supply with a dry, soft cloth to prevent dust accumulation, especially on the perforated casing, which can impede heat dissipation.
- Ensure Ventilation: Always ensure adequate airflow around the unit. Do not block the heat dissipation holes. Avoid installing the power supply in enclosed spaces without proper ventilation.
- Check Connections: Occasionally inspect the wiring connections to ensure they remain tight and free from corrosion.
- Avoid Moisture: Keep the power supply in a dry environment and protect it from moisture and liquids.
7. Troubleshooting
If you encounter issues with your power supply, try the following troubleshooting steps:
- No Power Indicator Light:
- Check if the AC power cord is securely plugged into both the power supply and the wall outlet.
- Verify that the wall outlet has power.
- Ensure the input voltage selector switch is set correctly (115V or 230V) for your region.
- Device Not Receiving Power:
- Confirm that the DC output wires are correctly connected to your device and are securely tightened.
- Check if your device requires 5V DC and if its power consumption is within the power supply's limits (max 150W, recommended 120W).
- Inspect the DC wires for any damage or breaks.
- Power Supply Overheating:
- Reduce the load connected to the power supply to ensure it is operating within 80% of its maximum capacity.
- Ensure there is adequate ventilation around the unit and that the heat dissipation holes are not obstructed.
- Check ambient temperature; operating in excessively hot environments can lead to overheating.
If problems persist after attempting these steps, please contact customer support.
8. Specifications
| Specification | Value |
|---|---|
| Model Number | AM200-B05-HD |
| Input Voltage | AC 100-240V (50/60Hz) |
| Output Voltage | DC 5V |
| Output Current | 30A (Max) |
| Output Power | 150W (Max) |
| Voltage Regulation | ±10% (4.5V to 5.5V) |
| Safety Certification | UL Recognized Component (RU Mark) |
| Dimensions (L x W x H) | 179mm x 99mm x 30mm (7.05in x 3.9in x 1.18in) |
| Weight | Approximately 500g |
| Cooling Method | Fanless, Perforated Aluminum Case |
| Included Components | 1x Power supply (AC power cord not included) |

Image 8.1: Product dimensions: 179mm (7.05in) length, 99mm (3.9in) width, 30mm (1.18in) height.

Image 8.2: Comparison of different BTF-LIGHTING power supply models, including 5V 30A 150W.
9. Applications
This 5V 30A 150W power supply is versatile and suitable for a wide range of 5V DC devices, including but not limited to:
- LED strips (e.g., WS2812B, SK6812)
- Floodlights and commercial lighting
- CCTV cameras and security systems
- DVR/NVR systems
- Networking equipment (routers, modems)
- 3D printers
- Various audio/video equipment
- Monitor screens

Image 9.1: Examples of wide applications for the power supply, including CCTV cameras, LED strips, and various electronic devices.
10. Warranty and Support
BTF-LIGHTING stands behind the quality of its products. This power supply comes with a 1-year warranty from the date of purchase, covering manufacturing defects and malfunctions under normal use.
For warranty claims, technical assistance, or any questions regarding the product, please contact BTF-LIGHTING customer support through the retailer where the product was purchased or visit the official BTF-LIGHTING store page on Amazon.
Manufacturer Contact Information: Shenzhen Quanzhengtong Technology Co., Ltd.