
1. Important Safety Information
Please read and understand all safety warnings and instructions before assembling, operating, or servicing this pellet grill. Failure to follow these instructions could result in property damage, bodily injury, or even death.
- Outdoor Use Only: This appliance is designed for outdoor use only. Do not operate indoors or in enclosed spaces.
- Clearance to Combustibles: Maintain a minimum distance of 10 feet (3 meters) from combustible materials.
- Fuel Type: Use only food-grade wood pellets specifically designed for pellet grills. Do not use charcoal, lighter fluid, or other fuels.
- Electrical Safety: Ensure the power cord is properly grounded and protected from heat and moisture. Do not operate in wet conditions.
- Hot Surfaces: The grill surfaces become extremely hot during operation. Use heat-resistant gloves and avoid direct contact.
- Children and Pets: Keep children and pets away from the grill at all times.
- Grease Fires: Regularly clean the grease management system to prevent grease fires. In case of a grease fire, turn off the grill and close the lid. Do not use water.
2. Product Overview
The Nexgrill Oakford 875 Pro Pellet Grill offers a versatile outdoor cooking experience with its 8-in-1 cooking system, allowing you to grill, smoke, bake, roast, braise, and warm. Equipped with NEX-fi technology, this grill provides smart control and monitoring via a smartphone app, ensuring precise temperature management for consistent results.
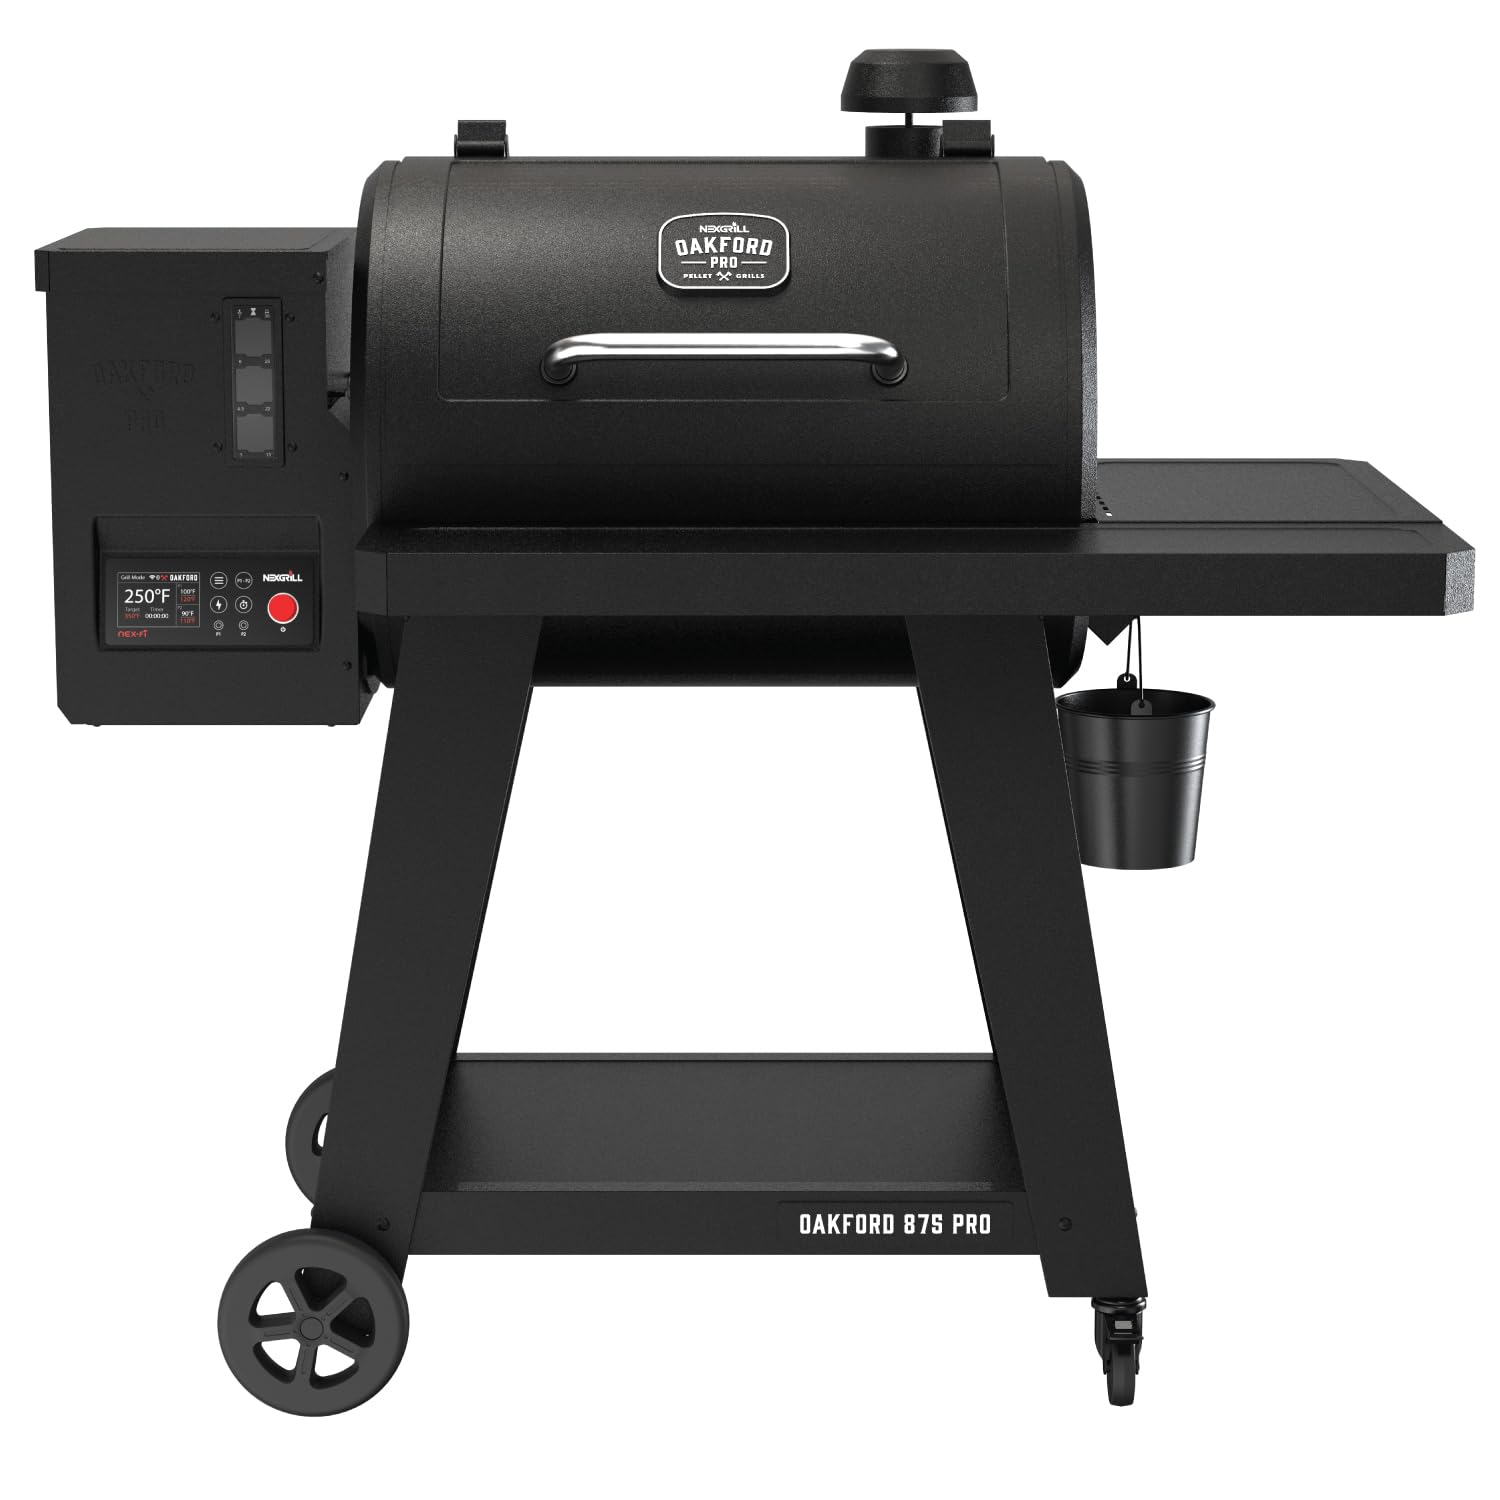
Image: The Oakford 875 Pro Pellet Grill in operation, showcasing its cooking capacity.
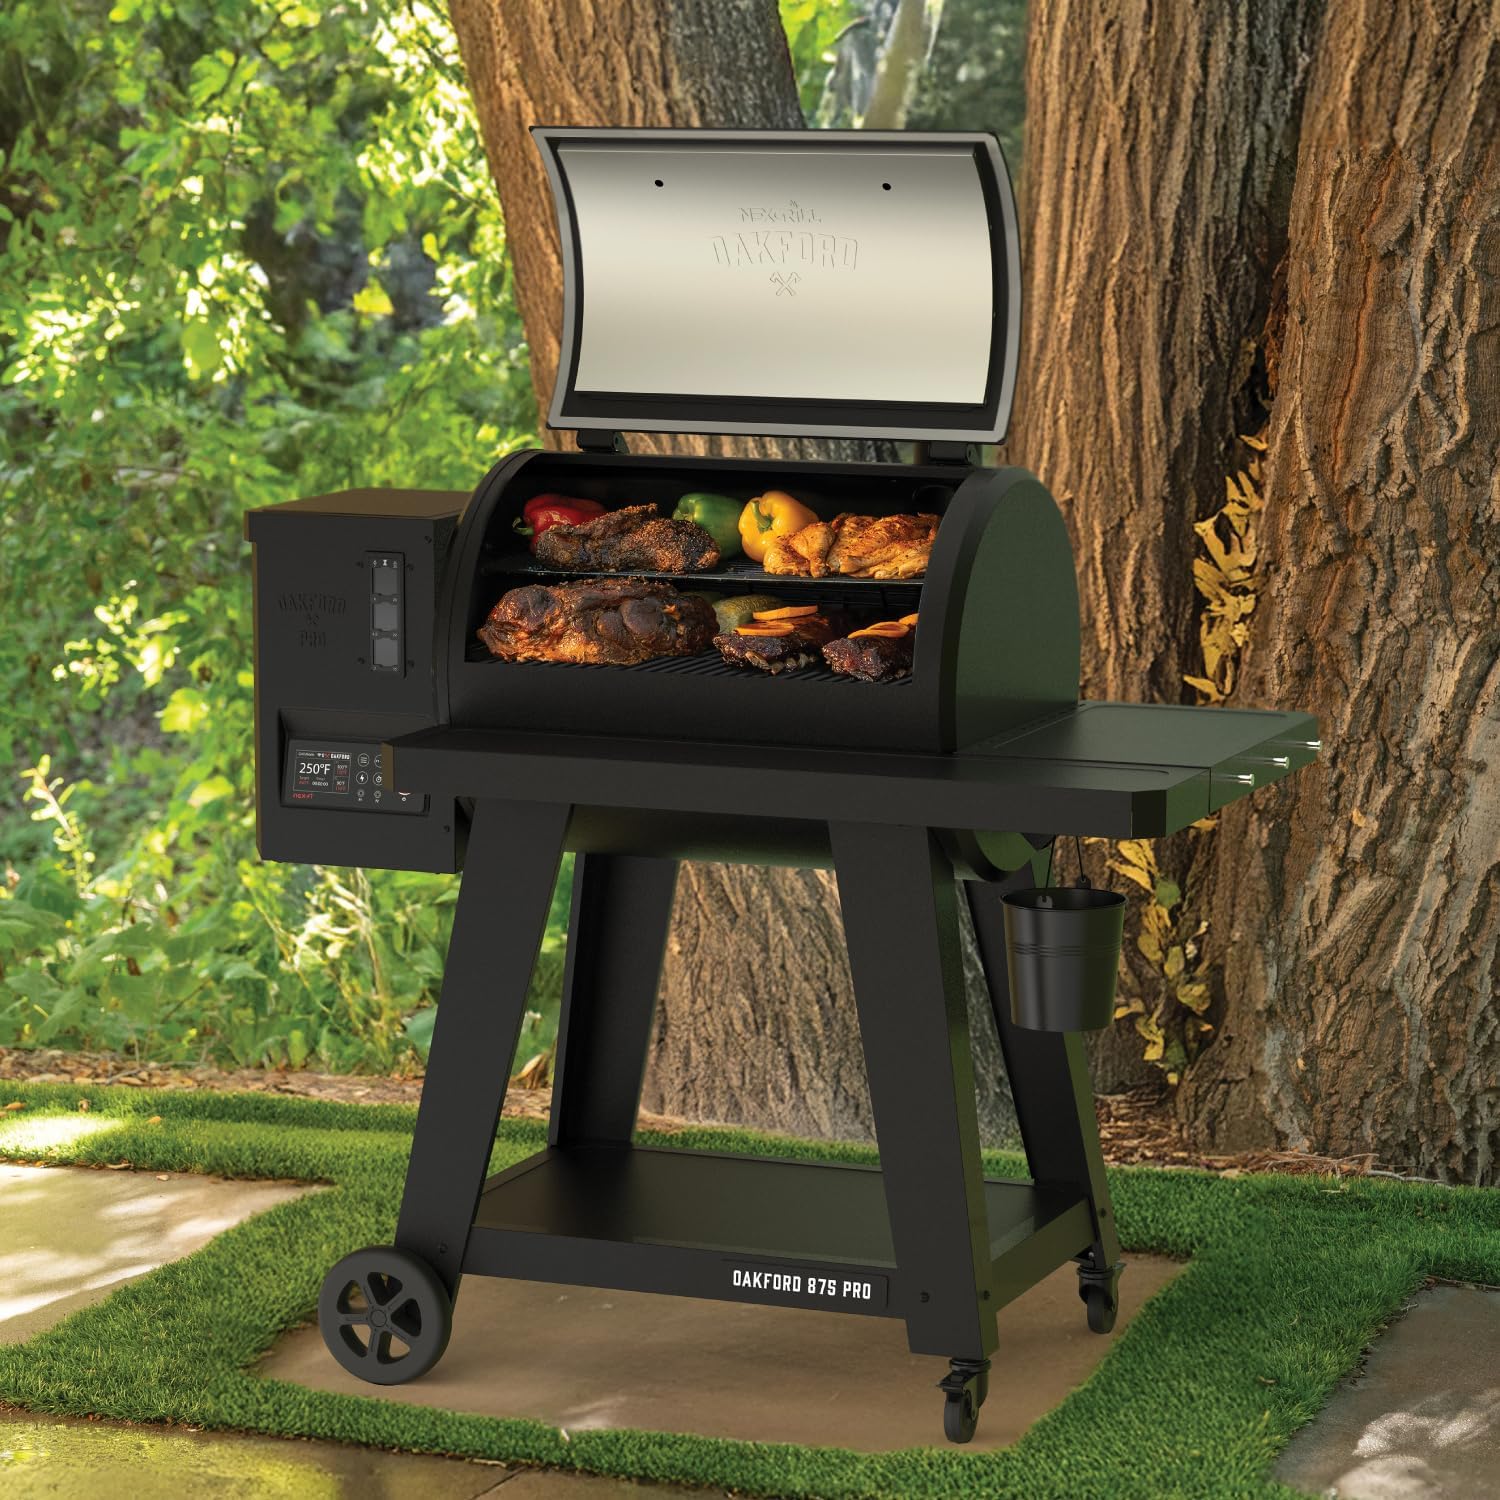
Image: A close-up view of the grill grates filled with food, highlighting the ample cooking space.
3. Components and Features
Familiarize yourself with the key components and features of your Oakford 875 Pro Pellet Grill:

Image: Labeled diagram of the grill's main components.
- NEX-fi Enabled: Connects to the Nexgrill app via Bluetooth and Wi-Fi for remote monitoring and control.
- 32 LB Hopper: Large capacity pellet hopper for extended cooking sessions with an easy-access clean-out door.
- I-Site Pellet View Indicator: Transparent window to easily monitor pellet levels.
- 824 Sq. In. Cooking Area: Ample space for cooking for gatherings.
- Versatile Temperature Range: 180–550°F, controlled by a digital panel and SureTemp fuel control.
- Removable Grease Bucket: For easy cleaning and maintenance.
- Meat Probe: Included for precise internal food temperature monitoring.
- Accessory Side Hooks: Three built-in hooks for convenient tool storage.
- Foldable Front Table: Provides extra workspace and folds for compact storage.
- Bottom Storage Shelf: For pellet bags and grilling accessories.
- Mobility: Equipped with two oversized wheels and two swivel locking casters for easy transport.

Image: The foldable front shelf provides additional prep space.
4. Setup and Initial Use
4.1 Assembly
Refer to the separate assembly guide included with your grill for detailed step-by-step instructions. Ensure all components are securely fastened before proceeding.
4.2 Initial Burn-in / Seasoning
- Ensure the pellet hopper is empty and clean.
- Plug the grill into a grounded electrical outlet.
- Fill the pellet hopper with food-grade wood pellets.
- Turn on the grill and set the temperature to 350°F (175°C).
- Allow the grill to operate at this temperature for at least 45 minutes to burn off any manufacturing oils and season the cooking grates.
- After the burn-in, turn off the grill and allow it to cool completely.

Image: Filling the 32 lb capacity pellet hopper.
5. Operating Instructions
5.1 Powering On and Setting Temperature
- Ensure the pellet hopper has sufficient pellets, visible through the I-Site Pellet View Indicator.
- Plug in the grill and press the power button on the Full Color LCD controller.
- Use the control knob to select your desired cooking temperature (180–550°F). The SureTemp controller will automatically adjust fuel flow to maintain consistency.

Image: The I-Site pellet view indicator for easy monitoring of pellet levels.

Image: The Full Color LCD controller for setting and monitoring grill functions.
5.2 NEX-fi Smart Connectivity
- Download the Nexgrill app from your smartphone's app store.
- Follow the in-app instructions to connect your Oakford 875 Pro Pellet Grill via Bluetooth and Wi-Fi.
- Once connected, you can monitor and adjust grill temperatures, set timers, and receive alerts directly from your smartphone.

Image: Monitor and control your grill remotely using the Nexgrill app.
5.3 Using the Meat Probe
The included meat probe allows for precise internal temperature monitoring of your food.
- Insert the meat probe into the thickest part of the food, avoiding bone.
- Plug the probe into the designated port on the grill's controller.
- Monitor the internal temperature on the LCD display or via the Nexgrill app.

Image: The included meat probe for accurate internal food temperature readings.
6. Maintenance and Care
Regular maintenance ensures optimal performance and longevity of your pellet grill.
6.1 Cleaning the Cooking Grates and Warming Rack
- After each use, once the grill has cooled, scrape off any food residue from the porcelain-enameled cast iron cooking grids and porcelain-enameled steel wire warming rack using a grill brush.
- For deeper cleaning, remove the grates and wash with warm, soapy water. Rinse thoroughly and dry completely before reinstalling.
6.2 Grease Management
- Regularly check and empty the removable grease bucket to prevent overflow and potential grease fires.
- Clean the grease tray and drain system as needed.
6.3 Pellet Hopper Clean-out
- For long-term storage or when changing pellet flavors, use the easy-access clean-out door to empty the pellet hopper.
- Ensure all pellets are removed to prevent moisture absorption and potential jamming.
6.4 Exterior Cleaning
- Wipe down the exterior surfaces with a damp cloth and mild detergent. Avoid abrasive cleaners.
- Consider using a grill cover to protect the grill from weather elements when not in use.
7. Troubleshooting
This section addresses common issues you might encounter with your pellet grill. For more complex problems, contact customer support.
7.1 Grill Not Igniting / No Smoke
- Check Pellets: Ensure the hopper has enough pellets and they are not wet or jammed.
- Power Connection: Verify the grill is properly plugged in and the power outlet is functional.
- Igniter: Listen for the igniter fan. If not operating, there may be an electrical issue.
7.2 Temperature Fluctuations
- Pellet Quality: Use high-quality, dry wood pellets.
- Ambient Conditions: Extreme cold or wind can affect internal temperature. Position the grill in a sheltered area if possible.
- Lid Seal: Ensure the grill lid is properly closed and sealed.
7.3 NEX-fi Connectivity Issues
- Wi-Fi Signal: Ensure your grill is within range of your Wi-Fi network.
- App Update: Make sure the Nexgrill app is updated to the latest version.
- Router Settings: Check your router settings for any restrictions that might prevent device connection.
8. Specifications
Detailed specifications for the Nexgrill Oakford 875 Pro Pellet Grill (Model: 910-0512).
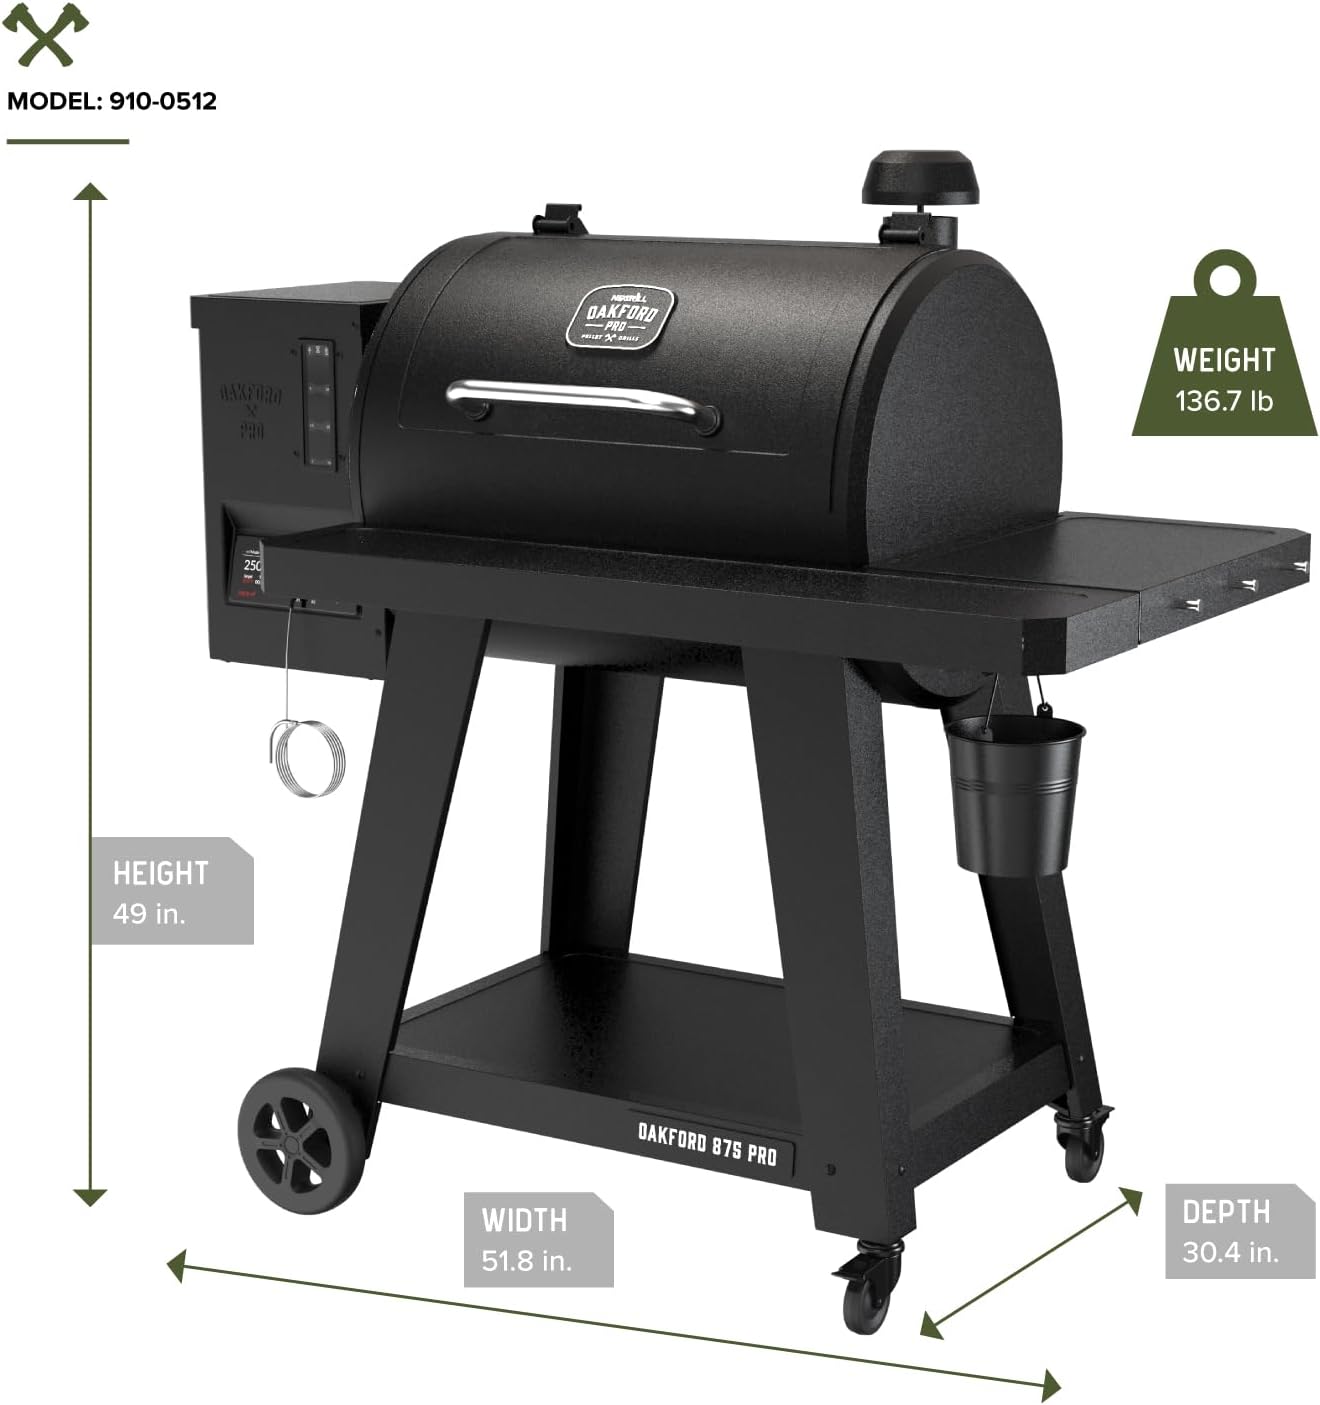
Image: Product dimensions and weight.
| Specification | Detail |
|---|---|
| Brand | Nexgrill |
| Model Name | Oakford 875 Pro Pellet Grill |
| Model Number | 910-0512 |
| Power Source | Fuel Powered (Wood Pellet) |
| Color | Hammertone Black |
| Outer Material | Alloy Steel |
| Item Weight | 136.7 Pounds |
| Product Dimensions (D x W x H) | 30.4"D x 51.8"W x 49"H |
| Fuel Type | Wood Pellet |
| Total Cooking Area | 824.88 sq. in. |
| Primary Cooking Size | 25.64 x 18.73 inches |
| Warming Rack Size | 23.9 x 14.42 inches |
| Hopper Capacity | 32 lbs |
| Temperature Range | 180–550°F |
| Included Components | Accessory Hooks, Meat Probe |

9. Warranty and Customer Support
Nexgrill products are designed for quality and durability. For specific warranty details, please refer to the warranty card included with your product or visit the official Nexgrill website. Keep your purchase receipt for warranty claims.
Customer Support
If you have any questions, require technical assistance, or need to order replacement parts, please contact Nexgrill Customer Support:
- Website: Visit the official Nexgrill website for FAQs, support resources, and contact information.
- Phone: Refer to your product packaging or the Nexgrill website for customer service phone numbers.
Please have your model number (910-0512) and purchase date available when contacting support.


