
1. Product Overview
The HOVER HEART MB01 is a 99cc 4-stroke gas mini bike designed for riders aged 13 and above. This compact and durable dirt bike features a powerful engine, robust steel frame, and knobby tires for versatile terrain handling.
Key Features:
- Engine: 99cc 4-Stroke OHV, EPA-compliant, easy pull-start.
- Speed & Range: Max speed up to 34.5 KM/H (23 MPH), 25-mile range on a 0.31 gal tank.
- Frame: Durable steel frame, supports up to 200 lbs.
- Brakes: Rear disc brake for reliable stopping power.
- Tires: Superior knobby tires (145/70-6) for grip on dirt, gravel, and pavement.
- Ground Clearance: 5.9 inches, 36.2-inch wheelbase, conquers inclines up to 12°.
- Safety: Equipped with a safety kill switch for instant engine cutoff.
- Assembly: 85% pre-assembled for quick setup.

Image: The HOVER HEART MB01 Mini Bike in blue, showcasing its compact design and knobby tires.
2. Setup and Assembly
Your HOVER HEART MB01 mini bike comes 85% pre-assembled. Follow these steps to complete the assembly and prepare for your first ride.
Tools Required:
- Hex Screwdriver (included in Tool Kit)
- 10mm, 12mm, 13mm, 14mm, 15mm, 19mm Wrenches (some included in Tool Kit)
Assembly Steps:
- Unboxing and Inspection: Carefully open the packaging. Check all parts against the packing list in the user manual to ensure nothing is missing.
- Front Fork Installation:
- Align the concave side of the front fork with the frame.
- Loosen the screws on the bearings.
- Insert the bearings into the connection between the front fork and the head tube.
- Tighten the screws using 12mm and 15mm wrenches.
- Front Tire Assembly:
- Loosen the screws on the bearings and thread the bearings successively into the front fork, spacer, and tire.
- Ensure the tire tread's pointed edges face forward.
- Place the other spacer on the opposite side of the tire and thread the bearing through it.
- Thread the nut onto the end and secure it using 14mm and 19mm wrenches.
- Handlebar Installation:
- Thread the handlebar out from the front fork and set it aside.
- Note that the handlebar should be threaded out from the left side of the front fork and head tube, i.e., threaded out from the right side of the frame.
- Loosen the screws on the handlebar presses.
- Separate the upper handlebar press from the lower handlebar press.
- Place the lower pressure block beneath the handlebar, then insert the screws of the upper handlebar press into the screw holes of the lower handlebar press.
- Insert the entire handlebar press into the screw holes above the front fork.
- Secure the handlebar press in place using a nut.
- Follow the same process with the second handlebar presses.
- Adjust the handlebar's angle to securely fasten the handlebar press in place.
- Tighten the handlebar presses using a 10mm and 13mm wrench.
- Front Fender Installation:
- Place the front fender onto the front fork.
- Fasten the front fender in place with screws and tighten them using hex screwdrivers.
- Add Fuel and Oil: Fill the fuel tank with unleaded gasoline and check the oil level before starting.
Video: Assembly guide for the FRP GMB100 Mini Bike, demonstrating unboxing and installation steps for the front fork, tire, handlebar, and fender.

Image: A detailed view of the HOVER HEART MB01 Mini Bike, highlighting its dimensions and key components.
3. Operating Instructions
Before operating your HOVER HEART MB01 mini bike, ensure you have read and understood all safety warnings and instructions in this manual. Always wear appropriate safety gear, including a helmet, gloves, and protective clothing.
Starting the Engine:
- Ensure the fuel valve is open.
- Set the choke lever to the "ON" position (cold start).
- Pull the recoil starter handle firmly until the engine starts.
- Once the engine is running, gradually move the choke lever to the "OFF" position.
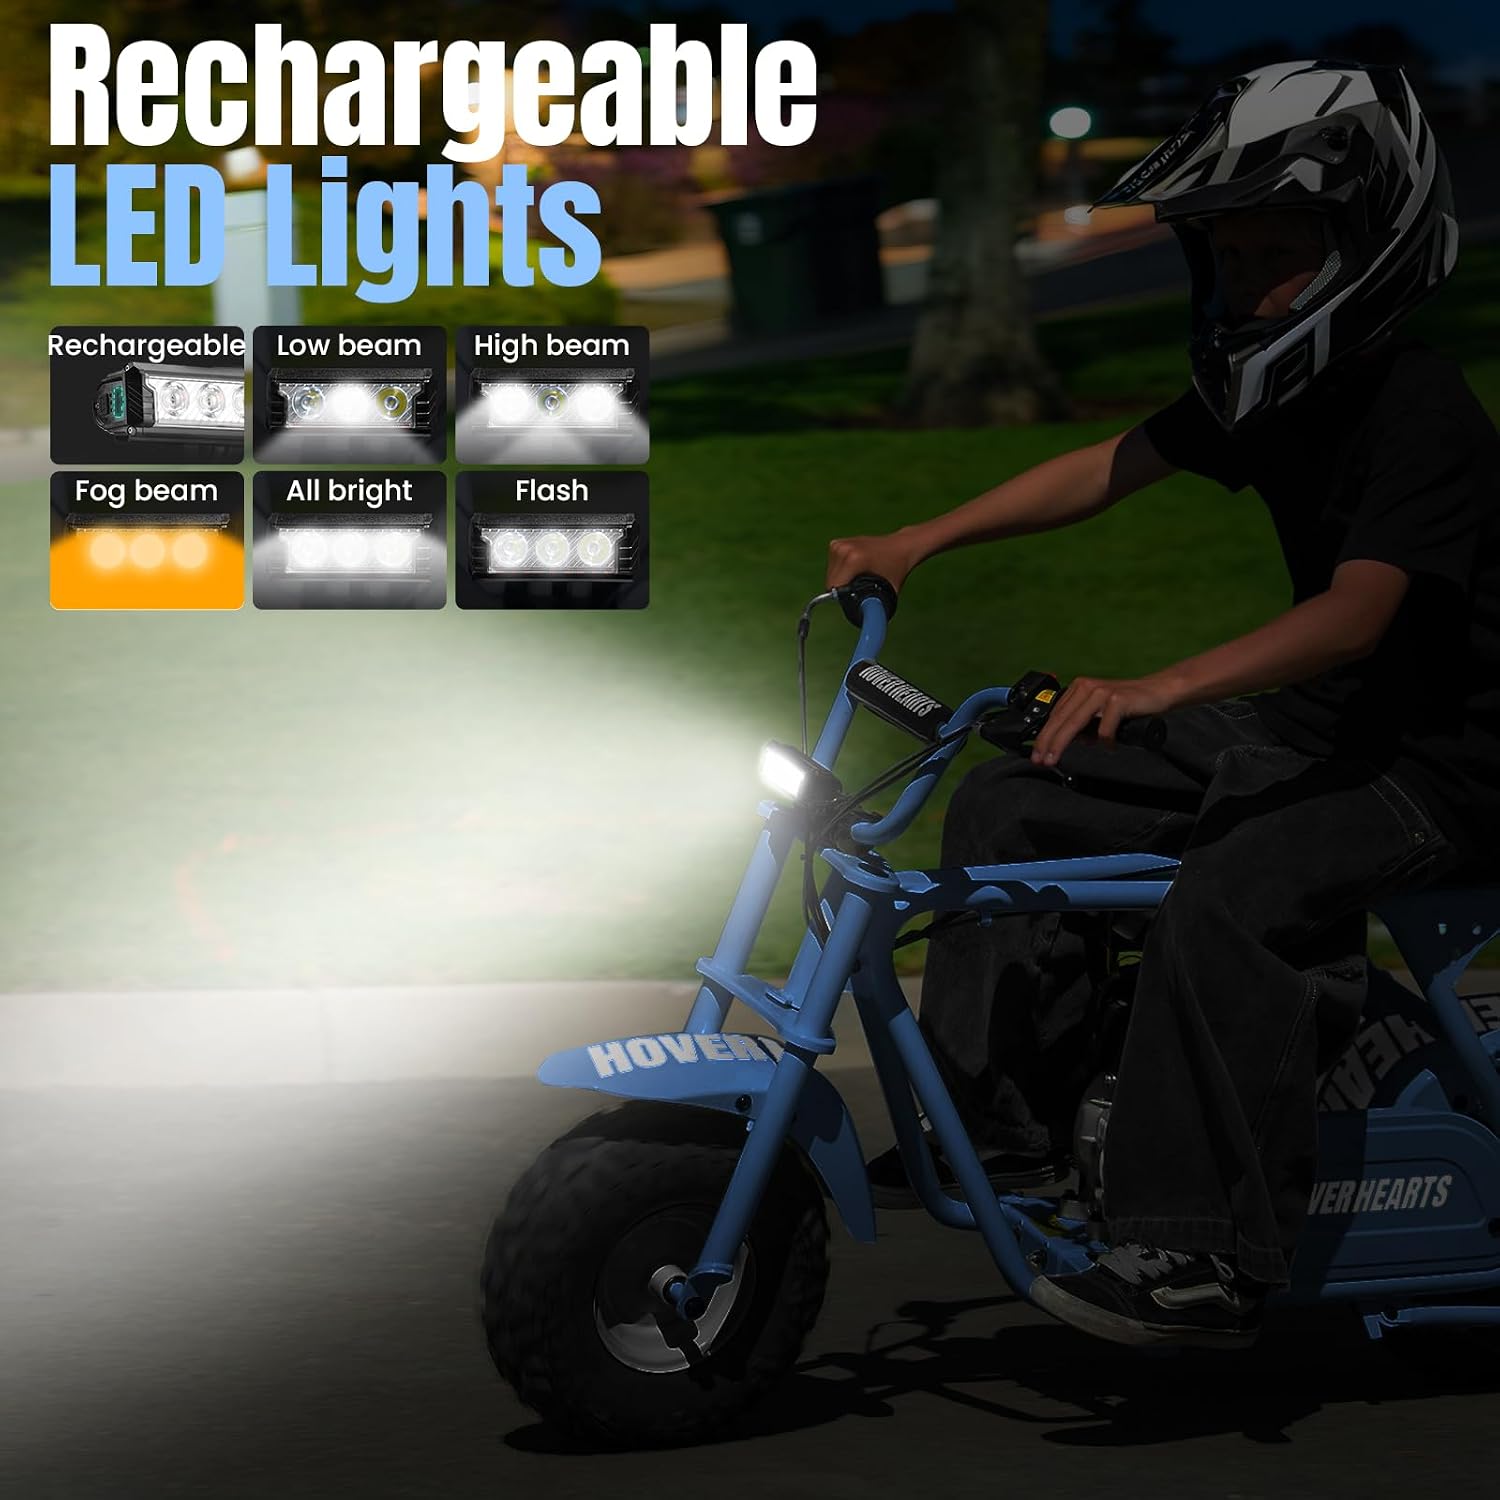
Image: Close-up of the HOVER HEART MB01 Mini Bike's 99cc OHV engine, showing the hand pull start mechanism.
Riding:
- Once the engine is running smoothly, gently apply the throttle to begin moving.
- Maintain a comfortable and controlled speed. The bike can reach speeds up to 34.5 KM/H (23 MPH).
- Be aware of your surroundings and ride on appropriate terrain.
Stopping:
- Release the throttle completely.
- Apply the rear disc brake smoothly to slow down and stop.
- Use the safety kill switch for immediate engine shutdown in emergencies.
Video: A short demonstration of the Hover Heart mini bike in action, highlighting its ease of use and maneuverability.
4. Maintenance
Regular maintenance is crucial for the longevity and safe operation of your HOVER HEART MB01 mini bike. Perform these checks and tasks regularly.
Routine Checks:
- Tire Pressure: Check tire pressure before each ride. Refer to the tire sidewall for recommended PSI.
- Brakes: Ensure the rear disc brake is functioning correctly and provides adequate stopping power. Adjust as needed.
- Oil Level: Check engine oil level regularly. Use appropriate 4-stroke engine oil.
- Chain Tension: Inspect the drive chain for proper tension and lubrication. Adjust and lubricate if necessary.
- Fasteners: Periodically check all nuts, bolts, and fasteners for tightness.
- Air Filter: Clean or replace the air filter as recommended in the full user manual to ensure optimal engine performance.

Image: The HOVER HEART MB01 Mini Bike being ridden on a dirt path, demonstrating its off-road capability. Regular maintenance ensures continued performance in such conditions.
5. Troubleshooting
This section provides solutions to common issues you might encounter with your HOVER HEART MB01 mini bike. For more complex problems, consult a qualified technician or contact customer support.
Common Issues:
- Engine Not Starting:
- Check fuel level.
- Ensure the fuel valve is open.
- Verify the choke is in the correct position for starting (ON for cold, OFF for warm).
- Check the spark plug for fouling or damage.
- Ensure the kill switch is in the "RUN" position.
- Loss of Power:
- Check the air filter for clogs.
- Ensure proper fuel flow.
- Verify correct oil level.
- Brakes Not Effective:
- Inspect brake pads for wear.
- Check brake cable tension and adjust if loose.
Video: A comprehensive video demonstrating the features and operation of a Gas Mini Bike, which may assist in troubleshooting common issues.
6. Specifications
| Feature | Specification |
|---|---|
| Model Name | MB01 MiniBike |
| Engine Type | 99cc 4-Stroke OHV |
| Max Speed | 34.5 KM/H (23 MPH) |
| Max Load | 200 Pounds |
| Vehicle Weight | 75 Pounds |
| Fuel Capacity | 0.31 Gallons |
| Wheel Size | 6 Inches (Tire: 145/70-6) |
| Frame Material | Steel |
| Brake Style | Disc (Rear) |
| Ground Clearance | 5.9 Inches |
| Wheelbase | 36.2 Inches |
| Max Incline | 12° |
| Recommended Age | 13+ Years |
| Dimensions (LxWxH) | 50.4" x 22.4" x 32.7" |
| Included Components | Gas bike, Head Light, Tool Kit, User Manual |

Image: An infographic displaying the key specifications and dimensions of the HOVER HEART MB01 Mini Bike.
7. Warranty and Support
Warranty Information:
The HOVER HEART MB01 Mini Bike comes with a 90-day warranty. Please retain your proof of purchase for any warranty claims.
Customer Support:
For assistance with assembly, operation, maintenance, or any other inquiries, please refer to the full user manual included with your product or contact HOVER HEART customer support. You can also visit the HOVER HEART Store on Amazon for more information.