1. Introduction
Thank you for choosing the MOES 3-Outlet Sprinkler Timer. This automatic irrigation controller is designed to simplify your watering tasks for gardens, lawns, and hose systems. It features three independently programmable zones, allowing for customized watering schedules to meet the specific needs of different plants and areas. Please read this manual thoroughly before installation and operation to ensure proper use and longevity of the device.
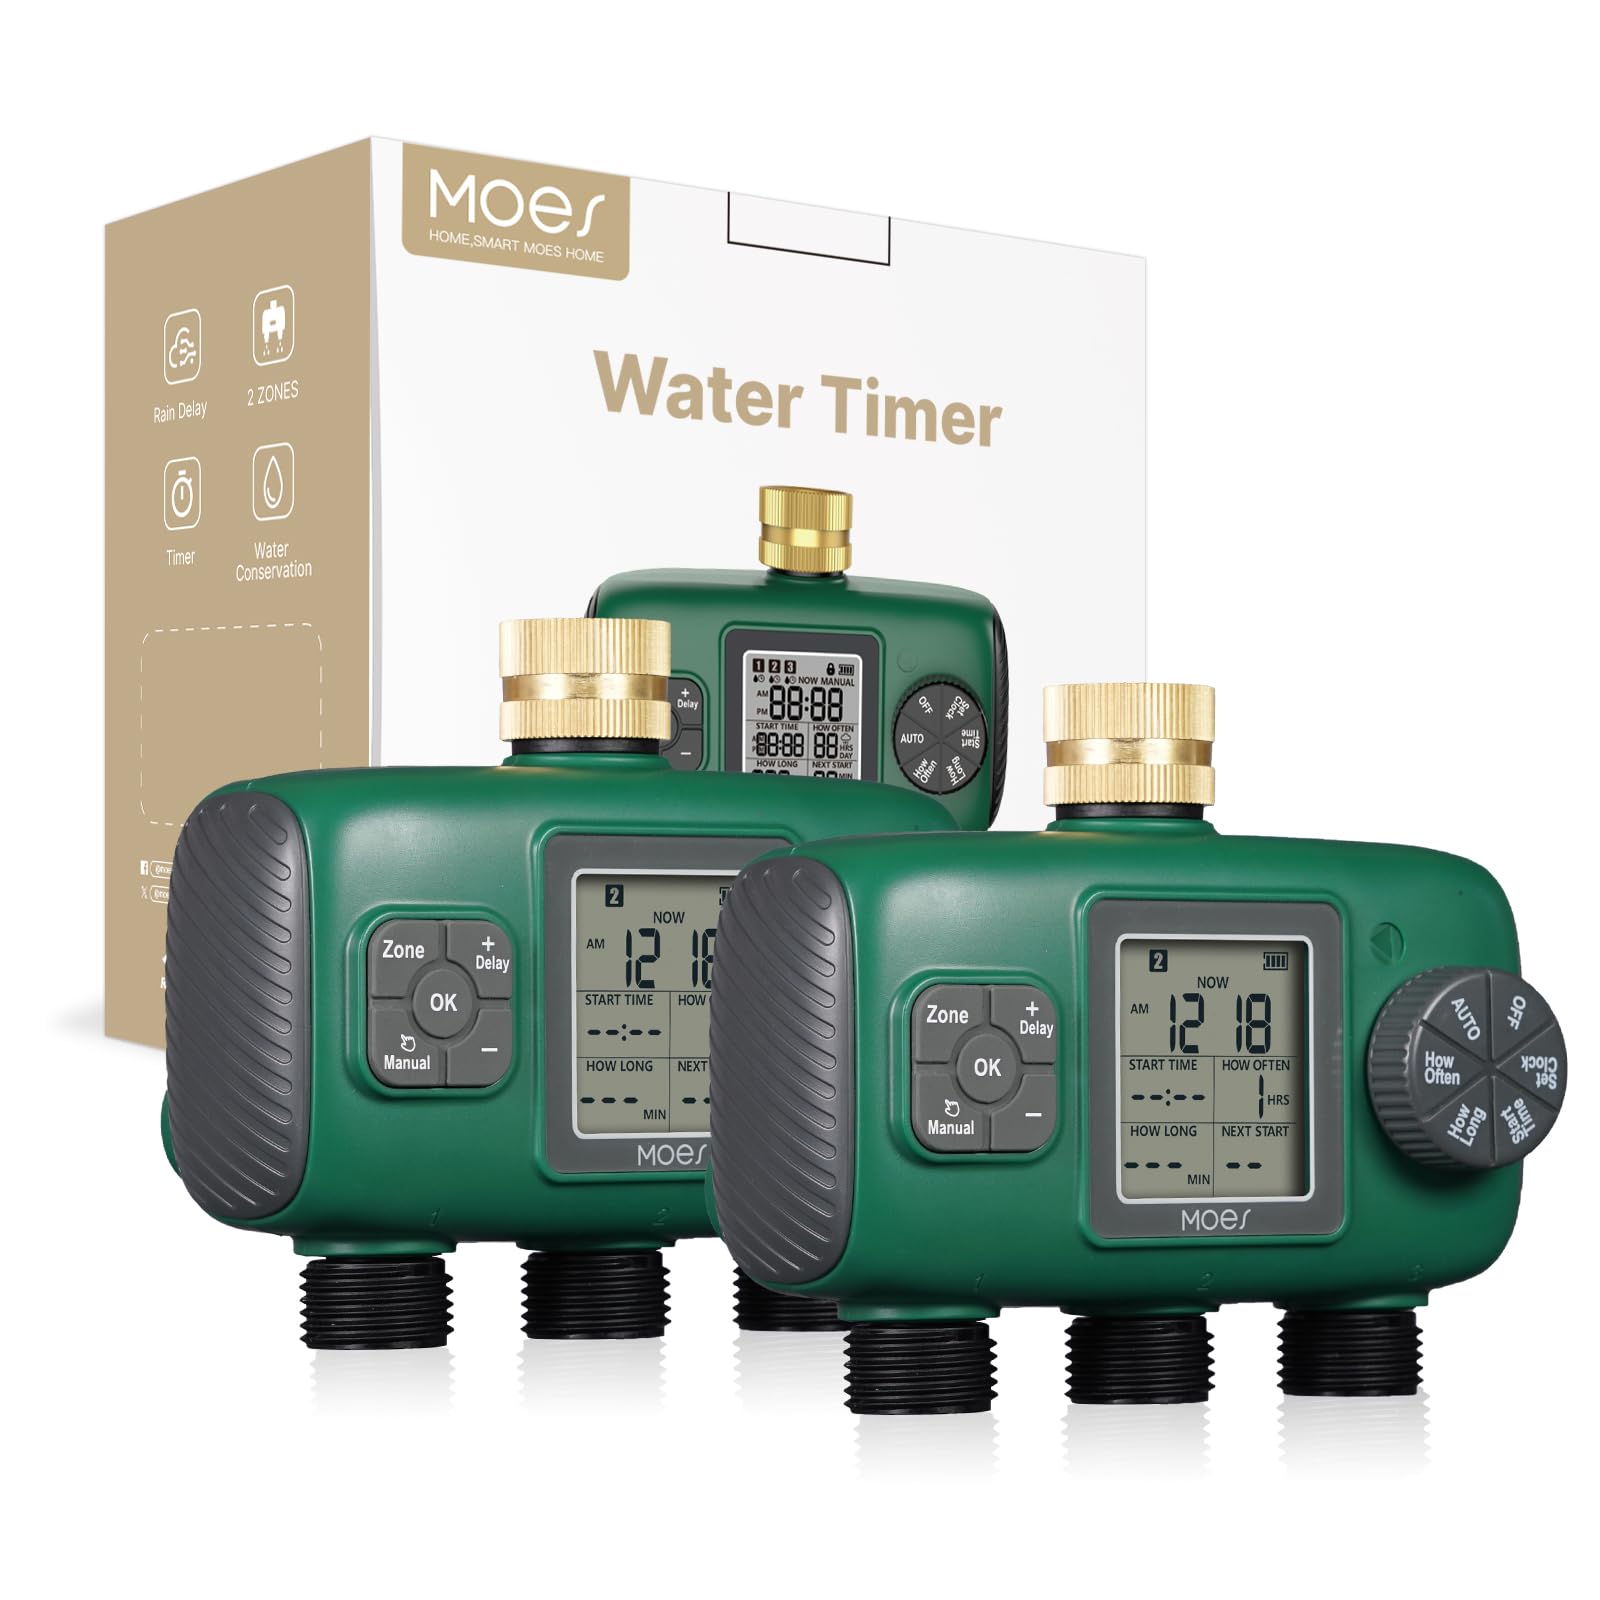
Figure 1: MOES 3-Outlet Sprinkler Timer main unit. This image shows the front view of the timer with its three outlets and control panel.
2. Product Specifications
- Model Number: T-TWV-YZD03-US
- Operating Pressure Range: 0.05 - 0.8 MPa (7.25 psi - 116 psi)
- Working Temperature: 4.5°C - 45°C (40.1°F - 113°F)
- Power Source: 2 x AA alkaline batteries (not included). Do not use rechargeable batteries.
- Waterproof Rating: IPX5
- Rain Delay Duration: 1 day up to 15 days
- Number of Outlets: 3 independent zones
- Inlet Type: Brass
3. Safety Information
- Ensure the timer is installed vertically to prevent water from entering the battery compartment.
- Use only new alkaline AA batteries. Mixing old and new batteries or using rechargeable batteries may cause malfunction.
- Do not expose the timer to freezing temperatures. Disconnect and store indoors during winter months to prevent damage.
- Do not immerse the timer in water. While it is IPX5 waterproof, it is not designed for submersion.
- Keep out of reach of children.
4. Setup
4.1 Battery Installation
- Locate the battery compartment on the back of the timer.
- Slide the battery cover off.
- Insert two (2) new AA alkaline batteries, ensuring correct polarity (+/-) as indicated inside the compartment.
- Replace the battery cover securely.
4.2 Connecting the Timer
- Ensure the faucet is turned off.
- Screw the brass inlet of the timer onto your outdoor faucet or garden hose splitter. Hand-tighten only to prevent damage.
- Connect your garden hoses to the three independent outlets at the bottom of the timer. Ensure each connection is secure.
- Slowly turn on the faucet. Check for any leaks.

Figure 2: Installation diagram. This image illustrates how to connect the timer to a faucet and attach hoses to its outlets. (Specific image URL needed)
5. Operating Instructions
The MOES 3-Outlet Sprinkler Timer allows for independent programming of each zone. The control panel typically includes a central dial, selection buttons, and an LCD screen.
5.1 Setting the Current Time
- Rotate the central dial to the 'SET CLOCK' position.
- Use the '+' and '-' buttons to adjust the hour and minute.
- Press the 'OK' or 'NEXT' button to confirm and move to the next setting.
- Rotate the dial back to 'AUTO' when finished.
5.2 Programming Watering Schedules (Per Zone)
Each of the three outlets (Zone 1, Zone 2, Zone 3) can be programmed individually.
- Rotate the central dial to the 'PROGRAM' position.
- Use the 'ZONE' button to select the desired zone (1, 2, or 3) you wish to program. The selected zone will be indicated on the LCD screen.
- Set Start Time: Use '+' and '-' to set the desired watering start time for the selected zone. Press 'OK' or 'NEXT'.
- Set Watering Duration: Use '+' and '-' to set how long the zone will water (e.g., 10 minutes, 30 minutes). Press 'OK' or 'NEXT'.
- Set Watering Frequency: Use '+' and '-' to select how often the zone will water (e.g., every 1 day, every 2 days, specific days of the week). Press 'OK' or 'NEXT'.
- Repeat steps 2-5 for each zone you wish to program.
- Rotate the dial back to 'AUTO' to activate the programmed schedules.
Important Note: To avoid affecting water pressure, it is recommended to stagger the set watering times for different zones. If multiple zones are programmed to start at the exact same time, the unit will automatically rotate watering between them to maintain pressure, which may extend overall watering duration.
5.3 Rain Delay Function
The rain delay function allows you to pause your watering schedule for a specified period, conserving water during rainy weather.
- Ensure the central dial is in the 'AUTO' position.
- Press the 'RAIN DELAY' button.
- Use the '+' and '-' buttons to select the desired delay duration (e.g., 1 day, 3 days, up to 15 days).
- Press 'OK' or 'RAIN DELAY' again to confirm. The timer will resume its schedule automatically after the delay period.
5.4 Manual Watering
To water manually without affecting your programmed schedule:
- Ensure the central dial is in the 'AUTO' position.
- Press the 'MANUAL' button.
- Use the 'ZONE' button to select the desired zone for manual watering.
- Use '+' and '-' to set the desired manual watering duration.
- Press 'OK' or 'MANUAL' again to start watering. The selected zone will water for the set duration and then return to its automatic schedule.
- To stop manual watering prematurely, press 'MANUAL' again or rotate the dial to 'OFF' and then back to 'AUTO'.
6. Maintenance
6.1 Battery Replacement
When the battery indicator on the LCD screen shows low power, replace the batteries promptly to avoid interruption of watering schedules. Follow the battery installation steps in Section 4.1.
6.2 Cleaning
Clean the exterior of the timer with a damp cloth. Do not use abrasive cleaners or solvents. Periodically check the inlet filter for debris and clean if necessary to maintain proper water flow.
6.3 Winterization
Before the first frost, disconnect the timer from the faucet and hoses. Remove the batteries. Store the timer indoors in a dry, frost-free location to prevent damage from freezing water.
7. Troubleshooting
| Problem | Possible Cause | Solution |
|---|---|---|
| Timer does not turn on/LCD is blank. | Dead or incorrectly installed batteries. | Replace with new AA alkaline batteries, ensuring correct polarity. |
| Water does not flow. | Faucet is off; low water pressure; clogged filter; timer in 'OFF' mode; rain delay active. | Turn on faucet; check water pressure; clean inlet filter; ensure dial is in 'AUTO'; check rain delay status. |
| Timer leaks from connections. | Loose connections; missing or damaged washer. | Tighten connections; ensure washers are properly seated and undamaged. |
| Watering schedule not running. | Timer not in 'AUTO' mode; incorrect programming; low batteries. | Ensure dial is in 'AUTO'; re-check programmed start times, durations, and frequencies; replace batteries. |
8. Official Product Videos
No official seller-created product videos were found in the provided data for this model. For visual guides, please refer to the detailed instructions and diagrams within this manual.
9. Warranty and Support
MOES products are manufactured to high-quality standards. For warranty information, please refer to the documentation included with your purchase or visit the official MOES website. If you encounter any issues or have questions not covered in this manual, please contact MOES customer support through the retailer where the product was purchased or via the contact information provided on the official MOES website.
Manufacturer: WENZHOU NOVA NEW ENERGY CO.,LTD


