
1. Product Overview
The Orion Motor Tech 1.5 Gallon Vacuum Chamber with 3.5 CFM Pump Kit is designed for efficient degassing of various materials such as silicone, resin, wood, and other compounds. This kit provides a reliable solution for applications requiring a vacuum environment, ensuring high-quality results by removing trapped air and moisture.
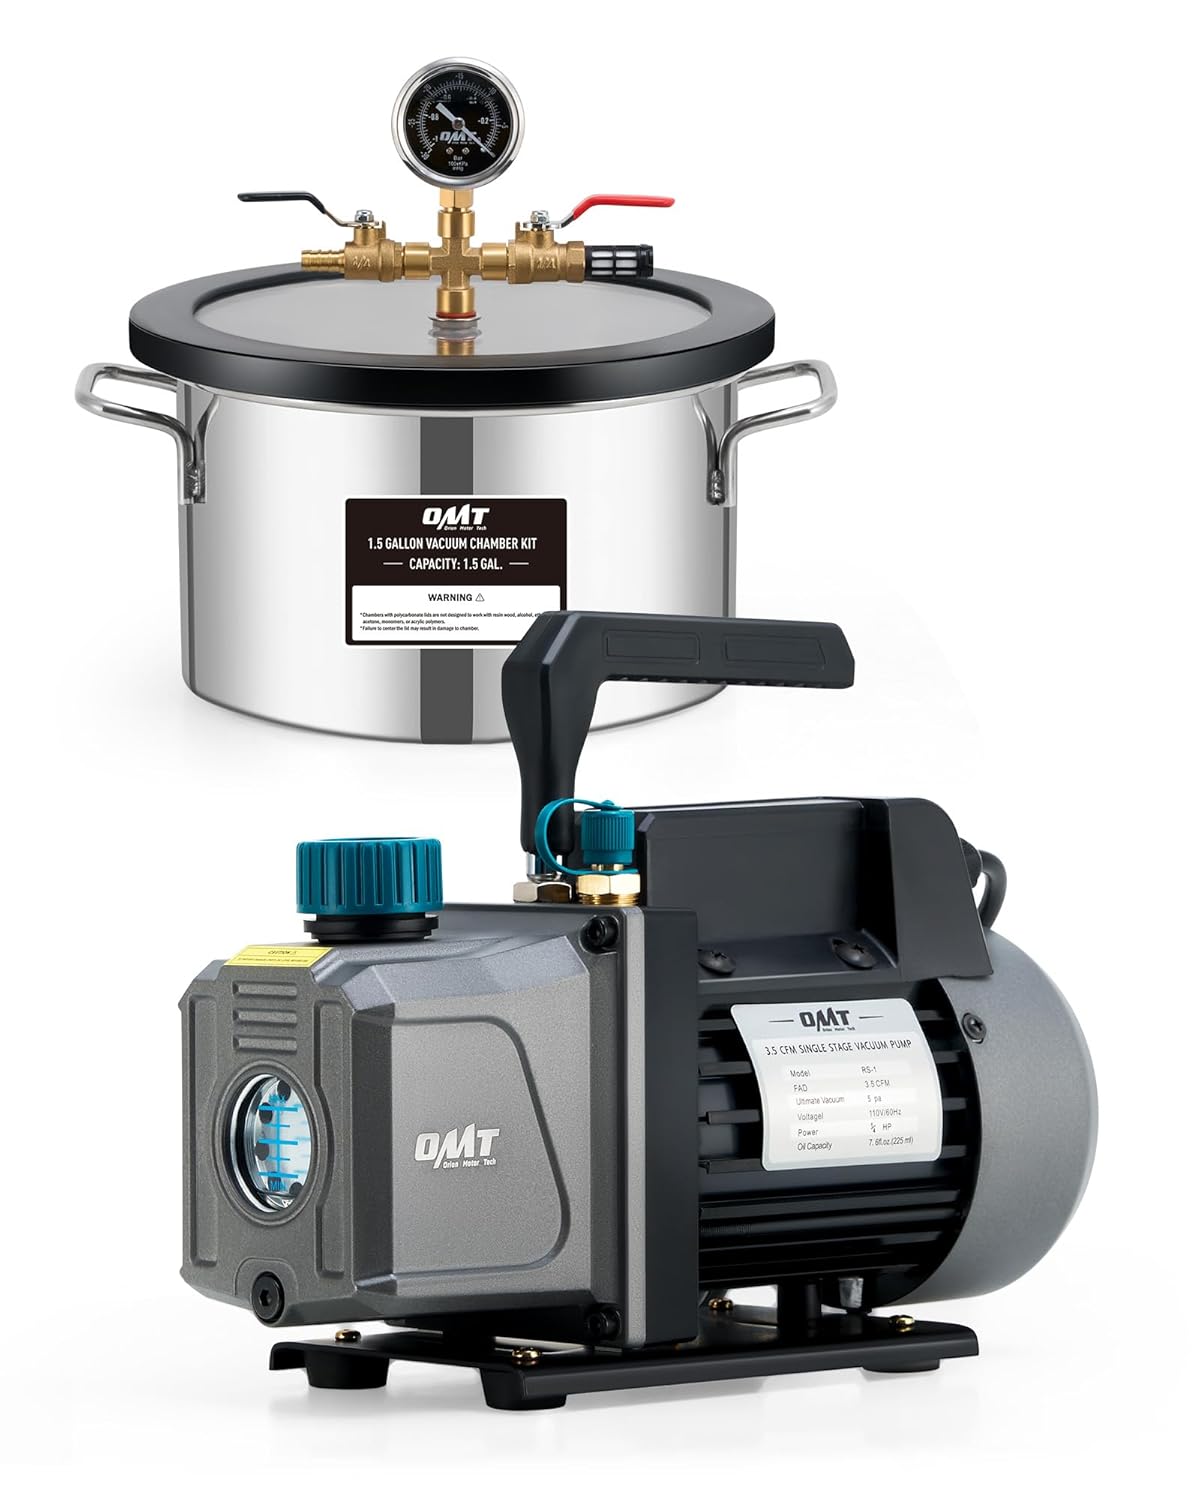
Image 1.1: The complete Orion Motor Tech 1.5 Gallon Vacuum Chamber and Pump Kit.
Key Features:
- Comprehensive Set: Includes a 1/4 hp vacuum pump, a 1.5 gallon stainless steel chamber, a wire hose, and all necessary accessories.
- High Efficiency Vacuum Pump: Features an all-copper motor for efficient evacuation at a 3.5 cfm flow rate. Aluminum alloy casing ensures heat dissipation and corrosion resistance.
- Durable Stainless Steel Chamber: Constructed from 201 stainless steel, capable of withstanding pressure, corrosion, and temperatures up to 250°F.
- Tempered Glass Lid: Equipped with a 1.5 mm silicone gasket for a tight seal and a tempered glass lid for easy monitoring of the degassing process.
- Precise Monitoring: A liquid-filled gauge allows for accurate vacuum level monitoring.
- Effortless Operation: Two ball valves simplify the degassing process.
- Wide Compatibility: Pump inlets and included adapter work with 1/4, 3/8, and 1/2-inch HVAC hoses.
2. What's Included
Your Orion Motor Tech Vacuum Chamber Kit comes with the following components:
- 1 x Vacuum Pump
- 1 x 1.5 Gallon Vacuum Chamber
- 1 x Vacuum Gauge
- 1 x 5-foot Wire Hose
- Lubricating and Absorptive Oil for the pump
- Various fittings and adapters for connection
- Non-slip mat

Image 2.1: All components included in the Orion Motor Tech Vacuum Chamber and Pump Kit.
3. Technical Specifications

Image 3.1: Visual representation of the vacuum pump's specifications.
| Specification | Value |
|---|---|
| Package Dimensions | 15 x 14.5 x 11.25 inches |
| Item Weight | 22.6 pounds |
| Manufacturer | Orion Motor Tech |
| Item Model Number | MPN1VPHV015-N0 |
| Vacuum Pump Flow Rate | 3.5 CFM |
| Vacuum Pump Horsepower | 1/4 hp |
| Chamber Capacity | 1.5 Gallons |
| Chamber Material | 201 Stainless Steel |
| Max Chamber Temperature | 250°F |
| Lid Material | Tempered Glass (12 mm) |
| Hose Length | 5 feet |
4. Setup Guide
Follow these steps to set up your vacuum chamber and pump kit:
- Prepare the Vacuum Pump: Ensure the vacuum pump is placed on a stable, level surface. Check the oil level through the transparent window; fill with the provided oil if necessary, ensuring it is between the MIN and MAX lines.
- Connect the Hose to the Chamber: Attach one end of the 5-foot reinforced hose to the intake valve on the vacuum chamber's lid. Secure it with the provided hose clamp.
- Connect the Hose to the Pump: Attach the other end of the hose to the vacuum pump's inlet. Use the appropriate adapter (1/4, 3/8, or 1/2-inch) if needed. Secure with a hose clamp.
- Install the Gauge: Ensure the silicone oil-filled vacuum gauge is securely threaded into the manifold on the chamber lid.
- Place Non-slip Mat: Position the non-slip mat inside the vacuum chamber before placing any items to be degassed.

Image 4.1: Details of the vacuum pump, showing the transparent oil window, built-in fan, exhaust filter, and wide compatibility adapter.

Image 4.2: The 5 ft. reinforced hose, 12 mm tempered glass lid, and non-slip mat for the vacuum chamber.
Video 4.1: An official product video demonstrating the assembly and initial setup of the vacuum chamber and pump kit.
5. Operating Instructions
This kit is ideal for various applications including wood stabilization, resin degassing, material deforming, and HVAC servicing.

Image 5.1: Examples of multipurpose applications for the vacuum chamber kit.
Degassing Process:
- Prepare Material: Place the material to be degassed (e.g., resin, silicone) inside a suitable container within the vacuum chamber, ensuring it does not overflow during expansion.
- Secure the Lid: Place the tempered glass lid firmly onto the vacuum chamber, ensuring the silicone gasket creates a tight seal.
- Close Valves: Ensure both the intake valve (connected to the pump) and the release valve on the chamber lid are closed.
- Start Vacuum Pump: Turn on the vacuum pump.
- Open Intake Valve: Slowly open the intake valve on the chamber lid to begin drawing a vacuum. Monitor the pressure gauge.
- Monitor Degassing: Observe the material inside the chamber. Bubbles will rise and burst as air is removed. Allow the process to continue until bubbling subsides, typically for 5-15 minutes depending on the material.
- Close Intake Valve: Once degassing is complete, close the intake valve and then turn off the vacuum pump.
- Release Vacuum: Slowly open the release valve to allow air back into the chamber, equalizing the pressure.
- Remove Material: Once the pressure gauge reads 0, remove the lid and your degassed material.

Image 5.2: Close-up of the silicone oil-filled gauge, providing precise pressure readings and resistance to shock and vibration.
Video 5.1: An official product video demonstrating the operational steps for the vacuum chamber and pump kit, including material degassing.
6. Maintenance
Regular maintenance ensures the longevity and optimal performance of your vacuum chamber and pump kit.
- Check Oil Level: Periodically check the oil level in the vacuum pump using the transparent window. Refill or replace oil as needed to maintain proper lubrication and performance.
- Oil Replacement: Replace the vacuum pump oil after every 20 hours of operation or if it appears cloudy or discolored. Refer to the pump's specific instructions for oil type and replacement procedure.
- Clean Chamber and Lid: After each use, clean the interior of the vacuum chamber and the tempered glass lid with a soft cloth and appropriate cleaning solution to remove any material residue. Ensure the silicone gasket is clean and free of debris to maintain a proper seal.
- Inspect Hoses and Fittings: Regularly inspect the reinforced hose and all fittings for any signs of wear, cracks, or damage. Replace any damaged components immediately to prevent leaks and ensure safe operation.
- Store Properly: When not in use, store the vacuum chamber and pump kit in a clean, dry environment, away from extreme temperatures and direct sunlight.
7. Troubleshooting
Smoke from Air Outlet:
A small amount of smoke from the air outlet during operation is normal and not necessarily a sign of a problem. This can be more prominent in cold conditions. Potential causes include:
- Oil Vaporization
- Oil Volatilization
- Oil Insufficiency
- Exhaust Gas Release
- Increased Oil Viscosity

Image 7.1: Explanation of common reasons for smoke emission from the vacuum pump's air outlet.
Other Issues:
- Loss of Vacuum: Check all connections for tightness. Inspect the silicone gasket on the lid for damage or proper seating. Ensure all valves are fully closed when drawing a vacuum.
- Pump Not Starting: Verify the power connection. Check the power switch. Ensure the motor is not seized (consult a professional if suspected).
- Slow Vacuum Draw: Check for leaks in the system. Ensure the oil level is correct and the oil is clean. The material being degassed might be releasing a significant amount of gas.
8. Safety Information
Always prioritize safety when operating the vacuum chamber and pump kit:
- Read and understand all instructions before use.
- Wear appropriate personal protective equipment (PPE), such as safety glasses and gloves.
- Operate the unit in a well-ventilated area.
- Do not exceed the maximum temperature rating of the chamber (250°F).
- Ensure the power supply matches the pump's requirements.
- Keep children and unauthorized personnel away from the operating unit.
- Never attempt to open the chamber lid while under vacuum. Always release the vacuum first.
- Dispose of used vacuum pump oil responsibly according to local regulations.
9. Warranty and Support
Orion Motor Tech products are designed for quality and durability. For warranty information, technical support, or replacement parts, please refer to the official Orion Motor Tech website or contact their customer service directly. Keep your purchase receipt for warranty claims.