
Aoxun G37009BR04A-HJ-AX
Aoxun 14x12 FT Metal Outdoor Storage Shed Instruction Manual
Model: G37009BR04A-HJ-AX
1. Safety Information
Please read and understand all safety instructions before assembling or using the Aoxun 14x12 FT Metal Outdoor Storage Shed. Failure to follow these instructions may result in injury or property damage.
- Assembly Surface: Always assemble this product on a flat, stable surface.
- Heavy Components: Be cautious when handling heavy components. It is recommended to have at least two people for assembly.
- Weight Limit: Do not exceed the weight limit of the shed. Refer to the specifications for details.
- Sharp Edges: Metal panels may have sharp edges. Wear appropriate protective gloves during assembly.
- Anchoring: Ensure the shed is properly anchored to the ground to prevent wind damage. Anchoring hardware may not be included and should be purchased separately based on your local conditions.
- Ventilation: The shed includes integrated ventilation. Do not block these openings to ensure proper airflow and prevent moisture buildup.
- Children and Pets: Keep children and pets away from the assembly area. Do not allow them to play inside the shed unsupervised.
- Tools: Use appropriate tools for assembly, including an electric screwdriver with adjustable torque to avoid stripping screws.
2. Product Overview
The Aoxun 14x12 FT Metal Outdoor Storage Shed provides a robust and spacious solution for organizing your outdoor items. Constructed from thick-gauge galvanized steel, it offers durability and resistance to various weather conditions.
Key Features:
- Abundant Storage Space: Generous interior for storing shovels, rakes, bicycles, lawnmowers, children's toys, sports equipment, and other outdoor essentials.
- Engineered for Protection: Features a sloped roof to prevent water pooling and leaks, and integrated ventilation for crucial airflow to reduce moisture.
- Secure Access: Two large, tall, and lockable doors provide convenient access and essential security for your possessions.
- Durable Construction: Made from robust, thick-gauge galvanized steel with reinforced panels and a strong frame, ensuring resistance to dents, rust, and harsh weather.
- Versatile Placement: Suitable for backyards, gardens, patios, garages, or poolside areas, helping to declutter your outdoor space.
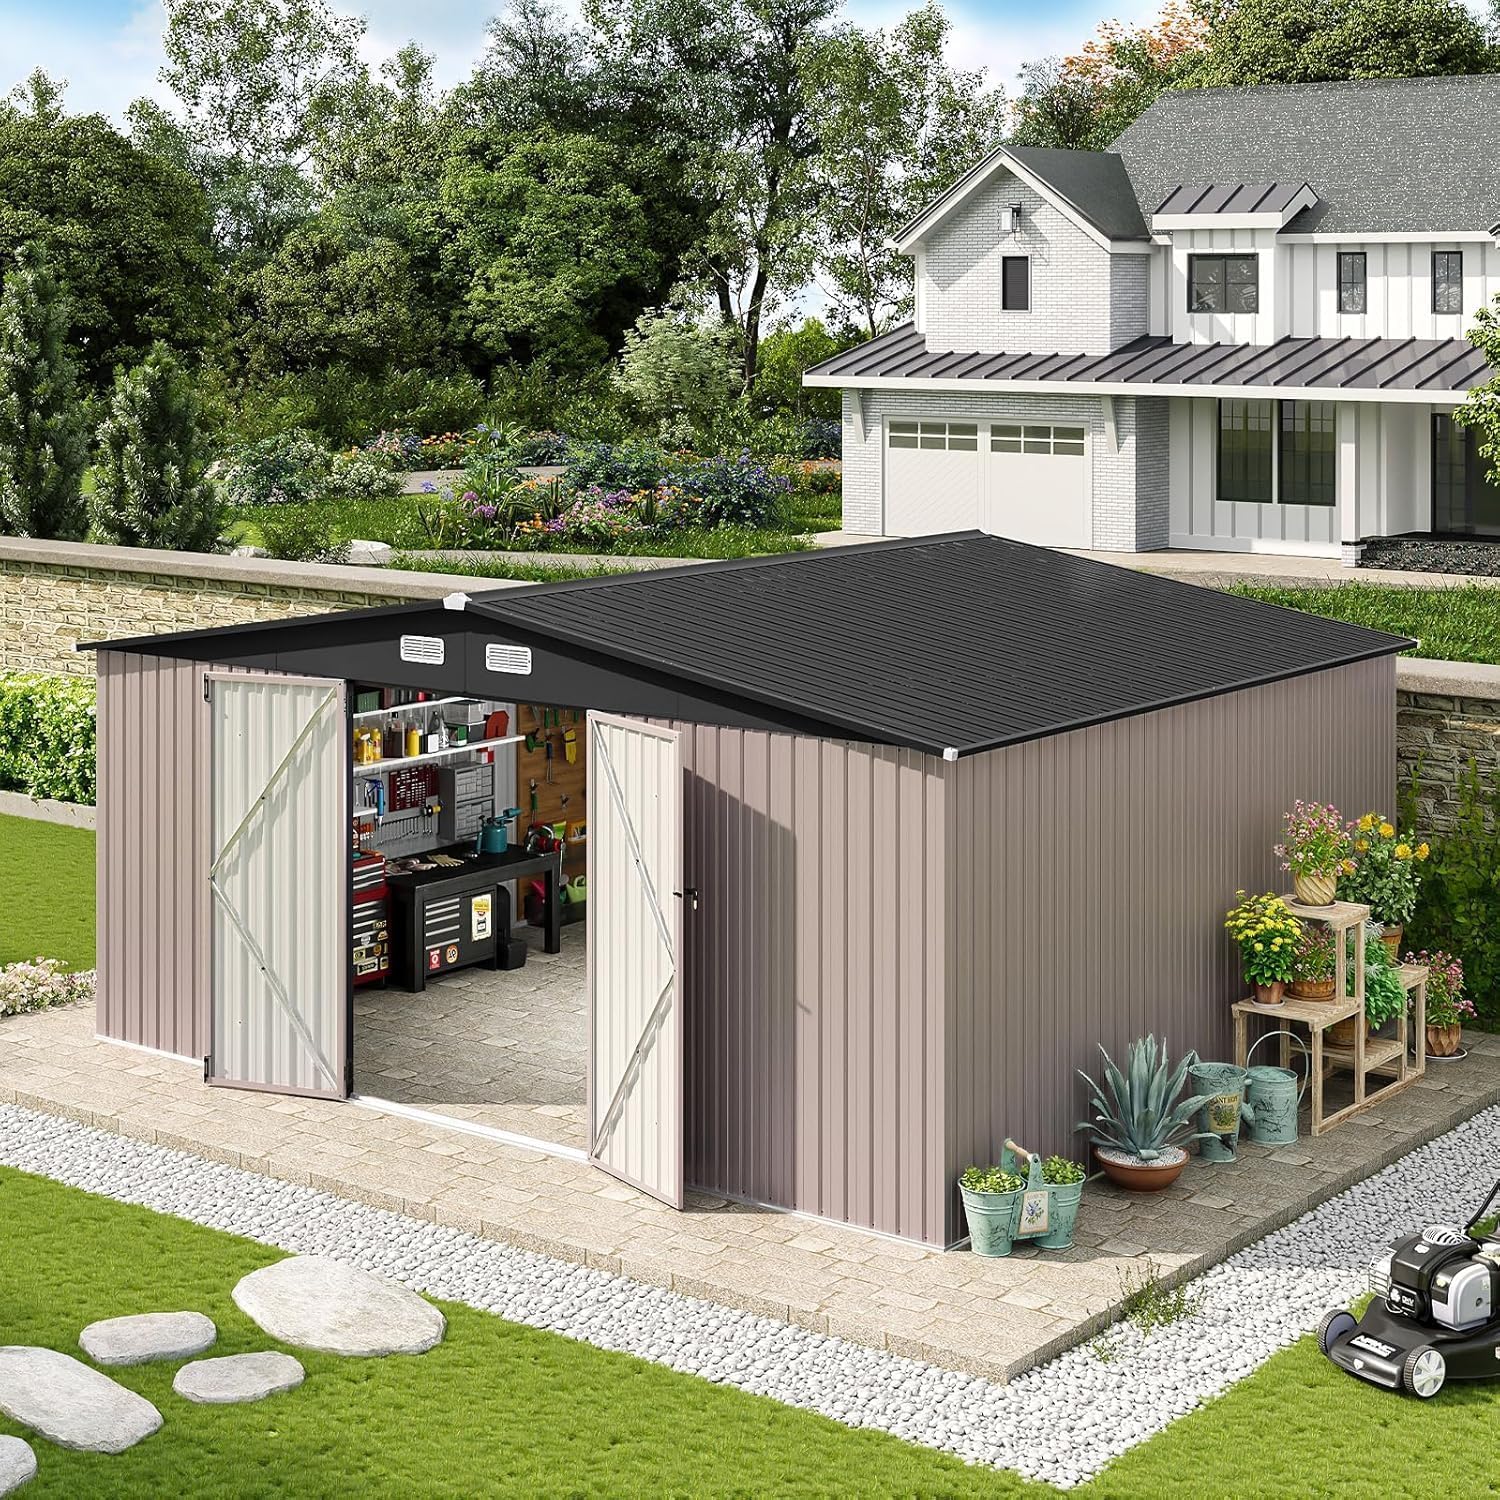
Figure 1: Front view of the Aoxun 14x12 FT Metal Outdoor Storage Shed.

Figure 2: The shed's interior demonstrating multiple storage modes for various items.
3. Setup and Assembly
3.1 Unpacking and Preparation
- The shed typically arrives in multiple boxes (e.g., 3 boxes). Verify all parts are present against the packing list.
- Choose a flat, level, and stable surface for assembly. Proper leveling of the base is crucial for structural integrity and door alignment.
- Wear protective gloves to handle metal panels and components.
- Each metal panel is covered with a protective film to prevent scratches during shipping. Remove this film from each piece as you install it to maintain the finish and prevent damage during assembly.

Figure 3: Example of protective film on galvanized steel material. Remove carefully during assembly.
3.2 Tools Required
- Electric screwdriver with adjustable torque (set to a low torque to avoid stripping screws).
- 4-foot ladder (for roof assembly).
- Protective gloves.
- Measuring tape.
- Level.
3.3 Assembly Steps (General Guidance)
- Base Assembly: Assemble the base frame first. Ensure it is perfectly level and square. If using an optional subfloor base, install it according to its instructions to keep the shed floor elevated from the ground, preventing moisture damage.
- Wall Panel Installation: Attach the wall panels to the base frame. It is highly recommended to have at least two people for this step, especially when securing the upper sections and corners.
- Roof Frame Assembly: Construct the roof beams and rafters. This step also benefits from an additional person to hold components in place.
- Roof Panel Installation: Secure the roof panels, ensuring proper overlap for water resistance. Pay attention to the placement of silicone washers for roof screws to prevent leaks.
- Door Installation: Install the two large doors, ensuring they swing freely and align correctly for proper locking.
- Final Checks: Verify all screws are tightened (without over-tightening), and all panels are securely in place.

Figure 4: Shed with doors open, showing interior space and base.
4. Operating Instructions
4.1 Door Operation
- The shed features two large, tall doors designed for easy access. They swing open wide to accommodate bulky items like lawnmowers or wheelbarrows.
- To open, unlock the latch and pull the doors outwards. To close, push the doors firmly together and secure the latch.
- Use the provided lock and keys to secure your belongings.
4.2 Ventilation
- The shed is equipped with bilateral ventilation openings near the roofline. These are designed to facilitate air circulation and prevent unpleasant odors and moisture buildup.
- Ensure these vents remain unobstructed for optimal performance.

Figure 5: Close-up of bilateral ventilation openings.
5. Maintenance
- Regular Cleaning: Clean the exterior of the shed periodically with mild soap and water to remove dirt, dust, and debris. Avoid abrasive cleaners or harsh chemicals that could damage the finish.
- Inspect for Damage: Regularly inspect the shed for any signs of damage, such as dents, loose screws, or rust. Address any issues promptly to maintain the shed's integrity.
- Roof Maintenance: Keep the roof clear of leaves, snow, and other debris to ensure proper drainage and prevent water pooling. Check the roof screws and washers for any signs of wear or leakage.
- Door Hinges and Latch: Lubricate door hinges and the latch mechanism annually to ensure smooth operation.
- Ventilation Openings: Ensure ventilation openings are free from obstructions to maintain airflow.

Figure 6: Sloped roof design for effective water shedding.
6. Troubleshooting
- Water Leakage: If you experience water leakage, check the following:
- Ensure all roof screws are properly tightened and their silicone washers are intact. Replace any damaged washers.
- Verify that the shed is installed on a level surface. Uneven installation can cause gaps or misalignments.
- Check for any gaps or unsealed areas along the seams of the panels. Apply appropriate sealant if necessary.
- Door Misalignment: If doors do not close or lock properly:
- Re-check the levelness of the shed's base.
- Inspect door hinges for any bending or damage.
- Adjust the door panels or frame as needed to ensure proper alignment.
- Difficulty Assembling Panels: If panels do not align or fit together easily:
- Double-check that you are using the correct panels for each step as per the assembly manual.
- Ensure the base is perfectly square and level.
- Do not force panels; slight adjustments to the frame or adjacent panels may be required.
7. Specifications
| Feature | Detail |
|---|---|
| Brand | Aoxun |
| Model Number | G37009BR04A-HJ-AX |
| Color | Brown |
| Material | Galvanized Steel |
| Product Dimensions (D x W x H) | 138"D x 163"W x 78"H (approx. 11.5'D x 13.5'W x 6.5'H) |
| Style | Industrial |
| Base Material | Metal |
| Top Material Type | Metal |
| Water Resistance Level | Water Resistant |
| Frame Material | Galvanized Steel |
| Door Style | Single Hinged, Lockable (Double doors for main access) |
| Assembly Required | Yes |
| Item Weight | 109 pounds |

Figure 7: Product dimensions and key features.
8. Warranty and Support
For customer support or inquiries regarding your Aoxun storage shed, please contact Aoxun Direct. The product is eligible for 30-day easy returns. Please refer to your purchase documentation for specific warranty details and contact information.
Ask a question about this manual
Ask about setup, troubleshooting, compatibility, parts, safety, or missing instructions. Manuals+ will review the question and use this page’s manual context to help answer it.