
1. Product Overview
The PARTPHONER Low Voltage Landscape Lighting 12-Pack provides efficient and aesthetically pleasing illumination for outdoor spaces. These pathway lights feature a durable aluminum construction, G4 LED bulbs, and are designed for easy installation in various outdoor environments.
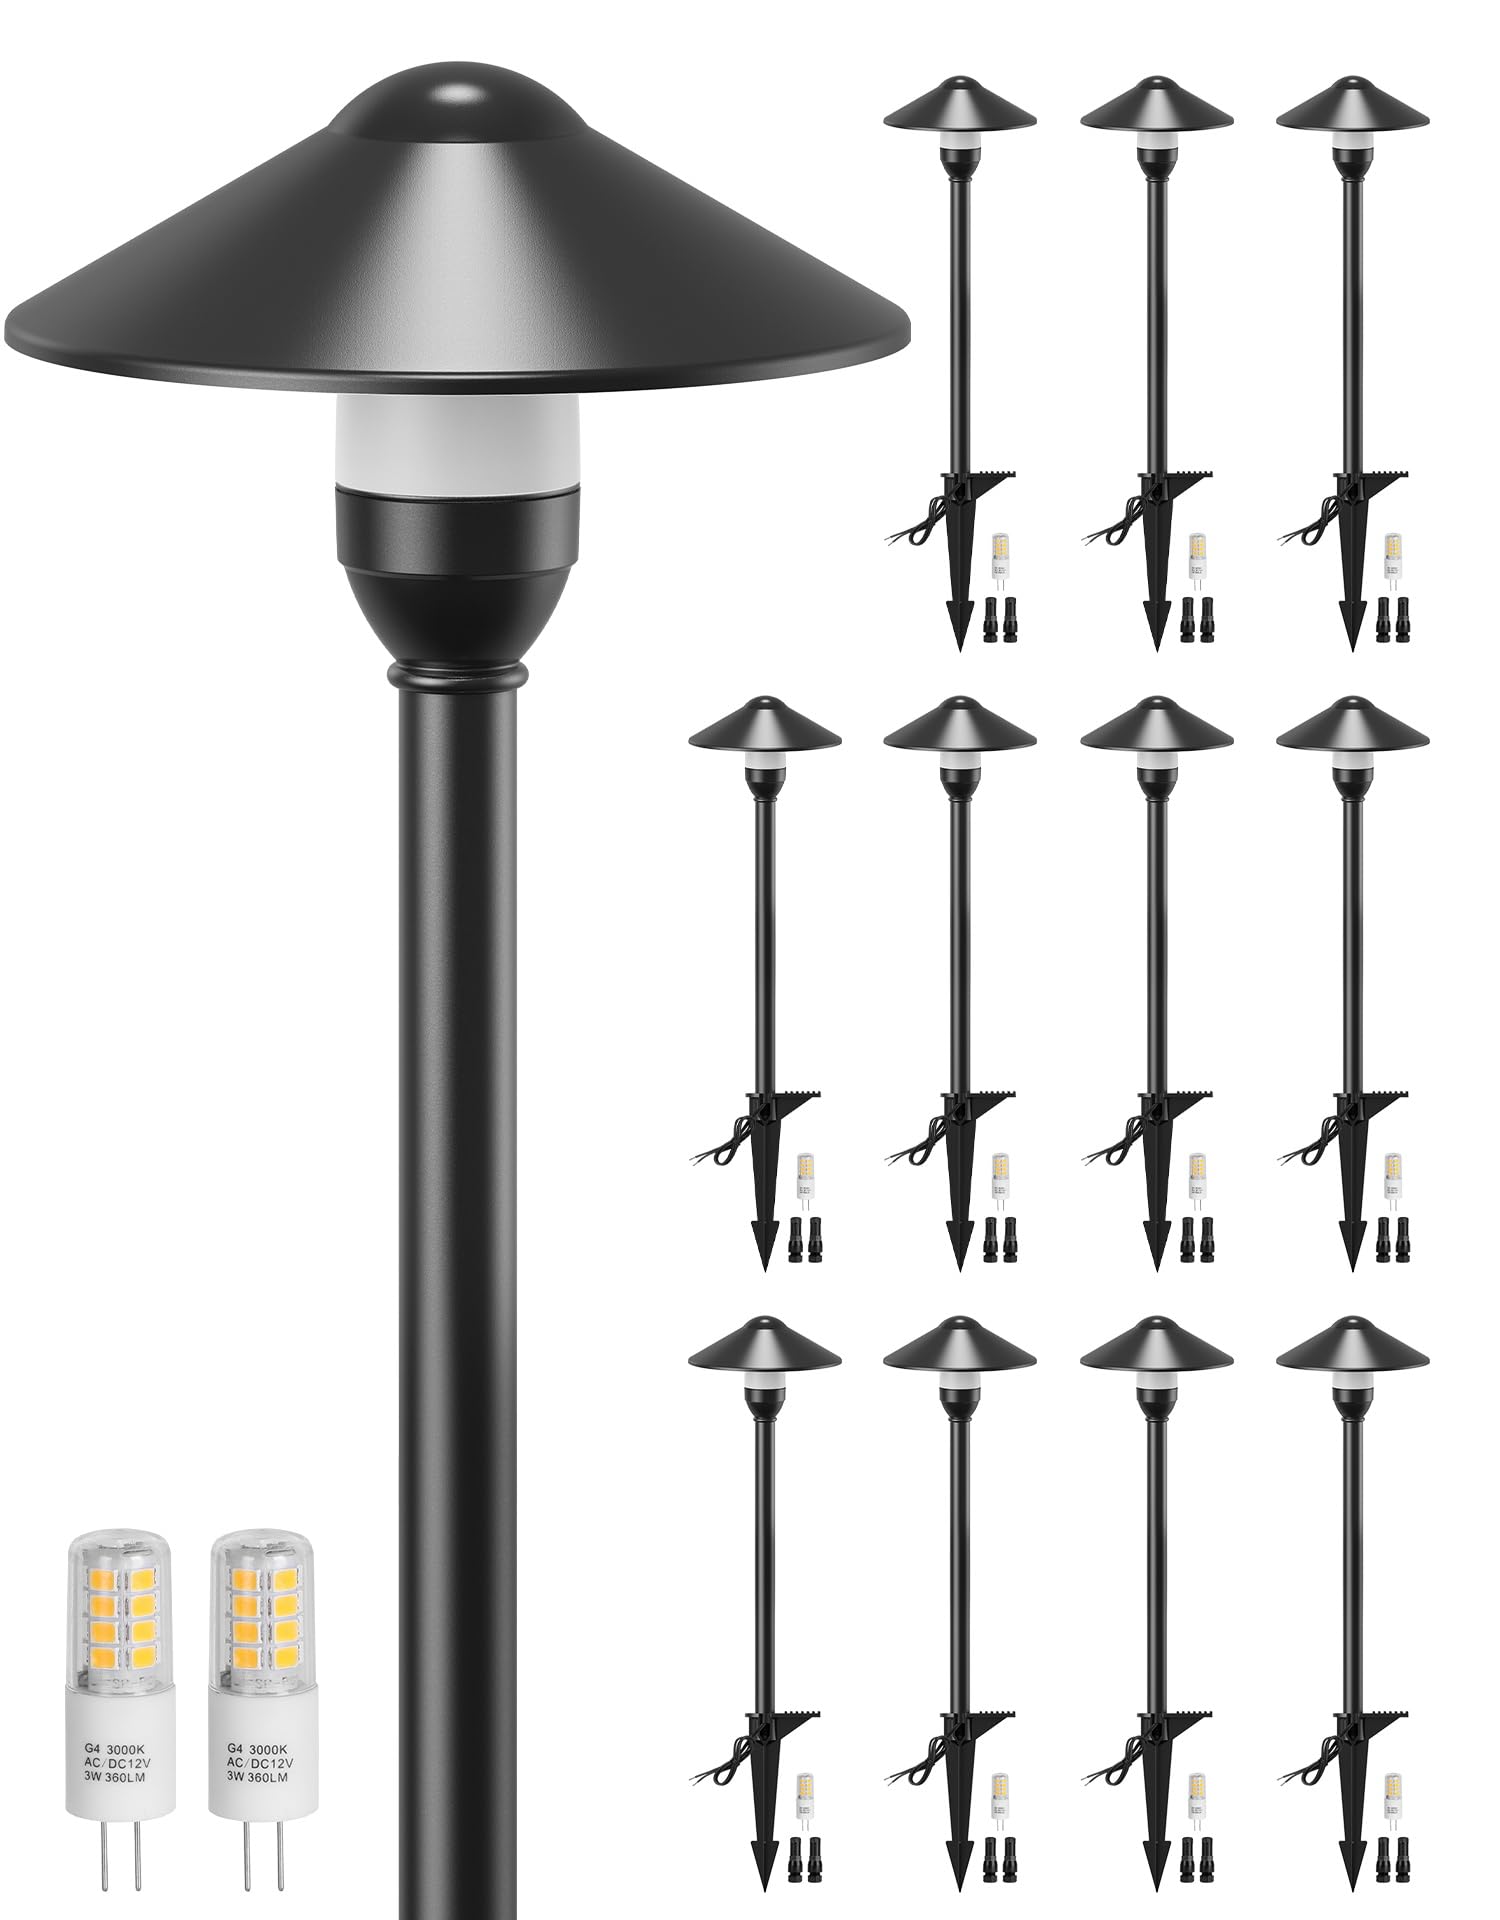
Image: PARTPHONER Low Voltage Landscape Lighting 12-Pack. This image displays the complete set of 12 pathway lights in their packaging.
Key Features:
- Replaceable G4 LED Bulbs: Each light comes with a 3W, 3000K G4 LED bulb, allowing for easy replacement without needing to change the entire fixture.
- Durable Construction: Crafted with robust aluminum housing and an IP65 waterproof rating, designed to withstand various weather conditions from -4°F to 104°F.
- Elegant Design: Features a matte black finish and a round hat-shaped shade, suitable for modern outdoor aesthetics.
- Low Voltage Operation: Operates on a 12V AC/DC power supply, making it safe for outdoor use around children and pets.
- Easy Installation: Designed for straightforward setup, ideal for DIY enthusiasts.
2. Safety Information
Please read and understand all safety instructions before installing or operating the lights. Failure to follow these instructions may result in electric shock, fire, or other hazards.
- Ensure the power supply is disconnected before installation, maintenance, or bulb replacement.
- Use only a 12V AC/DC low voltage landscape lighting transformer (not included). Do not connect directly to 120V household current.
- Do not submerge the lights in water. While IP65 rated for water resistance, prolonged submersion is not recommended.
- Keep children and pets away from the installation area during setup.
- If you are unsure about any part of the installation process, consult a qualified electrician.
- Ensure all connections are secure and protected from moisture.
3. Package Contents
Verify that all components are present and undamaged before beginning installation.

Image: Accessory List. This image shows the individual components included with the landscape lights.
- 12 x Aluminum Pathway Light Fixtures (includes elegant hat-shaped shade, heat-resistant PC lens, aluminum pole, and ETL certified wiring)
- 14 x G4 Bi-pin LED Bulbs (12 for installation, 2 spares)
- 12 x Fastlock Wire Connectors
- 12 x Aluminum Stakes
Note: Transformer and main low-voltage cable are not included and must be purchased separately.
4. Setup and Installation
Follow these steps for proper installation of your PARTPHONER landscape lights.
4.1 Assembly
- Carefully unpackage all components.
- Insert the G4 LED bulb into the socket located inside the light fixture. Ensure it is seated firmly.
- Attach the heat-resistant PC lens and the hat-shaped shade to the top of the aluminum pole.
- Screw the aluminum stake onto the bottom of the aluminum pole.
4.2 Placement and Wiring
- Plan your desired layout for the pathway lights. Consider spacing them approximately 7.8 feet apart for optimal illumination along pathways, driveways, or garden beds.
- Dig a small trench or use a landscape staple gun to secure the main low-voltage cable (not included) along your planned path.
- Position each assembled light fixture in its desired location. Use the foot pedal on the aluminum stake to firmly push it into the ground.
- Connect the wires from each light fixture to the main low-voltage cable using the provided fastlock wire connectors. Ensure a secure connection by aligning the wires and snapping the connector shut.
- Connect the main low-voltage cable to your 12V AC/DC landscape lighting transformer (not included).

Image: Lighting System Schematic. This diagram illustrates how multiple pathway lights connect to a 12V AC/DC transformer via a main cable.

Image: Flexible Landscape Layout. This image demonstrates how the lights can be arranged to adapt to various garden and pathway shapes.
4.3 Cable Selection Guide
Selecting the correct gauge for your low-voltage cable is crucial for optimal performance. Refer to the table below:

Image: Cable Selection Table. This table provides guidance on appropriate cable gauge based on total fixture wattage and cable length.
| Total Fixture Wattage | 0 - 50 feet | 51 - 100 feet | 101 - 150 feet |
|---|---|---|---|
| 0 - 60 Watts | 16 AWG | 16 AWG | 14 AWG |
| 61 - 120 Watts | 16 AWG | 14 AWG | 12 AWG |
| 121 - 180 Watts | 14 AWG | 12 AWG | Not Recommended |
| 181 - 240 Watts | 14 AWG | 12 AWG | Not Recommended |
| 241 - 300 Watts | 12 AWG | Not Recommended | Not Recommended |
| 600W Transformer (2x300 Watts) | 12 AWG | Not Recommended | Not Recommended |
A transformer works best when used within 80% of its rated capacity. For a 12-pack of lights (12 * 3W = 36W), a 45W transformer will be sufficient.
5. Operating Instructions
Once properly installed and connected to a 12V AC/DC transformer, the lights will operate according to the transformer's settings. Most landscape transformers include a timer or photocell for automatic dusk-to-dawn operation.
- Power On: Ensure the transformer is plugged into a GFCI-protected outdoor outlet and turned on.
- Timer/Photocell: Adjust your transformer's settings to control when the lights turn on and off.
- Light Output: The lights provide a warm white (3000K) illumination, suitable for creating a cozy ambiance.

Image: Landscape Lighting Applications. This image shows the lights illuminating various outdoor areas such as driveways, pathways, and gardens.
6. Maintenance
Regular maintenance ensures the longevity and optimal performance of your landscape lights.
6.1 Bulb Replacement
The G4 LED bulbs are designed to be easily replaceable.

Image: Bulb Replacement Diagram. This image illustrates the non-integrated design of the lights, allowing for easy bulb replacement.
- Disconnect Power: Always turn off the transformer and disconnect power to the lights before attempting bulb replacement.
- Remove Shade/Lens: Carefully remove the hat-shaped shade and heat-resistant PC lens to access the bulb.
- Replace Bulb: Gently pull out the old G4 bulb and insert a new G4 LED bulb (3W, 12V AC/DC, 3000K).
- Reassemble: Reattach the lens and shade securely.
- Restore Power: Turn on the transformer to test the new bulb.
6.2 Cleaning
- Periodically wipe down the light fixtures with a soft, damp cloth to remove dirt and debris.
- Avoid using harsh chemicals or abrasive cleaners, as these can damage the finish.
6.3 Connection Check
- Inspect wire connections annually to ensure they remain secure and free from corrosion.
- Ensure the stakes are firmly anchored in the ground.
7. Troubleshooting
If you encounter issues with your landscape lights, refer to the following common problems and solutions:
| Problem | Possible Cause | Solution |
|---|---|---|
| Lights do not turn on | No power to transformer | Check GFCI outlet, ensure transformer is plugged in and turned on. |
| Faulty bulb | Replace the G4 LED bulb. | |
| Loose wire connection | Inspect all fastlock connectors and main cable connections. Re-secure if loose. | |
| Faulty transformer | Test transformer with another low-voltage device or replace if necessary. | |
| Lights are dim or flicker | Incorrect cable gauge for length/wattage | Refer to the Cable Selection Guide (Section 4.3) and replace cable if too thin. |
| Too many lights on one circuit | Reduce the number of lights or use a higher wattage transformer. | |
| Loose connection or corrosion | Check and clean all electrical connections. | |
| Water inside light fixture | Improper assembly or damaged seal | Ensure lens and shade are securely fastened. Check for any cracks or damage to the fixture. |
8. Specifications
| Feature | Specification |
|---|---|
| Brand | PARTPHONER |
| Model Number | SO080-1 |
| Material | Aluminum |
| Color | Black |
| Power Source | Corded Electric (Low Voltage) |
| Voltage | 12V AC/DC |
| Bulb Type | G4 LED |
| Bulb Wattage | 3W per bulb |
| Color Temperature | 3000K (Warm White) |
| Water Resistance Level | IP65 Waterproof |
| Operating Temperature | -4°F to 104°F |
| Item Dimensions (L x W x H) | 6"L x 6"W x 22.83"H (per light) |
| Number of Lights | 12 |
| Manufacturer | Shenzhen Senter Ecommerce Co. Ltd |

Image: Product Dimensions. This diagram provides detailed measurements of the light fixture and stake.

Image: IP65 Waterproof and Temperature Resistance. This image highlights the product's durability against corrosion, heat, and frost.
9. Warranty and Support
PARTPHONER stands behind the quality of its products.
- Warranty: This product is backed by a 36-month replacement warranty from the date of purchase.
- Customer Support: For any questions, concerns, or warranty claims, please contact PARTPHONER customer service. Refer to your purchase documentation for contact details.