
1. Introduction
Thank you for choosing the Auxmir M4-WiFi Smart Bedside Lamp. This intelligent night light offers a wide range of customizable colors and brightness levels, controllable via touch, a dedicated mobile application, or voice commands through Alexa and Google Home. Please read this manual carefully to ensure proper setup, operation, and maintenance of your device.
2. Safety Instructions
- Power Source: This lamp does not have a built-in battery. It must remain connected to a power source via the provided USB-C cable for continuous operation. An AC adapter is not included.
- Indoor Use Only: This product is designed for indoor use. Do not expose it to water or high humidity.
- Cleaning: Disconnect the power before cleaning. Use a soft, dry cloth. Do not use liquid cleaners or aerosol sprays.
- Children: Keep out of reach of small children unless under adult supervision. The lamp is designed to be child-friendly but is not a toy.
- Disassembly: Do not attempt to disassemble or repair the lamp yourself. This will void the warranty and may cause damage or injury.
- Operating Temperature: Avoid extreme temperatures. Operate the lamp within a normal room temperature range.
3. Package Contents
Please check the package for the following items:
- Auxmir M4-WiFi Smart Bedside Lamp (1 unit)
- USB-C Power Cable (1 unit)
- User Manual (1 unit)
4. Product Overview
The Auxmir M4-WiFi Smart Bedside Lamp features a sleek, conical design with a touch-sensitive top panel and a wooden-look base. It provides 256 adjustable RGB colors and warm white light, suitable for various environments.
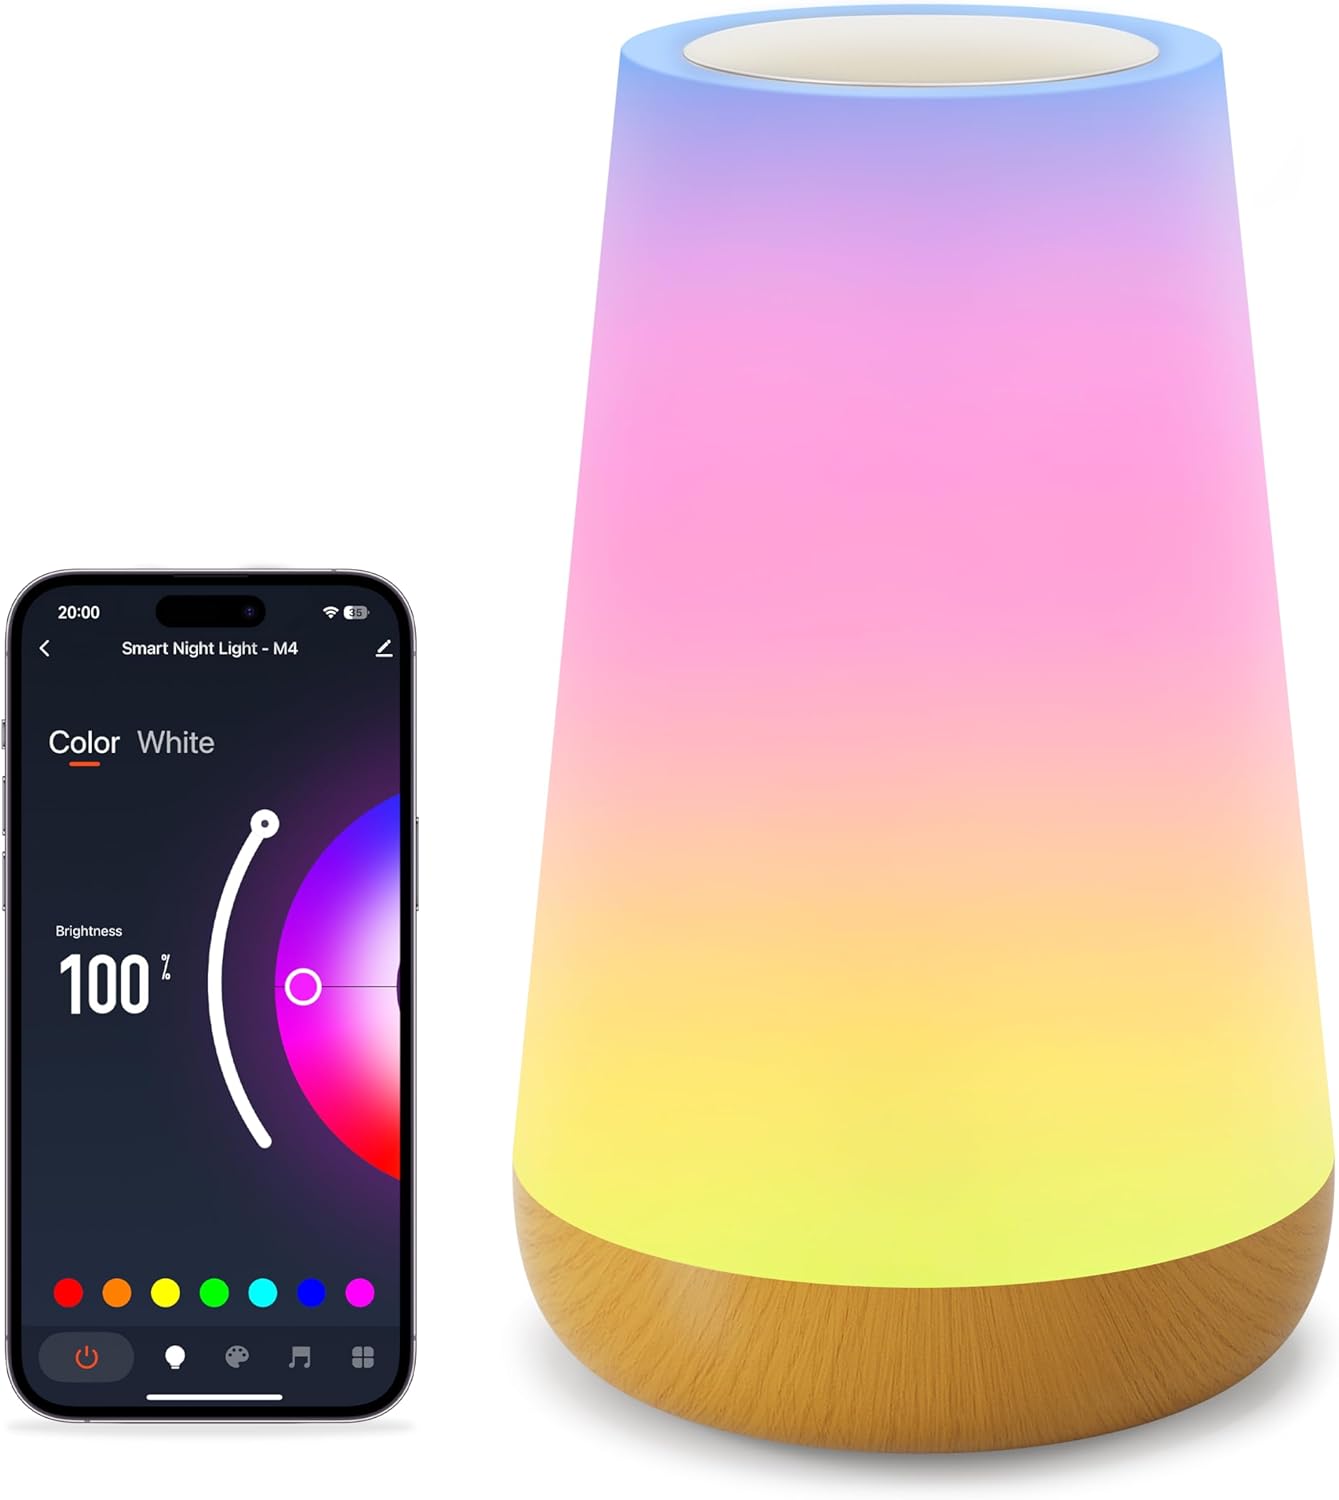
5. Setup
5.1 Power Connection
- Connect the provided USB-C cable to the lamp's power port.
- Plug the other end of the USB-C cable into a compatible USB power adapter (not included) or a USB port on another device.
- Ensure the power source is stable. The lamp will illuminate briefly to indicate it has power.
5.2 App Installation and Wi-Fi Pairing
To unlock all smart features, download the dedicated mobile application and connect the lamp to your Wi-Fi network.

- Download the App: Search for the recommended app (e.g., 'Smart Life' or 'Tuya Smart') in your smartphone's app store (iOS or Android) and install it.
- Register/Log In: Open the app and create an account or log in if you already have one.
- Add Device: In the app, tap '+' or 'Add Device'. Select 'Lighting' or 'Smart Lamp'.
- Enter Pairing Mode: With the lamp powered on, long-press the touch panel for 5 seconds until the light starts blinking rapidly. This indicates it is in network configuration mode.
- Connect to Wi-Fi: Follow the on-screen instructions in the app. Ensure your phone is connected to a 2.4GHz Wi-Fi network (5GHz networks are not supported). Enter your Wi-Fi password when prompted.
- Completion: Once connected, the lamp will stop blinking and the app will confirm successful pairing. You can now rename your lamp for easier control.
6. Operating Instructions
6.1 Touch Control
The lamp features a touch-sensitive panel on its top for basic control.
- Turn On: Short press the touch panel.
- Turn Off: Long press the touch panel for 2 seconds.
- Switch Color and Mode: Short touch the panel after turning on the light to cycle through colors and modes.
- Adjust Brightness: Slide your finger across the touch panel to adjust brightness.
6.2 App Control
The mobile application provides comprehensive control over the lamp's features.

- Color and Brightness Adjustment: Use the app's interface to select from 256 RGB colors and adjust brightness from 1% to 100%.
- Scene Modes: Choose from over 32 built-in lighting modes, including holiday, nature, and festive scenes.
- DIY Lighting: Create and save your own custom lighting effects and color sequences.
6.3 Voice Control (Alexa & Google Home)
Integrate your lamp with Amazon Alexa or Google Home Assistant for hands-free control.

- Link Account: In the Alexa or Google Home app, enable the skill for your smart lamp's app (e.g., 'Smart Life' or 'Tuya Smart') and link your accounts.
- Discover Devices: Ask your voice assistant to discover new devices.
- Voice Commands: Use commands such as:
- "Alexa/Hey Google, turn on [Lamp Name]."
- "Alexa/Hey Google, set [Lamp Name] to blue."
- "Alexa/Hey Google, dim [Lamp Name] to 50%."
6.4 Timer & Scheduling
Set schedules for the lamp to automatically turn on or off.

- Open the app and navigate to the lamp's settings.
- Select 'Timer' or 'Schedule' option.
- Set desired on/off times and repeat days.
6.5 Music Mode
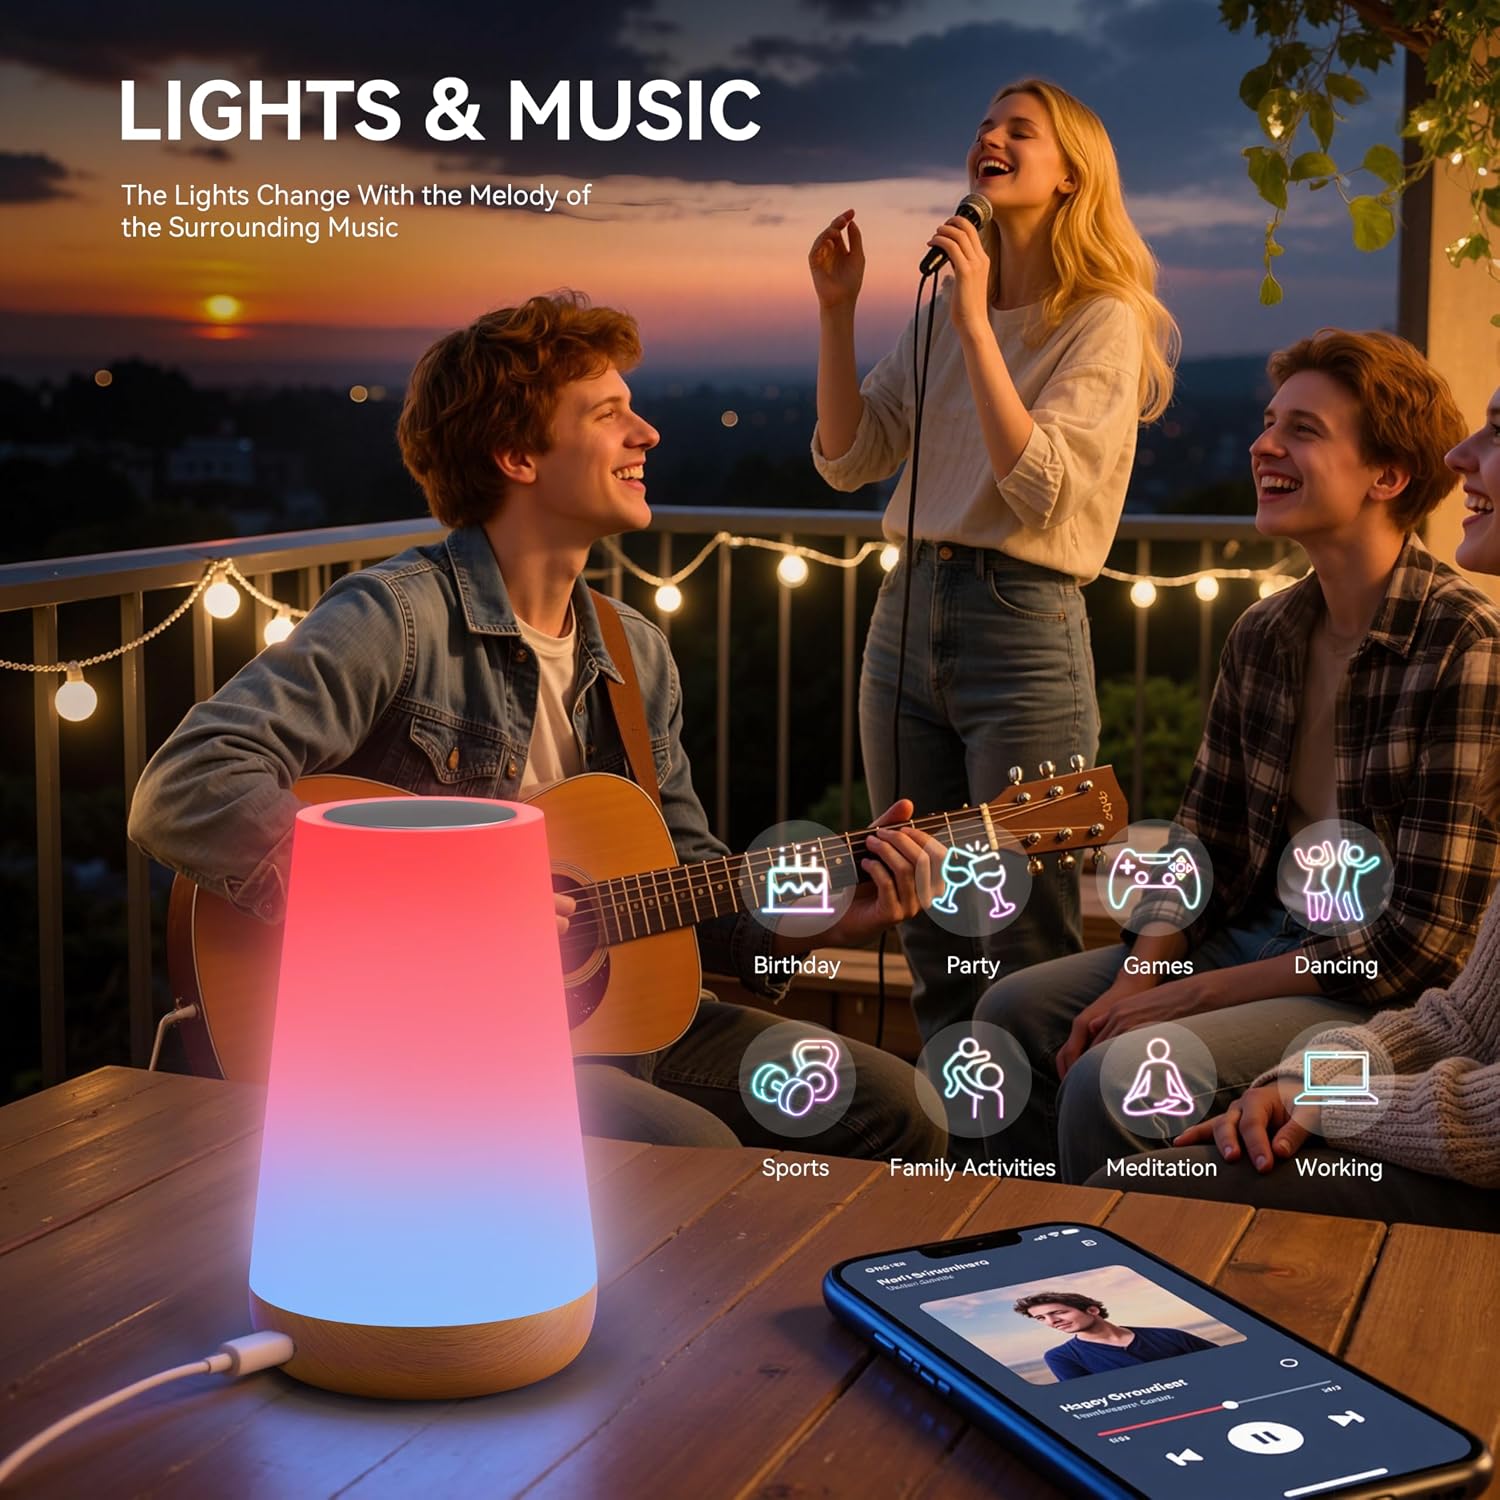
The lamp can synchronize its lighting effects with music, creating an immersive atmosphere.

- Activate 'Music Mode' within the mobile application.
- The lamp will use its built-in microphone to detect ambient music and adjust its lighting patterns accordingly.
7. Maintenance
- Cleaning: Ensure the lamp is unplugged before cleaning. Wipe the exterior with a soft, dry, lint-free cloth. Do not use abrasive cleaners or solvents.
- Storage: When not in use for extended periods, store the lamp in a cool, dry place, away from direct sunlight and extreme temperatures.
- Handling: Handle the lamp with care to avoid dropping or physical damage.
8. Troubleshooting
| Problem | Possible Cause | Solution |
|---|---|---|
| Lamp does not turn on. | No power connection. | Ensure the USB-C cable is securely connected to both the lamp and a working power source. |
| Cannot connect to Wi-Fi. | Incorrect Wi-Fi band (5GHz). Incorrect password. Lamp not in pairing mode. | Ensure your router is broadcasting a 2.4GHz Wi-Fi signal. Verify the Wi-Fi password. Long-press the touch panel for 5 seconds to enter pairing mode (rapid blinking). |
| Voice control not working. | Account not linked. Incorrect device name. Internet connectivity issues. | Ensure your smart lamp app account is linked to Alexa/Google Home. Check the device name in the app and use it in commands. Verify internet connection. |
| Lamp randomly changes color/mode. | Accidental touch. Interference. | Ensure nothing is touching the touch panel. If issues persist, try resetting the lamp and re-pairing. |
| Music mode not responsive. | Low music volume. Microphone obstruction. | Increase music volume. Ensure the lamp's microphone (if applicable) is not covered. |
9. Specifications
| Feature | Detail |
|---|---|
| Model Number | M4-WiFi Night Light |
| Dimensions (L x W x H) | 6.5 x 9.3 x 15.2 cm |
| Weight | 240 grams |
| Manufacturer | Auxmir |
| Base Material | Plastic |
| Shade Material | Cotton |
| Lamp Type | Night Light / Bedside Lamp |
| Light Source | LED (256 RGB colors + Warm White) |
| Control Method | Touch, Mobile App (Wi-Fi), Voice (Alexa, Google Home) |
| Connectivity Protocol | Wi-Fi (2.4GHz only) |
| Power Supply | USB-C Cable (constant power required, no built-in battery) |
| Waterproof | No |
| Usage Environment | Indoor |
| Special Features | Dimmable, 100+ Scene Modes, DIY Lighting, Timer Function, Music Mode |
10. Warranty and Support
Auxmir products come with a 3-Year Warranty from the date of purchase, covering manufacturing defects. Additionally, we offer Lifetime Customer Support to assist you with any questions or issues you may encounter.
For warranty claims or technical assistance, please contact our customer service team via the contact information provided on our official website or through your purchase platform. Please have your order number and product model (M4-WiFi Night Light) ready when contacting support.