1. Introduction
Thank you for choosing the Dessiz Commercial Ice Maker Machine, Model DZB-45. This manual provides essential information for the safe and efficient operation, installation, and maintenance of your ice maker. Please read this manual thoroughly before initial use and retain it for future reference.
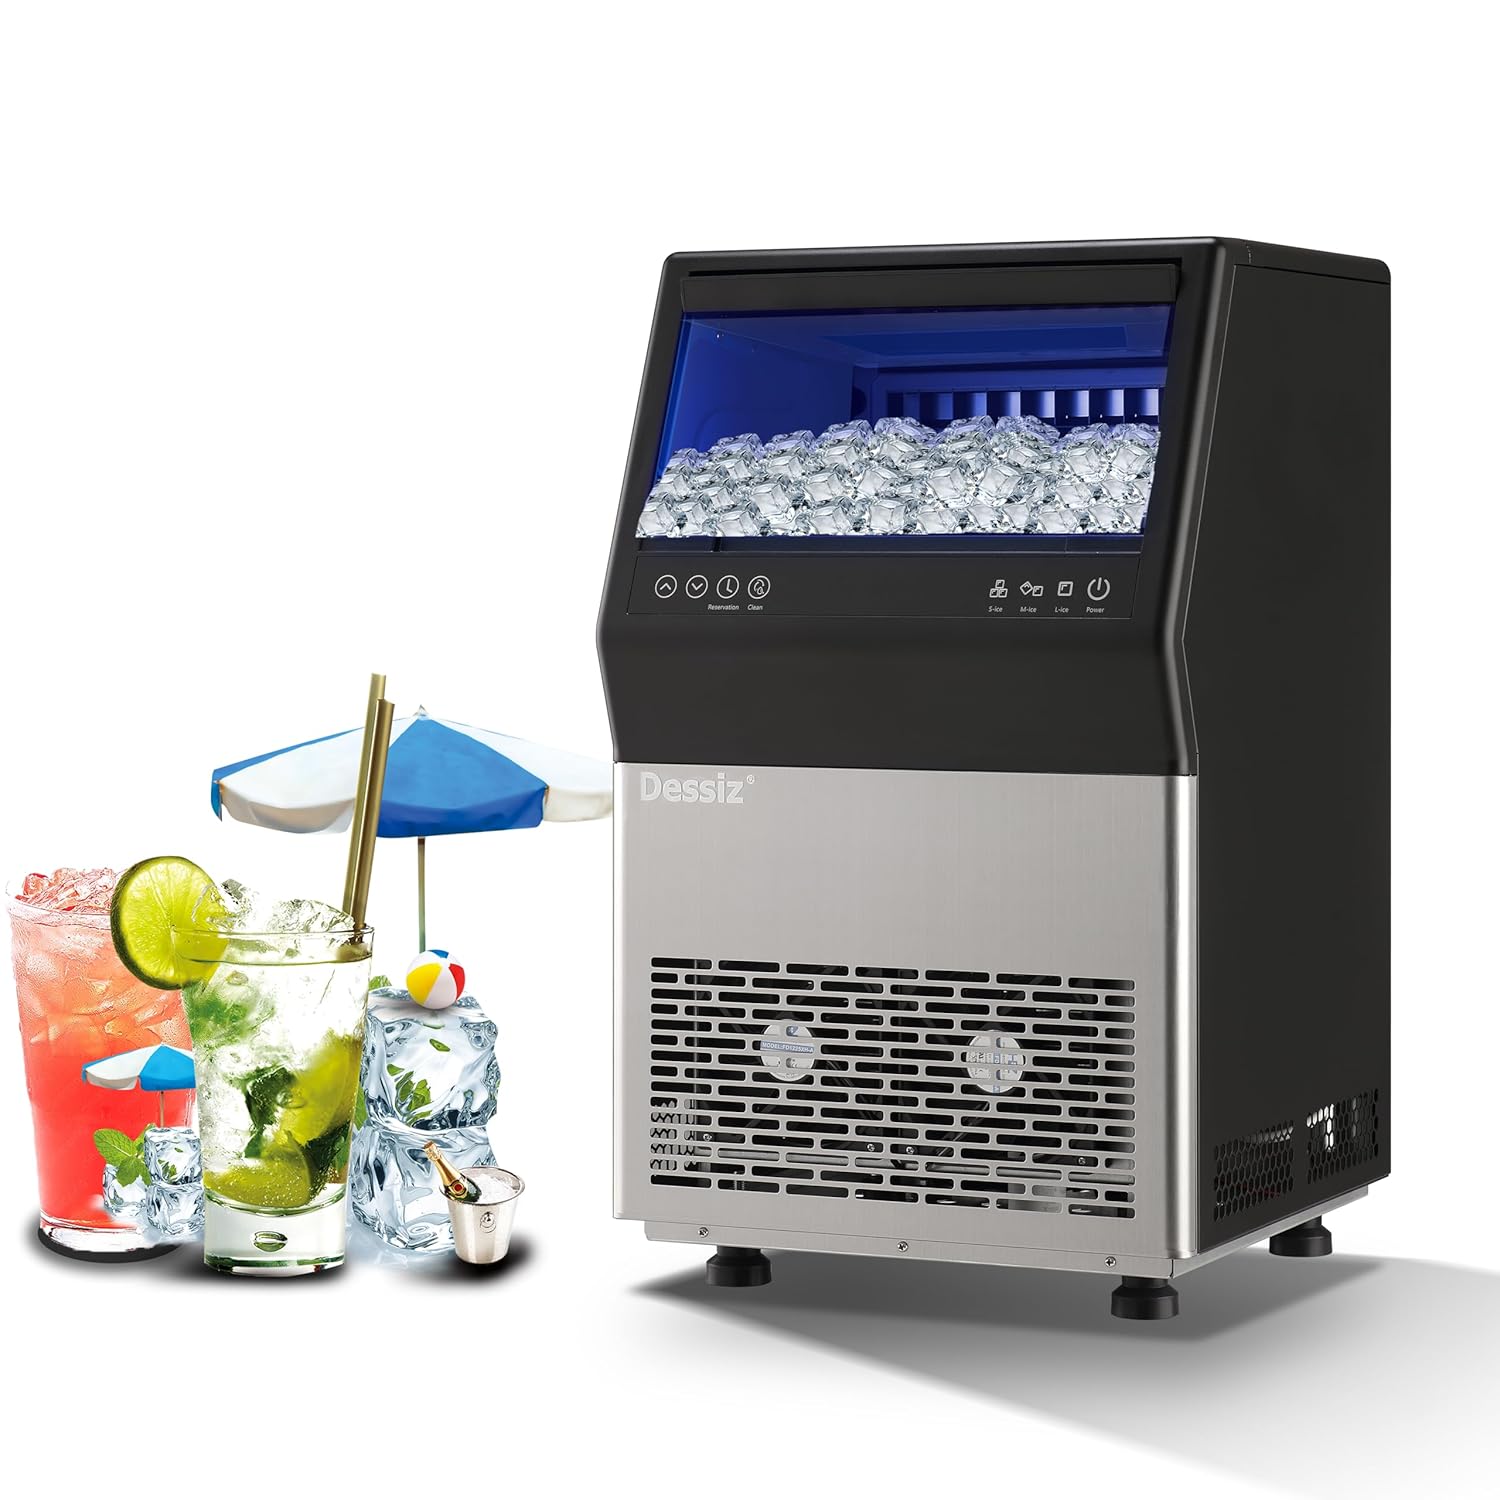
Figure 1: Dessiz Commercial Ice Maker Machine, Model DZB-45. This image shows the front view of the ice maker, featuring a black top section with a clear lid revealing ice cubes, a control panel, and a stainless steel lower section with ventilation grilles.
2. Safety Instructions
To prevent injury to users or damage to the product, observe the following safety precautions:
- Ensure the ice maker is placed on a stable, level surface.
- Do not operate the appliance with a damaged power cord or plug.
- Keep ventilation openings clear of obstructions.
- Do not immerse the appliance, power cord, or plug in water or other liquids.
- Unplug the ice maker before cleaning or performing any maintenance.
- Allow the unit to stand upright for at least 24 hours before initial use to allow refrigerants to settle.
- This appliance is designed for commercial and household use.
3. Product Overview and Components
The Dessiz Commercial Ice Maker Machine is designed for efficient ice production with a large storage capacity. Key components include:
- Control Panel: For operating functions and settings.
- Ice Storage Bin: Holds up to 15 lbs of ice.
- Water Inlet: Supports both tap water and bottled water connections.
- Drain Outlet: For water drainage during cleaning or defrosting.
- Adjustable Feet: For leveling the unit.

Figure 2: Overview of Dessiz Ice Maker components and dimensions. This image displays the ice maker with callouts for its dimensions (23.8"H x 15.74"W x 14.17"D) and a list of included accessories such as sewage pipe, connectors, buckles, water inlet pipes, ice shovel, and ice cube bags.
4. Setup and Installation
4.1 Unpacking
- Carefully remove all packaging materials.
- Inspect the ice maker for any shipping damage.
- Remove any protective films or stickers from the unit.
4.2 Placement
- Place the ice maker on a firm, level surface.
- Ensure adequate ventilation around the unit. Maintain at least 5 inches of space from walls or other appliances.
- Avoid direct sunlight or heat sources.
- Adjust the leveling feet to ensure stability.
4.3 Water Connection
The Dessiz ice maker supports two water input methods:
- Direct Tap Water Supply: Connect the provided water inlet pipe to a potable water source and the designated inlet on the ice maker. Ensure all connections are secure to prevent leaks.
- Self-Priming Bottled Water: Use the self-priming water pipe to draw water from a gallon-sized bottled water container.

Figure 3: Illustration of the two water input methods. This image shows diagrams for connecting an external tap water supply with a filter and using a self-priming pump for bottled water, highlighting the tap water inlet and self-absorbing water inlet ports on the back of the machine.
4.4 Initial Cleaning
Before first use, it is recommended to clean the ice maker. Refer to the 'Maintenance' section for detailed cleaning instructions.
5. Operating Instructions
5.1 Control Panel Overview
The ice maker features an intuitive LED control panel for easy operation.

Figure 4: Detailed view of the LCD control panel. This image highlights the various buttons and indicators on the panel, including Power, Ice Making Mode (S-ice, M-ice, L-ice), Water Intake Mode (Tap-water, Bottled water), Reservation, Clean, Ice Full, Add Water, Timeout, and HT-protection.
5.2 Powering On/Off
- To turn on the ice maker, press the Power button.
- To turn off the ice maker, press the Power button again.
5.3 Ice Making Modes
Select your desired ice cube thickness:
- S-ice (Small): Produces thinner ice cubes in approximately 8-10 minutes.
- M-ice (Medium): Produces medium-sized ice cubes in approximately 10-12 minutes.
- L-ice (Large): Produces thicker ice cubes in approximately 12-15 minutes.
The machine produces 45 ice cubes per cycle and up to 100 lbs of ice in 24 hours.

Figure 5: Visual representation of adjustable ice cube thickness. This image shows three ice cube sizes (S, M, L) with corresponding ice making times (8-10 mins, 10-12 mins, 12-15 mins) and examples of drinks suitable for each size.
5.4 Reservation Function
The reservation function allows you to schedule ice production up to 24 hours in advance.
- Press the Reservation button.
- Use the Up and Down arrows to set the desired time for ice production to begin.
- Confirm the setting. The machine will start making ice at the scheduled time.

Figure 6: Illustration of the 24-hour reservation feature. This image depicts a timeline from night closure to getting full ice, indicating the ability to set a timer for ice production.
6. Maintenance
6.1 Automatic Self-Cleaning
The ice maker is equipped with an automatic self-cleaning function:
- Ensure the water supply is connected.
- Press and hold the Clean button for more than 5 seconds to initiate the automatic cleaning cycle.
- You can adjust the cleaning duration in 5-minute increments using the Up and Down buttons.

Figure 7: Visual guide for activating the automatic cleaning function. This image shows the control panel with the 'Clean' button highlighted and instructions to press it for more than 5 seconds to start the cycle, along with options to adjust duration.
6.2 Regular Cleaning
For optimal performance and hygiene, regular manual cleaning is recommended:
- Unplug the ice maker from the power outlet.
- Clean the inner wall of the sink and ice storage bin with a neutral cleaner.
- Rinse thoroughly with clean water.
- Wipe down the exterior with a soft, damp cloth.
- Clean the water lines and drain periodically to prevent mineral buildup.
6.3 Defrosting
If ice accumulates excessively, the defrost function can be activated via the control panel. Ensure the drain is properly connected to allow melted water to escape.
7. Troubleshooting
Refer to the following table for common issues and their solutions:
| Problem | Possible Cause | Solution | ||||||||
|---|---|---|---|---|---|---|---|---|---|---|
| Ice production is slow or insufficient. | Insufficient water supply; high ambient temperature; dirty condenser. | Check water connection; ensure proper ventilation; clean condenser. | ||||||||
| Ice cubes are too thin or too thick. | Incorrect ice making mode selected. | Adjust ice cube thickness setting (S-ice, M-ice, L-ice) on the control panel. | ||||||||
| Ice gets stuck in the tray. | Water quality issues; machine needs defrosting or cleaning. | Perform a self-cleaning cycle; use filtered water; manually clean the ice tray. | ||||||||
Related Documents - DZB-45
|


