1. Introduction and Overview
This manual provides comprehensive instructions for the installation, operation, and maintenance of your Ossuret 9-Inch Android 13 Car Radio. This unit is specifically designed for Citroen C2 and C3 models manufactured between 2001 and 2010. It integrates advanced features such as a touchscreen display, GPS navigation, wireless Apple CarPlay, Android Auto, Wi-Fi, Bluetooth, steering wheel control compatibility, Digital Sound Processor (DSP), and USB connectivity.
Please read this manual thoroughly before installation and use to ensure proper functionality and to maximize your driving experience.
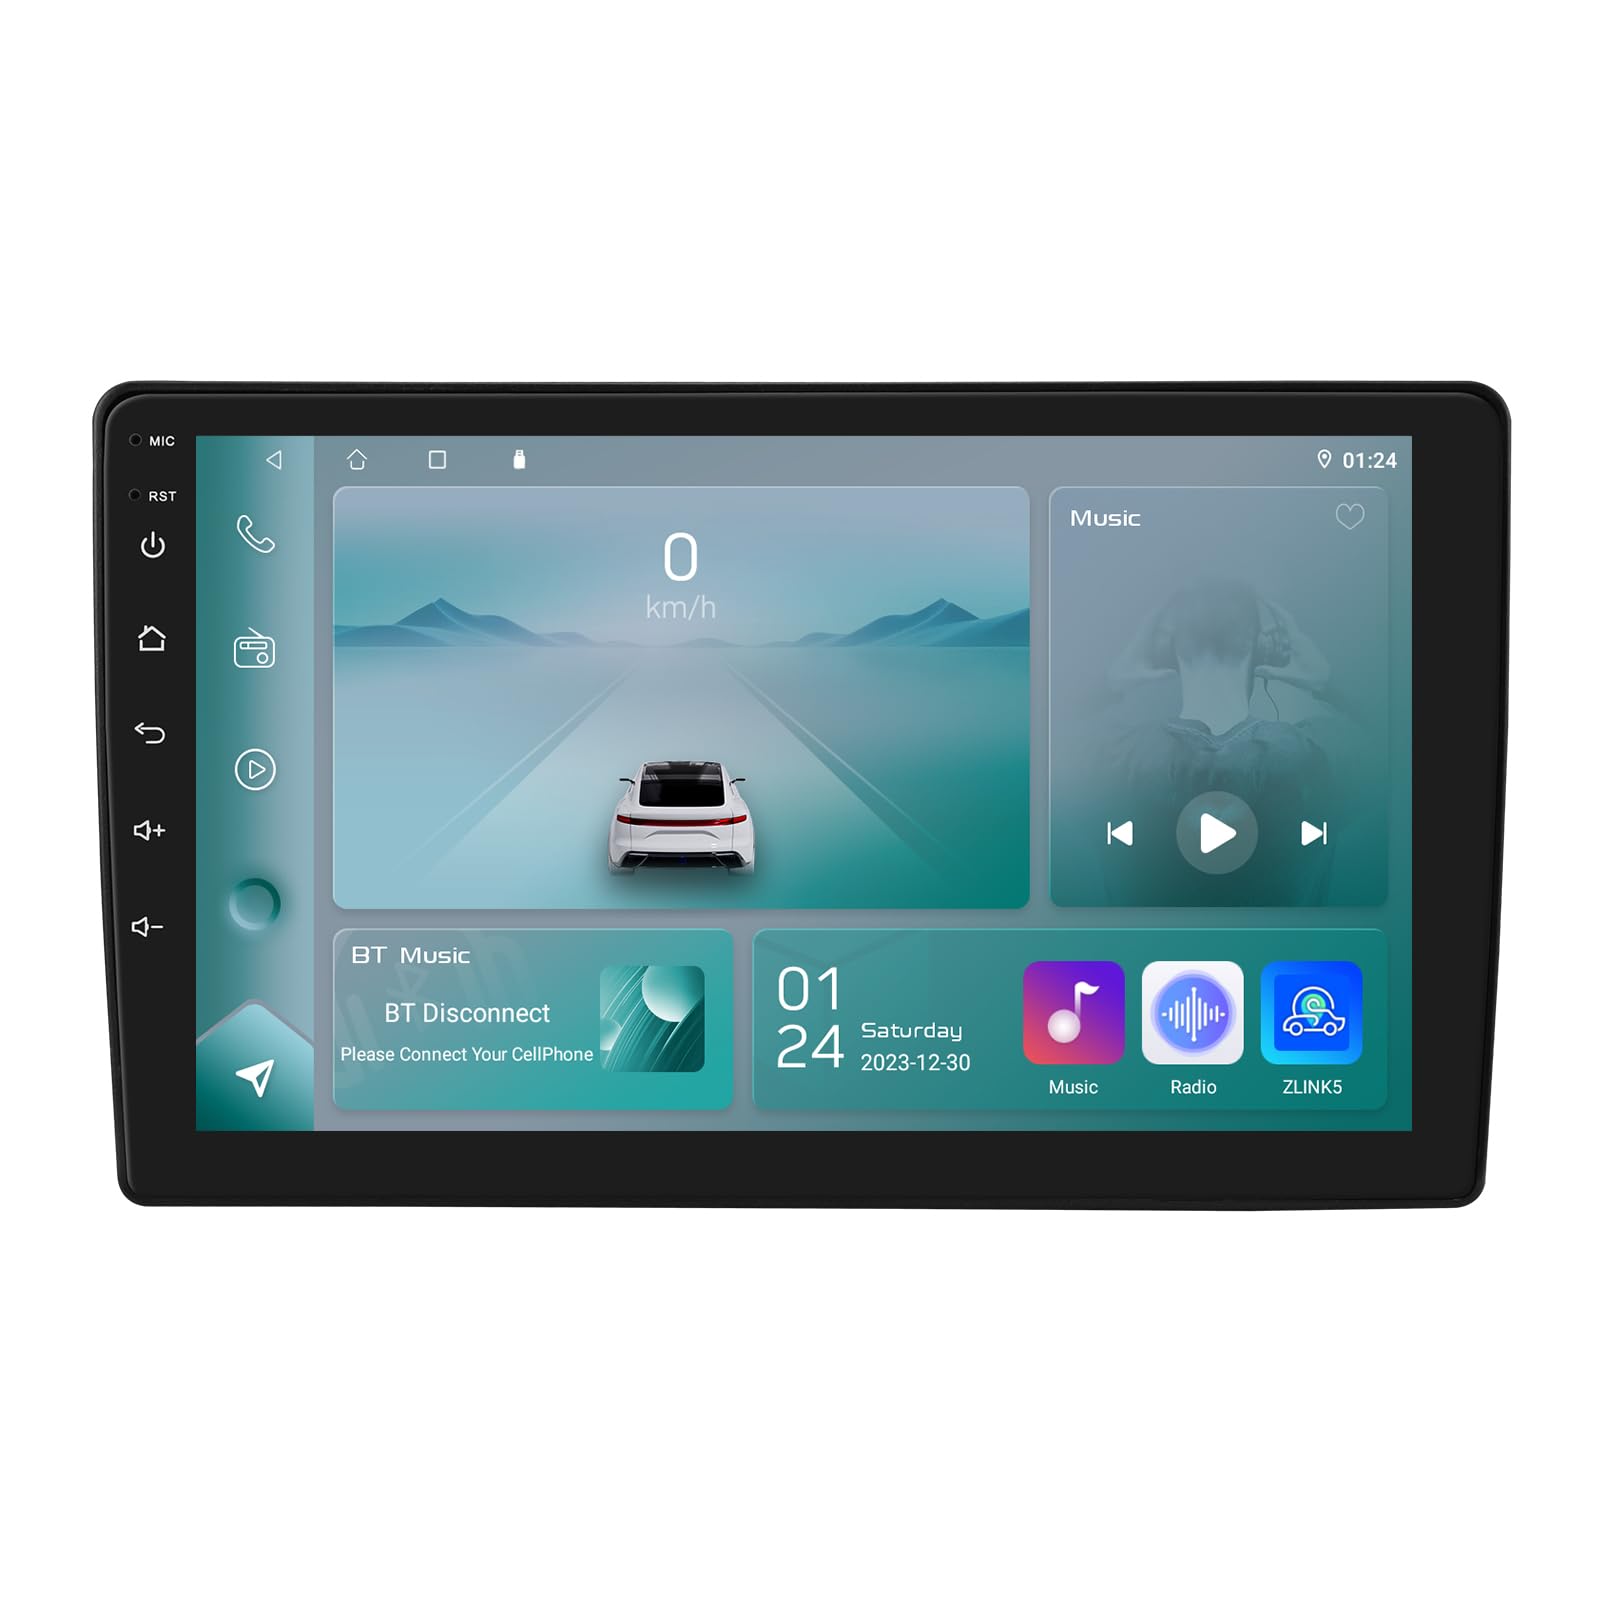
Image 1.1: Front view of the Ossuret 9-Inch Android 13 Car Radio unit.
2. Setup and Installation
2.1. Compatibility
This car radio is compatible with Citroen C2 and C3 models produced from 2001 to 2010. It includes a custom frame for seamless integration into your vehicle's dashboard.

Image 2.1: Comparison of a Citroen C2/C3 dashboard before and after installation of the Ossuret car radio.
2.2. Package Contents
Before beginning installation, verify that all components are present in the package:
- Main Head Unit (Machine)
- Custom Installation Frame
- GPS Antenna
- RCA Harness (for WiFi version only)
- 4 Pin USB Cable
- 6 Pin USB Cable
- External Microphone
- Rear Camera Input RCA Cable
- Power Cable 1
- Power Cable 2
- Radio Antenna Adapter
- Factory USB Adapter
- Radio Antenna Adapter Cable
- Canbus Decoder

Image 2.2: Visual representation of all components included in the product package.
2.3. Installation Steps
- Preparation: Disconnect the vehicle's battery before starting any electrical work.
- Remove Old Radio: Carefully remove the existing car radio and dashboard trim.
- Connect Wiring: Connect the provided power cables, RCA harnesses, USB cables, and antenna adapters to the corresponding ports on the new Ossuret unit and the vehicle's wiring harness. Ensure the Canbus decoder is correctly connected if your vehicle requires it for steering wheel controls or other integrated functions.
- GPS Antenna: Mount the GPS antenna in a location with a clear view of the sky, typically on the dashboard or under the windshield.
- External Microphone: Install the external microphone in a suitable position for clear hands-free calling.
- Test Connections: Before fully reassembling, reconnect the battery and briefly test the unit's basic functions (power on, audio, touchscreen responsiveness).
- Secure Unit: Mount the Ossuret unit into the custom frame and secure it in the dashboard opening.
- Reassemble: Reinstall all dashboard trim pieces.

Image 2.3: The Ossuret car radio seamlessly integrated into a Citroen C2/C3 dashboard.
3. Operating Instructions
3.1. Power On/Off and Basic Interface
Press and hold the power button on the unit or use the vehicle's ignition to power on the device. The Android 13 operating system will boot up, presenting the main interface. Navigate through applications and settings using the capacitive touchscreen.
3.2. Wireless Apple CarPlay / Android Auto
This unit supports wireless Apple CarPlay and Android Auto via the pre-installed and activated Zlink app. To connect:
- Ensure your smartphone's Wi-Fi and Bluetooth are enabled.
- Open the Zlink app on the car radio.
- Follow the on-screen instructions to pair your phone via Bluetooth first, then establish the Wi-Fi connection for CarPlay/Android Auto.
- Once connected, your phone's compatible apps will appear on the car radio display, allowing for navigation, music, calls, and messages.

Image 3.1: The car radio screen showing the CarPlay/Android Auto interface alongside a smartphone.

Image 3.2: Voice control activation and CarPlay/Android Auto icons displayed on the car radio screen.
3.3. Bluetooth Functionality
The built-in Bluetooth module allows for hands-free calling and wireless audio streaming (A2DP).
- Pairing: Go to the Bluetooth settings on the car radio and search for available devices. Select your smartphone and confirm the pairing code.
- Hands-Free Calling: Once paired, you can make and receive calls directly from the car radio. The built-in microphone captures your voice, and the car speakers provide clear audio. You can also download your phone's contacts to the radio.
- Audio Streaming: Play music from your smartphone wirelessly through the car's speakers.

Image 3.3: The car radio screen displaying a phone dialer, demonstrating Bluetooth calling functionality.
3.4. GPS Navigation
The unit comes with pre-installed GPS navigation capabilities and supports European maps. Ensure the GPS antenna is properly installed for optimal signal reception.

Image 3.4: A map icon with a red pin, symbolizing the GPS navigation feature.
3.5. Steering Wheel Control
The car radio is compatible with your vehicle's existing steering wheel control functions. After installation, you may need to configure the steering wheel controls through the unit's settings menu to match your vehicle's buttons for functions like volume, track change, and mode selection.

Image 3.5: The car radio screen displaying icons for steering wheel control functions.
3.6. Multimedia Playback
The unit supports various audio and video formats, including MP3, WMA, AAC, RM, FLAC, MPEG-1/2/4, H264, H263, VC1, RMVB, DivX, Sorenson Spark, Spark, VP8, AVS Stream, and picture formats like JPG, BMP, JPEG, GIF, PNG. You can play media from connected USB devices.

Image 3.6: The car radio screen displaying video content, demonstrating multimedia playback.
3.7. USB Connection
Connect external USB devices (up to 2TB) to play audio and video files. Use the file browser on the unit to access content from your USB drive.

Image 3.7: The car radio screen showing a file browser interface for accessing content from a USB device.
3.8. Split Screen Display
The unit supports split-screen functionality, allowing you to view two applications simultaneously, such as navigation and music, or a camera feed and music.

Image 3.8: The car radio screen demonstrating split-screen functionality, showing navigation and music applications simultaneously.
3.9. Wi-Fi Connectivity
Connect the car radio to a Wi-Fi network (e.g., a mobile hotspot) to access online features, stream content, and download apps.

Image 3.9: The car radio screen showing a Wi-Fi connection symbol, indicating internet access.
3.10. Rear View Camera Support
The unit supports a rear view camera input. When the vehicle is shifted into reverse, the display automatically switches to the camera feed, providing a clear view of the area behind your vehicle with parking guidelines.

Image 3.10: The car radio screen displaying a rear view camera feed with adjustable parking guidelines.
3.11. Digital Sound Processor (DSP)
The integrated DSP allows for advanced audio customization. Access the DSP settings to adjust equalizer bands, sound field, and other audio parameters to optimize sound quality.

Image 3.11: The car radio screen showing the Digital Sound Processor (DSP) interface with equalizer controls.
3.12. Mirror Link
The Mirror Link function allows you to mirror your smartphone's screen onto the car radio display, providing access to apps and content not directly supported by CarPlay or Android Auto.

Image 3.12: The car radio screen demonstrating Mirror Link functionality, mirroring a smartphone's display.
3.13. FM Radio Function
Access the FM radio application to tune into local radio stations. The interface allows for scanning, saving presets, and manual tuning.

Image 3.13: The car radio screen displaying the FM radio tuning interface.
4. Maintenance
- Cleaning: Use a soft, dry cloth to clean the touchscreen and unit exterior. Avoid abrasive cleaners or solvents.
- Software Updates: Periodically check for software updates through the unit's settings menu or the manufacturer's website to ensure optimal performance and access to new features.
- Temperature: Avoid exposing the unit to extreme temperatures, which can affect performance and lifespan.
5. Troubleshooting
- No Power: Check all power connections and the vehicle's fuse box. Ensure the battery is properly connected.
- No Sound: Verify speaker connections, volume settings, and audio source selection. Check DSP settings if sound is distorted.
- Touchscreen Unresponsive: Try restarting the unit. If the issue persists, a factory reset might be necessary (note: this will erase all user data).
- GPS Signal Lost: Ensure the GPS antenna has a clear view of the sky and is securely connected.
- Bluetooth/CarPlay/Android Auto Connection Issues: Ensure your smartphone's Bluetooth and Wi-Fi are on. Try unpairing and re-pairing the device. Check the Zlink app settings.
- Steering Wheel Controls Not Working: Verify Canbus decoder connection and check the steering wheel control settings in the unit's menu for proper configuration.
6. Specifications
| Feature | Detail |
|---|---|
| Brand | Ossuret |
| Manufacturer | Hitour Tech |
| Operating System | Android 13 |
| Screen Size | 9 Inch |
| Display Type | Touchscreen (Capacitive) |
| Memory Storage Capacity | 32 GB |
| Connectivity Technology | Bluetooth, USB, Wi-Fi |
| Special Features | CarPlay/Android Auto, GPS Navigation, DSP |
| Supported Satellite Navigation System | GPS |
| Map Type | Europe |
| Audio Output Mode | Stereo |
| Mounting Type | Dashboard Mount, Panel Mount |
| Compatible Vehicle Type | Car (Citroen C2/C3 2001-2010) |
| Compatible Devices | Smartphone |
| Control Method | Touch |
| Package Dimensions | 34.29 x 18.5 x 12.3 cm; 1.36 kg |
7. Warranty and Support
7.1. Warranty Information
This Ossuret car radio comes with a 1-year warranty from the date of purchase. The warranty covers manufacturing defects and malfunctions under normal use. Please retain your proof of purchase for warranty claims.
7.2. Customer Support
For technical assistance, troubleshooting, or warranty inquiries, please contact your retailer or the manufacturer, Hitour Tech. Refer to the product packaging or the retailer's website for specific contact details.