
1. Introduction
Thank you for choosing the Armocity Console Table. This manual provides essential information for the safe assembly, proper use, and maintenance of your new furniture. This 32-inch console table, featuring a rich Brown Oak finish, is designed to offer both functionality and aesthetic appeal in various home settings, including entryways, living rooms, and hallways. Please read these instructions carefully before beginning assembly and retain them for future reference.
2. Safety Information
- Read All Instructions: Ensure you understand all assembly steps and safety warnings before proceeding.
- Adult Assembly Required: This product should be assembled by adults.
- Keep Children Away: Keep children and pets away from the assembly area. Small parts can be a choking hazard.
- Use on a Flat Surface: Assemble the table on a clean, flat, and soft surface (e.g., carpet) to prevent scratches.
- Do Not Overtighten: Tighten screws and bolts firmly, but do not overtighten, as this may damage the material.
- Check Connections Regularly: Periodically check all connections to ensure they remain tight and secure.
- Weight Capacity: Do not exceed the recommended weight capacity of the table to prevent damage or injury.
- Avoid Tipping: Do not allow children to climb on the table. Secure the table to a wall if there is a risk of tipping.
3. Package Contents
Before assembly, verify that all components are present and undamaged. If any parts are missing or damaged, please contact customer support.

Image: Overview of all included parts and hardware for assembly.
Parts List:
- Tabletop (1)
- Legs (4)
- Support Beams (2)
Hardware List:
- Screws (various sizes)
- Allen Key
- Screwdriver
- Anti-tip kit (if included)
4. Assembly Instructions
Follow these step-by-step instructions for assembling your Armocity Console Table. An Allen Key and screwdriver are recommended for assembly.
- Step 1: Unpack and Identify Parts. Carefully remove all components from the packaging. Lay them out on a soft, clean surface. Compare each part with the provided parts list to ensure everything is present and undamaged.
- Step 2: Attach Legs to Support Beams. Connect the four legs to the two support beams using the designated screws. Ensure the holes align correctly. Do not fully tighten screws at this stage.
- Step 3: Attach Tabletop. Carefully place the tabletop upside down on your soft surface. Align the assembled leg and support beam structure with the pre-drilled holes on the underside of the tabletop. Secure the structure to the tabletop using the appropriate screws.
- Step 4: Final Tightening. Once all parts are loosely assembled, carefully turn the table upright. On a level surface, gently press down on the tabletop to ensure it is stable. Then, systematically tighten all screws and bolts using the provided Allen Key and screwdriver. Do not overtighten.
- Step 5: Install Anti-Tip Kit (Optional but Recommended). If an anti-tip kit is included, follow its specific instructions to secure the table to a wall. This is especially important in households with children or pets.
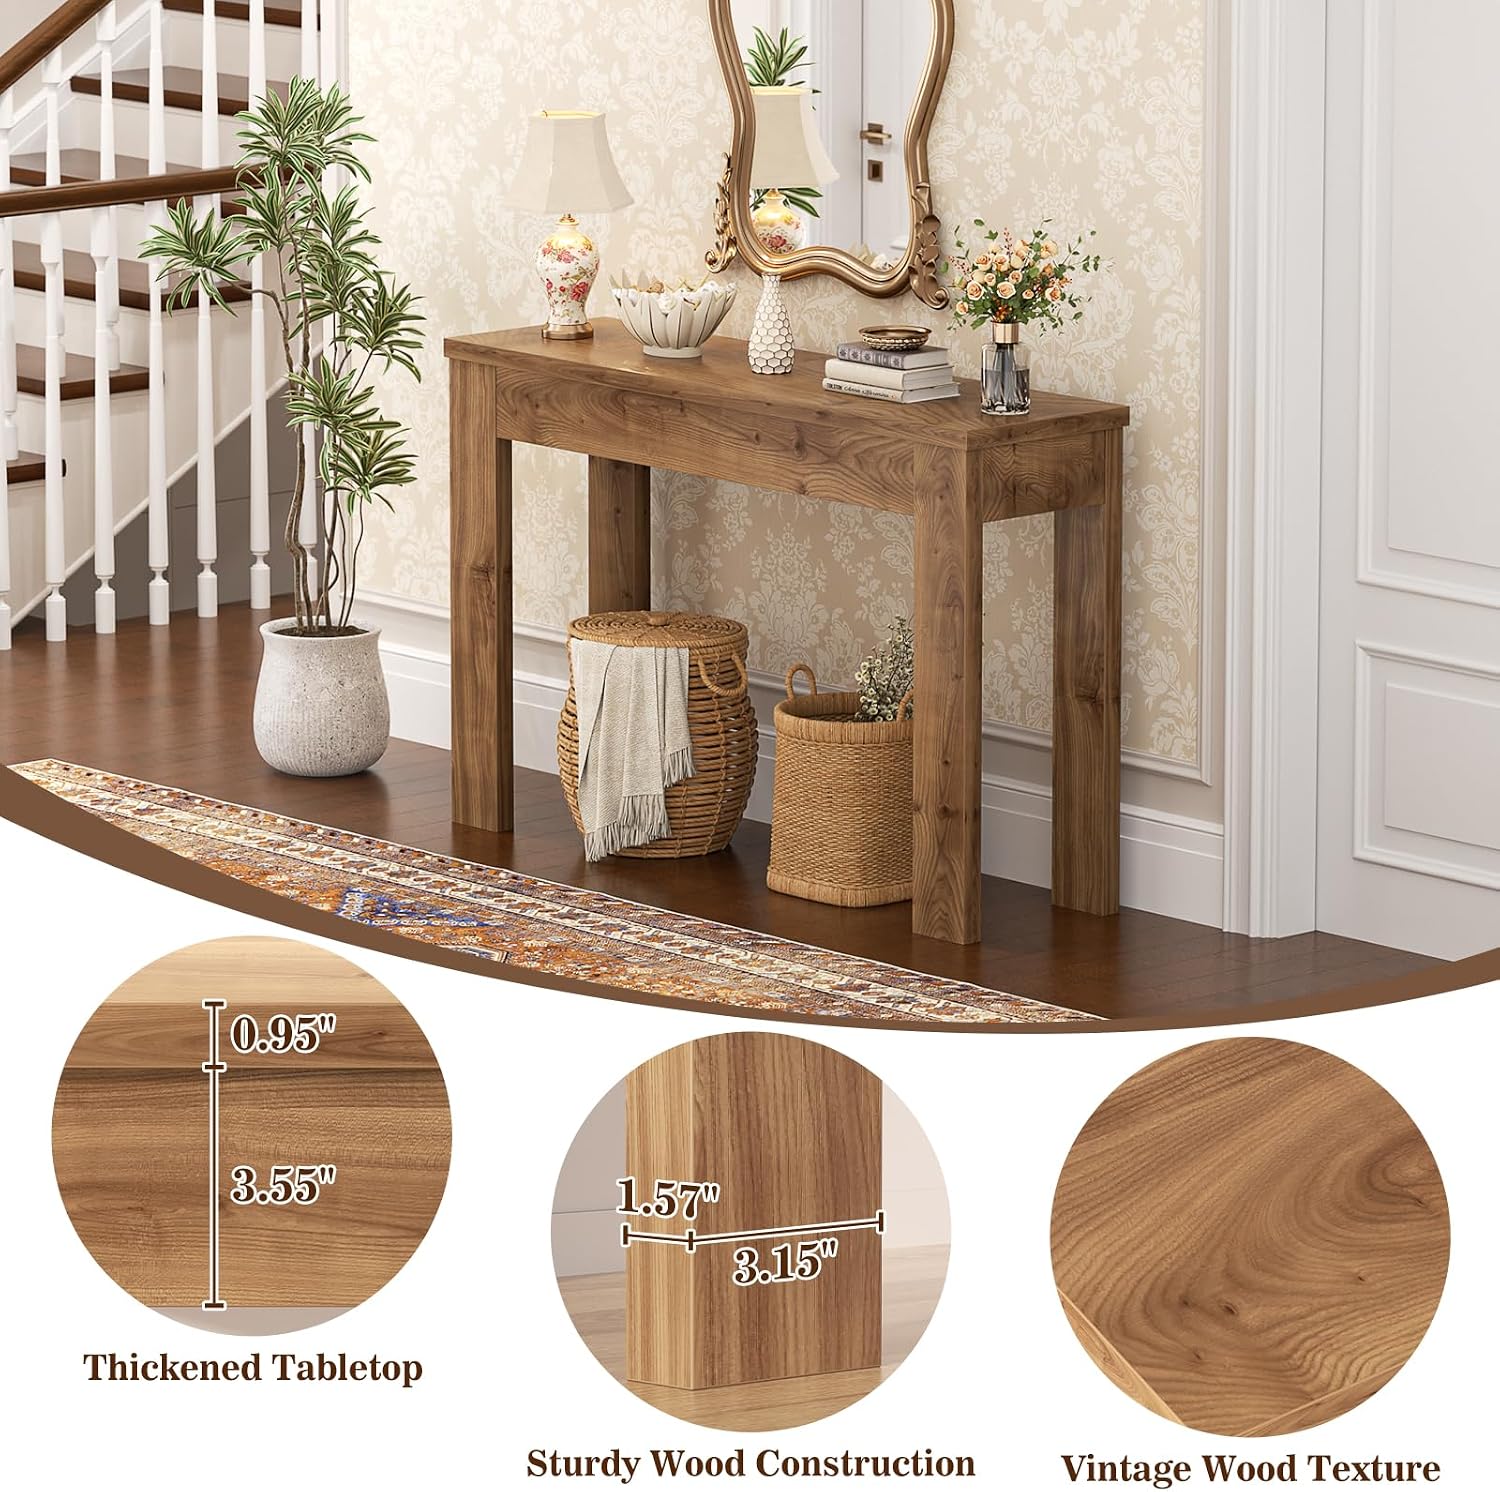
Image: Illustration of attaching the table legs to the support structure.

Image: Securing the tabletop to the leg assembly.
5. Usage
The Armocity Console Table is designed for versatile use in various indoor settings. Its slim profile makes it suitable for:
- Entryway Table: A welcoming surface for keys, mail, and decorative items near your entrance.
- Sofa Table: Placed behind a couch to hold lamps, drinks, or books.
- Hallway Table: Providing a functional and decorative surface in narrow hallways.
- Dining Sideboard: An additional surface for serving dishes or displaying decor in a dining area.
- Plant Stand: A dedicated spot for indoor plants near a window.

Image: The console table used as a stylish foyer table.

Image: The console table serving as a sofa table behind a couch.

Image: The console table functioning as a dining sideboard.
Ensure the table is placed on a level surface to prevent wobbling. Distribute weight evenly across the tabletop.
6. Maintenance
- Cleaning: Wipe the table surface with a soft, damp cloth. Avoid harsh chemicals or abrasive cleaners, as they may damage the finish.
- Spills: Clean up spills immediately to prevent staining or water damage.
- Heat and Moisture: Avoid placing hot items directly on the surface. Use coasters under drinks to protect against moisture rings.
- Sunlight: Prolonged exposure to direct sunlight may cause fading or discoloration.
- Tighten Hardware: Periodically check and retighten all screws and bolts to maintain stability.
7. Troubleshooting
Common Issues and Solutions:
- Table Wobbles:
- Ensure the table is on a flat, level surface.
- Check all screws and bolts and tighten them firmly. Avoid overtightening.
- Verify that all legs are properly seated and aligned.
- Missing Parts:
- Carefully re-check all packaging materials to ensure no small parts were overlooked.
- If parts are genuinely missing, contact Armocity customer support with your model number and a description of the missing items.
- Difficulty Assembling:
- Review the assembly instructions carefully, paying attention to diagrams.
- Ensure you are using the correct hardware for each step.
- Do not force parts together; if they don't fit, re-check the orientation.
8. Specifications

Image: Product dimensions of the console table.
| Brand | Armocity |
| Model Number | B0FXF86WFP |
| Product Dimensions (D x W x H) | 13.78"D x 31.5"W x 31.5"H (approx. 4"D x 33"W x 16"H as per product data, using image for clarity) |
| Item Weight | 25 Pounds |
| Frame Material | Wood |
| Top Material Type | Engineered Wood |
| Color | Brown Oak |
| Furniture Finish | Stained |
| Style Name | Country Rustic |
| Required Assembly | Yes |
| Indoor/Outdoor Usage | Indoor |
| Tools Recommended For Assembly | Allen Key, Screwdriver |
| Tabletop Thickness | 0.95 Inches |
9. Warranty & Customer Support
Armocity stands behind the quality of its products. For specific warranty information, please refer to the documentation included with your purchase or visit the official Armocity website.
If you have any questions, require assistance with assembly, or need to report missing/damaged parts, please contact Armocity customer support:
- Website: Visit the Armocity official website for contact details and FAQs.
- Email: Refer to your purchase documentation for customer service email.
- Phone: Refer to your purchase documentation for customer service phone number.
Please have your model number (B0FXF86WFP) and purchase date ready when contacting support.