
1. Introduction
The Haisito L6X2 is a dual-channel balance charger and discharger designed for various types of rechargeable batteries used in remote control (RC) applications. It supports AC and DC input power, offering flexible charging solutions. This manual provides essential information for the safe and efficient operation of your L6X2 charger.
2. Safety Guidelines
Read all safety warnings and instructions before using this product. Failure to follow these instructions may result in electric shock, fire, or serious injury.
- Always use the charger in a well-ventilated area, away from flammable materials.
- Never leave the charger unattended while in use.
- Ensure the battery type and cell count selected on the charger match the battery being charged. Incorrect settings can cause damage or fire.
- Do not charge damaged, swollen, or leaking batteries.
- Keep the charger away from water, moisture, and extreme temperatures.
- Use only the original or approved charging cables and adapters.
- Disconnect the power supply before performing any maintenance or when the charger is not in use.
3. Product Overview
The Haisito L6X2 features a compact design with dual charging channels, each equipped with an LCD screen for displaying charging parameters. It includes a cooling fan for heat dissipation and multiple input/output ports.

Figure 3.1: Haisito L6X2 Charger Components. This diagram illustrates the charger's main features including the cooling fan, dual LCD screens, and control buttons.

Figure 3.2: Haisito L6X2 Port Layout. This image details the various input and output ports on the charger, including AC and DC power inputs, output ports, balance ports, and a PC link port.
4. Package Contents
Verify that all items are present in the package:
- Haisito L6X2 Balance Charger/Discharger Unit
- AC Power Cable
- 2 x XT60 Plug Cables
- 2 x Tamiya Connector Cables
- 2 x 4mm Banana Head to Deans Output Cables
- 2 x T-Crocodile Clip Cables
- 2 x Balance Extension Cords

Figure 4.1: Package Contents and Dimensions. This image displays the Haisito L6X2 charger along with all included accessories and its physical dimensions.
5. Setup
- Power Connection: Connect the AC power cable to the charger's AC input port (100-240V) and then to a wall outlet, or connect a DC power source (11-18V) to the DC input port.
- Power On: Flip the ON/OFF switch to the 'ON' position. The LCD screens will illuminate.
- Battery Connection: Connect your battery to the appropriate output port and balance port on the charger. Ensure correct polarity.
6. Battery Compatibility
The Haisito L6X2 charger is compatible with a wide range of battery types:
- LiPo/LiFe/LiHV/Li-Ion: 1-6 Cells
- NiCd/NiMH: 1-15 Cells
- PB (Lead-Acid): 2-20V

Figure 6.1: Wide Battery Type Compatibility. This graphic illustrates the various battery chemistries and cell counts supported by the Haisito L6X2 charger.
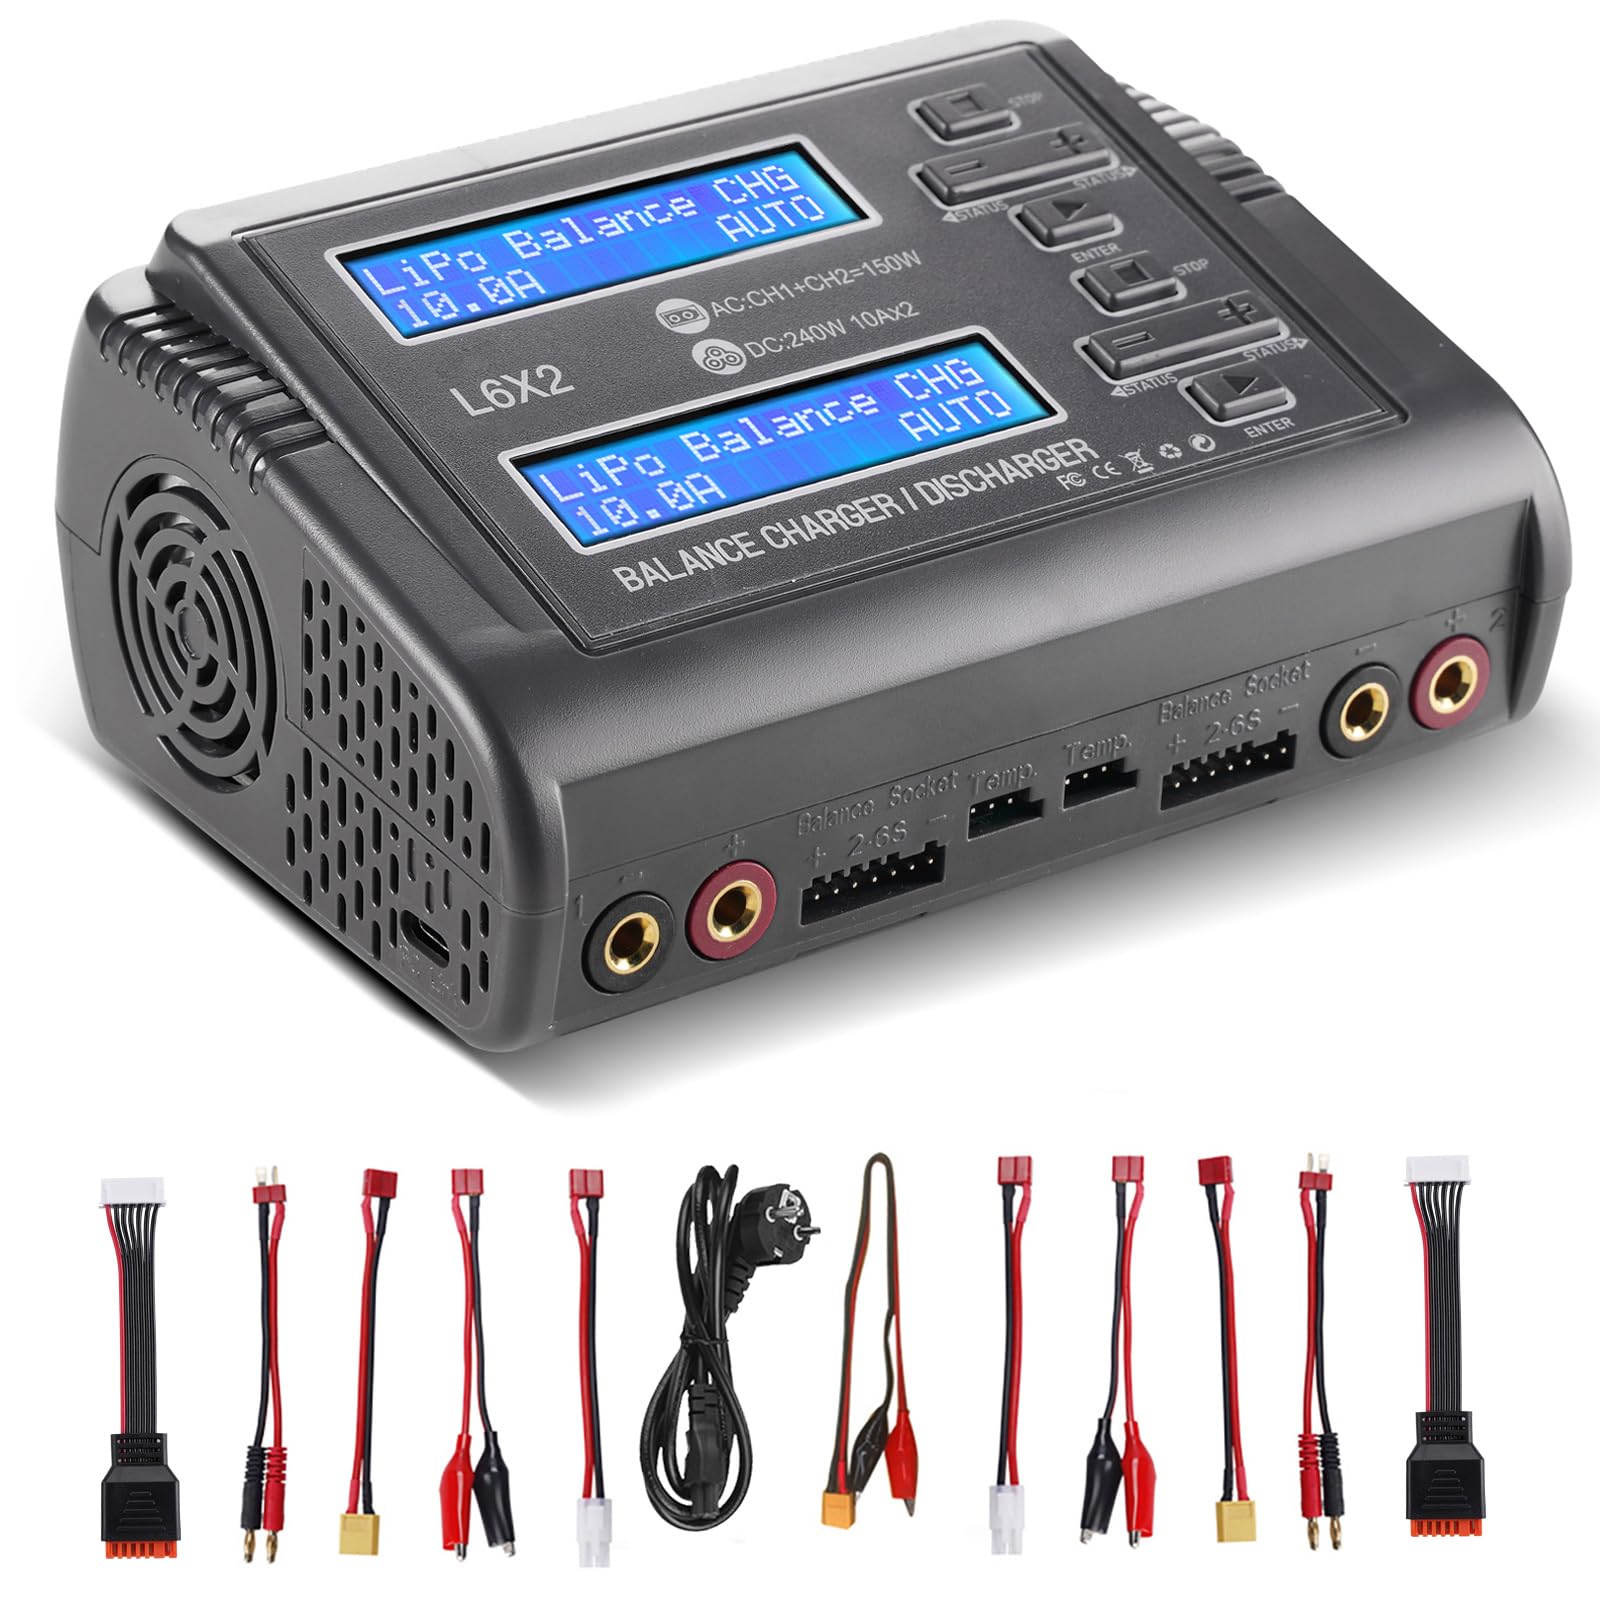
Figure 6.2: Charger with Various Batteries. The image shows the Haisito L6X2 charger connected to different types of batteries, demonstrating its versatility.
7. Operating Instructions
The L6X2 charger allows for simultaneous charging or discharging of two batteries. Each channel operates independently.
7.1 General Operation
- Select Program: Use the 'Batt type/stop' button to navigate through the main program menu.
- Adjust Parameters: Use the 'Dec/inc' buttons to alter values such as current, voltage, or cell count.
- Start/Enter: Press the 'Start/enter' button to confirm selections or begin an operation. For charging, press and hold for 3 seconds to initiate.
- Stop: Press the 'Batt type/stop' button to stop an ongoing operation.

Figure 7.1: Control Panel Detail. This close-up shows the LCD screen and control buttons, emphasizing the 'Enter' button for starting charging processes.
7.2 Charging Process
After connecting the battery and selecting the correct battery type and charging mode (e.g., Balance Charge, Fast Charge), set the desired charging current. Press and hold the 'Start/enter' button for 3 seconds to begin charging. The LCD will display real-time charging data such as current, voltage, and capacity.

Figure 7.2: Dual Channel Charging in Progress. This image shows the charger actively charging two batteries simultaneously, highlighting its dual-channel functionality.
7.3 Discharging Process
Select the discharge program for your battery type. Set the desired discharge current and voltage cut-off. Press and hold the 'Start/enter' button to begin discharging. The charger will safely discharge the battery to the specified voltage.
8. Specifications
| Feature | Specification |
|---|---|
| Input Voltage | AC 100-240V / DC 11-18V |
| AC Charge Power | CH1+CH2=150W |
| DC Charge Power | 120W x 2 |
| Charge Current Range | 0.1-10.0A x 2 |
| Discharge Current Range | 0.1-2.0A x 2 |
| LiPo/LiFe/LiHV/Li-Ion Cell Count | 1-6 Cells |
| NiCd/NiMH Cell Count | 1-15 Cells |
| PB Battery Voltage | 2-20V |
| Dimensions (D x W x H) | 13.3 x 8.6 x 2.7 cm |
| Amperage | 10 Amps |
| Number of Ports | 2 |
9. Maintenance
- Cleaning: Use a soft, dry cloth to clean the charger's exterior. Do not use solvents or abrasive cleaners.
- Storage: Store the charger in a cool, dry place away from direct sunlight and moisture when not in use.
- Inspection: Regularly inspect cables and connectors for any signs of damage. Replace damaged components immediately.
10. Troubleshooting
- Charger not powering on: Ensure the power cable is securely connected to both the charger and the power source. Check the power outlet.
- Charging error message: Verify that the battery type and cell count settings match the connected battery. Check for damaged battery cells or connectors.
- Slow charging: Ensure the charging current is set appropriately for the battery's capacity. Check the input power source for sufficient voltage and current.
- Overheating: Ensure the charger's cooling fan is not obstructed and the charger is in a well-ventilated area. Reduce the charging current if necessary.
11. Support
For further assistance or technical support, please refer to the manufacturer's official website or contact their customer service department. Keep your product model number (L6X2-EU) and purchase information readily available.

