
Introduction
The Milestone M9 is an advanced 2-in-1 wireless Bluetooth portable thermal printer designed for both tattoo stencil creation and document printing. This device offers a streamlined workflow for tattoo artists and professionals, providing high-resolution, inkless printing capabilities for various applications. Its compact and portable design, combined with stable connectivity options, makes it a versatile tool for studio use or on-the-go printing.
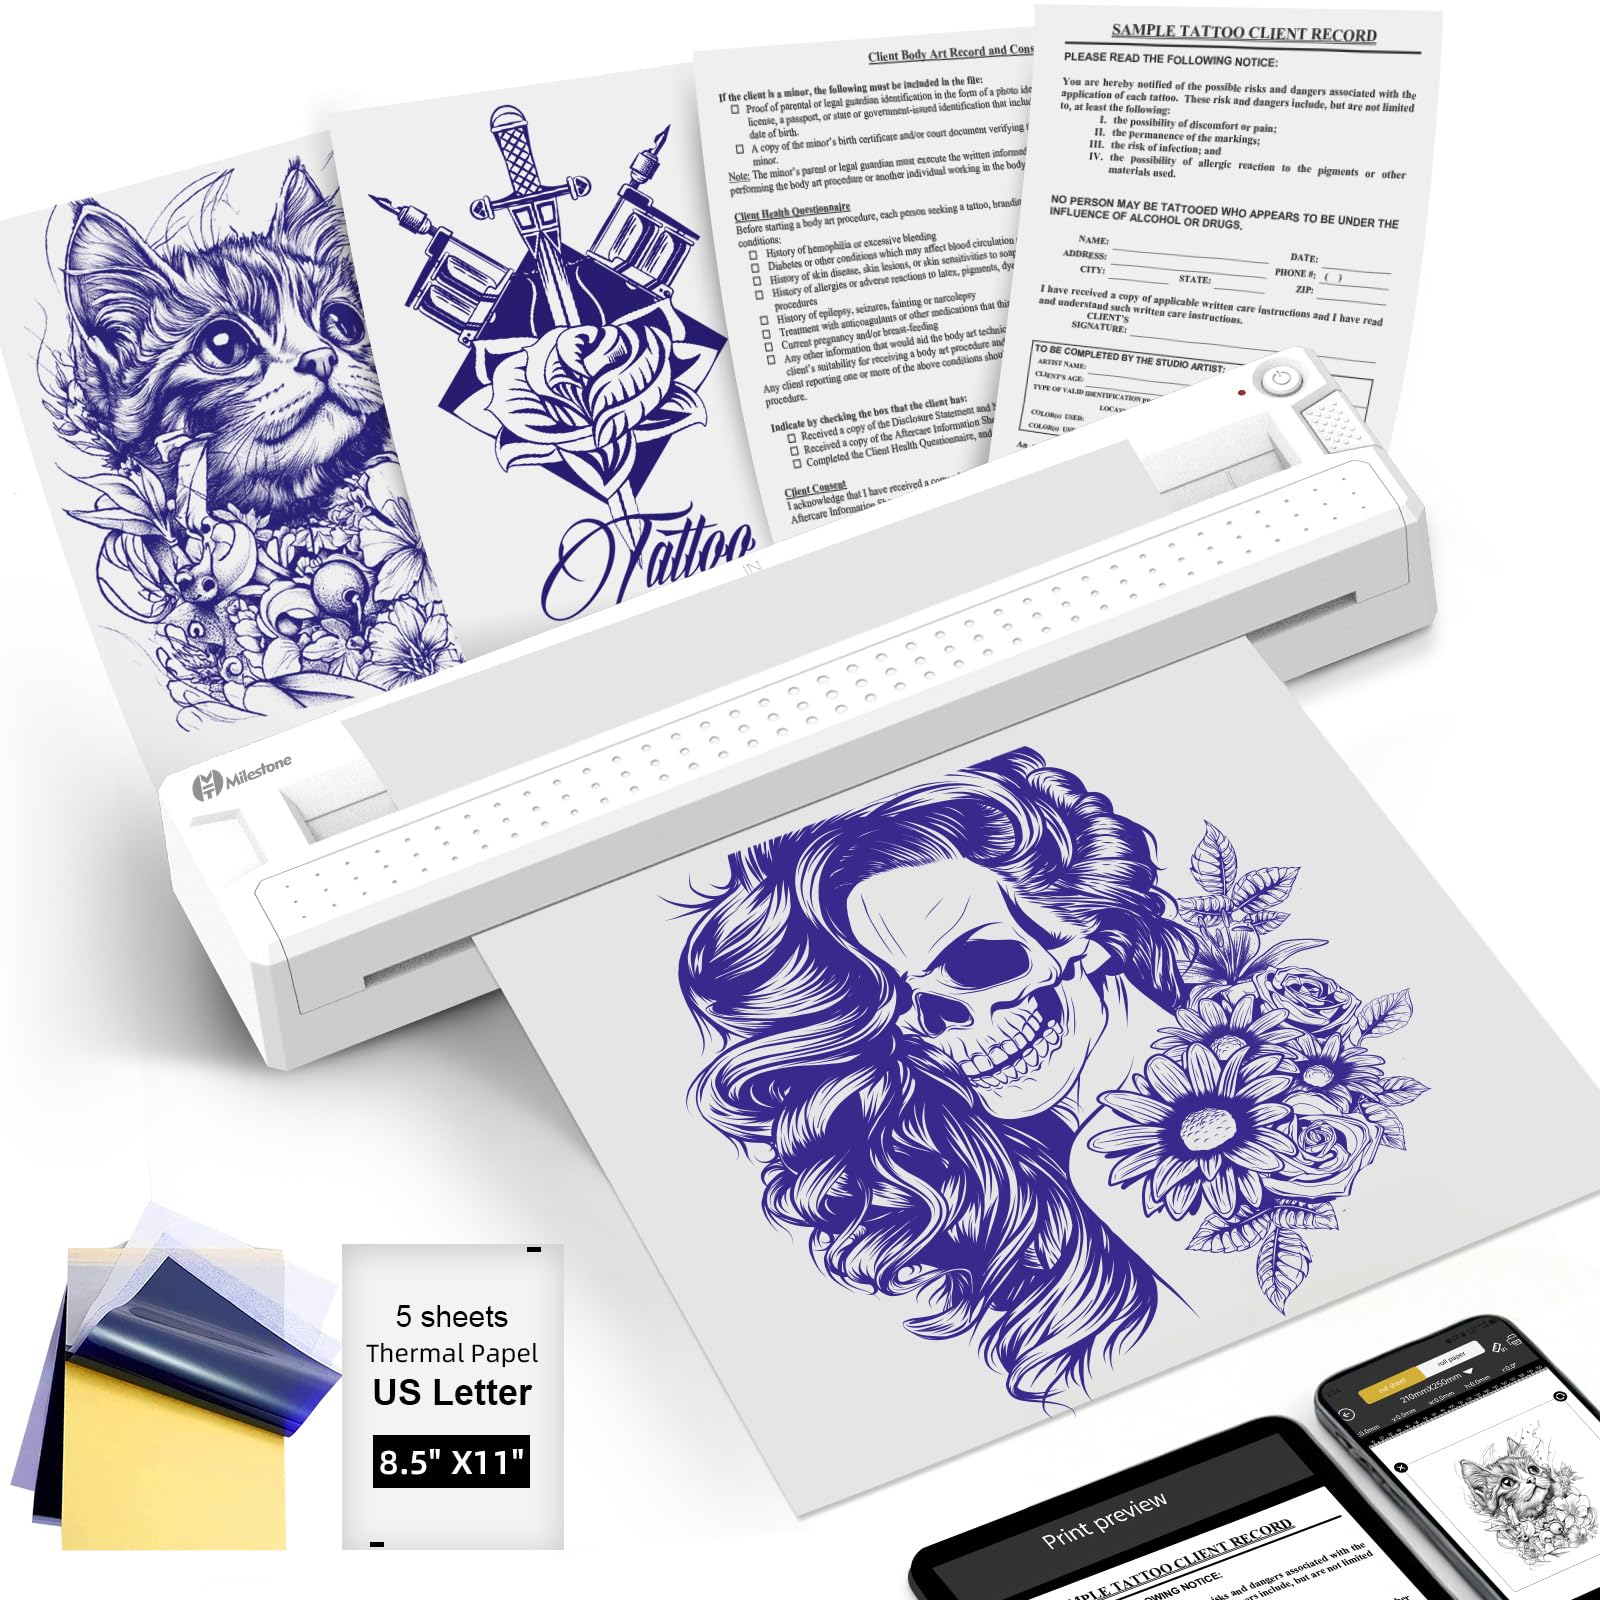
Image: The Milestone M9 printer highlighting its key features: Bluetooth connectivity, inkless operation, rechargeable battery, high print quality, compact size, and ease of use.
What's in the Box
Upon unboxing your Milestone M9 printer, please verify that all the following components are included:
- 1x Wireless Portable Thermal Printer
- 5x US Letter Thermal Paper
- 5x A4 Tattoo Stencil Paper
- 1x USB-C Cable
- 1x User Manual
Setup Guide
1. Powering On
Press and hold the power button for 3 seconds to turn on the printer. The device is designed for instant use without a warm-up period.

Image: A hand pressing the power button on the Milestone M9 printer, indicating the power-on process.
2. App Installation and Connectivity
To utilize the full functionality of your Milestone M9 printer, download the dedicated "TATTOO PRT" application. This app is available for iOS and Android devices and is free to download. The printer supports both Bluetooth and USB-C connectivity.
- Bluetooth Connection: Open the "TATTOO PRT" app on your smartphone or tablet. Navigate to the printer settings and select your M9 printer from the list of available devices. The connection should be established within seconds.
- USB-C Connection: For laptops and PCs, connect the printer using the provided USB-C cable. The printer will be recognized as a standard printing device.

Image: The Milestone M9 printer demonstrating both Bluetooth connectivity with a tablet and USB-C connection with a laptop, showing its versatile connection options.
Video: This video demonstrates the quick 3-second power-on feature and the seamless 1-tap Bluetooth connection process for the Milestone M9 printer, highlighting its ease of use for both document and tattoo stencil printing.
3. Paper Loading
The Milestone M9 printer is compatible with both thermal paper for documents and tattoo transfer paper for stencils. Ensure the correct paper type is loaded for your printing task.
- For Thermal Documents: Insert US Letter (8.5 x 11 inches) or A4 thermal paper with the non-printing side facing up. The printer will auto-align and feed the paper perfectly.
- For Tattoo Stencils: Prepare the tattoo transfer paper by peeling off the yellow backing and removing the transparent protective layer. Insert the transfer paper with the white side facing up into the printer. The printer will auto-align and feed the paper.

Image: The Milestone M9 printer demonstrating its compatibility with various paper types, including roll thermal paper, sheet thermal paper, folding thermal paper, and tattoo transfer paper, suitable for both studio documents and tattoo stencils.
Operating Instructions
1. Printing Tattoo Stencils
- Import Design: Open the "TATTOO PRT" app. Import your desired tattoo design from your local image gallery or select from available materials within the app.
- Adjust & Preview: Use the app's editing tools to adjust the design size, position, and orientation to fit the client's skin area. Preview the design to ensure accuracy.
- Print: With the tattoo transfer paper loaded, tap the "Print" button in the app. The printer will produce a crisp, inkless stencil.
- Transfer to Skin: Carefully cut out the printed stencil. Apply tattoo transfer gel to the skin, then press the stencil firmly onto the prepared area for approximately 10 seconds. Gently peel off the stencil to reveal the transfer.

Image: The Milestone M9 printer producing a detailed tattoo stencil, emphasizing its inkless precision for sharp designs.
Video: This video illustrates the process of printing a tattoo stencil using the Milestone M9, from importing a design in the app to transferring the stencil onto skin, showcasing the seamless workflow and crisp results.
2. Printing Documents
- Load Thermal Paper: Ensure US Letter or A4 thermal paper is correctly loaded into the printer.
- Select Document: In the "TATTOO PRT" app, switch to the document printing section. Select the document you wish to print.
- Print: Confirm print settings and tap the "Print" button. The printer will produce clear, smudge-proof documents.

Image: The Milestone M9 printer actively printing documents, demonstrating its capability for studio administration tasks.
Maintenance
To ensure the longevity and optimal performance of your Milestone M9 printer, follow these basic maintenance guidelines:
- Cleaning: Regularly wipe the exterior of the printer with a soft, dry cloth. For the thermal print head, use a specialized thermal printer cleaning pen or isopropyl alcohol on a cotton swab. Ensure the printer is off and cool before cleaning.
- Storage: Store the printer in a cool, dry place away from direct sunlight and extreme temperatures.
- Battery Care: For optimal battery life, avoid fully discharging the battery frequently. Charge the printer regularly, especially if it will be stored for an extended period.
Troubleshooting
If you encounter issues with your Milestone M9 printer, refer to the following common troubleshooting steps:
- Printer Not Connecting:
- Ensure Bluetooth is enabled on your device and the printer is powered on.
- Check if the printer is within range of your device.
- Restart both your device and the printer.
- If using USB-C, ensure the cable is securely connected and try a different USB port or cable.
- Poor Print Quality:
- Verify that you are using the correct type of thermal paper or tattoo transfer paper.
- Ensure the paper is loaded correctly (e.g., white side up for tattoo transfer paper).
- Clean the thermal print head as described in the Maintenance section.
- Check the print density settings in the "TATTOO PRT" app.
- Paper Jams:
- Turn off the printer.
- Gently pull out any jammed paper. Avoid tearing the paper inside the printer.
- Ensure paper is loaded straight and not wrinkled.
- Printer Not Responding:
- Check the battery level. Recharge if necessary.
- Perform a hard reset by turning the printer off and then on again.
Specifications
| Feature | Detail |
|---|---|
| Model Number | M9 |
| Brand | TATOPRT |
| Printing Technology | Thermal |
| Connectivity Technology | Bluetooth, USB |
| Print Media | Thermal Paper |
| Supported Media Sizes | A4, Letter (8.5 x 11 inches) |
| Maximum Black and White Print Resolution | 203 Dots Per Inch |
| Printer Output | Monochrome |
| Max Print Speed Monochrome | 30 ppm |
| Product Dimensions | 10.31 x 2.36 x 1.34 inches |
| Item Weight | 1.52 pounds |
| Batteries | 1 9V batteries required (included) |
| Control Method | App |
| Special Feature | 2-in-1 Document Thermal Printer & Tattoo Stencil Printer, Inkless, Portable, Rechargeable, Wireless |
Warranty Information
The Milestone M9 printer comes with a manufacturer's warranty. For specific details regarding warranty coverage, duration, and terms, please refer to the warranty card included in your product packaging or contact TATOPRT customer support directly.
Customer Support
For further assistance, technical support, or inquiries regarding your Milestone M9 printer, please contact TATOPRT customer service. Contact information can typically be found on the official TATOPRT website or within the product packaging.