Introduction
This manual provides comprehensive instructions for the installation, setup, and operation of your UltraPro 800 Series Z-Wave Dimmer. This device is designed to provide smart lighting control, offering dimming capabilities and integration with Z-Wave compatible smart home hubs. Please read this manual thoroughly before installation and use.
Important Safety Information
RISK OF ELECTRIC SHOCK: This product requires electrical installation. Improper installation can result in serious injury or death. Always consult a qualified electrician if you are unsure about any part of the installation process.
- Disconnect power at the circuit breaker or fuse box before installation or servicing.
- Do not use this dimmer to control an appliance or motor.
- Ensure all wire connections are secure and properly insulated.
- Operate within specified electrical ratings (120VAC, 60Hz).
- For indoor use only.
Key Features
- Z-Wave Plus Long Range (800LR) Technology: Extended wireless range up to 1,300ft (400m) from the controller when paired as a Z-Wave LR device.
- Direct 3-Way Wiring: Supports multi-location control without the need for dedicated add-on switches in some configurations.
- Voice Control Compatibility: Works with Amazon Alexa and Google Assistant when connected to a compatible Z-Wave hub.
- QuickFit Design: Reduced housing depth and elimination of heat tabs for easier installation in crowded electrical boxes.
- Multi-Switch Dimming: Compatible with up to four UltraPro add-on switches for full dimming control from multiple locations, or one standard 3-way switch for ON/OFF control.
- Customizable LED Indicator: Features an LED indicator with eight selectable colors and four operation modes.
Installation Guide
Tools Required:
- Screwdriver
- Wire strippers
- Voltage tester
Wiring Diagram and Instructions:
Before proceeding, ensure power is OFF at the circuit breaker. This dimmer uses flying leads for connections. Refer to the diagram below for standard wiring. For 3-way installations, consult the specific wiring diagrams provided by UltraPro for your setup, as requirements may vary based on existing wiring.

Image: UltraPro Z-Wave Dimmer with its wiring leads and a basic wiring diagram. The diagram shows connections for Line (Black), Load (Red), Neutral (White), and Ground (Green).
Wiring Connections:
- Ground Wire (Green): Connect to the bare copper or green ground wire in the wall box.
- Neutral Wire (White): Connect to the white neutral wire in the wall box.
- Line Wire (Black): Connect to the incoming 120V AC power line wire.
- Load Wire (Red): Connect to the wire going to the light fixture.
- Traveler Wire (Yellow/Blue - if applicable): For 3-way or multi-location setups, connect according to the specific 3-way wiring diagram. This dimmer supports direct 3-way wiring without a dedicated add-on switch in certain configurations.
After making all connections, carefully push the dimmer into the wall box, ensuring wires are not pinched. Secure the dimmer with screws and attach the wall plate (sold separately).
Setup and Pairing
This Z-Wave dimmer requires a compatible Z-Wave certified hub for smart control. Follow these steps to pair your dimmer with your hub:
- Power On: Restore power to the circuit at the breaker. The LED indicator on the dimmer should begin to flash.
- Initiate Pairing Mode on Hub: Follow your Z-Wave hub's instructions to enter inclusion or pairing mode.
- Pair Dimmer: Press the top or bottom of the dimmer paddle once. The LED indicator will flash rapidly to confirm inclusion mode. If successful, the LED will stop flashing and remain solid for a few seconds, then turn off.
- Test Control: Once paired, test the dimmer's functionality through your Z-Wave hub's app or interface.
Exclusion (Removing from Z-Wave Network):
To remove the dimmer from a Z-Wave network:
- Initiate exclusion mode on your Z-Wave hub.
- Press the top or bottom of the dimmer paddle once. The LED indicator will flash rapidly to confirm exclusion.
- The dimmer will be removed from the network.
Z-Wave DSK and QR Code:

Image: Close-up of the UltraPro Z-Wave Dimmer showing the Z-Wave DSK (Device Specific Key) and QR code for secure pairing.
For secure pairing (S2), your hub may require the DSK (Device Specific Key) or a scan of the QR code located on the dimmer or its packaging. This ensures enhanced security for your Z-Wave network.
Operating Instructions
Manual Control:
- Turn ON/OFF: Press the top of the paddle to turn lights ON to the last dim level. Press the bottom of the paddle to turn lights OFF.
- Dim/Brighten: Press and hold the top of the paddle to gradually brighten lights. Press and hold the bottom of the paddle to gradually dim lights. Release the paddle at the desired brightness level.
Smart Control (via Z-Wave Hub):
Once paired with a Z-Wave hub, you can control the dimmer remotely through the hub's application or interface. This includes:
- Remote ON/OFF and dimming.
- Scheduling lights to turn on/off or dim at specific times.
- Creating scenes and automations with other smart devices.
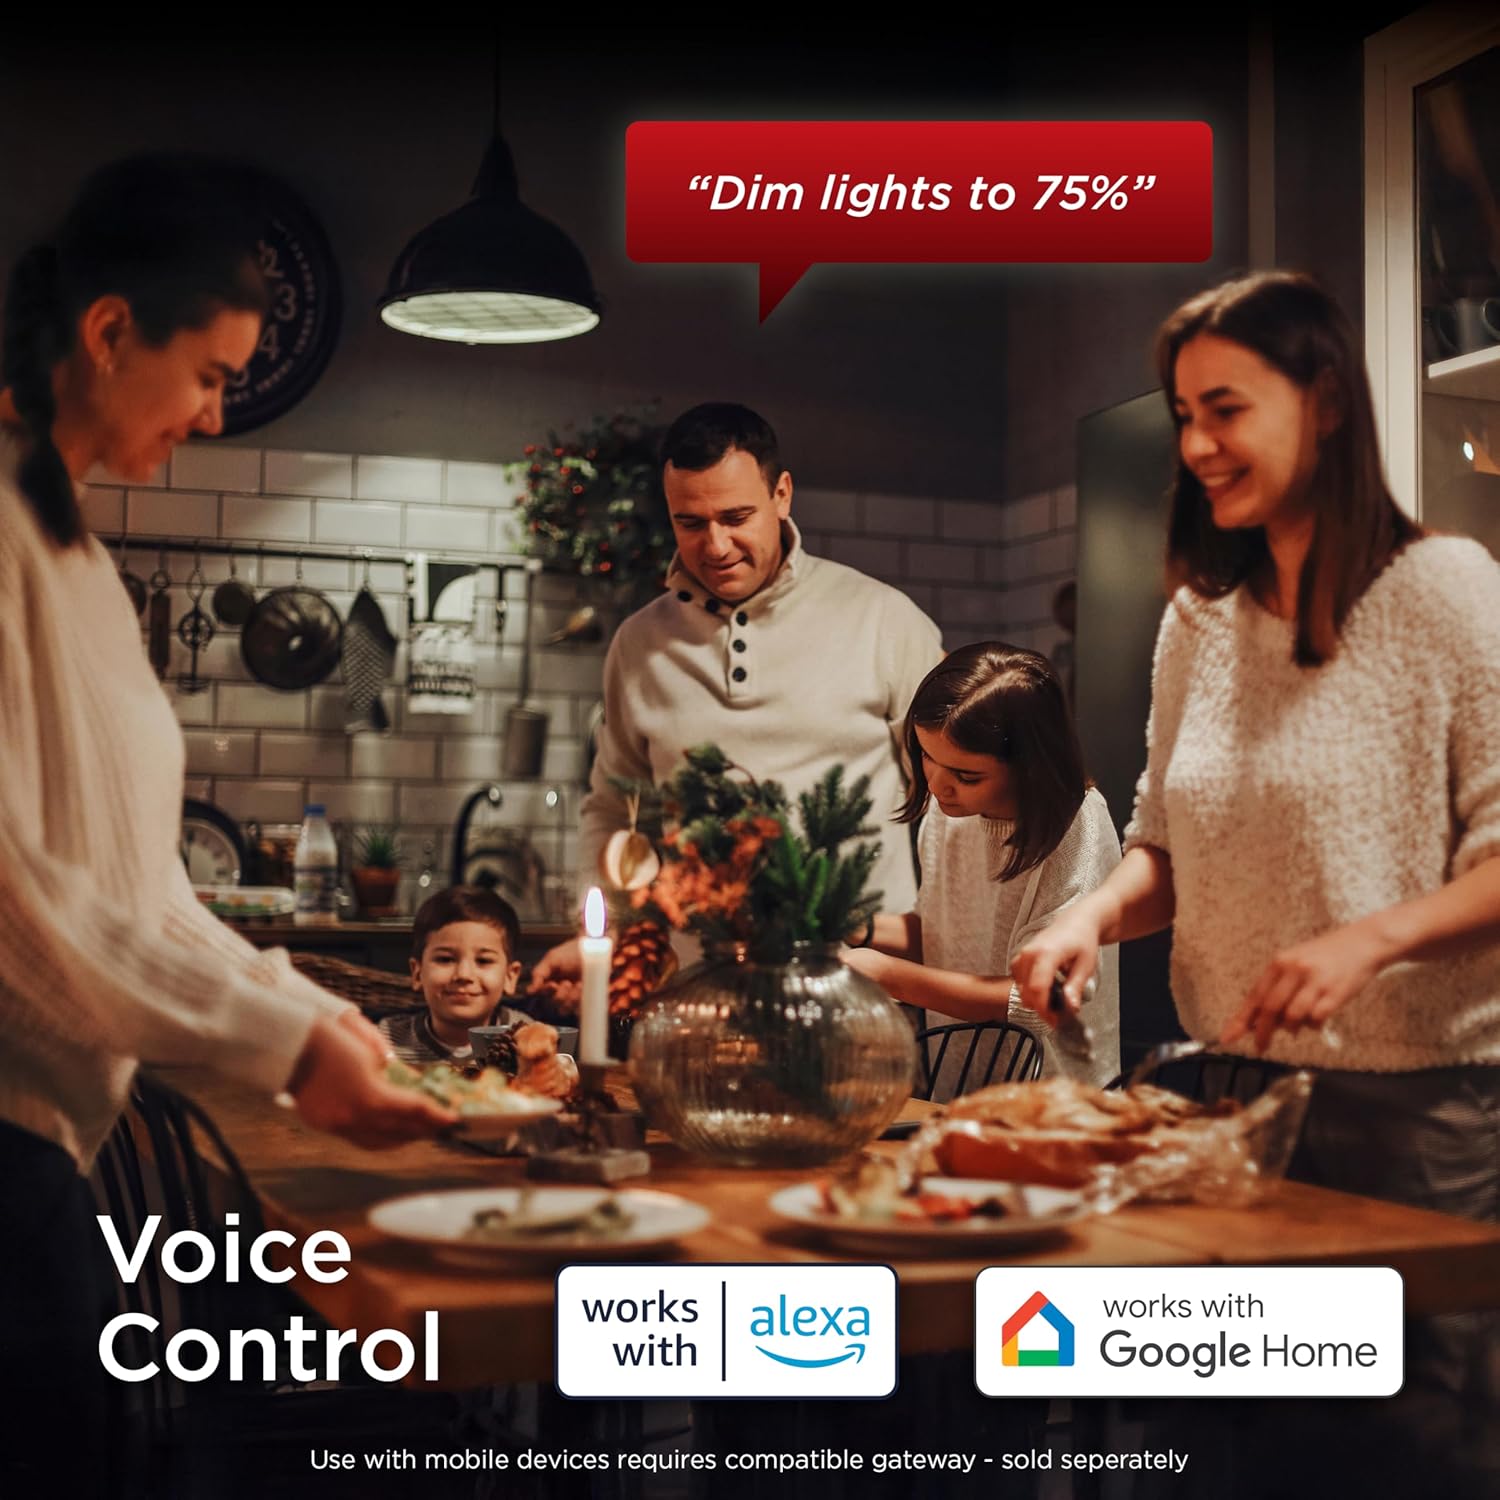
Image: A family interacting with a smart home system, demonstrating voice control for dimming lights, compatible with Alexa and Google Home.
Voice Control: If your Z-Wave hub is integrated with Amazon Alexa or Google Assistant, you can use voice commands to control your lights. For example, "Alexa, dim lights to 75%."

Image: A man using a smartphone to control smart home lighting remotely, illustrating the ability to schedule and control lights from anywhere.
LED Indicator Customization:
The LED indicator can be customized via your Z-Wave hub's advanced settings. Options include different colors and operational modes (e.g., LED ON when light is OFF, LED ON when light is ON, always OFF, always ON).
Maintenance
The UltraPro Z-Wave Dimmer requires minimal maintenance. Ensure the device is kept clean and free from dust. To clean, wipe with a soft, dry cloth. Do not use liquid cleaners or sprays directly on the device.
Periodically check wire connections to ensure they remain secure, especially after initial installation. If any issues arise, refer to the troubleshooting section or consult a qualified electrician.
Troubleshooting
| Problem | Possible Cause | Solution |
|---|---|---|
| Light does not turn ON/OFF or dim. |
|
|
| Dimmer is unresponsive to Z-Wave commands. |
|
|
| Lights flicker or hum when dimmed. |
|
|
Product Specifications
- Model Number: 76607
- Power: 120VAC, 60Hz
- Signal (Frequency): 908.42 MHz / 916 MHz (Z-Wave)
- Maximum Load: 600W Incandescent, 150W Dimmable LED/CFL
- Operating Temperature: 32-104° F (0-40° C)
- Range: Up to 1,300ft (400m) line of sight with Z-Wave LR; Up to 150ft (45m) line of sight with Z-Wave Classic.
- Certifications: ETL Listed
- Dimensions (L x W x H): 1.75 x 1.75 x 4.25 inches
- Color: White

Image: Diagram showing the physical dimensions of the UltraPro Z-Wave Dimmer, including housing depth, width, and height.
Warranty and Support
UltraPro products are backed by a limited warranty. For detailed warranty information, technical support, or to register your product, please visit the official UltraPro website or contact customer service. Keep your purchase receipt as proof of purchase.
Contact Information: Refer to your product packaging or the UltraPro website for the most current support contact details.


