
1. Important Safety Information
Before operating this treadmill, please read all instructions carefully. Retain this manual for future reference.
- Placement: Place the treadmill on a flat, stable surface with at least 2 feet (0.6 meters) of clear space behind it and 1 foot (0.3 meters) on each side.
- Power: Connect the treadmill to a properly grounded outlet. Do not use extension cords or adapters.
- Emergency Stop: Always attach the safety key clip to your clothing before starting a workout. In case of an emergency, pulling the safety key will immediately stop the treadmill.
- User Weight: Do not exceed the maximum user weight capacity of 330 lbs (150 kg).
- Children and Pets: Keep children and pets away from the treadmill during operation.
- Medical Conditions: Consult a physician before starting any exercise program, especially if you have pre-existing medical conditions.
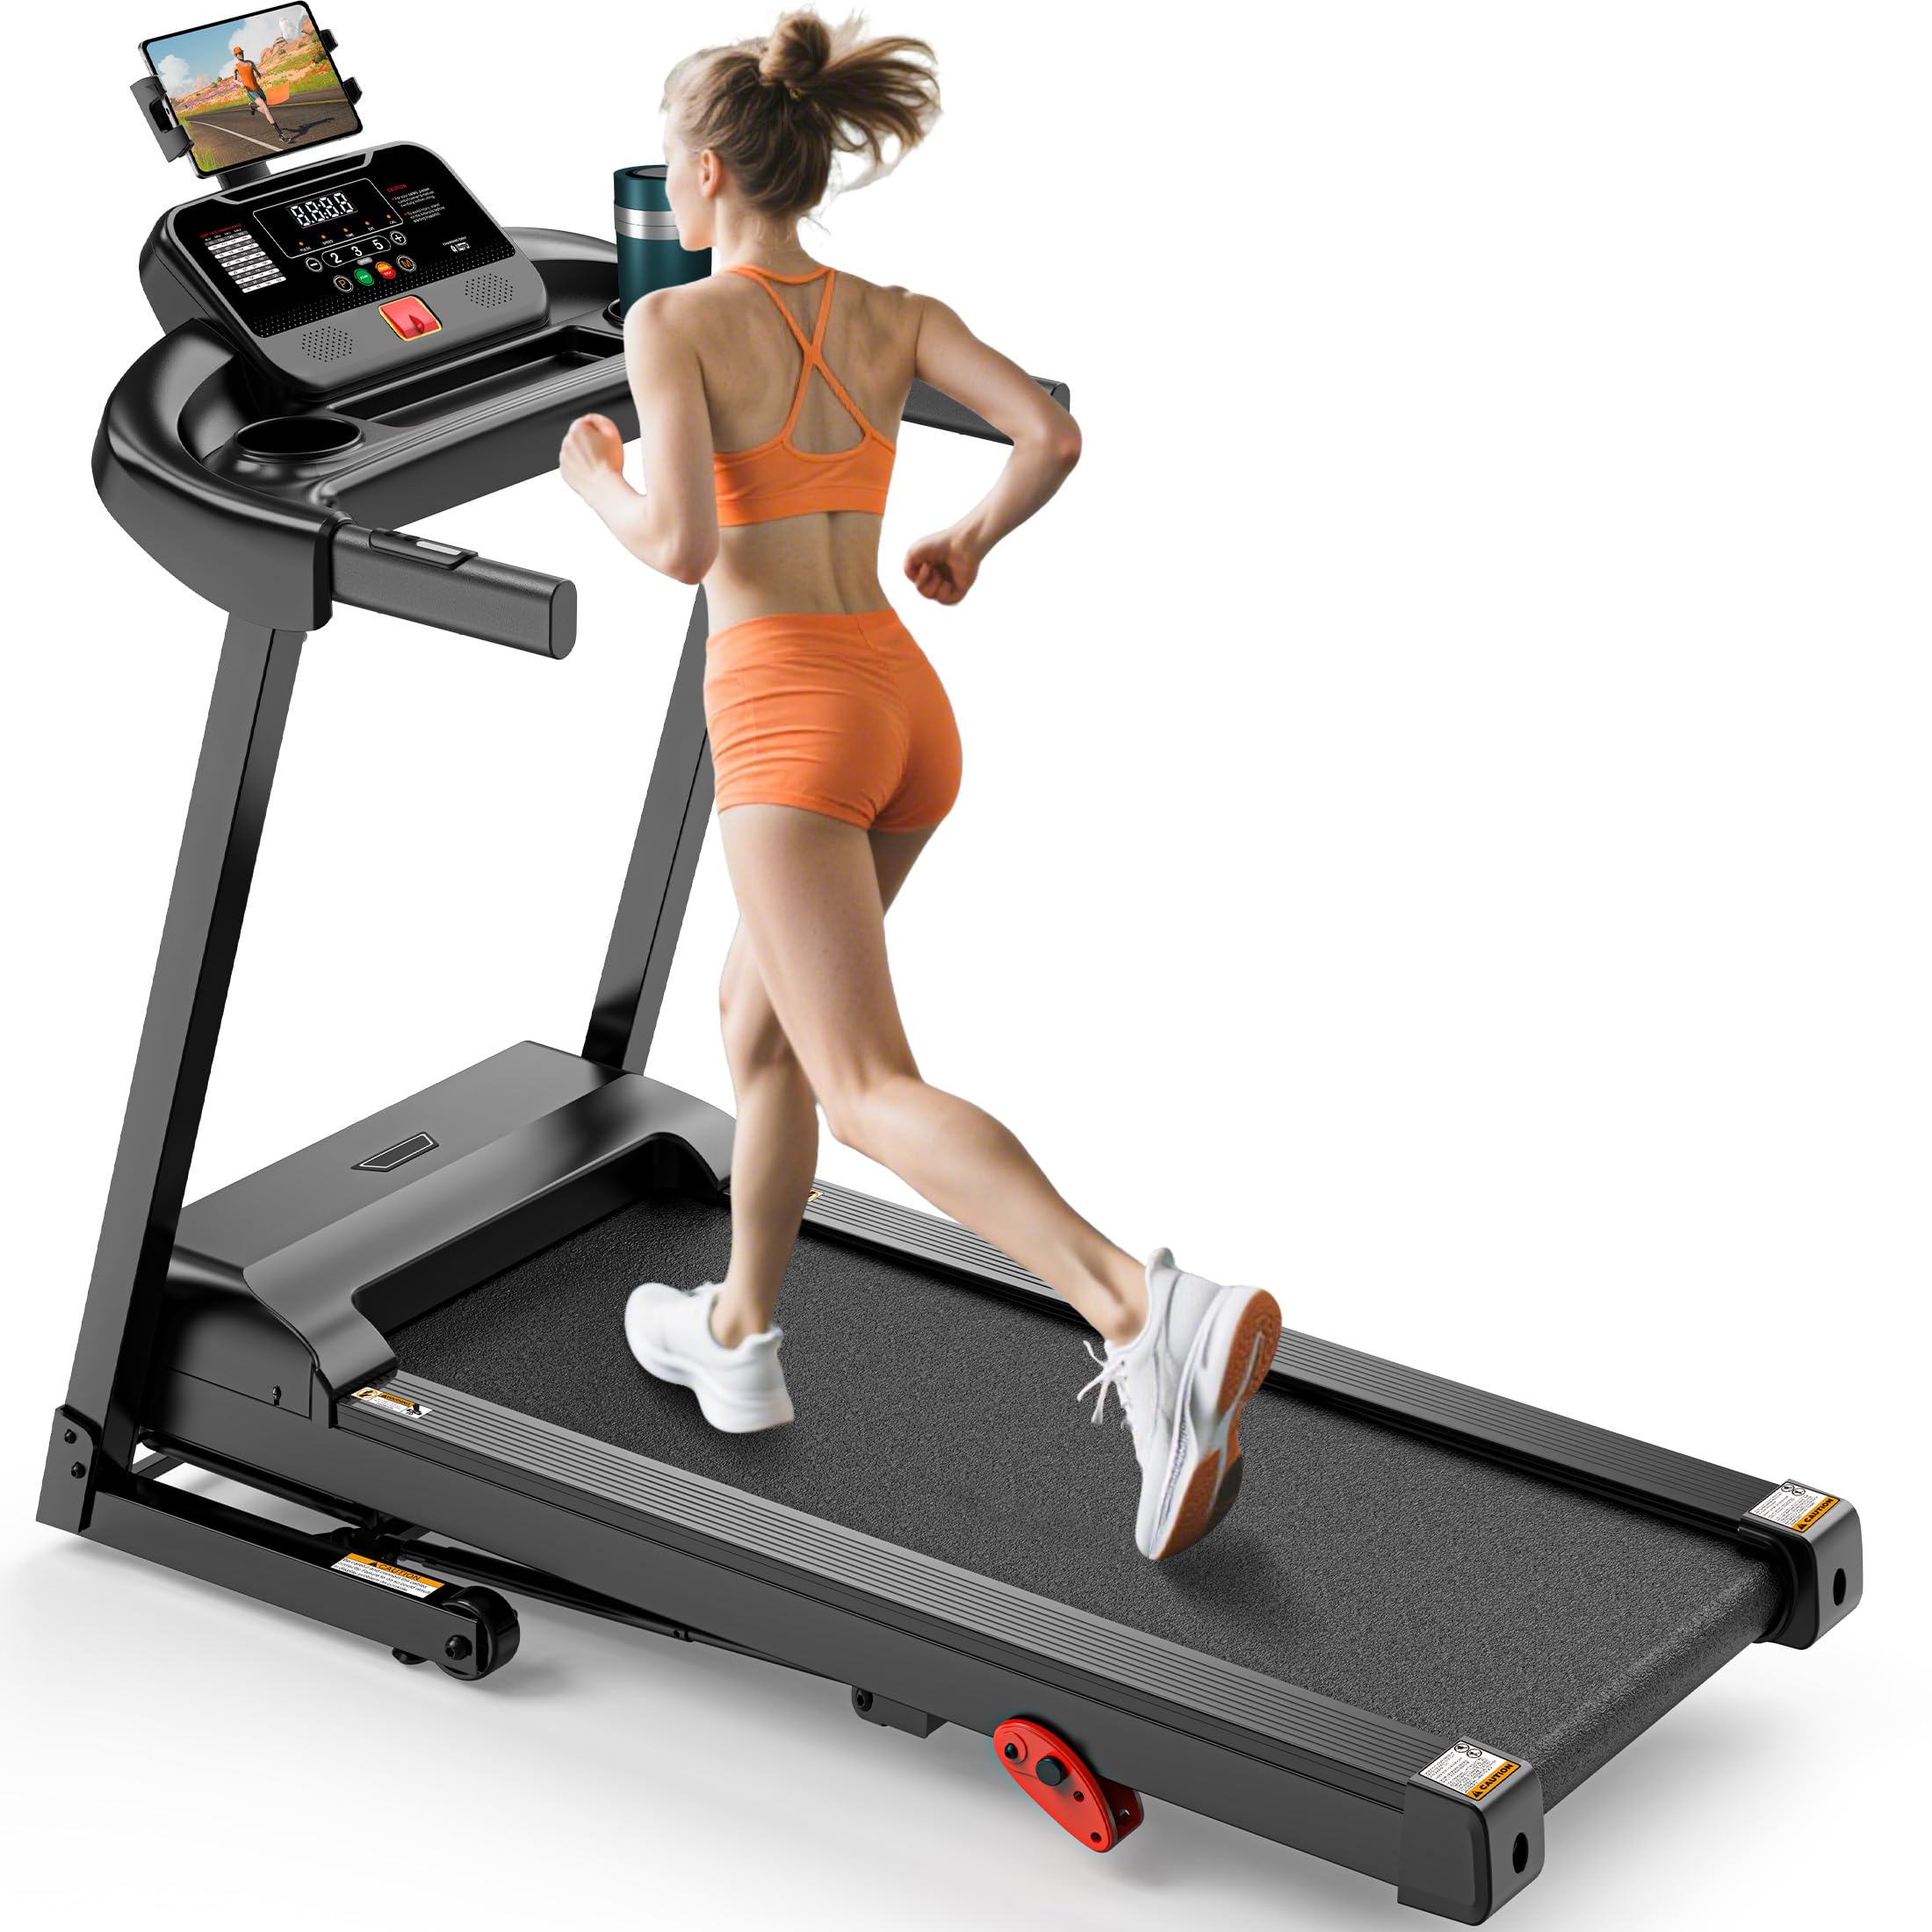
Image 1.1: Always use the safety key during operation for immediate shutdown.
2. Package Contents
Verify that all components are present before assembly.
- Treadmill Main Frame
- Console Assembly
- Upright Posts (Left and Right)
- Base Frame
- Safety Key
- Power Cord
- Hardware Kit (bolts, washers, nuts, tools)
- User Manual (this document)
Image 2.1: Ensure all parts are accounted for before beginning assembly.
3. Setup and Assembly
Assembly typically requires two people. Follow these steps carefully.
- Unpack: Carefully remove all components from the packaging and place them on a clear, flat surface.
- Attach Upright Posts: Secure the left and right upright posts to the base frame using the provided bolts and washers. Do not fully tighten yet.
- Mount Console: Attach the console assembly to the top of the upright posts. Connect any necessary cables as indicated in the diagrams.
- Secure All Fasteners: Once all major components are in place, tighten all bolts and screws securely.
- Power Connection: Plug the power cord into the treadmill and then into a grounded wall outlet.
- Test: Insert the safety key and perform a brief test run at a low speed to ensure proper function.
Image 3.1: Follow the assembly diagram for correct component placement.
4. Operating Instructions
4.1 Control Panel Overview
Familiarize yourself with the console buttons and display.
Image 4.1: The control panel displays speed, time, distance, calories, and incline.
- START/STOP: Initiates or halts the running belt.
- SPEED +/-: Adjusts the running belt speed (0.6 to 7.5 MPH).
- INCLINE +/-: Adjusts the incline level (3 levels).
- PROGRAM: Selects from 71 pre-set workout programs.
- MODE: Toggles between display modes (e.g., time, distance, calories).
4.2 Starting a Workout
- Ensure the safety key is properly inserted into the console and clipped to your clothing.
- Step onto the treadmill belt, placing your feet on the side rails.
- Press the START button. The belt will begin moving at a low speed after a short countdown.
- Carefully step onto the moving belt and adjust the speed and incline as desired using the SPEED +/- and INCLINE +/- buttons.
4.3 Using Pre-set Programs
The treadmill offers 71 pre-set programs designed for various fitness levels and goals.
- From the standby screen, press the PROGRAM button repeatedly to cycle through the available programs (P1-P71).
- Once you have selected your desired program, press START to begin. The treadmill will automatically adjust speed and incline according to the program's profile.
4.4 APP Connectivity
Connect your treadmill to the dedicated fitness APP for enhanced control and tracking.
- Download the official APP from your device's app store.
- Enable Bluetooth on your mobile device.
- Open the APP and follow the on-screen instructions to pair with your treadmill (Model 1196).
- Once connected, you can control the treadmill, access virtual sports courses, and track your exercise data directly from the APP.
5. Folding and Storage
The treadmill features a folding design for convenient storage.
- Stop Treadmill: Ensure the treadmill is completely stopped and unplugged from the power outlet.
- Lift Deck: Carefully lift the running deck until it locks into the upright position. You may hear a click indicating it is secured.
- Move: Use the transport wheels located at the front of the treadmill to move it to your desired storage location.
- Unfolding: To unfold, gently push the release lever or pin (if applicable) and slowly lower the running deck until it rests flat on the floor.
Image 5.1: The treadmill folds vertically to save space when not in use.
6. Maintenance
Regular maintenance ensures optimal performance and longevity of your treadmill.
- Cleaning: Wipe down the console and exterior surfaces with a damp cloth after each use. Avoid abrasive cleaners.
- Belt Lubrication: The running belt may require lubrication every few months, depending on usage. Refer to the specific instructions for your treadmill model regarding lubrication type and application.
- Belt Tension and Alignment: Periodically check the running belt for proper tension and alignment. If the belt slips or drifts to one side, adjust it according to the instructions in the troubleshooting section or consult customer support.
- Motor Cover: Periodically vacuum dust from under the motor cover to prevent overheating. Ensure the treadmill is unplugged before removing the cover.
Image 6.1: Regular cleaning helps maintain the treadmill's appearance and function.
7. Troubleshooting
Refer to this section for common issues and their solutions.
| Problem | Possible Cause | Solution |
|---|---|---|
| Treadmill does not power on. | Power cord not plugged in; Safety key not inserted; Circuit breaker tripped. | Check power connections; Ensure safety key is fully inserted; Reset circuit breaker. |
| Running belt slips. | Belt tension too loose; Belt requires lubrication. | Adjust belt tension (refer to specific instructions); Lubricate the running belt. |
| Unusual noise from motor area. | Loose components; Dust accumulation in motor. | Check and tighten all visible bolts; Unplug and carefully vacuum motor area. |
| Display not working correctly. | Loose cable connection; Console malfunction. | Check console cable connections; Contact customer support if issue persists. |
8. Specifications
- Model: 1196
- Brand: Generic
- Motor: 3.5 HP Brushless
- Speed Range: 0.6 - 7.5 MPH (1 - 12 KM/H)
- Incline Levels: 3 (Auto Incline)
- Maximum User Weight: 330 lbs (150 kg)
- Product Dimensions (L x W x H): 64" x 23" x 56" (162.5 cm x 58.4 cm x 142.2 cm)
- Material: Acrylonitrile Butadiene Styrene (ABS)
- Programs: 71 Pre-set Programs
- Included Components: Safety Key
9. Warranty and Support
This Generic Folding Treadmill Model 1196 comes with a 1-Year Limited Warranty from the date of purchase.
The warranty covers manufacturing defects in materials and workmanship under normal use. It does not cover damage resulting from misuse, accident, unauthorized modification, or improper assembly/maintenance.
For warranty claims, technical assistance, or replacement parts, please contact the retailer or manufacturer's customer support with your purchase receipt and model number.
Please have your model number (1196) and date of purchase ready when contacting support.


