
Introduction
Thank you for choosing the SoundBeast All-in-One Retro Stereo System, Model VR26. This versatile unit combines classic aesthetics with modern functionality, offering multiple ways to enjoy your audio. This manual provides detailed instructions for setup, operation, maintenance, and troubleshooting to ensure optimal performance and longevity of your device.

Image: Front view of the SoundBeast All-in-One Retro Stereo System, showcasing its vintage design with a dark wood finish and brass-colored accents.
Important Safety Instructions
Please read and understand all safety instructions before using this product. Keep this manual for future reference.
- Power Source: Use only the specified power supply (110V-120V North American power plug). For international customers, a 220V to 110V step-down voltage converter is required.
- Ventilation: Ensure adequate ventilation around the unit. Do not block ventilation openings.
- Water and Moisture: Do not expose the unit to rain, moisture, or dripping/splashing liquids. Do not place objects filled with liquids, such as vases, on the apparatus.
- Heat: Do not install near any heat sources such as radiators, heat registers, stoves, or other apparatus (including amplifiers) that produce heat.
- Cleaning: Clean only with a dry cloth.
- Servicing: Do not attempt to service this product yourself. Refer all servicing to qualified service personnel. Opening the unit may expose you to dangerous voltage or other hazards.
- Placement: Place the unit on a stable, flat surface to prevent it from falling.
Package Contents
Verify that all items are present in the package:
- SoundBeast All-in-One Retro Stereo System (Model VR26)
- Power Cord
- User Manual (this document)
Product Overview
The SoundBeast VR26 features a handmade wooden exterior and a user-friendly control panel. Familiarize yourself with the various components:
Front Panel Controls

Image: Front panel of the stereo system, highlighting the various playback options including CD Player, AM/FM Radio, Bluetooth Input, USB Playback, SD Playback, and Aux Input.
- Power/Volume Knob: Turn to adjust volume. Press to power ON/OFF.
- Treble/Bass Buttons: Adjust high and low frequencies.
- EQ Button: Cycle through equalizer presets (Jazz, Pop, Flat, Classic, Rock).
- REC Button: Initiate recording from selected source to USB/SD.
- Display Screen: Shows current mode, volume level, track number, and radio frequency.
- CD Player Slot: Insert audio CDs.
- Mode Selection Buttons: CD, USB/SD, Bluetooth, AUX, FM/AM.
- Tuning Knob: Manually tune AM/FM radio frequencies.
- Playback Control Buttons: Play/Pause, Stop, Skip Forward/Backward, Program, Random.
- SD Card Slot: Insert SD memory cards for playback or recording.
- USB Port: Insert USB flash drives for playback or recording.
Rear Panel Connections

Image: Side view of the stereo system, illustrating its dimensions (16"W x 11"H x 10"L) and power requirements (110V-120V North American voltage only).
- AC Power Input: Connect the provided power cord.
- FM Antenna Wire: For improved FM radio reception.
- Audio Input (RCA L/R): Connect external audio devices using RCA cables.
Setup
- Unpacking: Carefully remove the stereo system and all accessories from the packaging.
- Placement: Place the unit on a stable, flat surface away from direct sunlight, heat sources, and moisture.
- Power Connection: Connect the power cord to the AC Power Input on the rear of the unit, then plug it into a standard 110V-120V AC wall outlet.
- Antenna Setup: Extend the FM antenna wire for optimal FM radio reception. Position it for the best signal.
- Initial Power On: Press the Power/Volume knob to turn on the unit. The display will illuminate.
Operating Instructions
1. AM/FM Radio Operation
- Press the FM/AM button to select the desired radio band.
- Rotate the Tuning Knob to manually scan for radio stations. The frequency will be displayed on the analog scale.
- Adjust the Power/Volume Knob to set the desired listening volume.
- For optimal FM reception, adjust the position of the FM antenna wire.
2. CD Player Operation

Image: Front view of the stereo system with the CD tray open, ready for disc insertion.
- Press the CD button to select CD mode. The display will show "DISC".
- Press the Open/Close button (usually next to the CD slot) to open the CD tray.
- Place an audio CD onto the tray with the label side facing up.
- Press the Open/Close button again to close the tray. The unit will read the disc and begin playback automatically.
- Use the Play/Pause, Stop, and Skip Forward/Backward buttons to control playback.
3. Bluetooth Operation
- Press the Bluetooth button to select Bluetooth mode. The display will show "BT" and flash, indicating it's ready for pairing.
- On your mobile device, enable Bluetooth and search for available devices.
- Select "SoundBeast VR26" from the list of devices. Once paired, the "BT" indicator will stop flashing.
- You can now play audio from your device through the stereo system. Use your device or the system's playback controls.
4. USB Playback & Recording Operation
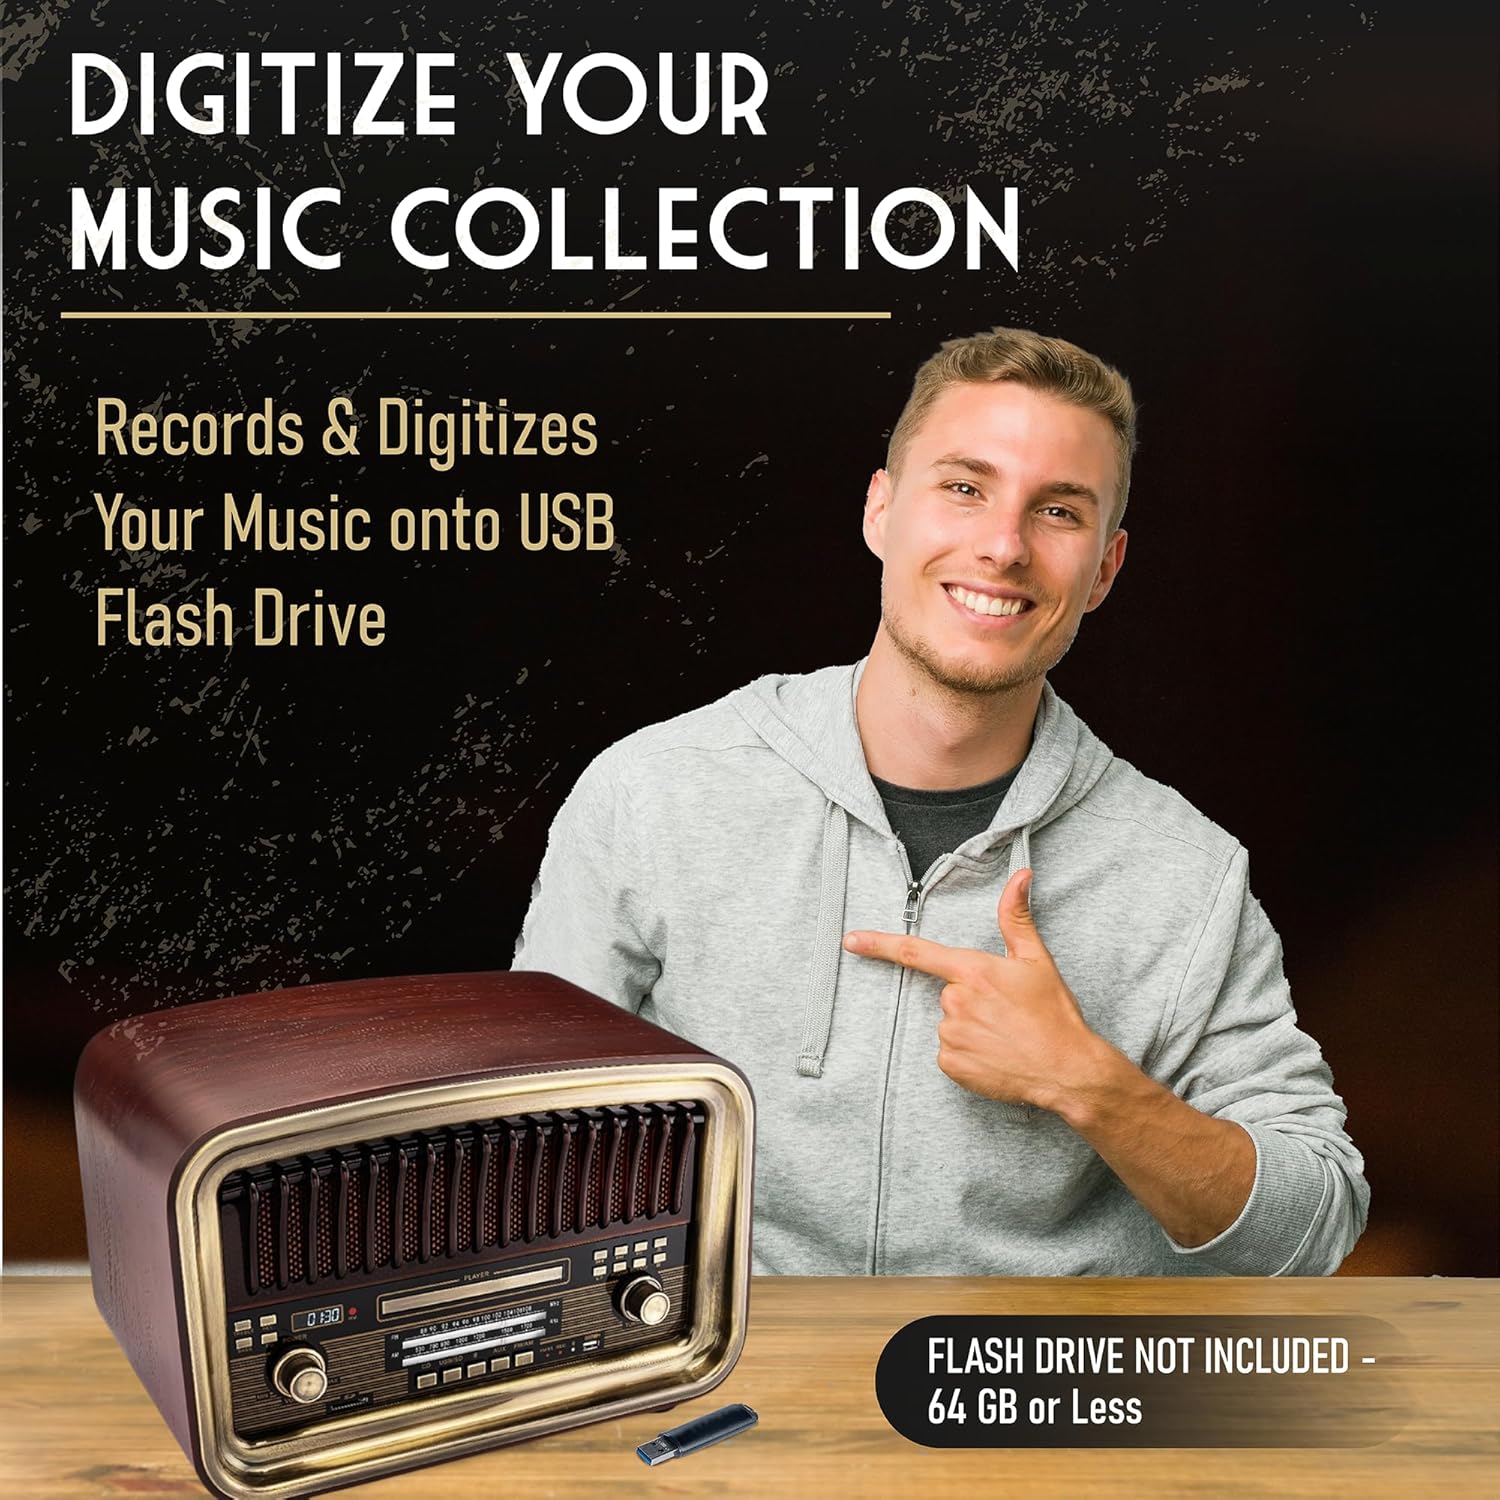
Image: Close-up of the front panel, highlighting the USB port and the recording indicator light. A USB flash drive is shown inserted.
- Playback:
- Insert a USB flash drive (64 GB or less, formatted to FAT32) into the USB Port.
- Press the USB/SD button to select USB mode. The unit will automatically detect and play compatible audio files.
- Use the playback control buttons to navigate tracks.
- Recording:
- Ensure a USB flash drive is inserted.
- Select the desired source for recording (e.g., FM radio, CD, AUX).
- Press the REC button to start recording. The REC indicator light will illuminate.
- Press the REC button again to stop recording. The recorded audio will be saved to the USB drive.
5. SD Card Playback Operation
- Insert an SD card into the SD Card Slot.
- Press the USB/SD button to select SD mode. The unit will automatically detect and play compatible audio files.
- Use the playback control buttons to navigate tracks.
6. Aux Input Operation
- Connect an external audio device (e.g., smartphone, MP3 player) to the Audio Input (RCA L/R) on the rear panel using appropriate RCA cables.
- Press the AUX button to select Aux Input mode.
- Play audio from your connected device. The volume can be controlled via the stereo system or the external device.
7. Equalizer Settings
Press the EQ button to cycle through preset equalizer modes: Jazz, Pop, Flat, Classic, Rock. You can also adjust Treble and Bass levels individually using their respective buttons.
Maintenance
- Cleaning: Wipe the unit with a soft, dry cloth. Do not use abrasive cleaners or solvents.
- CD Care: Handle CDs by their edges. Keep them clean and free of scratches.
- Storage: If storing the unit for an extended period, unplug it from the power outlet and store it in a cool, dry place.
Troubleshooting
| Problem | Possible Cause | Solution |
|---|---|---|
| No power | Power cord not connected; outlet not active. | Ensure power cord is securely plugged in. Test the outlet with another device. |
| No sound | Volume too low; incorrect mode selected; external device not playing. | Increase volume. Select the correct input mode. Ensure external device is playing and its volume is up. |
| Poor radio reception | FM antenna not extended or positioned correctly. | Extend and adjust the FM antenna wire for better signal. |
| CD not playing | CD inserted incorrectly; disc is dirty or scratched; unsupported disc format. | Reinsert CD with label side up. Clean the disc. Use standard audio CDs. |
| Bluetooth not pairing | Bluetooth mode not selected; device too far; device already paired. | Ensure unit is in Bluetooth mode. Keep devices within range. Disconnect from other Bluetooth devices. |
| USB/SD playback issues | Incorrect file format; unsupported USB/SD card size; card/drive not formatted correctly. | Ensure files are compatible. Use USB drives/SD cards 64GB or less, formatted to FAT32. |
Specifications
- Model: VR26
- Dimensions (W x H x L): 16" x 11" x 10"
- Weight: Approximately 10 lbs
- Power: 110V-120V AC (North American Plug Type)
- Speakers: Two Built-In 5W Speakers
- Connectivity: AM/FM Radio, CD Player, Bluetooth, USB Playback & Recording, SD Card Playback, Aux Input (RCA L/R)
- USB/SD Compatibility: Up to 64GB, FAT32 format recommended.
Warranty and Support
The SoundBeast All-in-One Retro Stereo System (Model VR26) comes with a 5-Year Warranty and dedicated support from SoundBeast, a USA-based small business. For any questions, technical assistance, or warranty claims, please contact SoundBeast customer support.
Contact information can typically be found on the product packaging or the official SoundBeast website.
Official Product Video
Watch this official product video from SoundBeast for a visual overview of the stereo system's features and operation.
Video: An official overview of the SoundBeast All-in-One AM/FM Radio with CD Player, demonstrating its various functions and vintage design.
