
Introduction
This manual provides essential instructions for the safe and efficient operation, installation, and maintenance of your ICEVOKE Self-Cleaning Water Dispenser with Bullet Ice Maker. Please read this manual thoroughly before using the appliance and retain it for future reference.

Figure 1: Front view of the ICEVOKE Water Dispenser, showcasing its sleek black design and integrated water and ice dispensing area.
Product Overview
The ICEVOKE Water Dispenser is a versatile 3-in-1 appliance designed to provide hot, cold, and room-temperature water, along with bullet-shaped ice cubes. It features a bottom-loading design for easy water bottle replacement, a child safety lock for hot water, and an energy-saving ECO mode.
Key Features:
- Three Temperature Settings: Delivers hot, cold, and room-temperature water.
- Integrated Ice Maker: Produces bullet-shaped ice cubes rapidly (9 cubes in 7-15 minutes, up to 22 lbs per day).
- Bottom Loading: Eliminates heavy lifting and simplifies water bottle replacement.
- Self-Cleaning Function: Ensures hygienic water delivery.
- Child Safety Lock: Prevents accidental dispensing of hot water.
- Nightlight: Illuminates the dispensing area for convenience in low light.
- ECO Mode: Energy-saving feature that stops heating water at night.
- Certifications: ETL, FCC, and UL certified, with food-grade materials for water contact.

Figure 2: The integrated design highlights the dispenser's ability to provide hot, cold, and room temperature water, as well as ice cubes.
Setup Instructions
The ICEVOKE Water Dispenser requires minimal assembly and no plumbing installation.
1. Unboxing and Placement:
- Carefully remove the dispenser from its packaging.
- Place the dispenser on a flat, stable surface, ensuring adequate clearance from walls (as indicated by warning labels) for proper ventilation.
- Insert the drip tray into its designated slot.
Video 1: This video demonstrates the unboxing, initial setup, and placement of the water dispenser, including the installation of the drip tray.
2. Water Bottle Installation (Bottom Loading):
- Open the bottom compartment door of the dispenser.
- Remove the cap from a standard 3 or 5-gallon water bottle.
- Insert the water pump's probe into the water bottle. Ensure the probe is securely seated.
- Slide the water bottle into the bottom compartment.
- Close the compartment door.

Figure 3: The bottom loading compartment with a 5-gallon water bottle being inserted, illustrating the ease of replacement.
3. Initial Cleaning and Priming:
- Before first use, perform a self-cleaning cycle as per the operating instructions to ensure all internal components are clean.
- After cleaning, allow the water tanks to fill and reach desired temperatures. This may take approximately 15 minutes.
Operating Instructions
The dispenser features an intuitive control panel for easy operation.

Figure 4: The control panel with touch-sensitive buttons for various functions, including temperature selection and child safety lock.
1. Powering On:
Press the ON/OFF button to power on the dispenser. Indicator lights will illuminate to show the status of hot, cold, and fresh water.
2. Dispensing Water:
- Cold Water: Place your cup under the cold water spout and press the Cold Water button.
- Room Temperature Water: Place your cup under the fresh water spout and press the Fresh Water button.
- Hot Water (with Child Safety Lock): To dispense hot water, first press and hold the Child Lock button, then press the Hot Water button. This two-step process prevents accidental hot water dispensing.

Figure 5: The control panel illustrating the temperature ranges for each water type and the child safety lock feature for hot water.
3. Ice Making:
To activate the ice maker, press the Making Ice button. The indicator light will flash while ice is being made. The dispenser can produce 9 bullet-shaped ice cubes in 7-15 minutes and has a daily capacity of 22 lbs. The ice maker will automatically stop when the ice basket is full.
Video 2: This video provides a close-up demonstration of the ice making process, showing the formation and dispensing of bullet-shaped ice cubes.
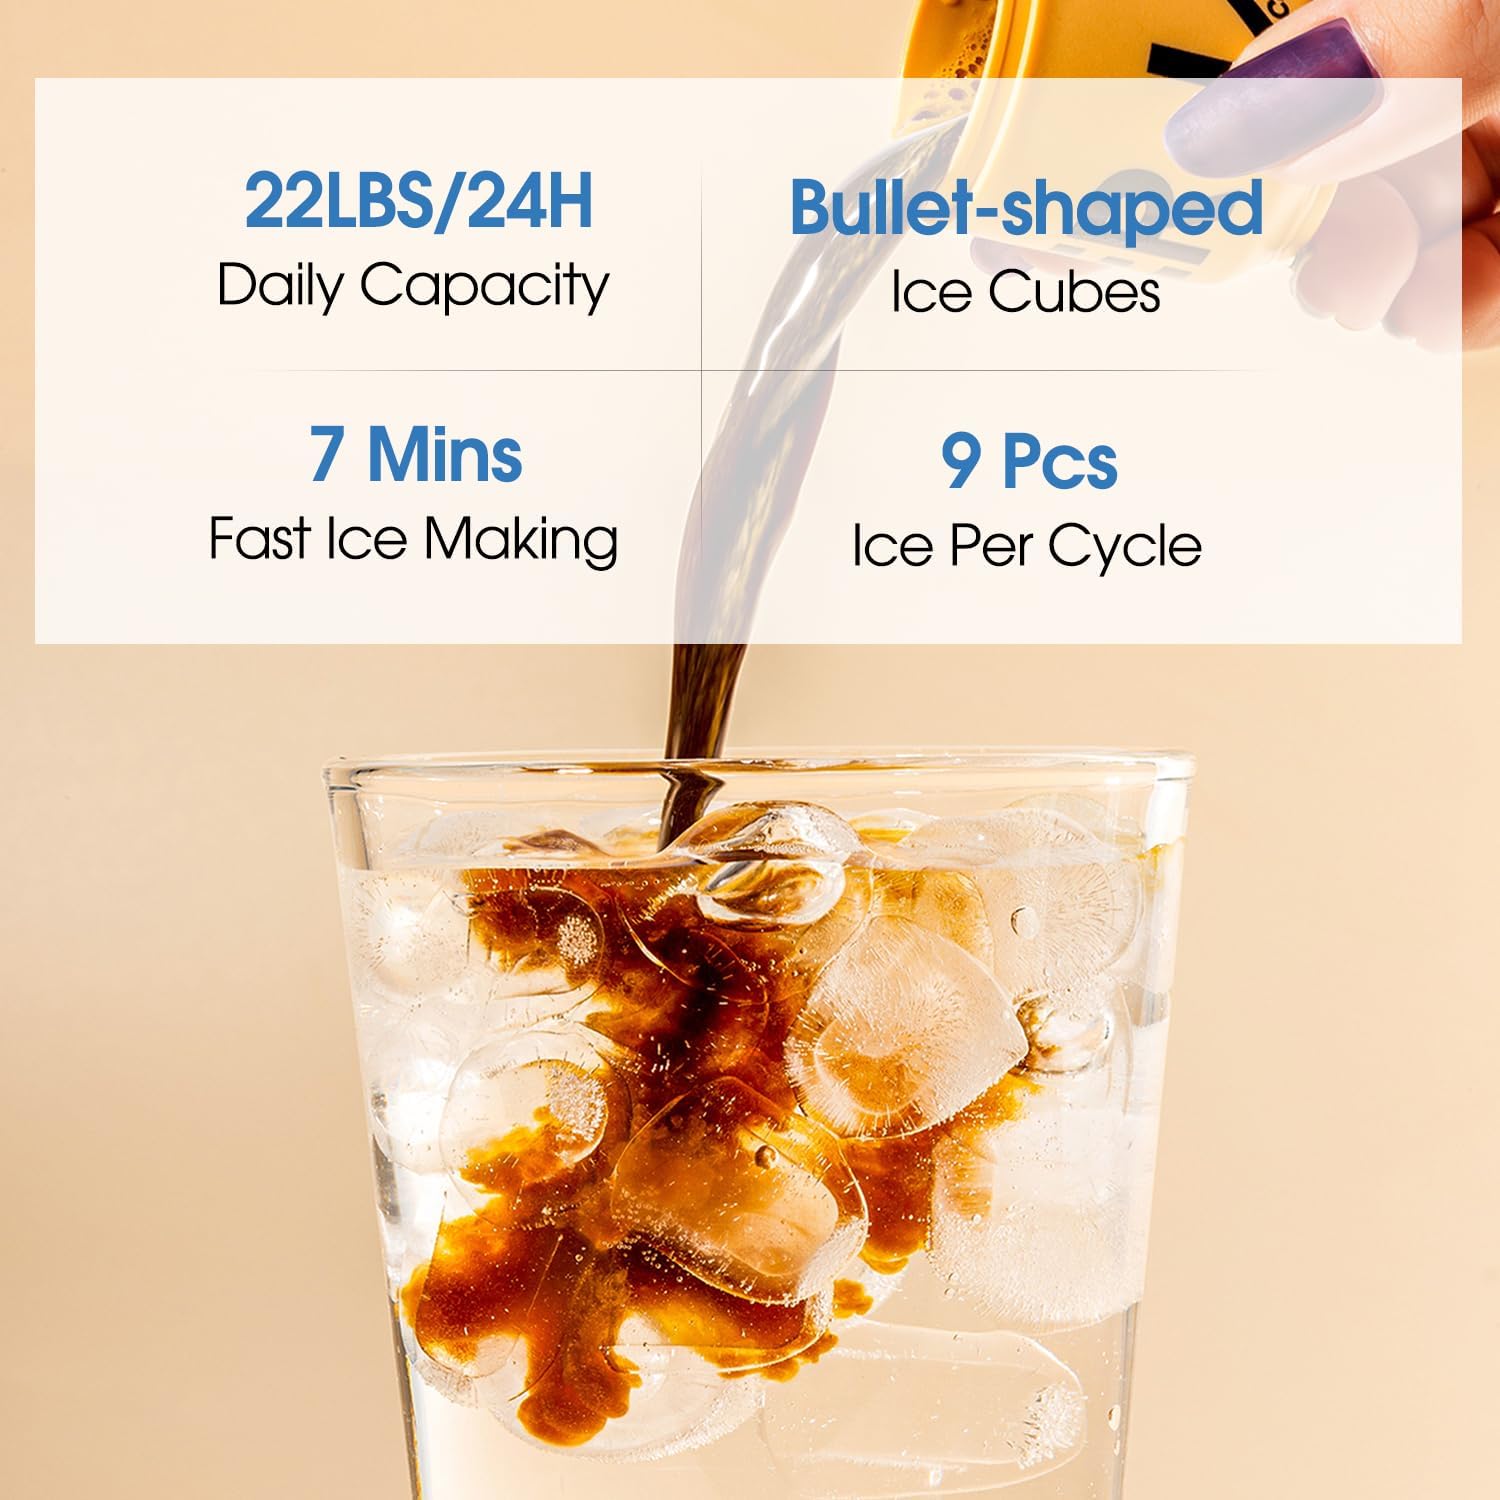
Figure 6: Visual representation of the ice maker's efficiency, highlighting its fast production time and bullet-shaped ice.
4. Energy Saving (ECO) Mode:
Activate the ECO mode to conserve energy. In this mode, the machine will stop heating water at night, reducing unnecessary power consumption.
5. Nightlight:
The built-in nightlight illuminates the dispensing area, making it easier to get water or ice in low-light conditions and preventing spills.

Figure 7: The nightlight feature provides illumination for the dispensing area, enhancing visibility and convenience.
Maintenance
Regular maintenance ensures the longevity and optimal performance of your water dispenser.
1. Self-Cleaning:
The dispenser includes a self-cleaning function. Refer to the control panel for instructions on initiating this cycle. Regular self-cleaning helps maintain water quality and prevents mineral buildup.
2. Drip Tray Cleaning:
The drip tray should be emptied and cleaned regularly to prevent overflow and maintain hygiene. Simply remove the tray, discard any collected water, wash with mild soap and water, and dry thoroughly before reinserting.
3. Exterior Cleaning:
Wipe the exterior surfaces of the dispenser with a soft, damp cloth. Avoid abrasive cleaners or solvents that could damage the finish.
Troubleshooting
If you encounter issues with your dispenser, refer to the following common problems and solutions:
- No Water Dispensing: Check if the water bottle is empty. The Lack of Water indicator light will illuminate if the bottle needs replacement. Ensure the water pump probe is correctly inserted into the bottle.
- Water Not Hot/Cold Enough: Allow sufficient time for the water to reach the desired temperature after initial setup or water bottle replacement. Ensure the hot/cold functions are enabled via the control panel.
- No Ice Production: Verify that the Making Ice function is activated. Check if the water bottle is empty or if the ice basket is full.
- Unusual Noise: Some operational noise is normal during heating, cooling, or ice making cycles. If the noise is excessive or unusual, ensure the dispenser is on a level surface and not touching any walls.
For issues not covered here, please contact customer support.
Specifications
Detailed technical specifications for the ICEVOKE Water Dispenser Model LYCZ628B-1016:
| Feature | Specification |
|---|---|
| Brand | ICEVOKE |
| Model Number | LYCZ628B-1016 |
| Color | Black |
| Material | Acrylonitrile Butadiene Styrene (ABS), Stainless Steel |
| Capacity | 5 Gallons (water bottle) |
| Product Dimensions | 16.54"D x 12.2"W x 40.75"H |
| Installation Type | Freestanding |
| Access Location | Bottom |
| Power Source | Corded Electric |
| Item Weight | 37.5 pounds |
| Ice Production | 9 cubes in 7-15 minutes; 22 lbs/day |
| Certifications | ETL, FCC, UL |

Figure 8: Product dimensions and ETL certification, ensuring safety and quality standards.
Safety Information
- Always use the child safety lock when dispensing hot water to prevent burns.
- Keep the dispenser away from flammable materials and direct sunlight.
- Ensure the power cord is not damaged and is properly grounded.
- Do not operate the machine without water in the tank.
- Unplug the dispenser before cleaning or maintenance.
Warranty and Support
This ICEVOKE product is manufactured to high-quality standards and is backed by relevant certifications (ETL, FCC, UL). For specific warranty details and customer support, please refer to the warranty card included with your product or contact the manufacturer directly through their official website or the retailer where the product was purchased. No specific warranty period or contact information is provided in this document.