
1. Introduction
This manual provides detailed instructions for the proper installation and maintenance of your MOTOQUEEN 36-piece Cab Body Mount Kit. This kit is designed as a direct replacement for part number C7TZ-5400-S, specifically for Ford F100 and F250 2WD models manufactured between 1967 and 1972. Correct installation will restore cab stability, eliminate common issues like cab sag, vibrations, and alignment problems, and contribute to a smoother, quieter ride.
Please read all instructions carefully before beginning the installation process. Ensure you have all necessary tools and safety equipment.
2. Compatibility and Fitment
This MOTOQUEEN Cab Body Mount Kit is compatible with the following vehicles:
- Make: Ford
- Models: F100, F250
- Years: 1967, 1968, 1969, 1970, 1971, 1972
- Drive Type: 2WD (Two-Wheel Drive) Only
- Replaces OEM Part Number: C7TZ-5400-S
Important: Verify your vehicle's model and drive type before installation to ensure proper fitment.

Figure 2.1: Kit components with a clear note on 2WD 1967-1972 Ford F100/F250 compatibility. Please verify your vehicle's specifications.
3. What's Included (36-Piece Kit)
Your MOTOQUEEN Cab Body Mount Kit includes all necessary components for a complete replacement. Please inspect the contents of the package upon receipt to ensure all parts are present and undamaged.

Figure 3.1: Complete 36-piece kit showing all bushings, washers, bolts, and nuts.
Kit Contents:
- Various sizes of cab body mount bushings (rubber/polyurethane)
- Metal washers (flat and possibly cupped)
- Mounting bolts
- Nuts
- Sleeves/spacers
Note: The exact number and type of each component are designed to match the original factory specifications for a full replacement.
4. Setup and Installation
Installation of the cab body mount kit requires basic mechanical knowledge and tools. If you are unsure about any step, it is recommended to consult a professional mechanic.
Required Tools (Not Included):
- Jack and jack stands (essential for safety)
- Wheel chocks
- Socket wrench set
- Torque wrench
- Pry bar
- Penetrating oil
- Wire brush
- Safety glasses and gloves
Installation Steps:
- Safety First: Park the vehicle on a level surface. Engage the parking brake and place wheel chocks on the wheels that will remain on the ground.
- Lift the Vehicle: Using a hydraulic jack, carefully lift the vehicle's cab slightly off the frame. Ensure the cab is supported securely with jack stands. Do not rely solely on the jack for support.
- Locate and Remove Old Mounts: Identify the existing cab body mounts. These are typically located at various points along the cab's underside where it connects to the frame. Use a socket wrench to loosen and remove the old bolts, washers, and bushings. Penetrating oil may be necessary for rusted hardware.
- Clean Mounting Surfaces: Thoroughly clean any rust, dirt, or debris from the mounting surfaces on both the cab and the frame using a wire brush. This ensures proper seating of the new mounts.
- Install New Mounts: Place the new MOTOQUEEN bushings, washers, and sleeves in their correct positions. Refer to a service manual for your specific vehicle model for the exact orientation and layering of components.
- Insert and Hand-Tighten Bolts: Insert the new mounting bolts through the components and into the frame. Hand-tighten all bolts to ensure proper alignment.
- Lower the Cab: Slowly and carefully lower the cab back onto the frame, ensuring all mounts align correctly.
- Torque Bolts: Once the cab is fully seated, use a torque wrench to tighten all mounting bolts to the manufacturer's specified torque settings. Consult your vehicle's service manual for exact torque specifications.
- Final Check: Remove jack stands and jack. Double-check all bolts for tightness. Take the vehicle for a short test drive to ensure everything feels secure and there are no unusual noises or vibrations.
This kit is designed to eliminate cab sag, vibrations, and alignment issues caused by worn factory mounts, restoring factory-level cab stability and a smooth ride.

Figure 4.1: Visual representation of improved cab height and ride quality after installation.
5. Operating Benefits
Upon successful installation of the MOTOQUEEN Cab Body Mount Kit, you can expect the following improvements in your vehicle's performance and comfort:
- Elimination of Cab Sag: Restores the cab to its original factory height and alignment.
- Reduced Vibrations: Significantly decreases vibrations felt in the cab, especially at speed.
- Quieter Ride: Minimizes squeaks and rattles originating from the cab-to-frame connection.
- Improved Steering Response: Addresses steering wheel misalignment issues caused by worn mounts.
- Enhanced Stability: Provides a more stable and secure feel while driving.
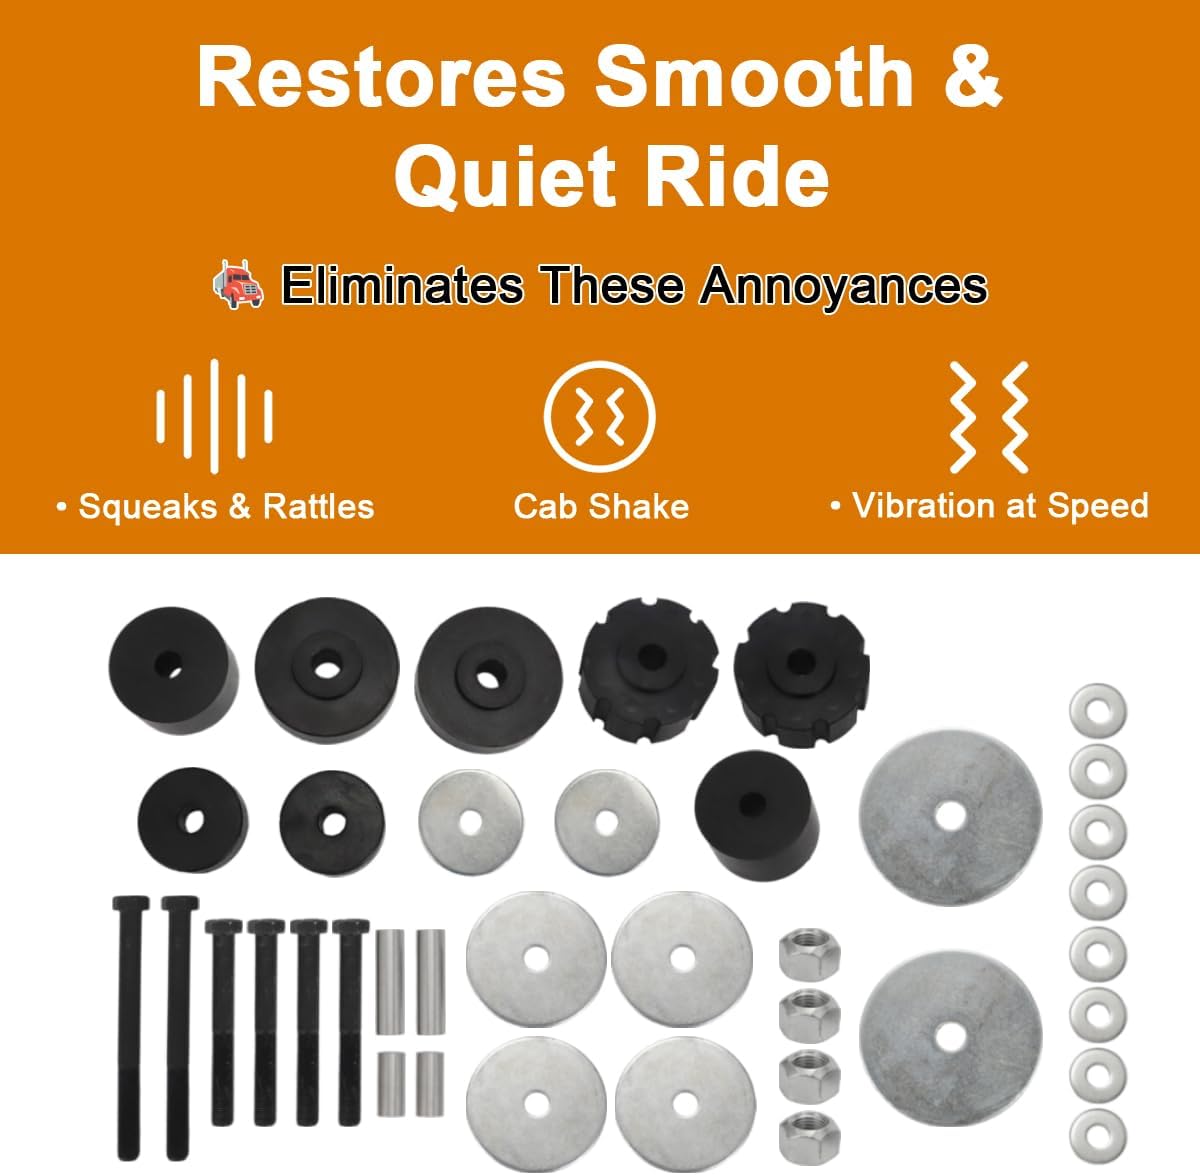
Figure 5.1: Benefits of replacing worn cab body mounts.
6. Maintenance
To ensure the longevity and continued performance of your MOTOQUEEN Cab Body Mount Kit, consider the following maintenance tips:
- Periodic Inspection: Annually inspect the cab body mounts for any signs of wear, cracking, or damage. Check for loose bolts.
- Torque Check: After the first 500-1000 miles of driving, re-check the torque on all mounting bolts to ensure they remain tightened to specification.
- Cleaning: Keep the areas around the mounts free from excessive dirt, mud, and road salt, which can accelerate wear.
7. Troubleshooting
If you experience issues after installation, refer to the following common troubleshooting steps:
| Problem | Possible Cause | Solution |
|---|---|---|
| Persistent Squeaks/Rattles | Loose mounting bolts, incorrect component placement, or other unrelated issues. | Re-check all mounting bolt torque. Verify all components are installed correctly according to your vehicle's service manual. Inspect other suspension or body components. |
| Cab Still Feels Loose/Vibrates | Mounts not fully seated, bolts not torqued correctly, or incorrect kit for vehicle. | Ensure cab is fully seated on all mounts. Re-torque all bolts to specification. Confirm kit compatibility (2WD, 1967-1972 F100/F250). |
| Difficulty Aligning Cab | Old mounts were severely worn, or cab was not properly supported during installation. | Ensure the cab is lifted evenly. Use a pry bar gently to assist in aligning the cab with the frame mounting points. Do not force components. |
If issues persist after troubleshooting, contact a qualified mechanic or MOTOQUEEN customer support for further assistance.
8. Specifications
- Brand: MOTOQUEEN
- Model Number: ZUYAH852
- Manufacturer Part Number: LHUH851
- Replaces OEM Part: C7TZ-5400-S
- Material: Alloy Steel (for hardware), Rubber/Polyurethane (for bushings)
- Auto Part Position: Bottom (Cab to Frame)
- Included Components: 36 Pcs Cab Body Mount Kit (bushings, washers, bolts, nuts, sleeves)
- Automotive Fit Type: Vehicle Specific Fit (Ford F100/F250 2WD, 1967-1972)
9. Warranty and Support
For information regarding product warranty, returns, or technical support, please refer to the MOTOQUEEN official website or contact their customer service directly. Keep your purchase receipt as proof of purchase.
MOTOQUEEN Customer Service: Please visit the MOTOQUEEN Store on Amazon for contact information or further product details.