
Introduction
Thank you for purchasing the VIANIS Outdoor Wall Light V81292BK. This manual provides essential information for the safe installation, operation, and maintenance of your new lighting fixture. Please read these instructions thoroughly before beginning installation and retain them for future reference.
Important Safety Information
WARNING: RISK OF ELECTRIC SHOCK. Disconnect power at the circuit breaker or fuse box before installation or servicing. Improper installation can result in electric shock or fire.
- All electrical connections must be in accordance with local codes and ordinances, National Electric Code (NEC), and ANSI/NFPA 70-1999.
- Consult a qualified electrician if you are unsure about the installation process.
- This fixture is designed for outdoor use and is water resistant. Ensure all connections are properly sealed to maintain water resistance.
- Do not install this fixture on surfaces that are not structurally sound.
- Use only bulbs of the specified type and wattage (E26 base, Incandescent or LED).
- Do not touch the bulb when the fixture is operating or immediately after turning it off, as it will be hot.
What's Included
Carefully unpack the fixture and check that all components are present. If any parts are missing or damaged, do not attempt to assemble or install the product. Contact customer support for assistance.
- VIANIS Outdoor Wall Light Fixture (Model V81292BK)
- Mounting Hardware (screws, wire nuts, mounting plate)
- Instruction Manual
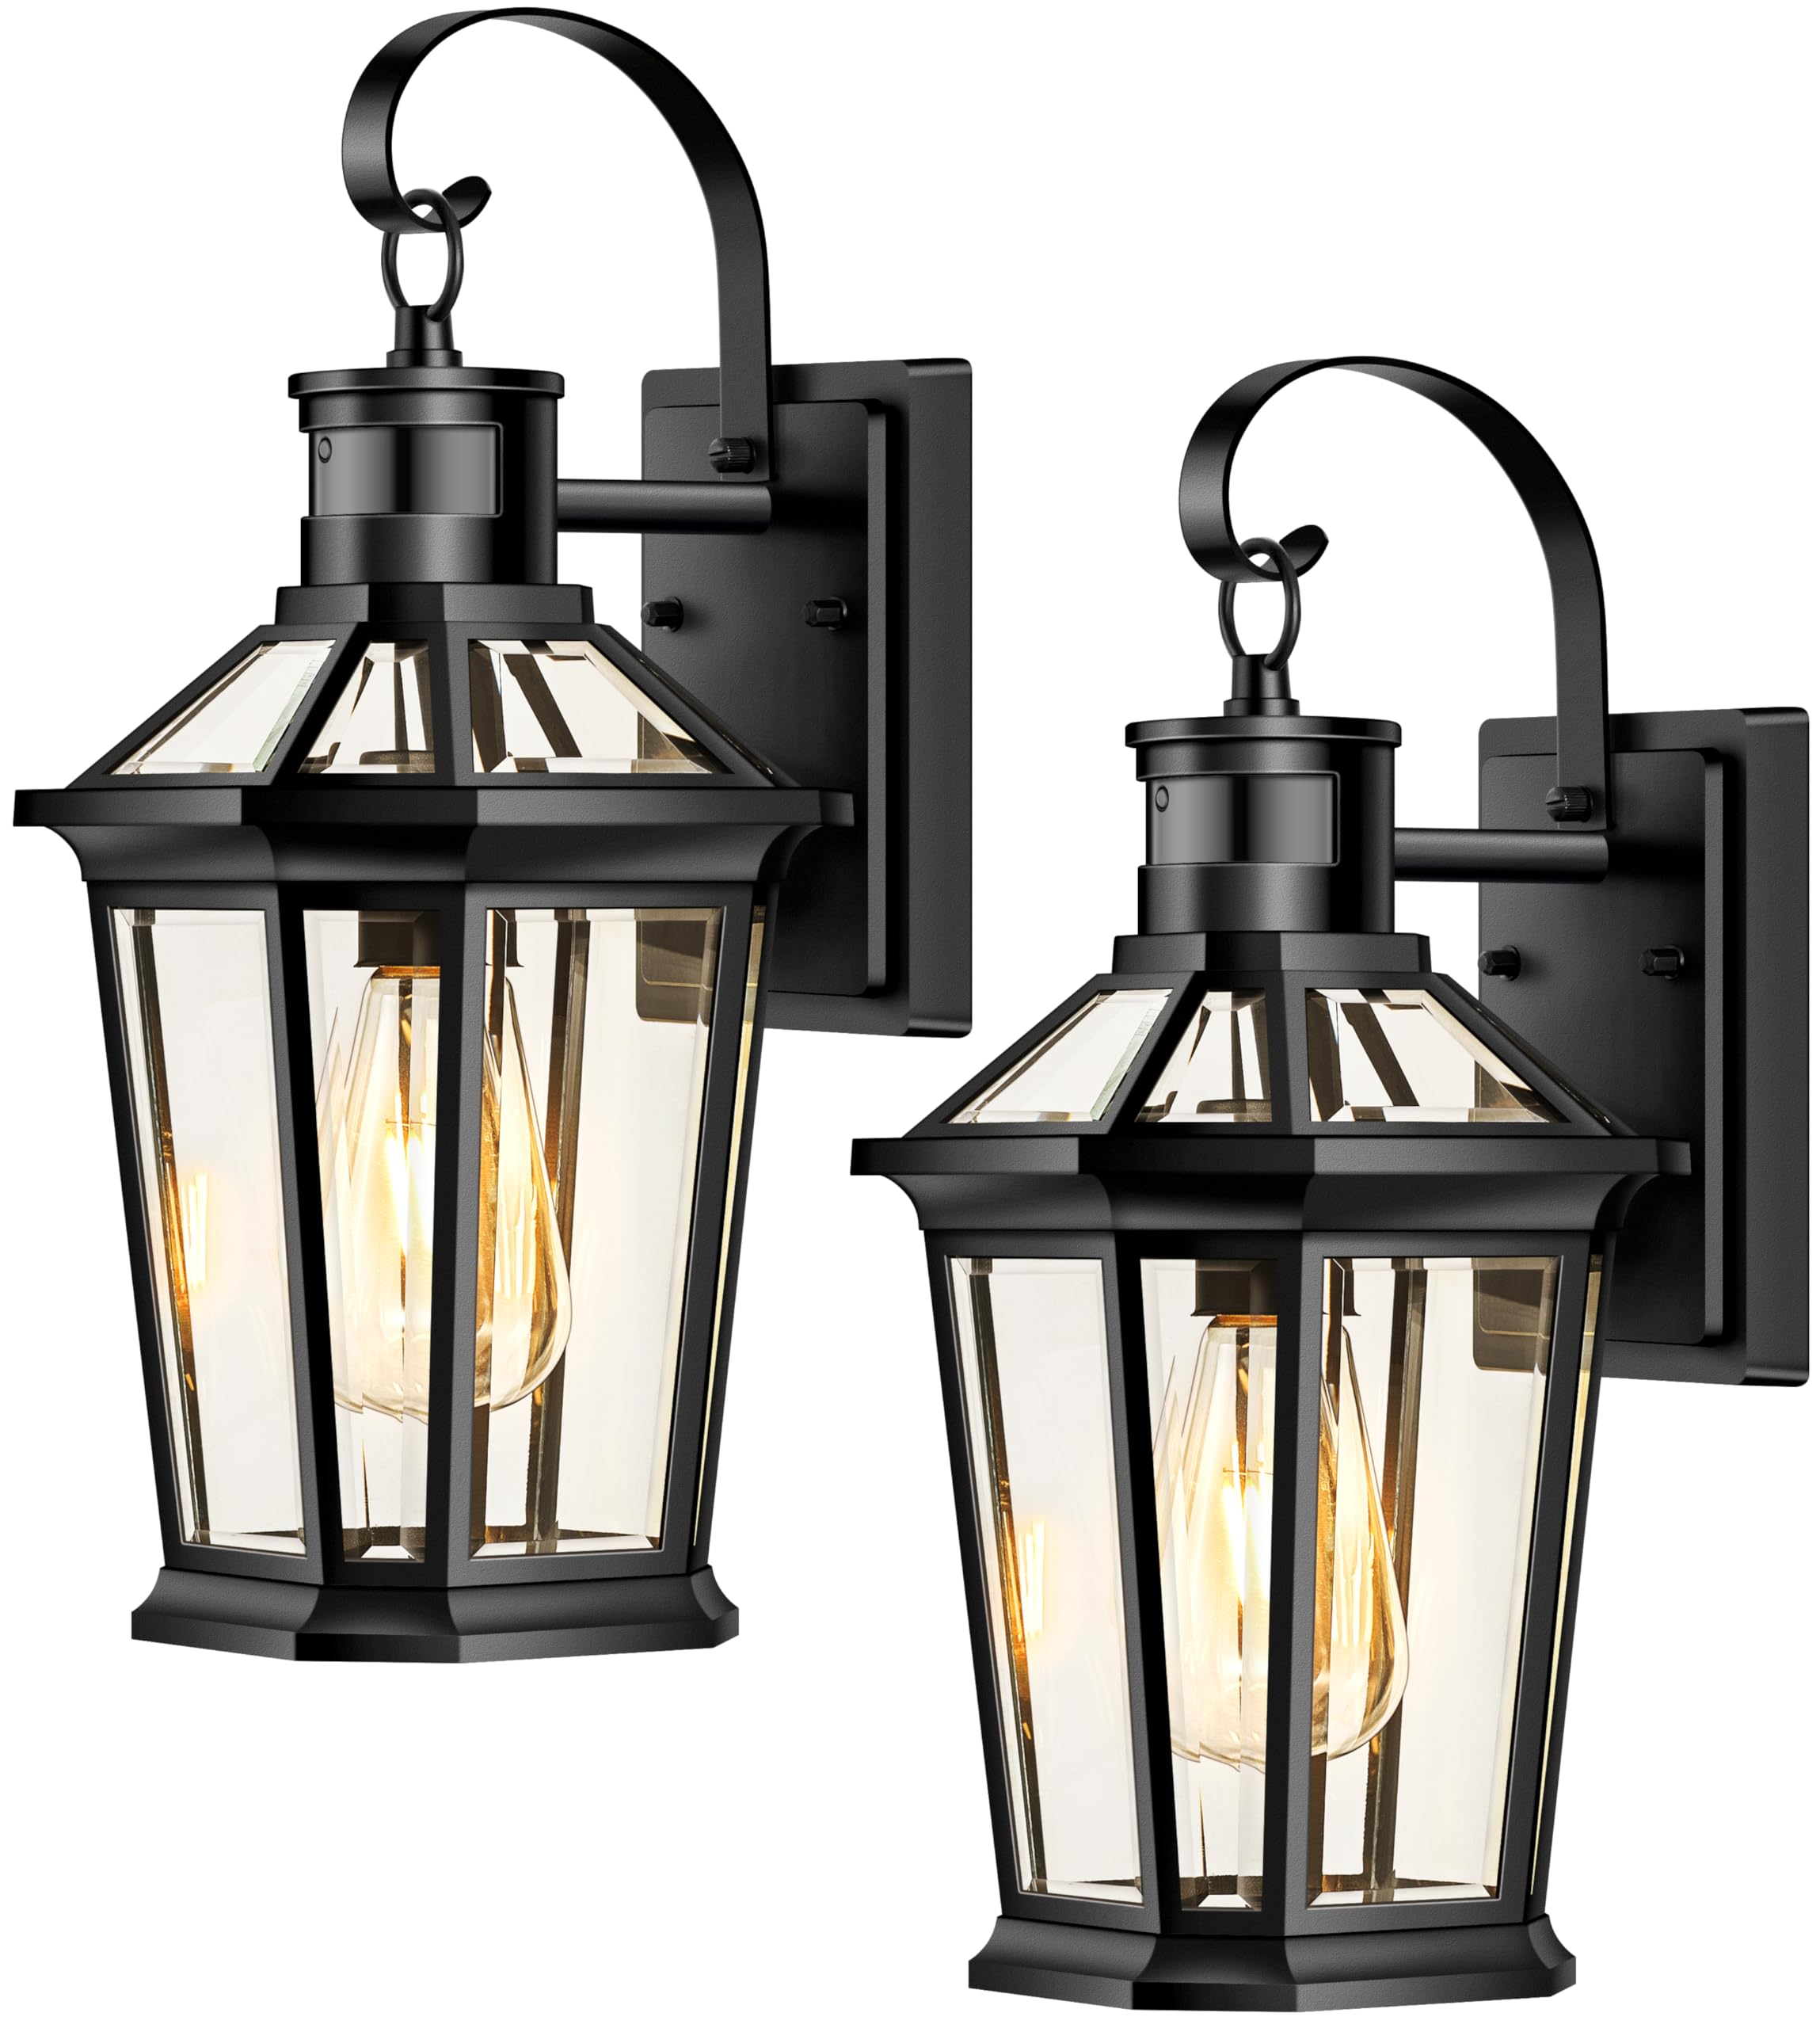
Image: The VIANIS Outdoor Wall Light V81292BK, showcasing its modern design and aluminum finish. This image represents the complete product as it appears out of the box.
Product Specifications
| Brand | VIANIS |
| Model Number | V81292BK |
| Material | Aluminum |
| Style | Modern |
| Light Fixture Form | Sconce |
| Indoor/Outdoor Usage | Outdoor |
| Power Source | Corded Electric |
| Light Source | Incandescent, LED |
| Bulb Base | E26 |
| Water Resistance Level | Water Resistant |
| Mounting Type | Wall Mount |
| Item Dimensions (L x W x H) | 8.2"L x 7"W x 15.7"H |
| Item Weight | 3.5 pounds |
Installation Instructions
Before you begin, ensure you have the necessary tools:
- Screwdriver (Phillips and Flathead)
- Wire Strippers
- Pliers
- Electrical Tape
- Safety Glasses
Step 1: Prepare for Installation
- Turn off power: Locate the circuit breaker that supplies power to the outlet box where you will install the fixture. Turn the breaker to the OFF position. Verify power is off using a voltage tester.
- Remove old fixture (if applicable): Carefully disconnect and remove any existing fixture from the wall.
- Unpack contents: Remove all components from the packaging and place them on a clean, flat surface.
Step 2: Attach Mounting Plate
- Attach the mounting plate (included in hardware) to the electrical junction box using the provided screws. Ensure the plate is securely fastened and level.
- Image description: A diagram showing the mounting plate being secured to a standard outdoor electrical junction box with two screws.
Step 3: Make Electrical Connections
Carefully connect the wires according to the following:
- Connect the black wire from the fixture to the black (hot) wire from the junction box using a wire nut.
- Connect the white wire from the fixture to the white (neutral) wire from the junction box using a wire nut.
- Connect the ground wire (bare copper or green) from the fixture to the ground wire from the junction box (or to the green ground screw on the mounting plate) using a wire nut.
Ensure all wire nuts are securely tightened and wrap electrical tape around each connection for added insulation and moisture protection, especially for outdoor use.
Image description: A close-up diagram illustrating the proper wire connections (black-to-black, white-to-white, ground-to-ground) secured with wire nuts and electrical tape.
Step 4: Mount the Fixture
- Carefully tuck all wires into the junction box.
- Align the fixture with the mounting plate and secure it using the provided screws or nuts. Ensure the fixture is flush against the wall and sealed to prevent water entry.
- Image description: A view of the fixture being attached to the mounting plate, showing how the fixture's base covers the electrical box and is secured.
Step 5: Install Bulb
- Screw an E26 base bulb (not included) into the socket. Do not exceed the maximum wattage specified on the fixture label.
- Image description: A hand screwing an E26 base LED bulb into the fixture's socket.
Step 6: Restore Power
- Return to the circuit breaker and turn the power back ON.
- Test the fixture to ensure it operates correctly.
Operating Instructions
The VIANIS Outdoor Wall Light V81292BK operates as a standard light fixture. Once properly installed and powered, it can be controlled by the wall switch connected to its circuit.
- To turn ON: Flip the connected wall switch to the 'ON' position.
- To turn OFF: Flip the connected wall switch to the 'OFF' position.
This fixture does not include an integrated switch or controller; its operation is dependent on the external wall switch.
Maintenance
Regular maintenance will help preserve the appearance and functionality of your VIANIS Outdoor Wall Light.
- Cleaning: To clean the fixture, ensure the power is OFF and the fixture is cool. Wipe with a soft, damp cloth. Do not use abrasive cleaners, solvents, or polishes as they may damage the finish.
- Bulb Replacement: Before replacing a bulb, ensure the power is OFF and the bulb is cool. Unscrew the old bulb and screw in a new E26 base bulb of the appropriate wattage.
- Inspection: Periodically inspect the fixture for any signs of damage, loose connections, or wear. If any issues are found, disconnect power and consult a qualified electrician.
Troubleshooting
If your fixture is not operating correctly, refer to the following common issues and solutions:
| Problem | Possible Cause | Solution |
|---|---|---|
| Fixture does not light up. |
|
|
| Light flickers. |
|
|
| Water inside fixture. |
|
|
If you encounter problems not listed here or if the suggested solutions do not resolve the issue, please contact VIANIS customer support.
Warranty and Support
Manufacturer's Warranty
The manufacturer warrants this lighting fixture to be free from defects in materials and quality for 8 years from the date of purchase. This warranty applies only to the original consumer purchaser and only to products used in regular use and service.
If this product is found to be defective, the manufacturer’s only obligation, and your exclusive remedy, is the repair or replacement of the product at the manufacturer’s discretion, provided that the product has not been damaged through misuse, abuse, accident, modifications, alterations, neglect or mishandling.
What is NOT Covered: This warranty shall not apply to any product that is found to have been improperly installed, set up, or used in any way not by the instructions supplied with the product. This warranty shall not apply to a failure of the product as a result of an accident, misuse, abuse, negligence, alteration, faulty installation, or any other failure not relating to defective material or quality. This warranty shall not apply to the finish on any portion of the product, such as surface and weathering, as this is considered normal wear and tear. The manufacturer does not warrant and specifically disclaims any warranty, whether expressed or implied, of fitness for a particular purpose other than the warranty contained herein. The manufacturer expressly disclaims any liability and shall not be liable for any consequential or incidental loss or damage, including but not limited to any labor/expense costs involved in the replacement or repair of said product.
Note: The product description also mentions a "1 year warranty" in the specifications. For clarity, the longer 8-year warranty from the main description is prioritized as it provides more detail. If there's a conflict, users should refer to their purchase documentation.
Customer Support
For technical assistance, warranty claims, or to report missing/damaged parts, please contact VIANIS customer support. Refer to your purchase documentation for specific contact details or visit the official VIANIS website.
Online Resources: Visit the VIANIS Store on Amazon
Official Product Videos
No official seller-created product videos are available for this model at this time.