
1. Introduction
Thank you for choosing the Zostuic DC506 Instant Print Kids Digital Camera. This manual provides essential information for the safe and effective operation of your new camera. Please read it thoroughly before use and retain it for future reference.
2. Safety Information
- This product is intended for children aged 4-12 years. Adult supervision is recommended.
- Do not disassemble or attempt to repair the camera yourself.
- Keep the camera away from water, moisture, and extreme temperatures.
- Use only the provided charging cable and accessories.
- The print paper is BPA-free. Avoid ingestion.
3. Package Contents
Ensure all items are present in the package:
- Zostuic DC506 Instant Print Digital Camera
- USB Type-C Charging Cable
- Lanyard
- 32GB Micro SD Card
- 4 Rolls of Print Paper
- User Manual

Figure 1: Zostuic DC506 camera and included accessories.
4. Product Overview
The Zostuic DC506 features a dual-lens design for both front and rear photography, instant thermal printing, and a user-friendly interface.

Figure 2: Front view of the Zostuic DC506 camera.

Figure 3: Key features of the Zostuic DC506 camera.
5. Setup
5.1 Inserting Print Paper
- Push down the cover on the top-front of the camera to open the paper compartment.
- Insert a roll of print paper, ensuring the paper feeds out from the top and is aligned correctly.
- Close the cover firmly until it clicks into place.
Figure 4: Print paper installation steps.
5.2 Inserting Memory Card
The camera supports Micro SD cards up to 32GB. The included 32GB card is pre-installed.
- Locate the Micro SD card slot on the side of the camera.
- Gently insert the Micro SD card with the gold contacts facing down until it clicks into place.
- To remove, gently push the card in until it springs out.
5.3 Charging the Camera
The camera has a built-in rechargeable battery.
- Connect the provided USB Type-C cable to the camera's charging port.
- Connect the other end of the cable to a USB power adapter (not included) or a computer's USB port.
- The charging indicator light will illuminate during charging and turn off when fully charged.

Figure 5: USB transfer and charging.
6. Operating Instructions
6.1 Power On/Off
- To power on, press and hold the Power button until the screen lights up.
- To power off, press and hold the Power button until the screen turns off.
6.2 Taking Photos
- Press the Mode button to switch to Photo mode.
- Use the navigation buttons to select filters or frames.
- To switch between front and rear lenses, use the dedicated lens switch button (usually near the lens).
- Frame your shot on the screen and press the Shutter button to capture the photo.

Figure 6: Dual camera functionality.
6.3 Recording Videos
- Press the Mode button to switch to Video mode.
- Press the Shutter button to start recording. Press it again to stop.
- Videos are recorded in 1080P resolution.
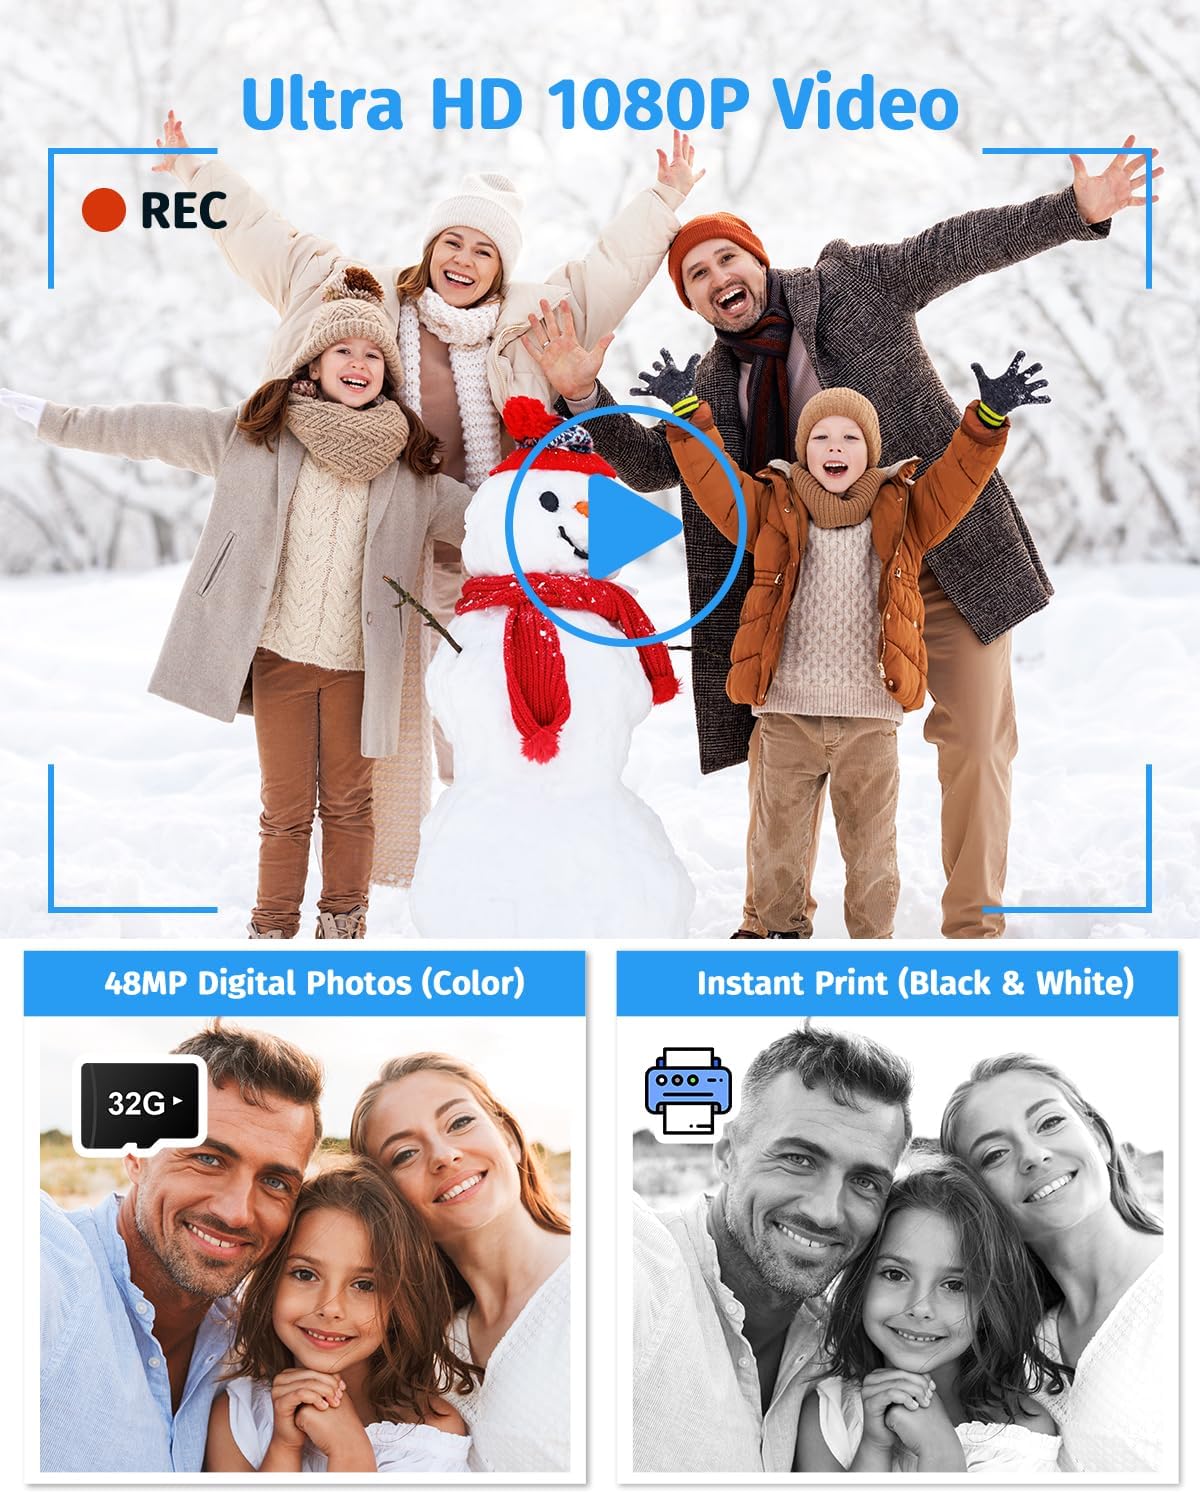
Figure 7: Ultra HD 1080P video recording and photo comparison.
6.4 Printing Photos
- After taking a photo, the camera will automatically print a black and white version.
- Gently tear off the printed photo from the top slot.
- Digital color versions of photos are saved to the Micro SD card.
6.5 Using Filters and Frames
- In Photo mode, use the Up/Down navigation buttons to browse through various filters and frames.
- Select your desired effect before taking a picture.

Figure 8: Creative filters and frames for photos.
6.6 Playback
- Press the Playback button to view saved photos and videos.
- Use the navigation buttons to scroll through your media.
6.7 Games
The camera includes built-in games for entertainment. Access them via the main menu.
6.8 Transferring Files
Connect the camera to a computer using the USB Type-C cable to transfer photos and videos from the Micro SD card.
7. Maintenance
- Clean the camera body with a soft, dry cloth.
- Use a lens cleaning cloth for the camera lenses.
- Store the camera in a cool, dry place when not in use.
8. Troubleshooting
- Camera not turning on: Ensure the battery is charged. Connect to a power source and try again.
- Photos not printing: Check if print paper is installed correctly and if the paper roll is not empty. Ensure the paper is feeding from the top.
- Poor print quality: Ensure the paper is correctly loaded.
- Cannot save photos/videos: Check if the Micro SD card is inserted correctly and has sufficient storage space.
9. Specifications
| Feature | Detail |
|---|---|
| Model Name | DC506 |
| Item Weight | 14 ounces |
| Package Dimensions | 5.2 x 4.8 x 3.46 inches |
| Special Feature | Dual-Lens, Lightweight, Compact |
| Film Format Type | Instant (Thermal Print) |
| Video Resolution | 1080P |
| Photo Resolution | 48MP |
| Digital Zoom | 16X |
10. Official Product Videos
Kids Instant Print Camera Features
Video 1: This video demonstrates various features of the instant print camera, including its dual lenses, instant printing capability, and user interface.
Digital Camera Printing and Features Overview
Video 2: This video provides a detailed look at the camera's 3-in-1 functionality, including its 48MP photo resolution and instant printing process.
A Camera Toy That Sparks Creativity
Video 3: This video highlights the creative aspects of the camera, showcasing how it can be used to inspire imagination in children.
11. Warranty and Support
For warranty information or technical support, please refer to the contact details provided on the product packaging or visit the official Zostuic website. Keep your purchase receipt as proof of purchase.