
GeekShare G-NS-HS-TH-LXH-1
GeekShare Switch Pro Wireless Controller User Manual
Model: G-NS-HS-TH-LXH-1
Introduction
This manual provides detailed instructions for the GeekShare Switch Pro Wireless Controller. It covers setup, operation, maintenance, and troubleshooting to ensure optimal performance across compatible devices including Nintendo Switch (1/2/Lite/OLED), PC, Android, and iOS.
Setup and Connection
1. Initial Pairing with Nintendo Switch
To connect the controller to your Nintendo Switch console:
- On your Switch, navigate to the HOME Menu.
- Select "Controllers" then "Change Grip/Order".
- Hold down the Sync button on the top of the GeekShare controller until the player LEDs begin to flash.
- Once connected, the player LED(s) will remain lit.
Special Note for Switch Wake-up:
After the first successful connection, you can quickly wake up and reconnect the Switch by pressing the Home button on the controller. For Switch 2, refer to the specific instructions in the included user manual for wake-up functionality.

Image: The controller's Home button, used for waking up the Nintendo Switch console.
Video: Demonstrates the one-touch wake-up feature of the GeekShare controller for the Nintendo Switch.
2. Connecting to PC, Android, and iOS Devices
The controller supports Bluetooth and 2.4G wireless connections for various platforms.
- PC Connection: Connect via Bluetooth or use the included 2.4G USB receiver. For wired connection, use a USB-C cable.
- Android/iOS Connection: Connect via Bluetooth. Open the Keylinker APP (if applicable) and follow the on-screen instructions for pairing.
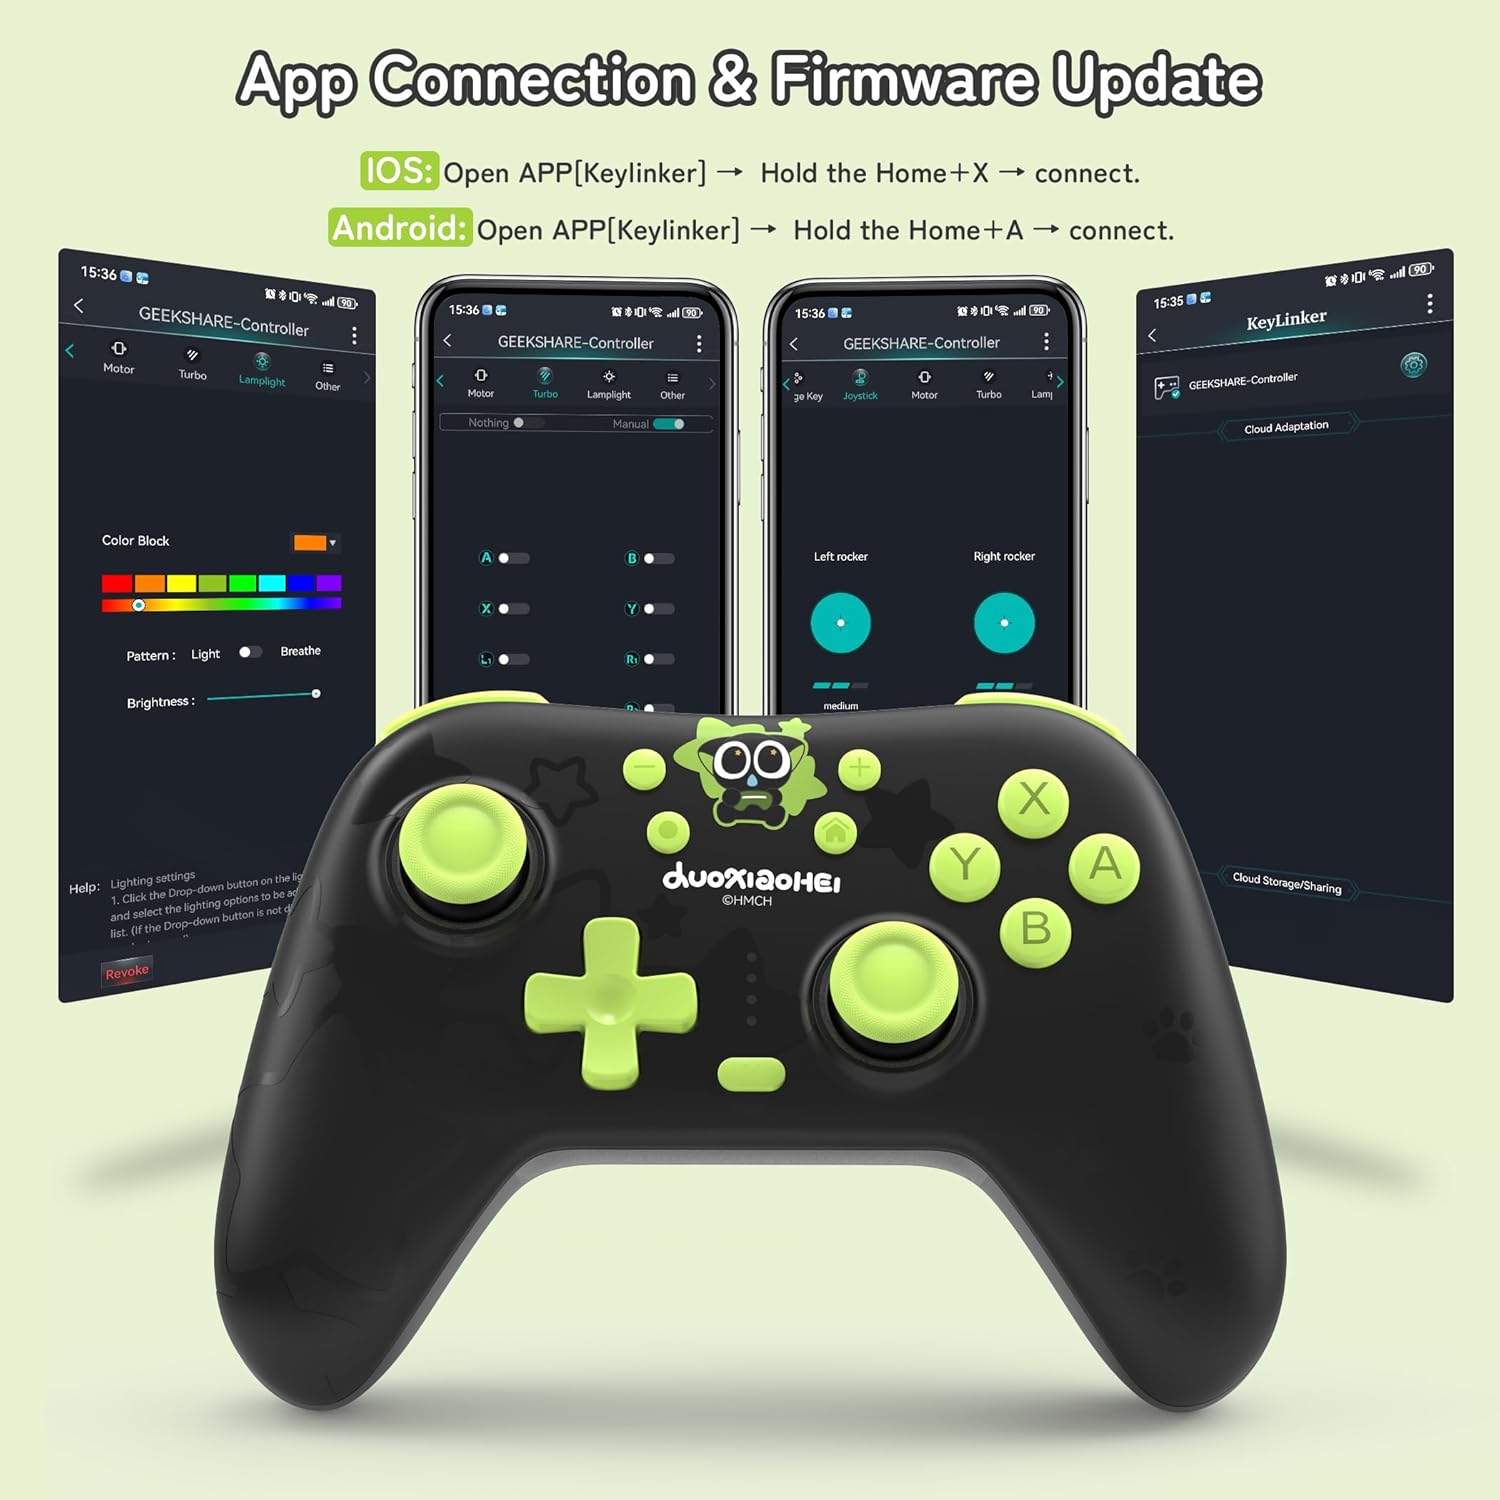
Image: The GeekShare controller package contents, including the controller, USB receiver, and user manual.

Image: Overview of the multi-platform compatibility and connection methods (Bluetooth, 2.4G, Wired).

Image: Visual representation of compatible devices including Switch, PC, iOS, and Android.
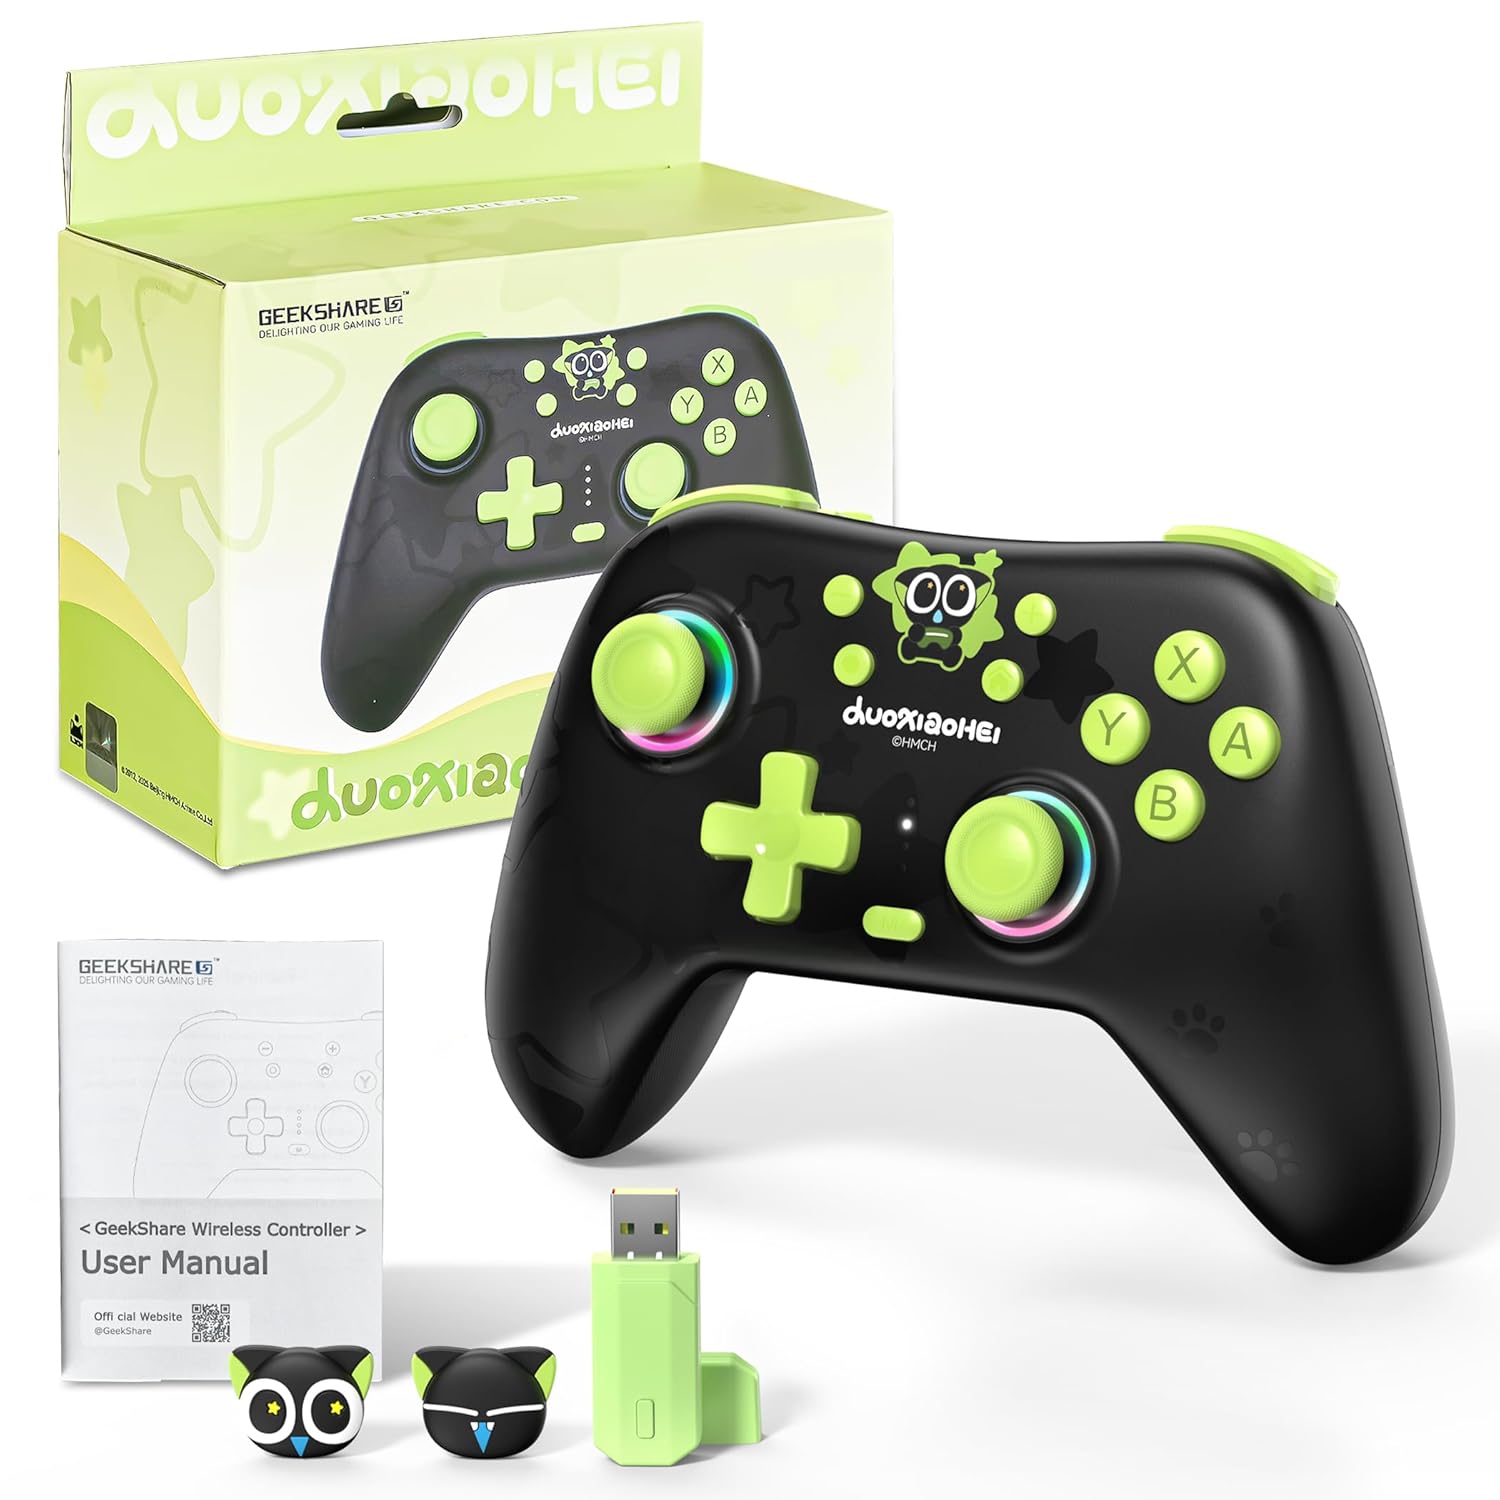
Image: The Keylinker app interface for connecting and updating firmware on iOS and Android devices.
Operating Instructions
1. Programmable Back Keys (M1/M2)
The M1 and M2 back buttons can be programmed to record up to 32 commands, allowing for complex actions with a single press. This feature helps reduce repetitive button presses and enhances gameplay.
- Setting: Hold M + M1/M2, then press the desired button sequence (e.g., A/B/X/Y). Release M1/M2 to save.
- Clearing: Hold M + M1/M2, then press M1/M2 again.

Image: Instructions for programming and clearing the M1/M2 back buttons.

Image: Visual representation of the programmable function, highlighting the M1/M2 buttons.
2. Turbo Mode
The controller supports both manual and automatic Turbo functions for rapid button presses.
- Manual Turbo: Hold M + desired button (e.g., A/B/X/Y/R2/L3).
- Automatic Turbo: Hold M + desired button (e.g., A/B/X/Y/R2/L3) again.
- Clear Setting: Hold M + desired button (e.g., A/B/X/Y/R2/L3) a third time.

Image: Detailed instructions for activating and deactivating manual and automatic Turbo modes.
3. Hall Effect Joysticks and Dead Zone Adjustment
The controller features 360° Hall Effect Joysticks for precise control, minimizing dead zones and drift. You can also adjust the joystick dead zone.
- Enable No Dead Zone Mode: Press M + L3/R3 (press down left or right joystick for 3 seconds).
- Disable No Dead Zone Mode: Press M + L3/R3 (press down left or right joystick for 3 seconds) again.
- Note: Dead zone is enabled by default.

Image: Visual guide for enabling/disabling No Deadzone Mode and ABXY button swapping.

Image: Illustration of the 360° Hall Effect Joysticks, emphasizing precision and lack of drift.
Video: Demonstrates the Hall Effect joysticks and their precision in gameplay.
4. ABXY Button Swap
You can swap the functionality of the A/B and X/Y buttons to match different console layouts.
- Set: Hold M + B or Hold + + - (in wired or 2.4G adapter connection state).
Image: Visual guide for enabling/disabling No Deadzone Mode and ABXY button swapping.
5. Adjustable Triggers (Long/Short Throw)
The controller features two-way Hall triggers with adjustable throw distance, allowing you to switch between long throw for smooth control (e.g., racing games) and short throw for rapid input (e.g., FPS games).

Image: Illustration of the adjustable trigger throw, demonstrating long throw for cars and short throw for FPS games.

Image: Visual comparison of long throw for precision control and short throw for rapid fire, with trigger lock mechanism.
6. RGB Lighting Adjustment
Customize the RGB lighting around the joysticks to your preference.
- Adjust Color: Press M + Right Joystick.
- Adjust Mode: Press M + Left Joystick.
- Options include monochrome, fantasy color, and gradient effects.

Image: Instructions for adjusting RGB lighting color and mode, displaying various lighting effects.

Image: The RGB dazzling rings feature, showing controls for light mode and brightness adjustment.
7. 6-Axis Gyroscope Motion Control
The integrated 6-axis gyroscope provides precise motion control for compatible games, allowing for immersive and intuitive gameplay.

Image: Demonstration of the 6-axis gyroscope for precise direction and view control in games.
Video: Shows the controller in action, demonstrating various features including motion control and vibration feedback.
8. Battery and Charging
The controller is equipped with a 1000 mAh rechargeable battery, providing up to 20 hours of gameplay. A full recharge takes approximately 2.5 hours using the provided USB-C cable.
- Connect the USB-C cable to the controller and a power source (e.g., console, PC, USB wall adapter).
- The charging indicator will show charging status.
Maintenance
- Keep the controller clean by wiping it with a soft, dry cloth.
- Avoid exposing the controller to extreme temperatures, humidity, or direct sunlight.
- Do not disassemble the controller, as this may void the warranty and cause damage.
- Store the controller in a safe place when not in use to prevent physical damage.
Troubleshooting
1. Controller Not Connecting/Pairing
- Ensure the controller is fully charged.
- Verify that the console or device's Bluetooth is enabled.
- For Switch: Follow the "Change Grip/Order" steps precisely.
- For PC (2.4G): Ensure the USB receiver is securely plugged in and the controller is in 2.4G mode.
- Try restarting both the controller and the device you are trying to connect to.
- If issues persist, try resetting the controller (refer to the full user manual for specific reset instructions if available).
2. Input Lag or Glitches
- Ensure there are no obstructions between the controller and the receiver/device.
- Move closer to the device to reduce potential interference.
- If using the 2.4G USB receiver, try plugging it into a different USB port.
- Ensure no other wireless devices are causing interference in the vicinity.
- Update the controller's firmware using the Keylinker APP if an update is available.
3. Buttons or Joysticks Not Responding
- Check if the controller is properly connected.
- Ensure the controller is fully charged.
- Test the controller on a different game or device to isolate the issue.
- If a specific button is unresponsive, ensure no debris is lodged around it.
Specifications
| Brand | GeekShare |
| Model Name | GC1201A |
| Model Number | G-NS-HS-TH-LXH-1 |
| Compatible Devices | Android, iOS, Mac, Switch Series (Switch 1/2/Lite/OLED), Windows |
| Controller Type | Gamepad |
| Connectivity Technology | 2.4G, Bluetooth, USB C |
| Additional Features | Ergonomic, Multiuse, Rumble, Wireless, Programmable Back Keys, Hall Effect Joysticks, Adjustable Triggers, RGB Lighting, 6-Axis Gyroscope |
| Battery Capacity | 1000 mAh |
| Battery Life | Up to 20 hours |
| Charging Time | Approx. 2.5 hours |
| Item Weight | 223 g |
| Color | Black & Green |
Warranty and Support
For warranty information and technical support, please refer to the official GeekShare website or contact their customer service directly. Keep your purchase receipt for warranty claims.
Official Website: GeekShare Store on Amazon
Ask a question about this manual
Ask about setup, troubleshooting, compatibility, parts, safety, or missing instructions. Manuals+ will review the question and use this page’s manual context to help answer it.