
Introduction
Welcome to your new OILSAO 3-in-1 Flossing Electric Toothbrush. This device combines sonic brushing with water flossing for comprehensive oral care, designed to provide an efficient and thorough cleaning experience. Please read this manual carefully before first use and keep it for future reference.
Important Safety Information
To ensure safe operation and prevent injury, please observe the following safety guidelines:
- Read all instructions thoroughly before using the device for the first time.
- Do not immerse the charging base in water or any other liquid.
- This appliance is not intended for use by children under 8 years old without supervision.
- Consult a dentist before use if you have severe gum disease, oral surgery, or other oral health concerns.
- Ensure the charging port and the device are completely dry before connecting to the charger.
- Do not use attachments or accessories not recommended by the manufacturer.
Package Contents
Please verify that all the following items are included in your product package:

This image displays the complete package contents: one brush handle, five replacement brush heads, one magnetic charging kit, and one external water pipe.
- 1 x Brush Handle
- 5 x Replacement Brush Heads
- 1 x Magnetic Charging Kit (includes charging base and adapter)
- 1 x External Water Pipe
- 1 x User Manual
Product Overview
Familiarize yourself with the main components of your OILSAO 3-in-1 Flossing Electric Toothbrush:

This image shows the main unit of the toothbrush, highlighting the brush head, handle, and control buttons.
The device consists of a main handle, which houses the motor and water reservoir, and a detachable brush head. Control buttons on the handle allow for power control, mode selection, and intensity adjustments.
Setup
Charging the Device
Before initial use, ensure the toothbrush is fully charged. A full charge provides approximately 30 days of use.
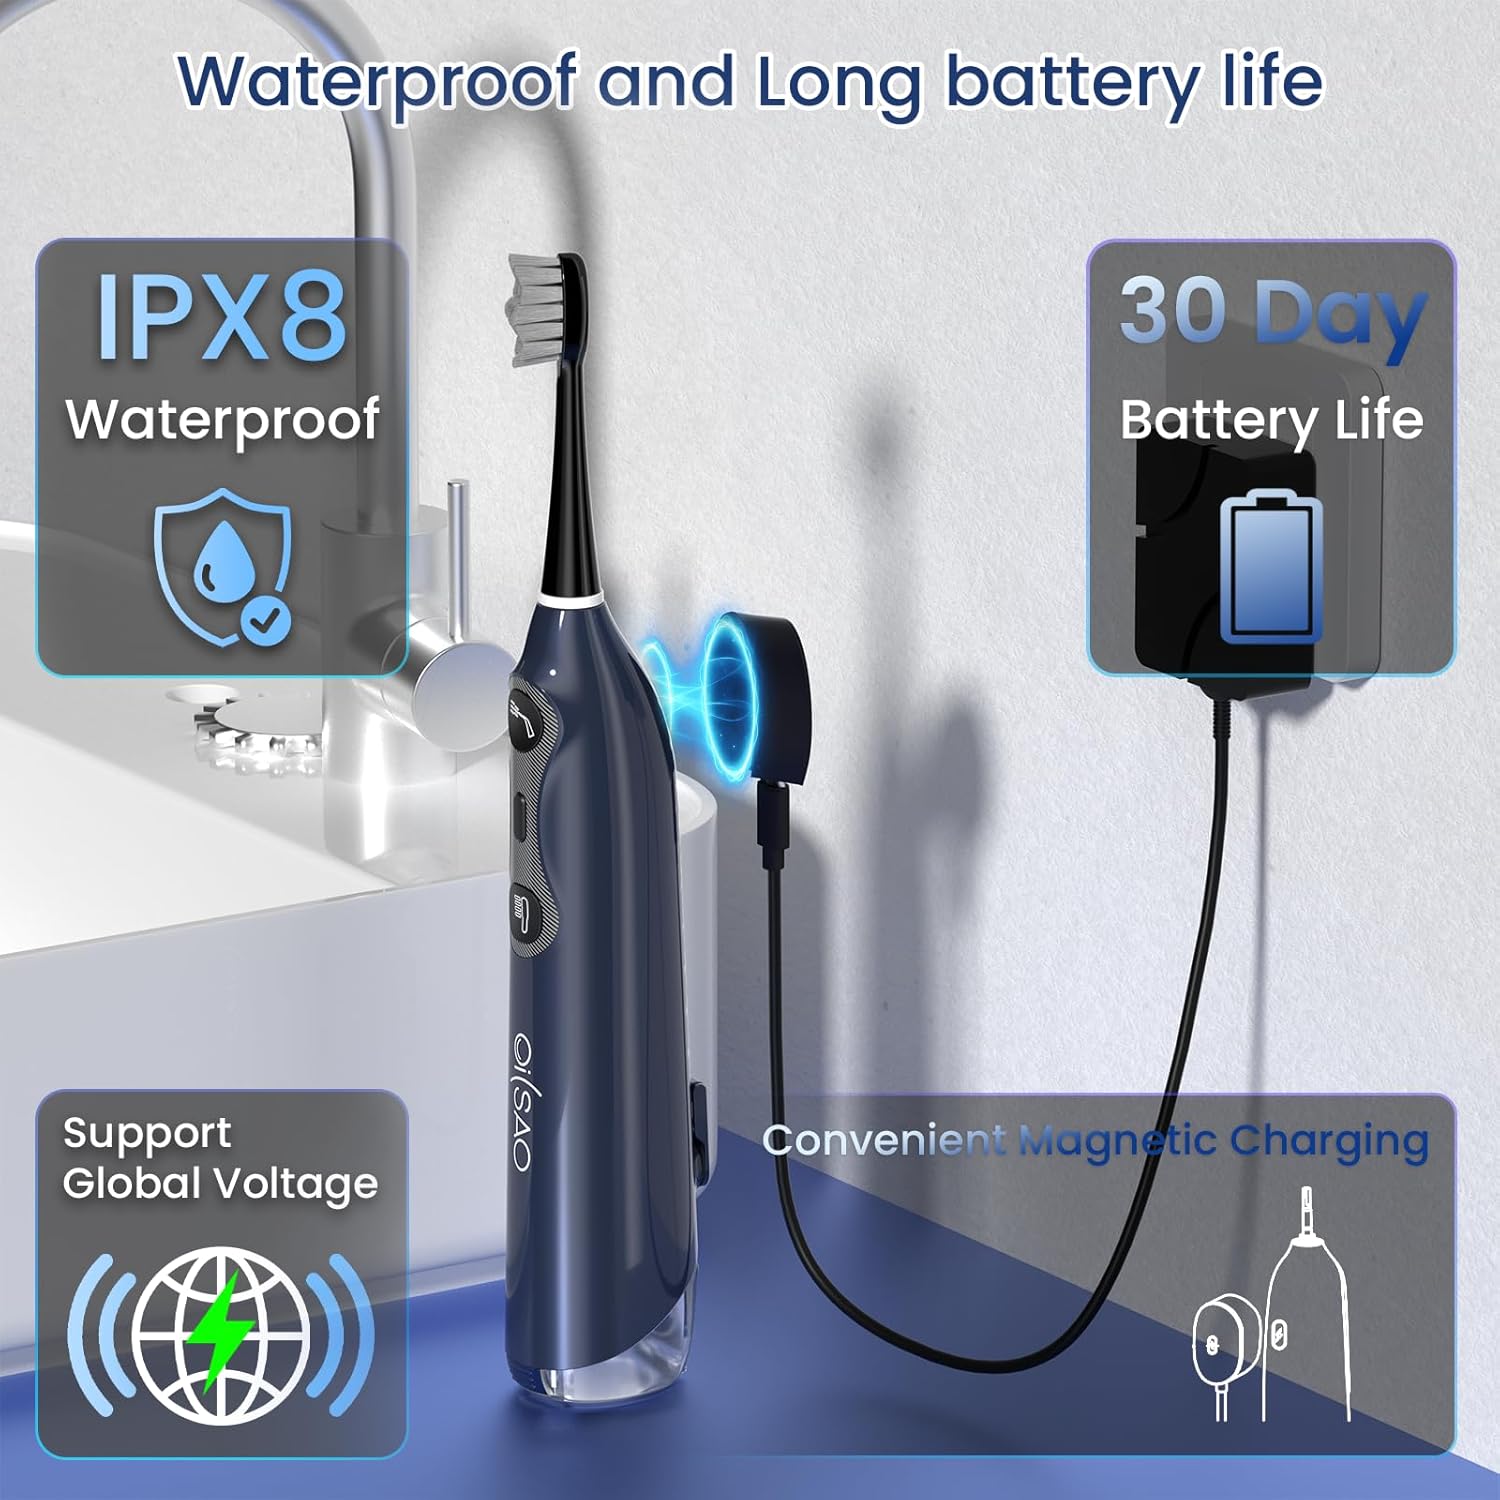
This image shows the toothbrush on its magnetic charging base, highlighting its IPX8 waterproof rating and 30-day battery life.
- Place the toothbrush handle securely onto the magnetic charging base.
- Connect the charging base to a power outlet using the provided adapter.
- The indicator light on the handle will illuminate to show charging status. Ensure the charging port is dry before connecting.
Attaching a Brush Head
Align the replacement brush head with the metal shaft on the top of the handle. Push the brush head down firmly until it clicks into place, ensuring a secure fit.
Filling the Water Reservoir
Your toothbrush offers two convenient methods for filling the water reservoir:

This image illustrates the two water filling options: using the integrated reservoir or connecting an external water pipe to a separate cup.
1. Integrated Reservoir
Open the water tank cover located on the handle. Fill the reservoir with lukewarm water. Close the cover securely to prevent leaks.
2. External Water Pipe
For extended or continuous flossing, connect the provided external water pipe to the designated port on the toothbrush handle. Place the other end of the pipe into a cup filled with water.
Operating Instructions
Power On/Off and Mode Selection

This image details the three primary functions: brushing, water flossing, and a combined brush and water flosser mode. It also highlights the 66,000 vibrations per minute and 0.55mm water jet.
- Press the power button once to turn the device on.
- Press the power button repeatedly to cycle through the available operating modes:
- Brushing Mode: Provides sonic cleaning action.
- Water Flosser Mode: Delivers a targeted water jet for flossing.
- Brush + Water Flosser Mode: Combines both sonic brushing and water flossing simultaneously.
- To turn the device off, press and hold the power button for a few seconds.
Adjusting Water Flow and Brush Speed

This image explains the three flosser speeds and how brush speed combined with flosser speed results in different water spray patterns.
Use the dedicated buttons on the handle to adjust the intensity of both the water flosser and the brush:
- Flosser Speed (1, 2, 3):
- Speed 1: Gentle for sensitive gums.
- Speed 2: Effective for plaque removal.
- Speed 3: Powerful for deep impact cleaning.
- Brush Speed (1, 2, 3): Adjusts the intensity of the sonic vibrations for brushing.
Combining different brush and flosser speeds can result in various water spray patterns, such as a straight flush or a 60° horizontal water spray, optimizing cleaning for different needs.
Brushing Technique and Smart Timer

This image visually represents the smart timer feature, which includes a 2-minute overall timer and 30-second reminders to switch brushing quadrants in the mouth.
The toothbrush features a 2-minute smart timer and 30-second quadrant reminders to guide you through a thorough cleaning of all areas of your mouth.
- Apply a small amount of toothpaste to the brush head.
- Place the brush head against your teeth at a slight angle towards the gumline.
- Turn on the device and select your desired mode and intensity.
- Gently move the brush across your teeth, allowing the bristles and water jet to clean each surface. Do not scrub aggressively.
- The device will pause briefly every 30 seconds, indicating it's time to move to the next quadrant of your mouth (upper right, upper left, lower left, lower right).
- Continue until the 2-minute timer completes, ensuring all areas have been cleaned.
Maintenance
Cleaning the Brush Head and Handle
Regular cleaning helps maintain the performance and longevity of your toothbrush.
- After each use, rinse the brush head thoroughly under running water to remove any toothpaste residue and debris.
- Wipe the handle with a soft, damp cloth. Do not use abrasive cleaners, alcohol, or harsh chemicals, as these can damage the surface.
Cleaning the Water Reservoir
To prevent bacterial growth and maintain hygiene:
- Empty any remaining water from the integrated reservoir after each use.
- Rinse the reservoir thoroughly with clean water.
- If using the external water pipe, rinse it and the cup after each use.
Replacing Brush Heads
For optimal cleaning performance and hygiene, it is recommended to replace brush heads every 3 months, or sooner if the bristles appear frayed or worn.
- Grip the brush head firmly and pull it straight off the handle.
- Align a new replacement brush head with the shaft and push it down until it clicks into place.
Storage
When not in use, store the toothbrush in a clean, dry place away from direct sunlight and extreme temperatures.
Troubleshooting
If you encounter any issues with your toothbrush, refer to the following table for common problems and solutions:
| Problem | Solution |
|---|---|
| Device does not turn on. | Ensure the device is fully charged. Check if the charging cable is properly connected to both the base and the power outlet. |
| Weak or no water flow. | Ensure the water reservoir is adequately filled. Check for any blockages in the water pipe or the nozzle of the brush head. |
| Brush head feels loose or detaches easily. | Ensure the brush head is securely snapped onto the handle until you hear a click. If the issue persists, try a different brush head. |
| Device not charging. | Verify that the charging base is properly connected to a working power outlet. Ensure the toothbrush is correctly placed on the magnetic charging base and that the charging contacts are clean and dry. |
Specifications
Key technical specifications for the OILSAO 3-in-1 Flossing Electric Toothbrush:
- Model: ABB885
- Brand: OILSAO
- Power Source: Battery Powered (1 AAA battery included)
- Waterproof Rating: IPX8
- Special Features: 60° Sweeping Vibration Technology, 3-in-1 All-in-One Design, 2 Water Injection Methods, 3 Modes & 3 Water Speeds, 5 Replacement Heads.
- Dimensions: 25.6 x 18.29 x 4.9 cm
- Weight: 608 grams
- Plaque Removal Efficiency: Up to 99.99%
- Materials: Plastic
- Color: Black & Blue
Warranty and Support
OILSAO is committed to providing high-quality products and customer satisfaction. This product comes with a lifetime smile guarantee.
If you have any questions, require technical assistance, or need to claim warranty support, please contact our professional support team. Refer to the contact information provided in your product packaging or on the official OILSAO website for the most up-to-date support details.
