
1. Introduction
The ASUS ROG Harpe Mini Core is a lightweight (52g) wired gaming mouse designed for precision and comfort. It features a pro-approved shape, a high-performance 12,000 DPI optical sensor, and durable ROG Micro Switch II with push-fit sockets for customization. The mouse is equipped with a flexible ROG Paracord cable and 100% PTFE feet for smooth, unrestricted movement, catering to claw and fingertip grip styles.
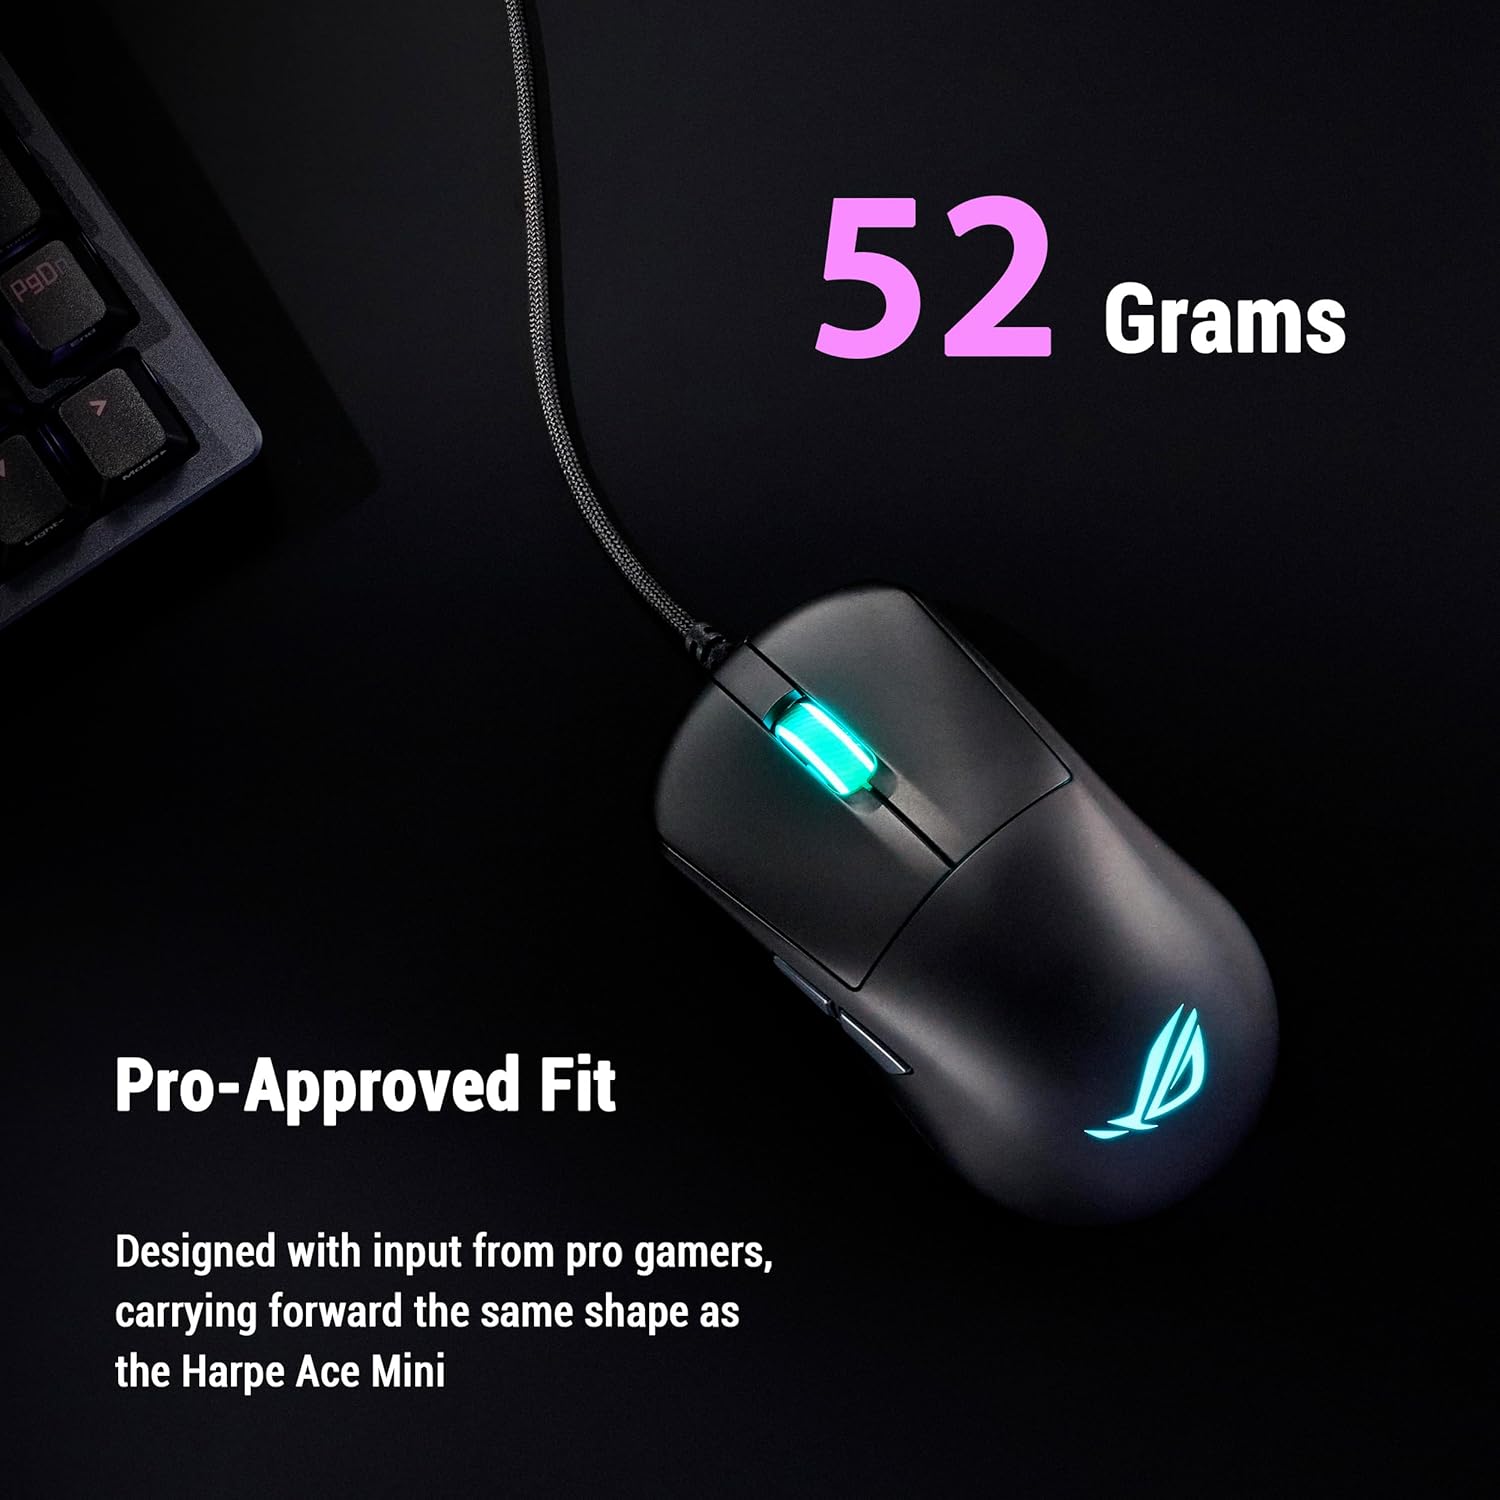
Top view of the ROG Harpe Mini Core, emphasizing its 52-gram lightweight design.
2. Package Contents
Verify that all items are present in your package:
- P524 ROG Harpe Mini Core Gaming Mouse
- Warranty Card
- Quick Start Guide
3. Setup
3.1 Connecting the Mouse
- Unpack the ROG Harpe Mini Core gaming mouse and its accessories.
- Connect the USB cable of the mouse to an available USB port on your computer.
- Your operating system (Windows 10 or above, or Mac) should automatically detect and install the necessary drivers.
3.2 Software Installation (Optional)
For advanced customization and settings, it is recommended to use the ASUS Gear Link software. This web-based application allows you to configure your mouse without requiring a download.
- Open a web browser and navigate to the ASUS Gear Link website.
- Follow the on-screen instructions to connect and customize your mouse settings.

Screenshot of the ASUS Gear Link software for mouse customization.
4. Operating the Mouse
4.1 Basic Functions
The ROG Harpe Mini Core features 6 programmable buttons:
- Left Click Button
- Right Click Button
- Scroll Wheel (Clickable)
- Two Side Buttons (typically Forward/Backward)
- DPI Cycle Button (usually located behind the scroll wheel)
4.2 DPI Adjustment
The mouse features a 12,000 DPI sensor with less than 3% deviation and a 1000Hz polling rate for precise tracking. You can cycle through preset DPI levels using the dedicated DPI button. For fine-tuning DPI settings and creating custom profiles, use the ASUS Gear Link software.
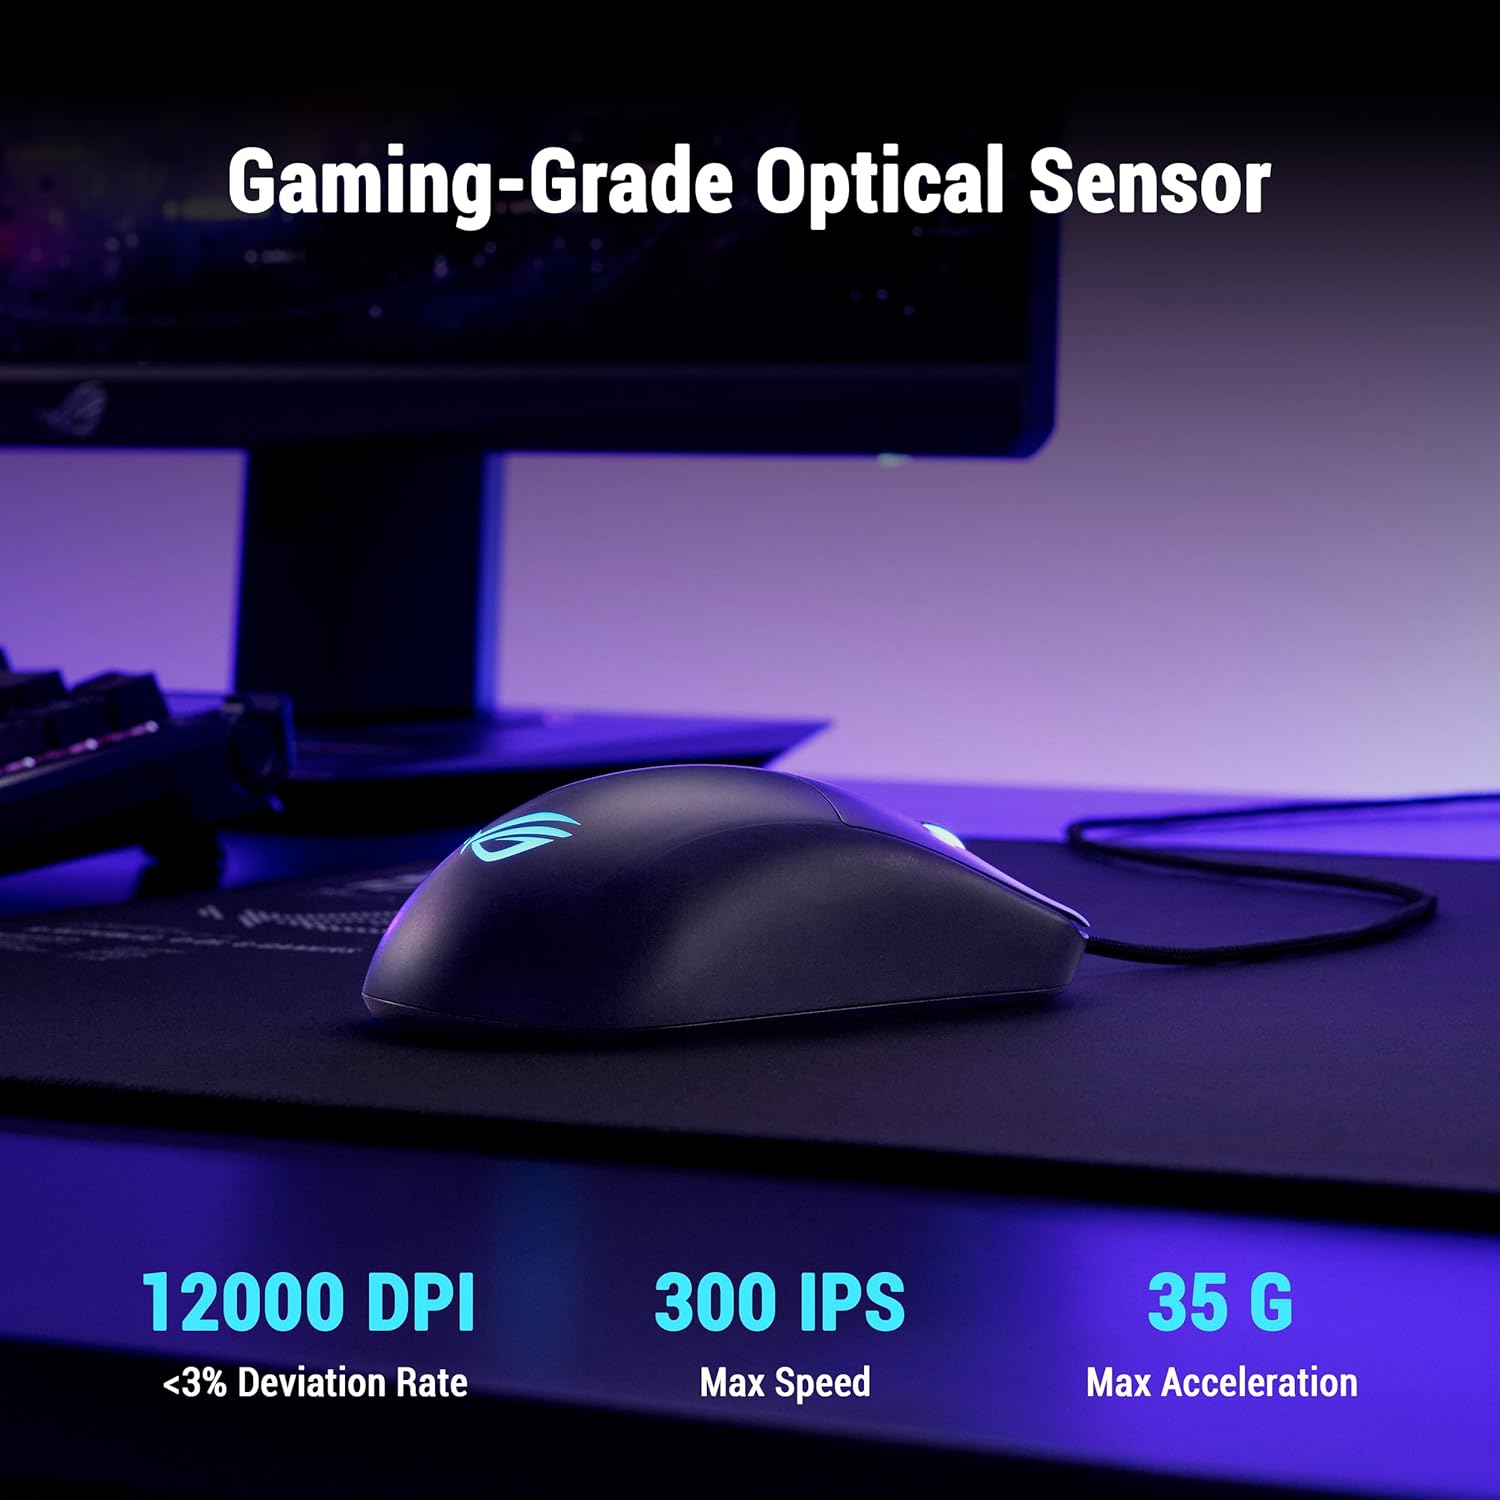
The ROG Harpe Mini Core on a mousepad, illustrating its gaming-grade optical sensor with 12000 DPI.
4.3 Button Customization
Utilize the ASUS Gear Link software to remap buttons, assign macros, and configure other performance settings to suit your gaming style.
5. Maintenance
5.1 Cleaning
To clean your mouse, use a soft, dry cloth. For stubborn dirt, a slightly damp cloth can be used, ensuring no moisture enters the mouse's internal components. Avoid harsh chemicals or abrasive materials.
5.2 Switch Replacement
The ROG Harpe Mini Core features Push-Fit Switch Sockets, allowing you to easily replace the ROG Micro Switch II. This extends the mouse's lifespan and allows for customization of click force.
- Carefully open the mouse casing according to the instructions provided in the detailed manual (if available) or by consulting ASUS support.
- Gently pull out the existing switch from its socket.
- Insert the new compatible mechanical switch into the socket, ensuring it is seated correctly.
- Close the mouse casing securely.

Close-up of the ROG Harpe Mini Core's Push-Fit Switch Socket.
5.3 Mouse Feet Replacement
The mouse comes with 100% PTFE mouse feet for optimal glide. Over time, these may wear down. Replacement feet can be purchased separately. To replace them, carefully peel off the old feet and apply new ones, ensuring the surface is clean and dry.

Bottom view of the ROG Harpe Mini Core, showing the 100% PTFE mouse feet.
6. Troubleshooting
6.1 Mouse Not Responding
- Ensure the USB cable is securely connected to both the mouse and the computer.
- Try connecting the mouse to a different USB port on your computer.
- Test the mouse on another computer to determine if the issue is with the mouse or the computer.
6.2 Slow or Erratic Tracking
- Clean the optical sensor on the bottom of the mouse with a soft, dry cloth.
- Ensure you are using the mouse on a suitable surface, preferably a mouse pad.
- Check DPI settings in the ASUS Gear Link software or by using the DPI cycle button on the mouse.
- Reinstall or update the mouse drivers.
6.3 Software Installation Issues
If you encounter problems installing or using ASUS Armoury Crate or Gear Link:
- Ensure your operating system is up to date.
- Temporarily disable any antivirus or firewall software that might interfere with the installation.
- Download the latest software version directly from the official ASUS support website.
7. Specifications
| Feature | Detail |
|---|---|
| Brand | ASUS |
| Model Name | P524 HARPE MINI CORE |
| Connectivity | Wired USB |
| Weight | 52 g |
| Sensor Type | Optical |
| Max DPI | 12,000 dots_per_inch |
| Polling Rate | 1000Hz |
| Switches | ROG Micro Switch II (100 million click lifespan) |
| Switch Sockets | Push-Fit Switch Sockets |
| Mouse Feet | 100% PTFE |
| Cable | ROG Paracord |
| Buttons | 6 |
| Hand Orientation | Right |
| Compatible OS | Windows 10 or above, Mac |
| Dimensions (L x W) | 6.3" x 4.37" |
| UPC | 199291014046 |
8. Warranty and Support
8.1 Warranty Information
This product comes with a 1-year limited warranty from the date of purchase. Please retain your proof of purchase for warranty claims. The warranty covers manufacturing defects but does not cover damage caused by misuse, accidents, unauthorized modifications, or normal wear and tear.
8.2 Technical Support
For technical assistance, driver downloads, or further information, please visit the official ASUS support website:
You may also refer to the included Quick Start Guide for initial setup instructions or contact ASUS customer service in your region.