
1. Introduction
This manual provides essential information for the safe and efficient operation of your KENT Ultra Digital Air Fryer 4.5L. Please read all instructions carefully before using the appliance and retain this manual for future reference.
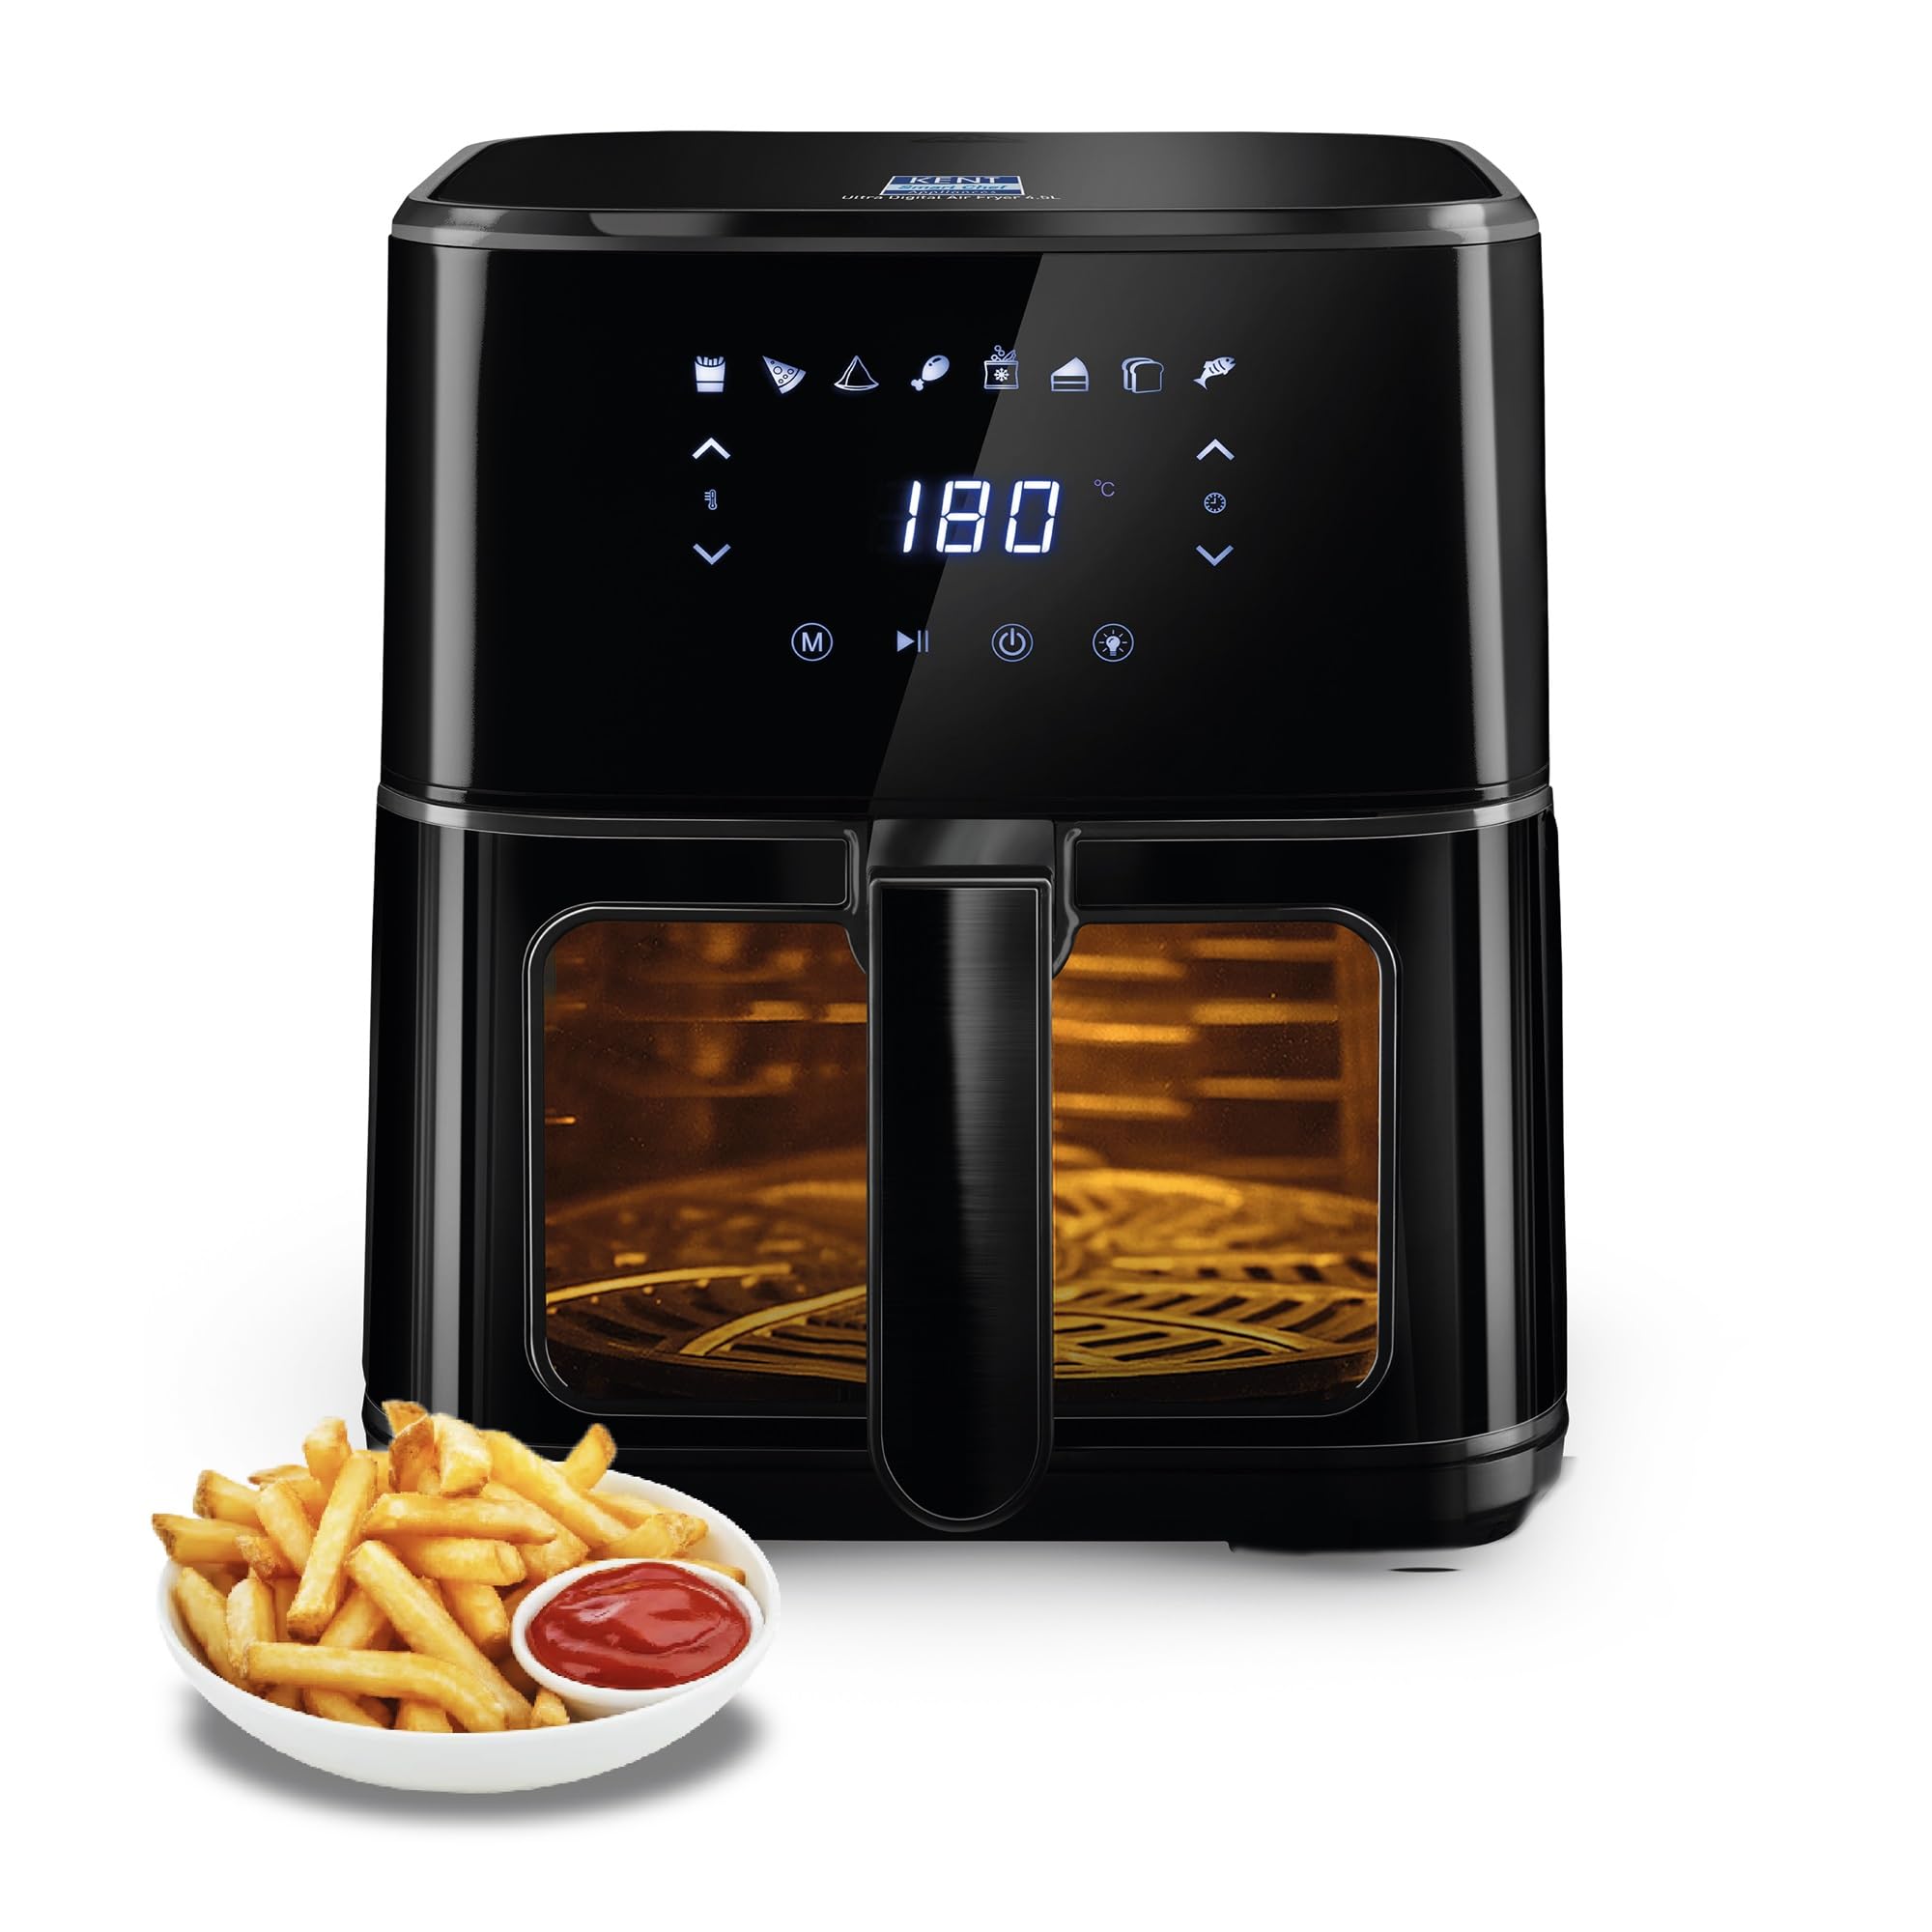
Image 1.1: Main view of the KENT Ultra Digital Air Fryer 4.5L.
2. Important Safety Instructions
- Read all instructions before use.
- Do not immerse the appliance, cord, or plug in water or other liquids.
- Keep the appliance out of reach of children.
- Ensure the voltage indicated on the appliance corresponds to your local mains voltage.
- Do not operate any appliance with a damaged cord or plug, or after the appliance malfunctions or has been damaged in any manner.
- Always unplug the appliance when not in use and before cleaning. Allow it to cool before putting on or taking off parts.
- Do not place the appliance against a wall or against other appliances. Leave at least 10 cm free space on the back and sides and 10 cm free space above the appliance.
- Do not cover the air inlet and air outlet openings while the appliance is operating.
- Do not fill the pan with oil as this may cause a fire hazard.
- The appliance operates at high temperatures. Use caution when handling hot surfaces and components.
- This appliance is intended for household use only.
3. Product Components
The KENT Ultra Digital Air Fryer 4.5L includes the following main components:
- Main Unit with Digital Display and Touch Control Panel
- Removable Pan with Handle
- Inner Tray (Cooking Basket)
- Glass Window with In-built Light
- Power Cord
- Warranty Card

Image 3.1: The removable pan and inner tray (cooking basket) of the air fryer.
4. Setup and First Use
- Unpacking: Carefully remove all packaging materials and check for any damage.
- Cleaning: Before first use, clean the pan and inner tray with hot water, dish soap, and a non-abrasive sponge. Wipe the inside and outside of the appliance with a damp cloth.
- Placement: Place the air fryer on a stable, horizontal, and heat-resistant surface. Ensure there is adequate ventilation around the appliance (at least 10 cm clearance on all sides).
- Power Connection: Plug the power cord into a grounded wall outlet.
- Pre-heating (Optional): For best results, pre-heat the air fryer for 3-5 minutes before adding food.
5. Operating Instructions
5.1 Digital Display and Touch Control Panel
The air fryer features a digital display and touch controls for easy operation. The panel allows you to select preset menus, adjust temperature, and set cooking time.

Image 5.1: Close-up of the digital display and touch control panel.
- Power Button: Turns the appliance on/off.
- Temperature Control: Use the up/down arrows to adjust the cooking temperature (100°C - 200°C).
- Timer Control: Use the up/down arrows to set the cooking time.
- Preset Menu Selection: Press the menu icon (M) to cycle through the 8 preset cooking options.
- Start/Pause Button: Initiates or pauses the cooking process.
- Light Button: Activates the in-built light to view food through the glass window.
5.2 Using Preset Menus
The air fryer comes with 8 convenient preset menus for common dishes:

Image 5.2: The 8 preset menu options available on the control panel.
- Fries
- Pizza
- Samosa
- Chicken Wings
- Frozen Food
- Cake
- Bread
- Fish
To use a preset menu:
- Place food in the inner tray and slide the pan into the air fryer.
- Press the Power button to turn on the appliance.
- Press the Menu (M) button repeatedly to select the desired preset. The display will show the default time and temperature for that preset.
- You can adjust the time and temperature manually using the respective arrow buttons if needed.
- Press the Start/Pause button to begin cooking.
5.3 Manual Operation
For custom cooking, you can manually set the temperature and time:
- Place food in the inner tray and slide the pan into the air fryer.
- Press the Power button.
- Use the Temperature arrows to set the desired temperature (e.g., 180°C).
- Use the Timer arrows to set the desired cooking time (e.g., 15 minutes).
- Press the Start/Pause button to begin cooking.
The in-built light allows you to monitor the cooking process without opening the pan, preventing heat loss and ensuring consistent results.
6. Cooking Tips
- Oil Usage: The air fryer uses rapid heat circulation to cook food with up to 80% less oil compared to traditional deep frying methods. A small amount of oil (1-2 tablespoons) can be added to some foods for crispier results.
- Shaking: For even cooking, especially with smaller items like fries or chicken wings, shake the pan halfway through the cooking time.
- Batch Cooking: Avoid overcrowding the basket. Cook food in smaller batches if necessary to ensure even air circulation and cooking.
- Food Types: Suitable for baking, grilling, and roasting various foods including fries, pizza, samosa, chicken wings, frozen food, cake, bread, and fish.
Video 6.1: Demonstration of the air fryer's cooking process and features. This video illustrates the rapid heat circulation and ease of use.
7. Maintenance and Cleaning
Regular cleaning ensures optimal performance and extends the life of your air fryer.
- Unplug and Cool: Always unplug the air fryer and allow it to cool completely before cleaning.
- Cleaning the Pan and Inner Tray:
- Remove the pan and inner tray.
- Wash them with hot water, dish soap, and a non-abrasive sponge.
- For stubborn food residue, soak the pan and tray in hot water with dish soap for about 10 minutes.
- Rinse thoroughly and dry.
- Cleaning the Exterior: Wipe the exterior of the appliance with a damp cloth. Do not use abrasive cleaners.
- Cleaning the Interior: Wipe the interior with a damp cloth. If necessary, use a soft brush to remove food residue from the heating element.
- Storage: Ensure all parts are clean and dry before storing the air fryer in a cool, dry place.
8. Troubleshooting
| Problem | Possible Cause | Solution |
|---|---|---|
| Air fryer does not turn on. | Appliance not plugged in; power outlet not working. | Ensure the power cord is securely plugged into a working outlet. Check the circuit breaker. |
| Food is not cooked evenly. | Basket is overcrowded; food not shaken. | Cook in smaller batches. Shake the basket halfway through cooking. |
| Food is not crispy. | Not enough oil (for some foods); temperature too low; cooking time too short. | Lightly brush food with oil. Increase temperature or cooking time. |
| White smoke coming from the appliance. | Grease residue from previous use; fatty food being cooked. | Clean the pan and inner tray thoroughly. Remove excess fat from food before cooking. |
| Appliance smells during first use. | Normal for new appliances. | The smell will dissipate after a few uses. Ensure good ventilation. |
9. Specifications
- Model: KENT Ultra Digital Air Fryer 4.5L
- Capacity: 4.5 Litres
- Wattage: 1500 Watts
- Temperature Range: 100°C - 200°C
- Control Method: Touch
- Special Features: Preset Menus, Glass Window with In-built Light, Digital Display
- Product Dimensions: 33.7D x 23.8W x 28.2H Centimeters
- Item Weight: 3.7 Kilograms
- Material: Glass, Plastic
- Included Components: Inner Tray, Pan with Handle, Warranty Card
- Country of Origin: India
10. Warranty and Support
Your KENT Ultra Digital Air Fryer 4.5L comes with a standard manufacturer's warranty as detailed on the included Warranty Card. Please refer to the card for specific terms and conditions, including warranty period and coverage.
For any product-related queries, technical support, or warranty claims, please contact KENT customer service. Contact details can typically be found on the Warranty Card or the official KENT website.
An optional 1-year extended warranty by Acko may be available for purchase separately. Please check with your retailer for details.
Manufacturer: Kent RO Systems Pvt Ltd
Country of Origin: India