
1. Product Overview
The ZTE G5 Ultra MC8512 is an advanced 5G-A and Wi-Fi 7 router designed to provide high-speed internet connectivity. It features MLO multifrequency aggregation technology for peak rates up to 19000 Mbps, supporting seamless high-resolution video conferencing and data transmissions. The device includes independent high-performance antennas with a maximum gain of 13 dBi and 2.5G dual network ports with intelligent WAN/LAN adjustment.
Equipped with a 4-core 4nm 5G high-speed chip operating at 2.2GHz, the router ensures stable operation and high-speed functions. It supports NFC one-touch network connection for easy Wi-Fi access without a password and can connect up to 384 devices simultaneously. The router offers flexible internet access with support for both SIM cards and wired broadband, including seamless switching and backup functions.
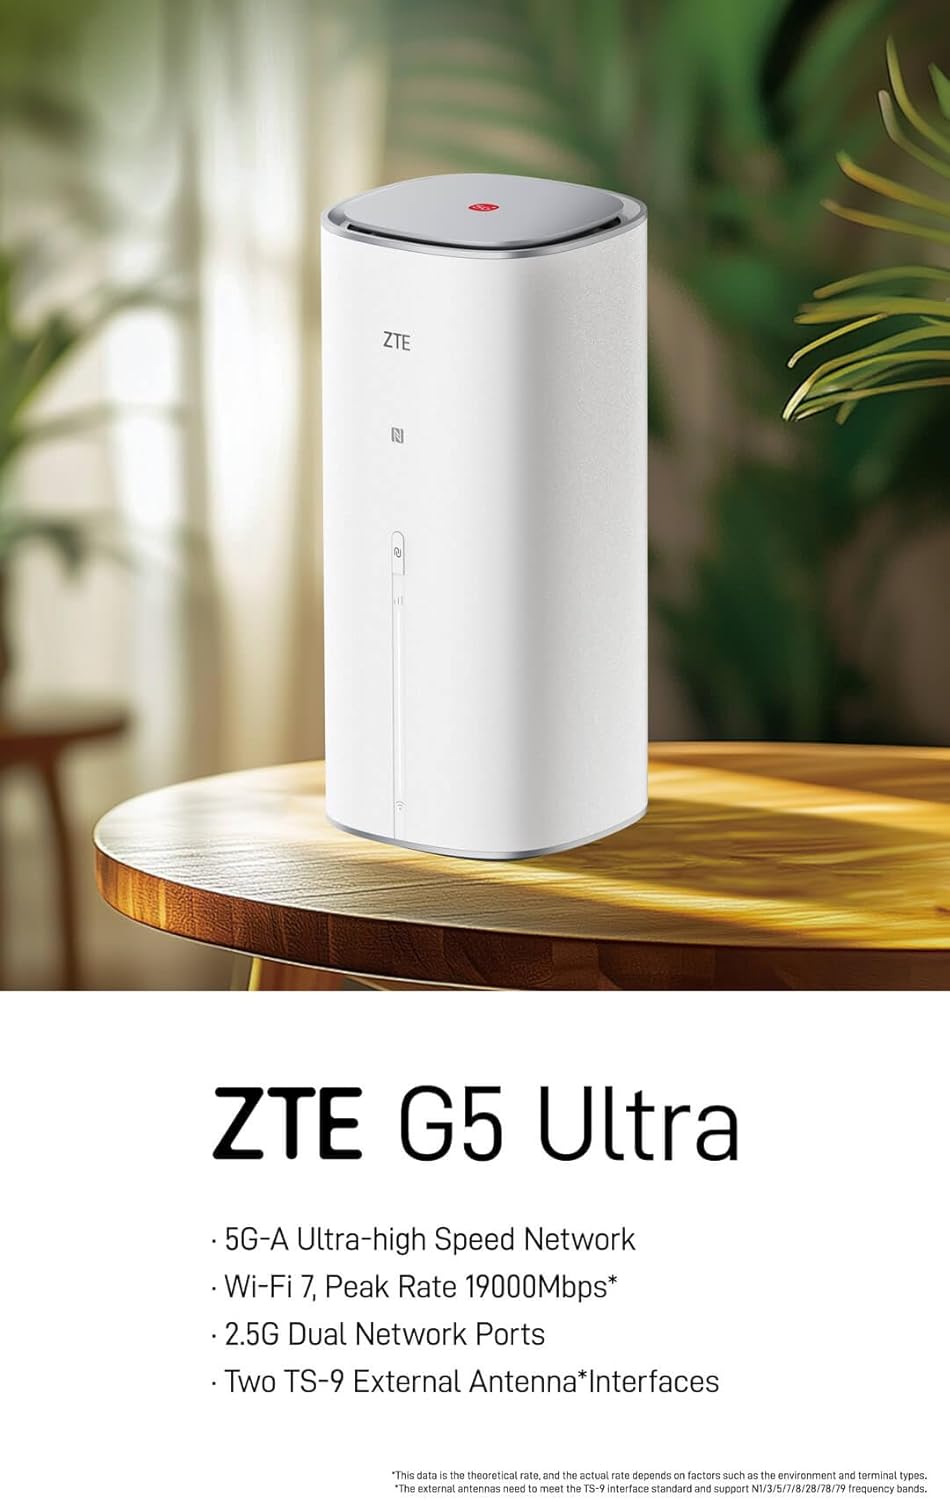
Figure 1: ZTE G5 Ultra MC8512 5G-A WiFi 7 Router, front view. This image shows the ZTE G5 Ultra MC8512 router, a cylindrical white device with the ZTE logo and indicator lights on the front. It highlights its 5G-A, Wi-Fi 7, 2.5G Dual Network Ports, and TS-9 External Antenna Interfaces capabilities.
2. Package Contents
Before proceeding with the setup, please verify that all items are present in the package:
- ZTE G5 Ultra MC8512 Router
- Power Supply Adapter
- Quick Start Manual
Note: External TS-9 antennas may be sold separately or included depending on the specific product variant.
3. Setup Instructions
3.1. Device Layout and Ports

Figure 2: Rear panel of ZTE G5 Ultra MC8512 router. This image displays the rear panel of the ZTE G5 Ultra MC8512 router, detailing the various ports including USB, Phone, LAN, and WAN/LAN connections.
Familiarize yourself with the ports on the rear of the device:
- Power Port: Connects to the power adapter.
- SIM Card Slot: For inserting a 5G SIM card.
- WAN/LAN Ports (2.5G): For connecting to wired broadband or local network devices. These ports intelligently adjust between WAN and LAN functions.
- TS-9 Antenna Interfaces: Two ports for connecting optional external TS-9 antennas to enhance signal reception.
- USB Port: For future use or specific functionalities.
- Phone Port: For voice services if supported by your SIM card and service provider.
3.2. Initial Installation
- Insert SIM Card: Locate the SIM card slot. Gently insert your 5G SIM card into the slot until it clicks into place. Ensure the SIM card is oriented correctly as indicated on the device.
- Connect Power: Connect the provided power adapter to the router's power port and then plug the adapter into a power outlet. The router will power on automatically.
- Optional: Connect External Antennas: If using external TS-9 antennas, connect them to the two TS-9 interfaces on the router.
- Optional: Wired Broadband Connection: If using wired broadband, connect an Ethernet cable from your modem or wall jack to one of the WAN/LAN ports on the router.
- Placement: Place the router in a central location, away from obstructions and other electronic devices that may cause interference, to ensure optimal Wi-Fi signal coverage.
3.3. Initial Configuration
- Connect to Wi-Fi: On your computer or mobile device, search for the Wi-Fi network name (SSID) printed on the label at the bottom of the router. Connect to this network using the default Wi-Fi password (also on the label).
- Access Web Interface: Open a web browser and enter the default IP address (e.g.,
192.168.1.1or192.168.0.1) into the address bar. The exact IP address can be found on the router's label or in the Quick Start Manual. - Login: Enter the default username and password (typically
adminfor both, or as specified on the label). It is highly recommended to change the default login credentials for security purposes during the first login. - Follow Setup Wizard: The router's web interface may guide you through an initial setup wizard to configure basic settings such as internet connection type (5G or wired), Wi-Fi name, and password.
4. Operating the Router
4.1. LED Indicators
The router features LED indicators on its front panel to display its status:
- Power LED: Indicates power status. (e.g., Solid White: On; Off: No power)
- 5G/Internet LED: Indicates internet connection status. (e.g., Solid Blue: Connected to 5G network; Solid Green: Connected to wired broadband; Blinking: Connecting; Red: No service/Error)
- Wi-Fi LED: Indicates Wi-Fi status. (e.g., Solid White: Wi-Fi active; Blinking: Data transfer; Off: Wi-Fi disabled)
4.2. Connecting Devices
- Wi-Fi Connection: Search for your Wi-Fi network (SSID) on your device and enter the password. The router supports Wi-Fi 7 for high-speed wireless connections.
- NFC One-Touch Connection: For NFC-enabled devices, gently touch the device to the NFC touch area on the router to automatically connect to the Wi-Fi network without entering a password.
- Ethernet Connection: Connect devices like computers, gaming consoles, or smart TVs to the router's LAN ports using Ethernet cables for a stable wired connection.
4.3. Network Management
Access the router's web interface (as described in Section 3.3) to manage advanced settings:
- Wi-Fi Settings: Change SSID, password, security type, and enable/disable guest networks.
- Internet Settings: Configure 5G APN settings, manage wired broadband connection, and set up failover between 5G and wired broadband.
- Device Management: View connected devices, set parental controls, and manage bandwidth.
- System Settings: Update firmware, change login password, and view system logs.
5. Maintenance
- Firmware Updates: Regularly check for and install firmware updates through the router's web interface. Firmware updates can improve performance, add new features, and enhance security.
- Cleaning: Keep the router clean and free from dust. Use a soft, dry cloth to wipe the exterior. Do not use liquid cleaners or aerosols. Ensure ventilation openings are not blocked.
- Optimal Placement: Ensure the router is placed in an open area, away from walls, large metal objects, and other devices that emit radio frequencies (e.g., microwaves, cordless phones) to minimize interference and maximize Wi-Fi coverage.
- Restarting: If you experience network issues, try restarting the router by unplugging the power adapter, waiting 10 seconds, and then plugging it back in.
6. Troubleshooting
| Problem | Possible Cause | Solution |
|---|---|---|
| No Internet Connection |
|
|
| Slow Internet Speed |
|
|
| Wi-Fi Disconnections |
|
|
| NFC One-Touch Not Working |
|
|
| Router Requires Login After Power Cut |
|
|
7. Technical Specifications
| Feature | Specification |
|---|---|
| Brand | ZTE |
| Model Name | MC8512 |
| Network Technology | 5G-A |
| Wireless Standard | Wi-Fi 7 (802.11be) |
| Max Download Speed | 4.29 Gbps (5G-A) |
| Max Wi-Fi Rate | 19000 Mbps (MLO) |
| Processor | 4-core 4nm, 2.2GHz main frequency |
| Network Ports | 2 x 2.5G WAN/LAN intelligent adjustment ports |
| Antenna Type | Independent high-performance (up to 13 dBi gain), 2 x TS-9 external antenna interfaces |
| Device Support | Up to 384 devices simultaneously |
| Special Features | NFC One-Touch, Dual SIM/Wired Broadband Support, Tri-Band Frequency |
| Compatible Devices | WiFi Devices |
| Operating System | ZyNOS |
| Package Dimensions | 29 x 18 x 11.6 cm |
| Item Weight | 1.46 kg |
8. Warranty and Support
For detailed warranty information, please refer to the warranty card included with your product package. Warranty terms and conditions may vary by region and retailer.
If you encounter any issues that cannot be resolved using the troubleshooting guide, or require further assistance, please contact ZTE customer support. You can typically find support contact information on the official ZTE website or in your product documentation.
For the latest support resources, FAQs, and contact details, please visit the official ZTE website: www.zte.com.cn/global/


