
1. Introduction
This manual provides essential instructions for the safe assembly, operation, and maintenance of your MZK 14-Inch Electric Walk-Behind Snow Blower, Model ET2406. Please read this manual thoroughly before using the product to ensure proper function and to prevent injury or damage.

Figure 1: MZK 14-Inch Electric Walk-Behind Snow Blower, Model ET2406. This image displays the complete snow blower unit from an angled perspective, highlighting its handle, chute, and auger housing.
2. Safety Information
Always adhere to the following safety guidelines to prevent accidents and ensure safe operation:
- Always keep hands and feet away from rotating parts.
- Wear appropriate safety gear, including gloves and eye protection.
- Keep the snow blower clean and dry when not in use.
- Do not operate in enclosed spaces to avoid carbon monoxide risk. This is an electric unit, but proper ventilation is still recommended for general safety.
- Ensure the power cord is in good condition and positioned to avoid entanglement or damage during operation.
- Clear the area of debris (rocks, toys, wires) before operating the snow blower.
- Operate only in daylight or good artificial light.
- Never direct discharge towards people, animals, or property.
3. Assembly and Setup
3.1 Package Contents
Verify that all components are present before beginning assembly:
- Snow Blower Main Unit
- Handle Assembly (Upper and Lower Handles)
- Discharge Chute
- Chute Control Bar
- Hardware (Knobs, Bolts, Clips)
- User Manual
3.2 Handle Assembly
- Attach the lower handle to the main unit using the provided bolts and knobs. Ensure a secure fit.
- Connect the upper handle to the lower handle, aligning the holes and securing with the remaining hardware.
- Route the power cord along the handle and secure it with the provided clips to prevent interference during operation.
3.3 Discharge Chute Attachment
- Position the discharge chute onto the snow blower's discharge opening.
- Secure the chute in place according to the specific locking mechanism (e.g., twist-lock, bolt).
- Connect the chute control bar to the chute mechanism, ensuring it allows for smooth 180-degree rotation.

Figure 2: Illustration of the 180-degree rotating chute. This image demonstrates the range of motion for the snow discharge chute, allowing users to direct snow precisely.
4. Operating Instructions
4.1 Pre-Operation Checklist
- Ensure all assembly steps are complete and secure.
- Inspect the power cord for any damage.
- Clear the area to be snow-blown of any obstacles.
- Wear appropriate safety gear.
4.2 Starting the Snow Blower
The MZK snow blower is designed for simple operation. No preheating is required.
- Connect the snow blower to a suitable outdoor extension cord, ensuring the cord is rated for outdoor use and the amperage of the unit.
- Press the start button or engage the safety switch and bail lever simultaneously to activate the motor.
4.3 Snow Clearing Operation
The snow blower features a 14-inch clearing width and 10-inch snow depth capability, with a throwing distance of up to 20 feet.

Figure 3: Visual representation of the snow blower's clearing width and depth. This image illustrates the effective area the snow blower can clear in a single pass.
- Push the snow blower forward at a steady pace, allowing the auger to clear the snow. Avoid forcing the unit.
- Use the 180-degree chute control bar to direct the discharged snow away from cleared areas, windows, or other objects.
- For deeper snow, it may be necessary to make multiple passes or reduce the clearing width.
- The lightweight and maneuverable design makes it suitable for sidewalks, patios, and decks.

Figure 4: An MZK snow blower in operation, demonstrating its capability to throw snow up to 20 feet. A person is shown operating the unit in a snowy environment.
4.4 Stopping the Snow Blower
Release the bail lever to stop the motor. Disconnect the power cord from the outlet after use.
5. Maintenance
Regular maintenance ensures optimal performance and extends the life of your snow blower.
- Cleaning: After each use, disconnect the power and clean any snow or debris from the auger housing, chute, and exterior surfaces. Use a damp cloth; avoid using harsh chemicals.
- Storage: Store the snow blower in a clean, dry area away from direct sunlight and moisture. The unit can be folded for convenient storage.
- Inspection: Periodically inspect the rubber auger for wear or damage. Check the power cord for cuts, fraying, or exposed wires. Ensure all fasteners are tight.
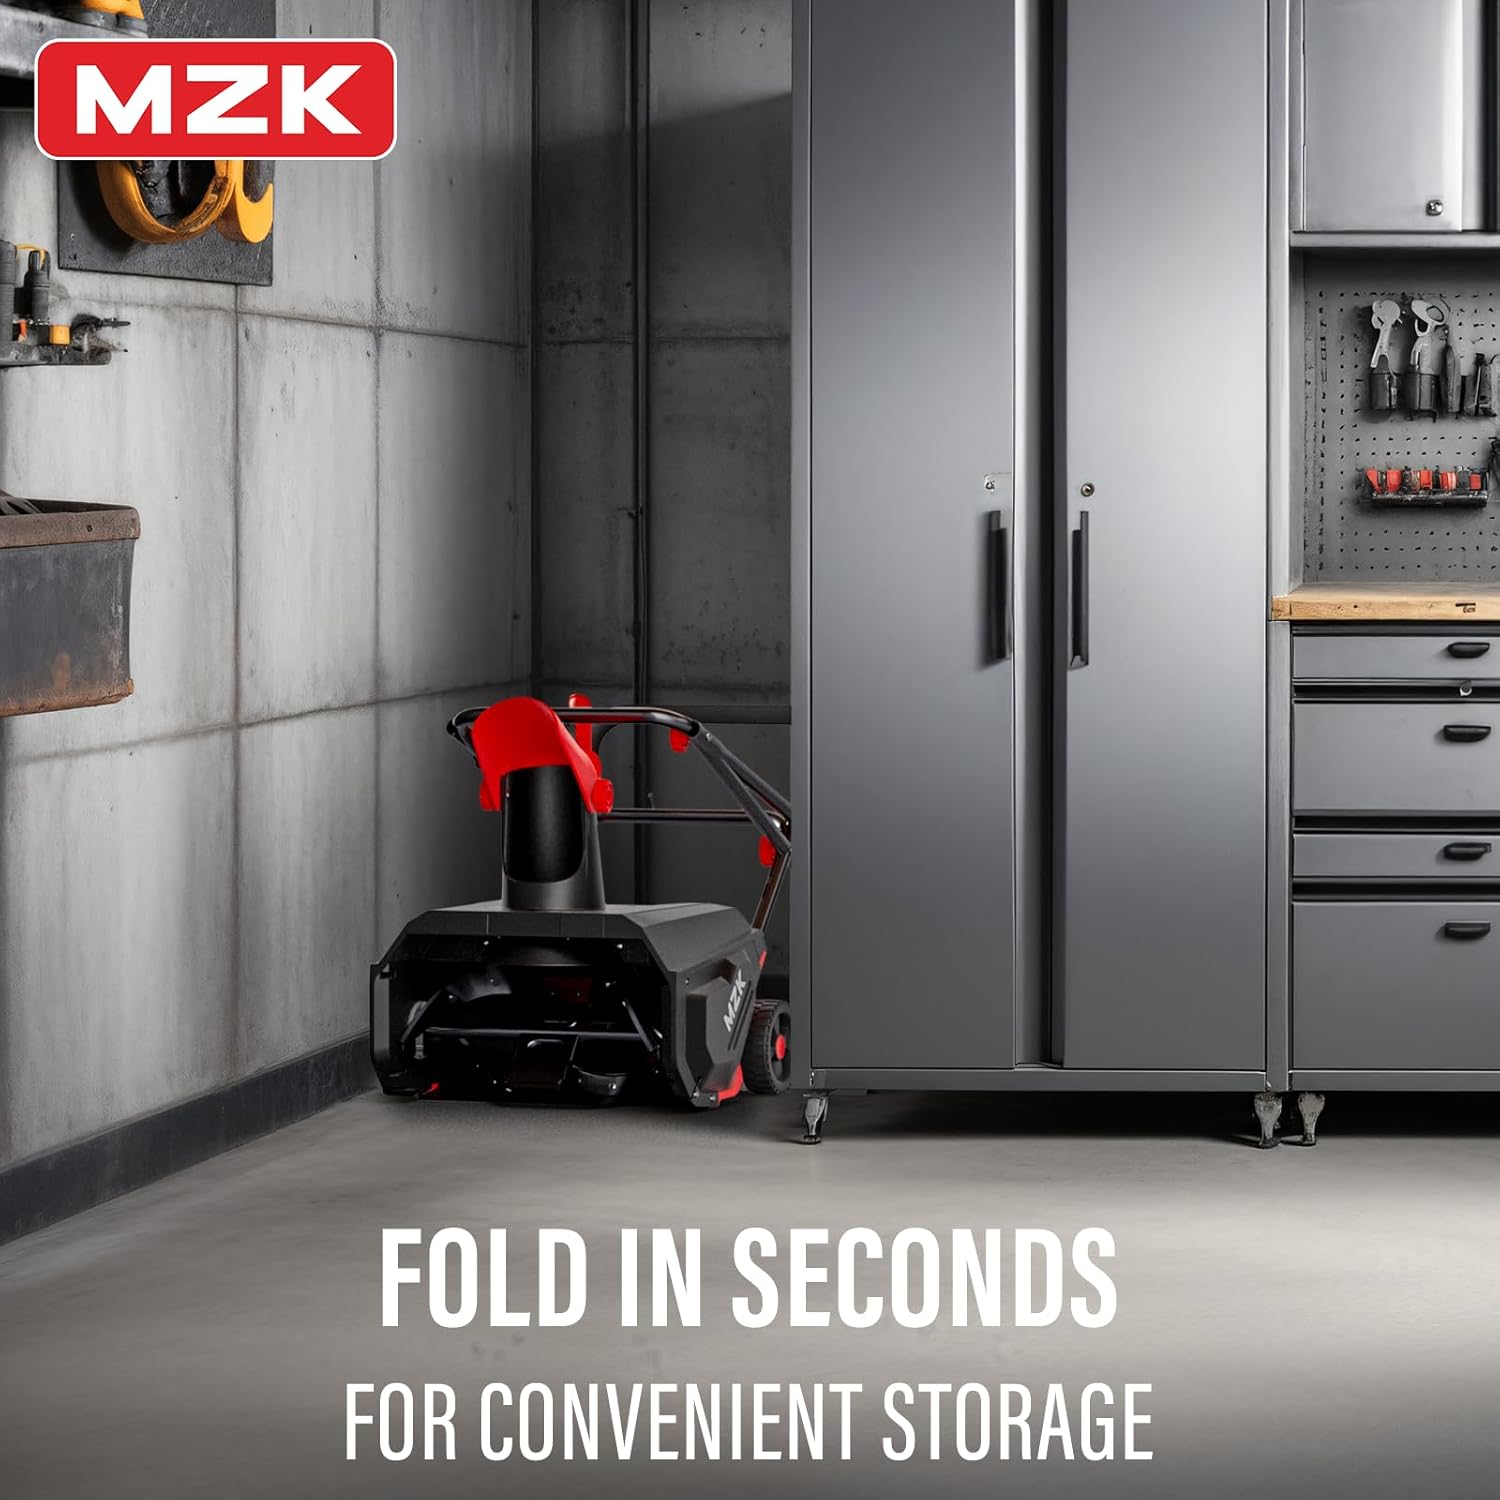
Figure 5: The MZK snow blower shown in a folded configuration, illustrating its compact size for convenient storage in a garage or shed.
6. Troubleshooting
| Problem | Possible Cause | Solution |
|---|---|---|
| Snow blower does not start. | No power supply; safety switch not engaged. | Disconnect power. Check power cord connection; ensure safety switch and bail lever are fully engaged. |
| Snow discharge is weak or clogged. | Chute or auger housing is blocked with snow/ice. | Disconnect power. Use a clearing tool (not hands) to remove blockage. |
| Motor runs but auger does not turn. | Auger belt broken or dislodged; auger jammed. | Disconnect power. Inspect auger for obstructions. Contact customer support for belt issues. |
| Unit vibrates excessively. | Loose components; damaged auger. | Disconnect power. Check all fasteners. Inspect auger for damage. |
7. Specifications
| Feature | Detail |
|---|---|
| Model Number | ET2406 |
| Brand | MZK |
| Power Source | Electric (AC) |
| Motor | 13-Amp |
| Clearing Width | 14 inches |
| Snow Depth | 10 inches |
| Throwing Distance | Up to 20 feet |
| Chute Rotation | 180 degrees |
| Product Dimensions (L x W x H) | 47 x 14 x 37.8 inches |

Figure 6: Close-up view of the snow blower's motor housing, highlighting the 13-Amp motor for efficient snow clearing.
8. Warranty and Support
For warranty information, technical support, or to order replacement parts, please contact MZK customer service. Refer to the product packaging or the MZK official website for current contact details.
When contacting support, please have your model number (ET2406) and purchase date available.