
Introduction
Thank you for choosing the JOMISE A80 Pro 4K+4K Dash Cam. This manual provides detailed instructions for the installation, operation, and maintenance of your new dash camera system. Please read this manual thoroughly before use to ensure proper functionality and to maximize your driving safety and recording experience.
Package Contents
Please verify that all items listed below are included in your package. If any items are missing or damaged, please contact customer support.
- JOMISE A80 Pro 4K Dash Cam (with pre-installed 64GB Card)
- 4K In-car Rear Camera
- 11.48ft Power Supply Cable with Car Charger
- 18.04 ft Rear Camera Cable
- Bracket with Built-in GPS
- Electrostatic Sticker (2 pieces)
- Mount Tool
- User Manual
- Cable Clips

Figure 1: JOMISE A80 Pro Package Contents
Product Overview
The JOMISE A80 Pro is a dual 4K dash camera system designed to provide comprehensive vehicle surveillance. It features a front camera and a rear camera, both capable of recording in 4K resolution, enhanced by STARVIS 2 night vision technology. The system includes a responsive 3-inch IPS touchscreen for easy control and built-in GPS for accurate route and speed tracking.

Figure 2: JOMISE A80 Pro Dual 4K Dash Cam System
Key Features:
- Dual 4K Recording: Simultaneous 3840x2160P recording for both front and rear cameras.
- STARVIS 2 Night Vision: Enhanced low-light performance for clear recordings in challenging conditions.
- Ethernet Rear Camera Processing: Dedicated processor in the rear camera for improved 4K performance and stable data transfer.
- WiFi 6 Connectivity: Fast and stable wireless transfer of footage to your smartphone.
- Built-in GPS: Records driving route, speed, and location data.
- G-Sensor: Automatically detects impacts and locks video files to prevent overwriting.
- 24H Parking Mode: Provides surveillance when the vehicle is parked (requires optional hardwire kit).
- Touch Screen: Intuitive 3-inch IPS display for easy navigation and settings adjustment.
- Up to 1TB Storage Support: Compatible with high-capacity microSD cards for extended recording times.
Setup & Installation
Follow these steps for a quick and secure installation of your JOMISE A80 Pro Dash Cam.
1. Prepare the MicroSD Card
The dash cam comes with a 64GB microSD card pre-installed. For optimal performance, it is recommended to format the card within the dash cam's settings upon first use and periodically thereafter. The device supports up to 1TB microSD cards.

Figure 3: MicroSD Card Capacity
2. Install the Front Camera
- Clean the windshield area where you intend to mount the dash cam. Ensure it is free from dust and grease.
- Attach one electrostatic sticker to the cleaned area. This helps in easy removal and prevents residue.
- Mount the front camera with the GPS bracket onto the electrostatic sticker. Ensure the camera lens has a clear view of the road and is not obstructed by the rearview mirror or other objects.
- Adjust the camera angle for optimal recording.
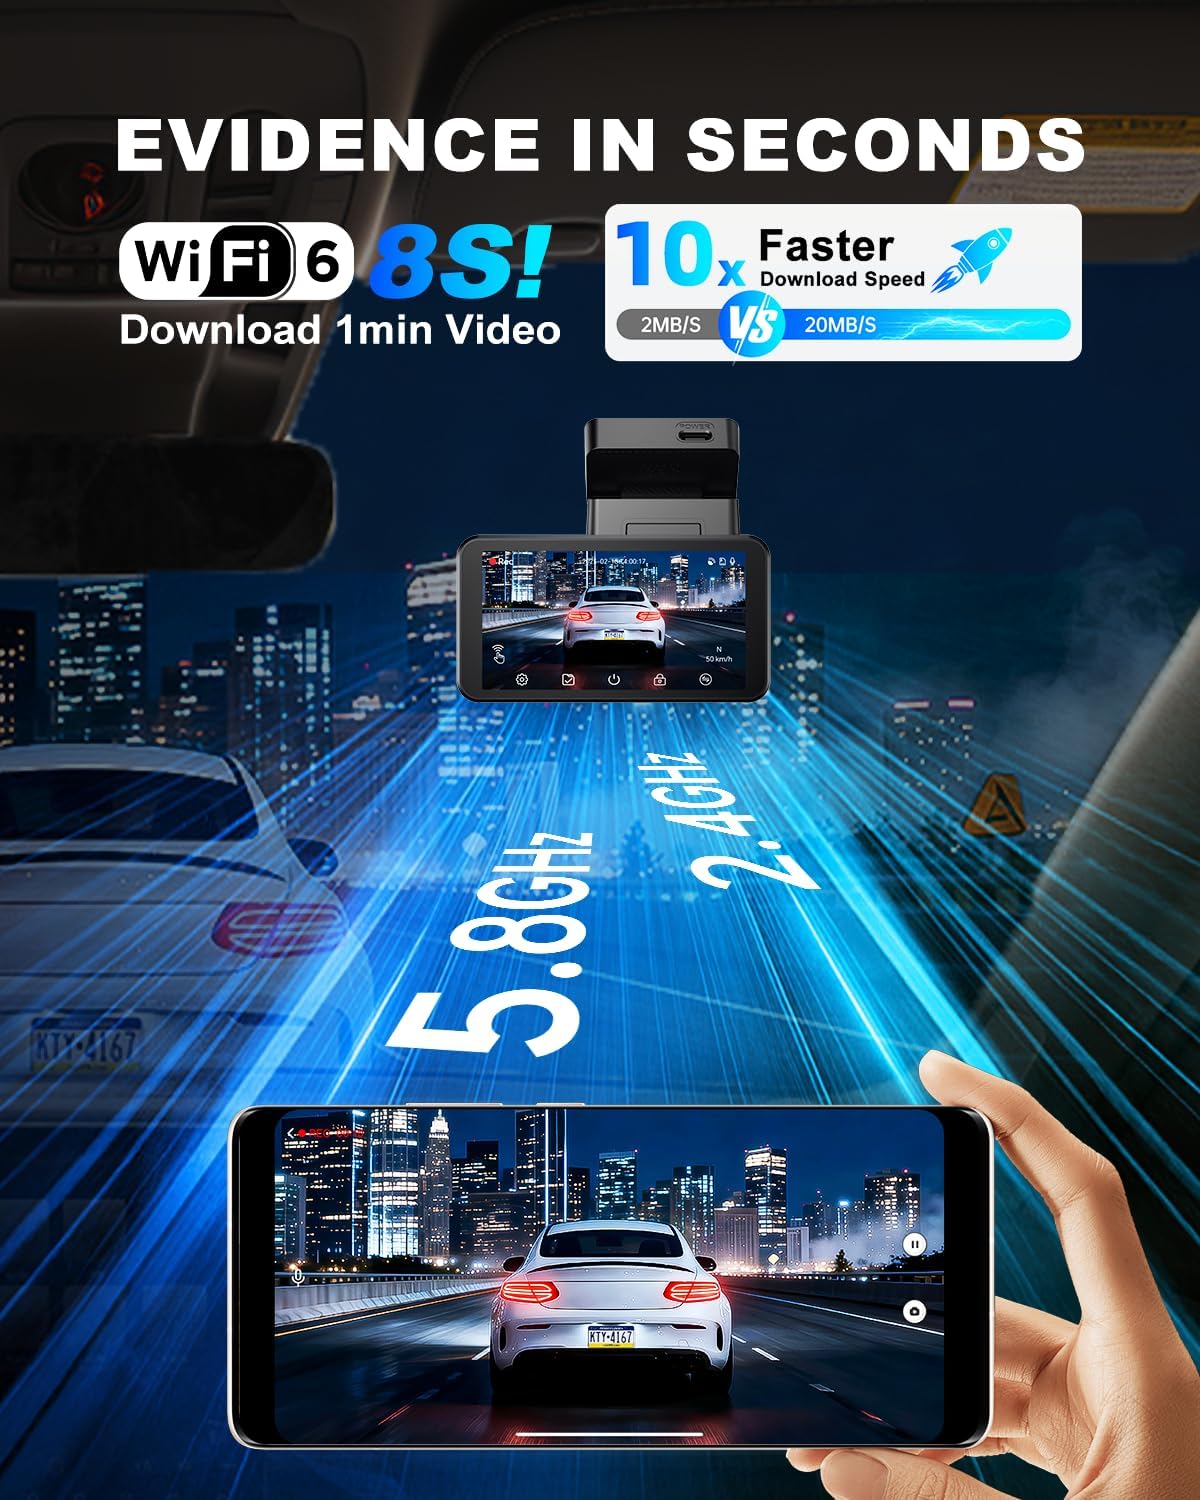
Figure 4: Front Camera Installation
3. Install the Rear Camera
- Identify a suitable location on your rear windshield for the rear camera. Ensure it has a clear view and does not obstruct your driving vision.
- Clean the chosen area thoroughly.
- Attach the rear camera using the provided adhesive.
- Connect the rear camera to the front camera using the 18.04 ft rear camera cable. Route the cable neatly along the vehicle's headliner and pillars to conceal it.

Figure 5: Rear Camera Installation
4. Power Connection
- Connect the 11.48ft power supply cable to the front dash cam.
- Plug the car charger end into your vehicle's 12V power outlet (cigarette lighter socket).
- Route the power cable neatly to avoid interference with driving.
Operating Instructions
Powering On/Off
- The dash cam will automatically power on and begin recording when your vehicle's ignition is turned on.
- It will automatically power off a few seconds after the ignition is turned off.
- To manually power on/off, press and hold the power button.
Touchscreen Operation
The 3-inch IPS touchscreen allows for intuitive control of the dash cam's functions and settings. Navigate through menus by tapping icons and swiping. The system boasts a responsive touch time of up to 0.2 seconds.

Figure 6: Touchscreen Interface
Recording Modes
- Loop Recording: The dash cam continuously records video in short segments (e.g., 1, 3, or 5 minutes). When the memory card is full, the oldest unlocked files are overwritten.
- Emergency Recording (G-Sensor): The built-in G-Sensor detects sudden impacts or collisions. When an event is detected, the current video segment is automatically locked and saved to a protected folder, preventing it from being overwritten by loop recording.
Night Vision (STARVIS 2)
The JOMISE A80 Pro utilizes STARVIS 2 technology for enhanced low-light performance. This ensures clear and detailed video capture even in dark conditions, such as during night driving, in tunnels, or on rainy nights.

Figure 7: Night Vision Performance
Connectivity
WiFi 6 Connectivity
The dash cam features WiFi 6 for fast and stable wireless connection to your smartphone via the dedicated JOMISE app. This allows for instant video previews, quick downloading of 4K footage (e.g., a 1-minute 4K video in approximately 6 seconds), and easy sharing of recordings.
- Download the JOMISE app from your smartphone's app store.
- Enable Wi-Fi on your dash cam via the touchscreen settings.
- Connect your smartphone to the dash cam's Wi-Fi network (SSID and password will be displayed on the dash cam screen).
- Open the JOMISE app to access live view, playback, and download recordings.

Figure 8: WiFi 6 Data Transfer
GPS Functionality
The built-in GPS module records your vehicle's location, speed, and driving route. This data can be viewed during playback using the dedicated JOMISE PC player or within the mobile app, providing crucial context for recorded events.

Figure 9: GPS Route and Speed Tracking
Parking Mode & Security Features
The JOMISE A80 Pro offers advanced parking surveillance features to protect your vehicle when it's parked.
- 24H Parking Monitor: When enabled, the dash cam can monitor your vehicle for impacts or motion even when the engine is off.
- Time-Lapse Recording: This mode compresses long periods of parking into short, viewable videos, saving storage space while maintaining continuous surveillance.
- G-Sensor Protection: In parking mode, if an impact is detected, the dash cam will automatically wake up and record a short emergency video, which is then locked to prevent overwriting.
Note: For 24-hour parking monitoring functionality, a hardwire kit (JOMISE model B0D3WWPG32, sold separately) is required to provide continuous power to the dash cam when the vehicle is off.
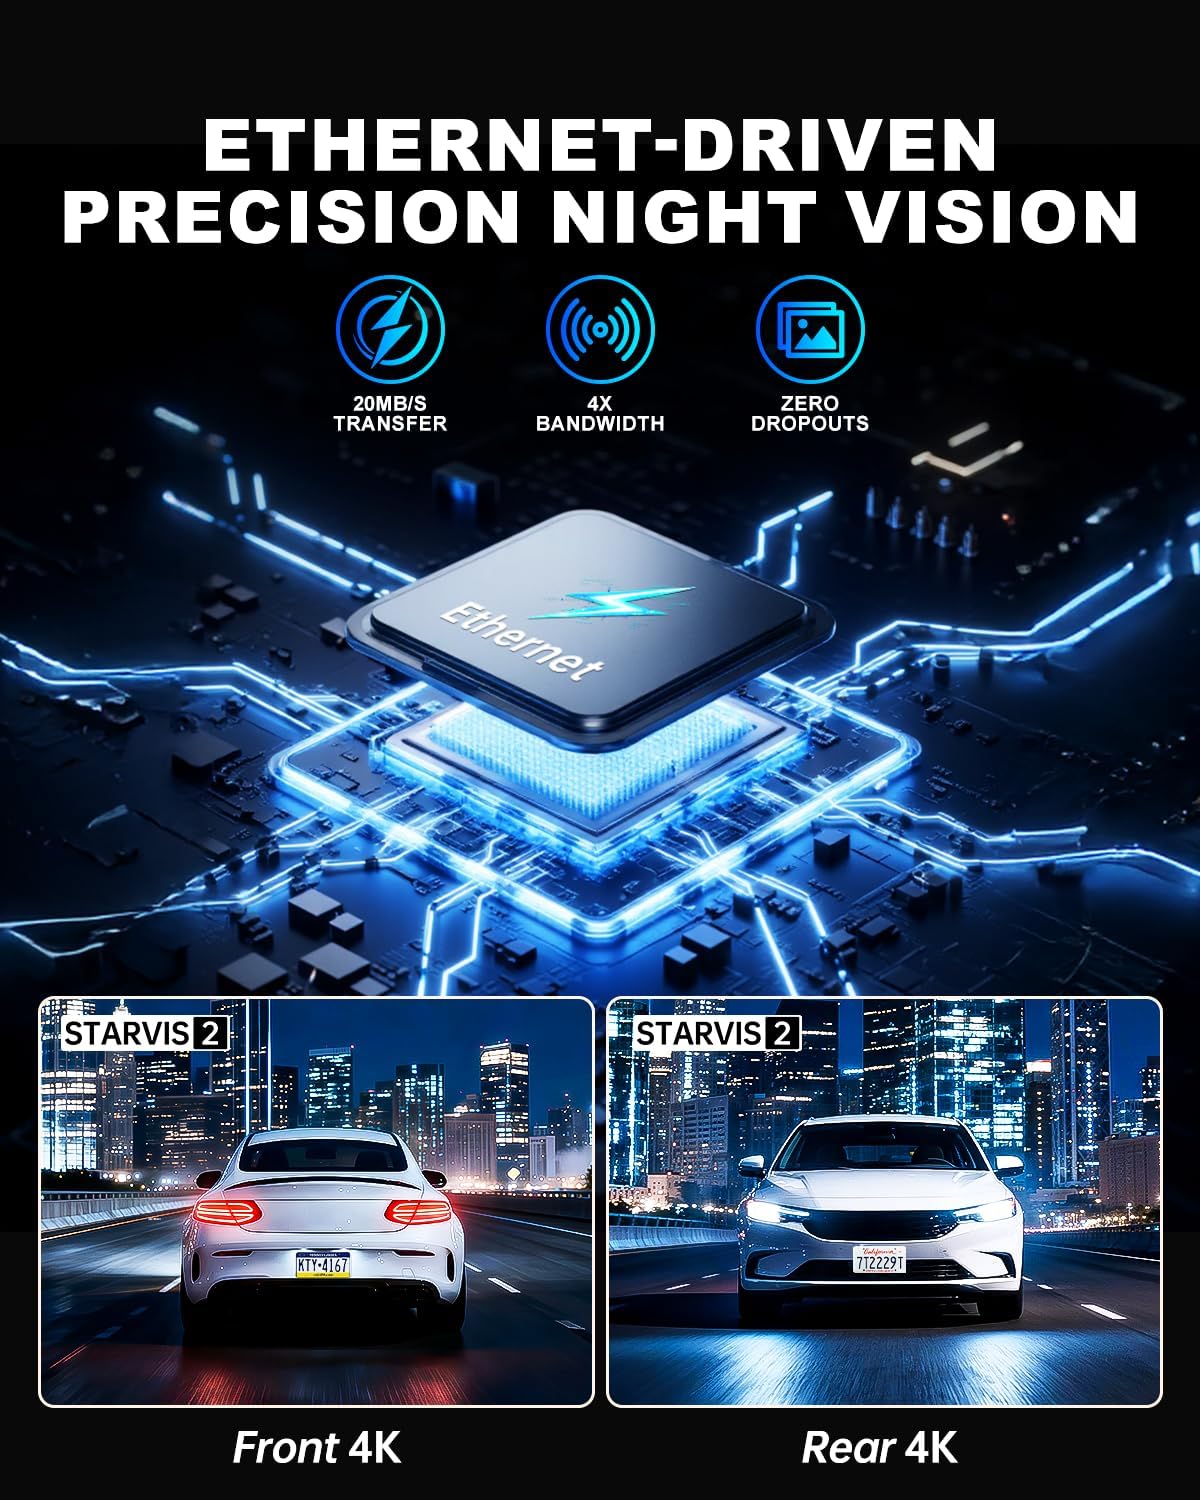
Figure 10: 24-Hour Parking Monitor
Maintenance
- MicroSD Card Formatting: Regularly format the microSD card (at least once a month) to ensure optimal performance and prevent data corruption. Back up any important files before formatting.
- Lens Cleaning: Keep the front and rear camera lenses clean using a soft, lint-free cloth. Avoid abrasive materials that could scratch the lens.
- Firmware Updates: Check the official JOMISE website periodically for firmware updates. Keeping your dash cam's firmware up-to-date can improve performance and add new features.
- Temperature: Avoid exposing the dash cam to extreme temperatures for extended periods.
Troubleshooting
If you encounter issues with your JOMISE A80 Pro Dash Cam, refer to the following common problems and solutions:
| Problem | Possible Cause / Solution |
|---|---|
| Dash cam does not power on. |
|
| Recording stops or freezes. |
|
| Poor video quality. |
|
| GPS signal not found. |
|
| Wi-Fi connection issues. |
|
If the problem persists, please contact JOMISE customer support for further assistance.
Specifications
| Feature | Detail |
|---|---|
| Model Name | A80 Pro |
| Video Capture Resolution | Dual 4K (3840x2160P) |
| Field of View | 170 degrees |
| Screen Size | 3 inches IPS touch |
| Connectivity Technology | Wi-Fi 6 |
| Special Features | Ethernet Stable Rear Camera, Built-In GPS, Night Vision (STARVIS 2), 24H Parking Monitor, Built-In Supercapacitor, App Control, G-Sensor, Loop Recording |
| Storage Support | Up to 1TB MicroSD card (64GB included) |
| Mounting Type | Windshield Mount |
| Power Source | Car Charger (12V) |
| Dimensions | 9.5 x 5 x 4.5 cm |
| Weight | 760 g |
Warranty & Support
The JOMISE A80 Pro Dash Cam comes with an extended 18-month warranty from the date of purchase. This warranty covers manufacturing defects and ensures reliable operation of your device.
For technical support, warranty claims, or any questions regarding your product, please contact JOMISE customer support through the official website or the contact information provided in your package. Our team is dedicated to providing fast and friendly assistance.
Please retain your proof of purchase for warranty purposes.


