
BLUETTI Elite 10
BLUETTI Elite 10 Mini Portable Power Station User Manual
Model: Elite 10
1. Introduction
The BLUETTI Elite 10 Mini Portable Power Station is a compact and versatile power solution designed for various applications, including camping, travel, and emergency backup. Featuring a 128Wh LiFePO4 battery and a 200W AC outlet, it provides reliable power for small electronic devices. Its lightweight and airline-friendly design makes it an ideal companion for on-the-go power needs.

Figure 1: BLUETTI Elite 10 Mini Portable Power Station, showcasing its compact design and front panel.
2. Safety Instructions
Please read and understand all safety instructions before operating the BLUETTI Elite 10. Failure to follow these instructions may result in electric shock, fire, or serious injury.
- Do not disassemble, repair, or modify the unit.
- Keep the unit away from fire, water, and extreme temperatures.
- Avoid dropping or subjecting the unit to strong impacts.
- Use only approved accessories and charging cables.
- Ensure proper ventilation during use and charging.
- Keep out of reach of children.
3. Product Features
- Versatile Power Output: Equipped with a 200W AC outlet, 100W USB-C fast charging, and multiple DC ports to power various devices.
- Compact & Portable: Weighs approximately 4.0 lbs (1.8 kg) with an ergonomic handle, making it easy to carry.
- Airline-Friendly Capacity: 128Wh battery capacity falls within the 100–160Wh range, allowing it to be carried on most major airlines with prior approval (limit 2 per passenger).
- Uninterruptible Power Supply (UPS): Features a built-in 10ms UPS and 350W bypass output for seamless power during outages.
- Multiple Charging Options: Supports 150W AC charging (full in 70 mins), 100W solar charging, and 100W car charging.
- Smart App Control: Connect via Bluetooth to customize charging modes, adjust lighting, and monitor power status in real time.
- Integrated LED Lighting: Offers 3 lighting modes (warm/cool light, SOS) for up to 50 hours of illumination.
4. Getting Started & Setup
4.1. Unboxing and Package Contents
Upon opening the package, ensure all components are present:
- BLUETTI Elite 10 Mini Power Station
- AC Charging Cable
- Car Charging Cable
- User Manual

Figure 2: Contents of the BLUETTI Elite 10 package.
4.2. Initial Charging
Before first use, fully charge the BLUETTI Elite 10. Connect the AC charging cable to the AC input port on the unit and then to a wall outlet. The display will indicate charging status. A full charge via AC takes approximately 70 minutes.
5. Product Overview
5.1. Front Panel
The front panel features the main display, control buttons, and various output ports:
- DC Output (12V/5A): For compatible DC devices.
- Display Screen: Shows input/output wattage, battery percentage, and remaining runtime.
- DC Button: Activates DC output ports.
- Power Button: Turns the unit on/off.
- AC Button: Activates the AC output outlet.
- USB-C 100W Output: For fast charging compatible USB-C devices.
- USB-A 15W Outputs (x2): Standard USB-A ports for charging.
- USB-C 15W Output: Additional USB-C port.
Figure 3: Front panel layout of the BLUETTI Elite 10.
5.2. Side and Rear Panels
The side and rear panels house additional input/output ports and the LED light:
- DC/PV Input (12-28V/8A, 100W Max): For solar or car charging.
- AC Output (120V/200W): Standard wall outlet for AC-powered devices.
- AC Input: For charging the unit via wall outlet.
- LED Light: Multi-mode light for illumination.

Figure 4: Rear panel showing AC output and LED light.
5.3. Dimensions and Weight
The Elite 10 is designed for portability:
- Dimensions: Approximately 7.8"L x 5.7"W x 4.3"H (19.8cm x 14.5cm x 11cm)
- Weight: Approximately 4.0 lbs (1.8 kg)

Figure 5: Visual representation of the Elite 10's compact size.
6. Operating Instructions
6.1. Powering On/Off
Press and hold the main power button on the front panel to turn the unit on or off. The display will illuminate upon activation.
6.2. Using AC Outlets
To use the AC outlet, press the 'AC' button on the front panel. The AC icon on the display will light up. Plug your AC-powered device into the AC output port on the rear panel. Ensure your device's power consumption does not exceed 200W.
6.3. Using DC Outputs
To use the DC output ports (USB-C, USB-A, 12V/5A), press the 'DC' button on the front panel. The DC icon on the display will light up. Connect your devices to the appropriate USB or 12V DC output ports.
6.4. Charging the Elite 10
The Elite 10 supports three charging methods:
- AC Charging: Connect the AC charging cable to the AC input port and a wall outlet. Max 150W, full charge in approximately 70 minutes.
- Solar Charging: Connect a compatible solar panel (e.g., BLUETTI PV60L/PV60F/PV100) to the DC/PV input port. Max 100W.
- Car Charging: Connect the car charging cable to the DC/PV input port and your vehicle's cigarette lighter socket. Max 100W.

Figure 6: Various charging methods for the Elite 10.
6.5. Uninterruptible Power Supply (UPS) Function
When the Elite 10 is connected to an AC wall outlet and has devices plugged into its AC output, it can function as a UPS. In case of a power outage, the unit will automatically switch to battery power within 10 milliseconds, providing continuous power to connected devices up to 350W bypass output.
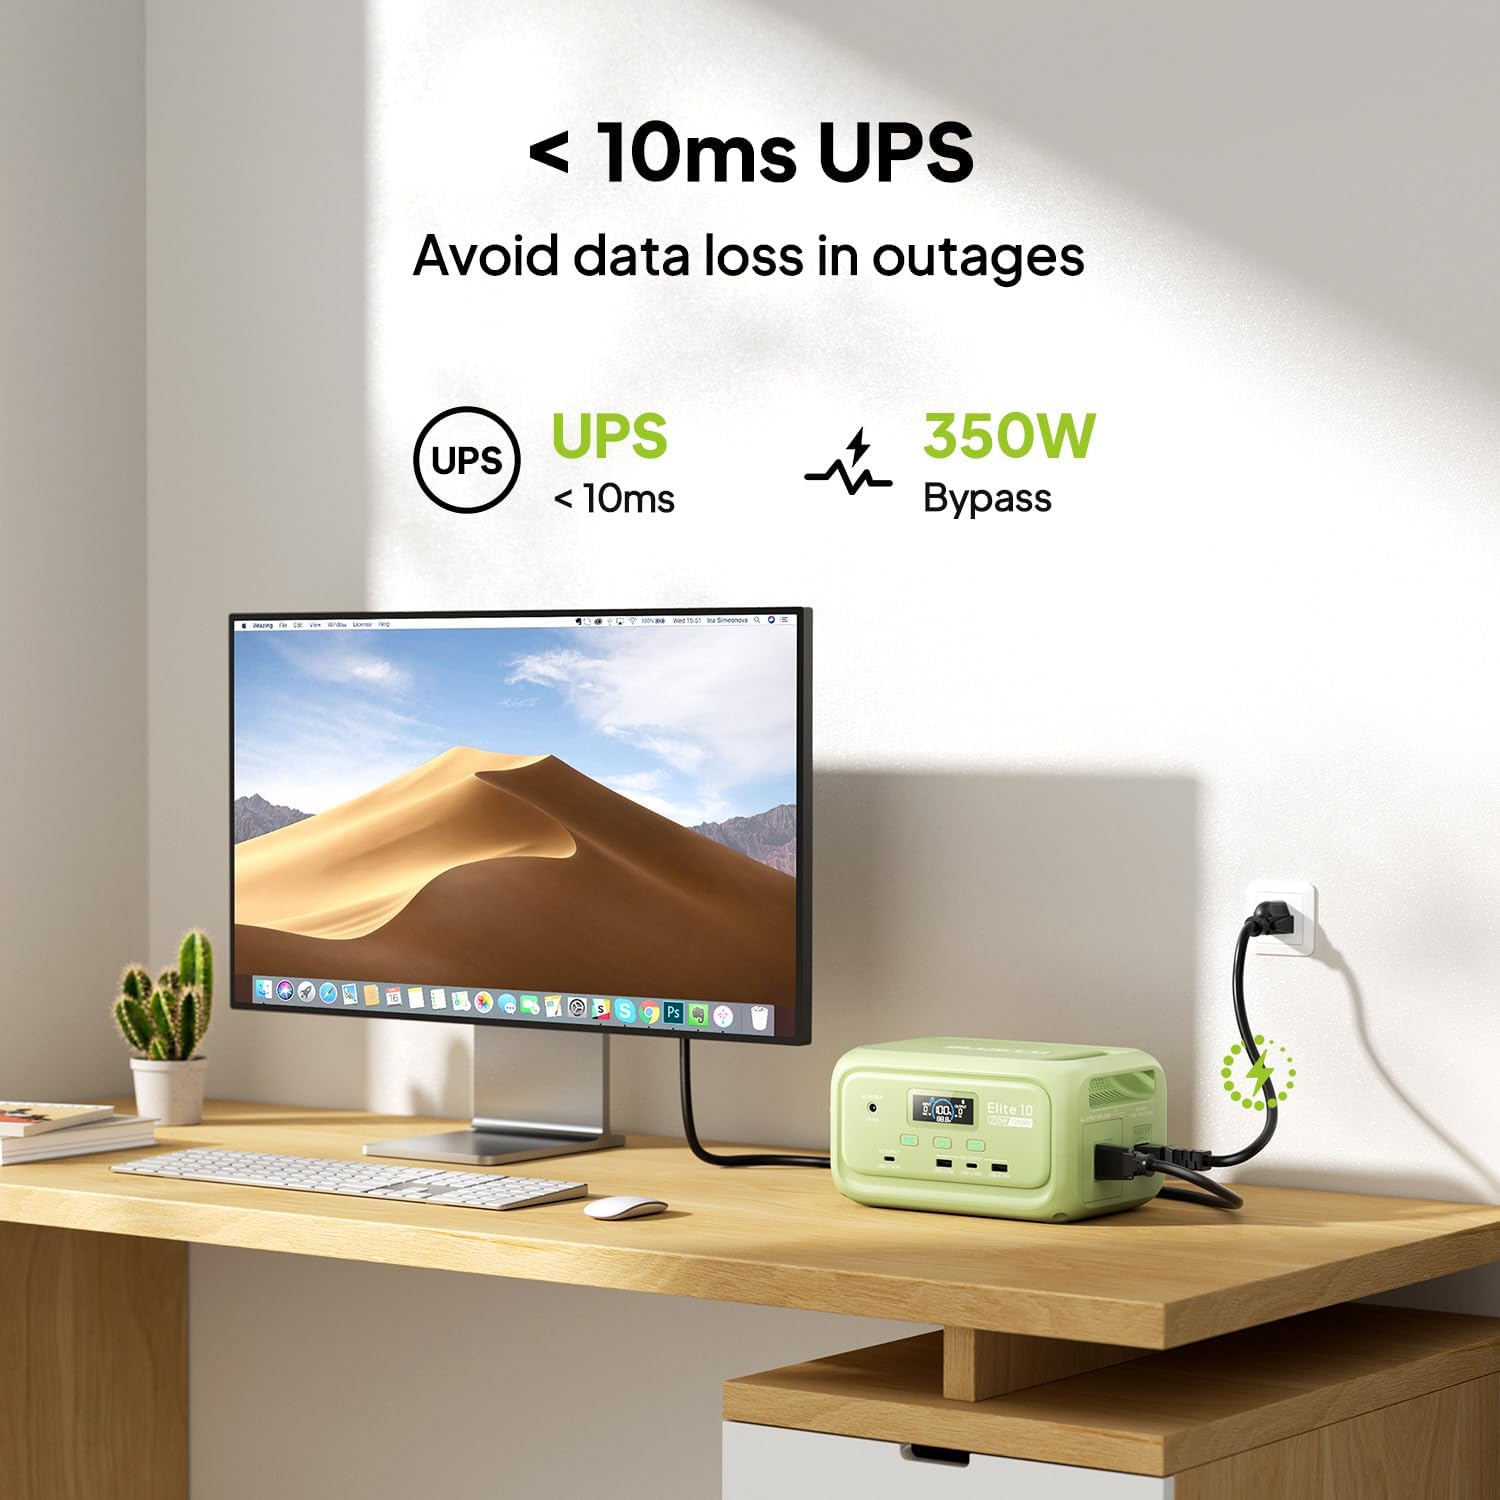
Figure 7: Illustration of the Elite 10's UPS capability.
6.6. LED Lighting
The LED light on the rear panel offers three modes: warm light, cool light, and SOS. Press the dedicated light button to cycle through modes or turn it off. The light can provide up to 50 hours of illumination.
6.7. Smart App Control
Download the BLUETTI app and connect to your Elite 10 via Bluetooth. The app allows you to monitor power status, customize charging modes, and adjust lighting settings remotely.

Figure 8: Managing the Elite 10 via the BLUETTI mobile application.
7. Maintenance and Storage
- Cleaning: Use a dry, soft cloth to clean the unit. Do not use abrasive cleaners or solvents.
- Temperature: Store and operate the unit within the recommended temperature range (typically 0°C to 40°C or 32°F to 104°F).
- Long-Term Storage: If storing for extended periods, charge the unit to 50-80% every 3-6 months to prolong battery life. Store in a cool, dry place.
8. Troubleshooting
If you encounter issues with your BLUETTI Elite 10, refer to the following common solutions:
- Unit Not Turning On: Ensure the battery is charged. If not, connect to an AC outlet for charging.
- No Output from Ports: Verify that the respective DC or AC output buttons are pressed and their indicators are lit. Check if the device connected requires more power than the unit can provide.
- Slow Charging: Ensure you are using the original BLUETTI charging cables. Check the power source for adequate output.
- Overload Protection: If the unit shuts down, it may be due to an overload. Disconnect some devices and restart the unit.
For persistent issues, contact BLUETTI customer support.
9. Specifications
| Feature | Detail |
|---|---|
| Model | Elite 10 |
| Battery Capacity | 128Wh LiFePO4 |
| AC Output | 120V/200W (Pure Sine Wave) |
| USB-C Output | 1 x 100W, 1 x 15W |
| USB-A Output | 2 x 15W |
| DC Output | 12V/5A |
| DC/PV Input | 12-28V/8A, 100W Max |
| AC Charging Time | Approx. 70 minutes (150W Max) |
| UPS Function | 10ms switchover, 350W bypass |
| Dimensions (L x W x H) | 7.8" x 5.7" x 4.3" (19.8cm x 14.5cm x 11cm) |
| Weight | 4.0 lbs (1.8 kg) |
10. Warranty and Support
The BLUETTI Elite 10 Mini Portable Power Station comes with a standard manufacturer's warranty. Please refer to the warranty card included in your package or visit the official BLUETTI website for detailed warranty terms and conditions.
For technical support, troubleshooting assistance, or any product-related inquiries, please contact BLUETTI customer service through their official channels.
Related documentsElite 10


Ask a question about this manual
Ask about setup, troubleshooting, compatibility, parts, safety, or missing instructions. Manuals+ will review the question and use this page’s manual context to help answer it.