
Introduction
This user manual provides detailed instructions for operating and maintaining your Singer Heavy Duty 4452 sewing machine. It covers essential topics from initial setup to advanced stitching techniques and troubleshooting common issues, ensuring you can achieve optimal performance and flawless results with your machine. This guide is designed for both new users and experienced sewists seeking to maximize the capabilities of their 4452 model.
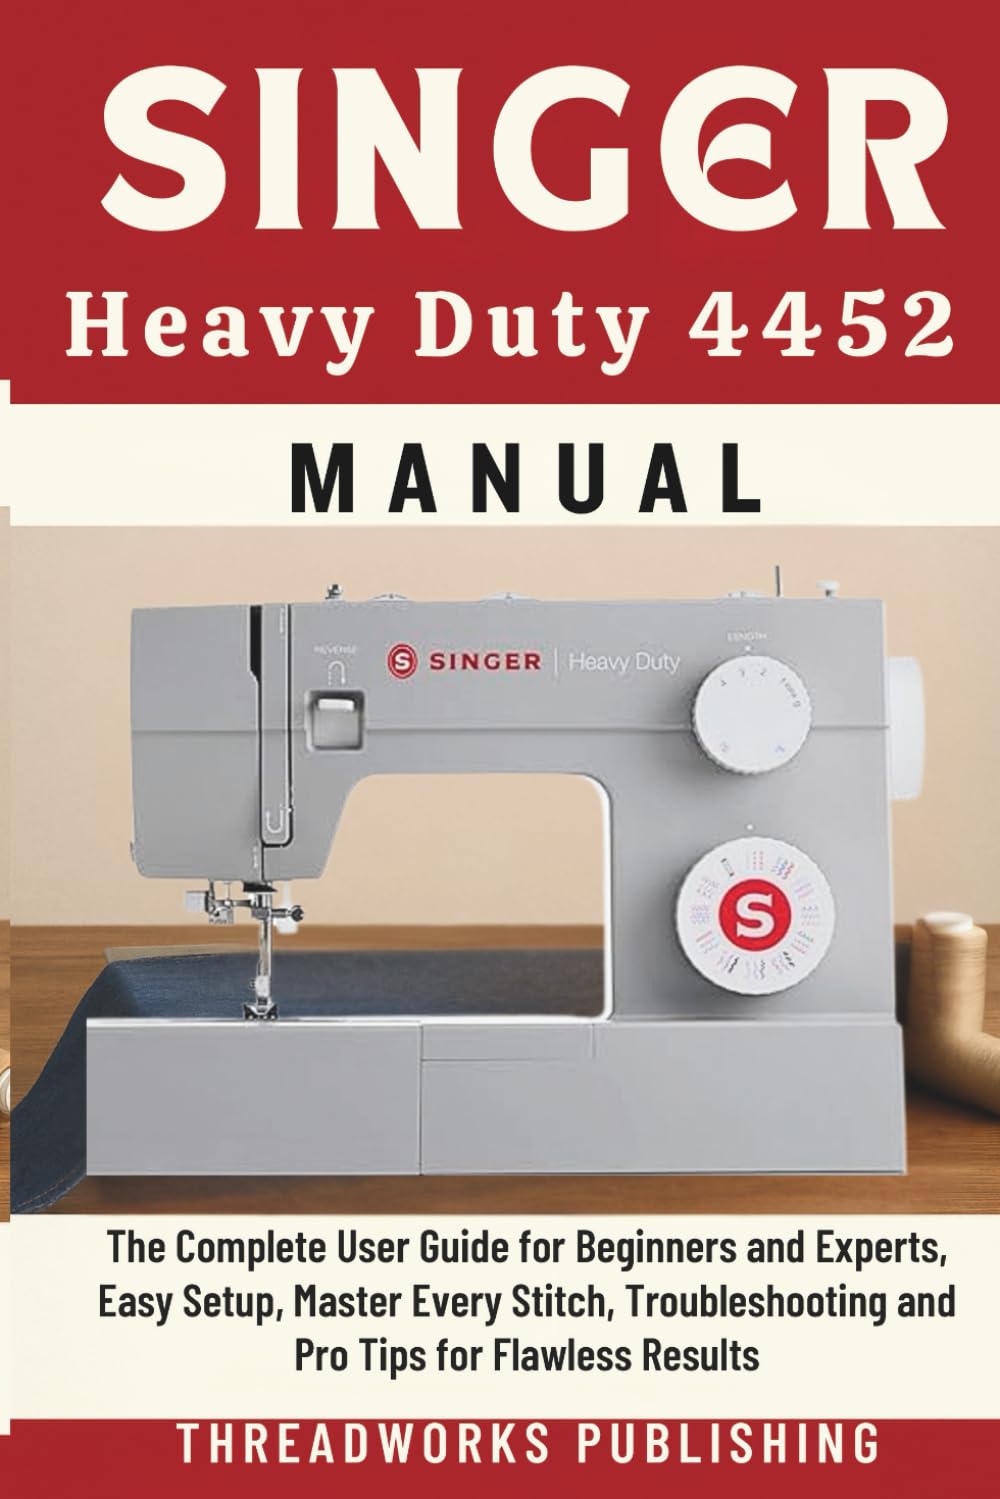
Image: The Singer Heavy Duty 4452 sewing machine, a robust grey machine with red accents, positioned on a wooden surface with fabric and thread spools nearby.
Setup
Proper setup is crucial for smooth operation and consistent stitch quality. Follow these steps to prepare your Singer Heavy Duty 4452 for use.
1. Unpacking and Placement
- Carefully remove the machine from its packaging.
- Place the machine on a stable, flat surface with adequate lighting.
- Ensure the power cord can reach an outlet without strain.
2. Threading the Machine
Accurate threading prevents skipped stitches and thread breakage.
- Place the spool of thread on the spool pin.
- Guide the thread through the upper thread guides as indicated by the machine's markings.
- Thread the needle from front to back.
3. Bobbin Winding and Insertion
The bobbin supplies the lower thread for stitching.
- Wind the bobbin evenly with your chosen thread.
- Insert the wound bobbin into the bobbin case, ensuring the thread feeds correctly.
- Pull the bobbin thread up through the needle plate opening.
4. Needle Selection and Installation
Choose the correct needle for your fabric type and install it securely.
- Select a needle appropriate for your fabric (e.g., universal, ballpoint, denim).
- Loosen the needle clamp screw, insert the new needle with the flat side facing the back, and tighten the screw.
5. Tension Adjustment
Correct tension ensures balanced stitches.
- Adjust the upper tension dial based on your fabric and thread.
- Test on a scrap fabric to ensure stitches are even on both sides.
Operating Instructions
This section details how to utilize the various functions and features of your Singer Heavy Duty 4452.
1. Stitch Selection and Adjustment
The 4452 offers a range of stitches for different sewing needs.
- Utility Stitches: For basic construction, seams, and mending.
- Stretch Stitches: Ideal for knit fabrics to prevent popped seams.
- Decorative Stitches: For embellishments and creative projects.
- 1-Step Buttonhole: Create perfectly sized buttonholes with ease.
Use the stitch selector dial to choose your desired stitch. Adjust stitch length and width as needed using the corresponding dials.
2. Fabric Settings
Achieve optimal results by adjusting settings for different fabric types.
| Fabric Type | Recommended Needle | Tension Range |
|---|---|---|
| Lightweight (Silks, Chiffon) | Size 9-11 (70-75) Universal | 2-4 |
| Medium Weight (Cotton, Linen) | Size 11-14 (75-90) Universal | 3-5 |
| Heavy Weight (Denim, Canvas) | Size 16-18 (100-110) Denim | 4-6 |
| Knits (Jersey, Spandex) | Size 11-14 (75-90) Ballpoint/Stretch | 3-5 |
3. Pro Tips for Enhanced Results
- Cleaner Corners: Stop with the needle down, lift the presser foot, pivot the fabric, and continue sewing.
- Stronger Seams: Backstitch at the beginning and end of seams to secure them.
- Beautiful Hems: Use a blind hem stitch or a double-fold hem for a neat finish.
- Zipper Installation: Use a zipper foot for precise stitching close to the zipper teeth.
- Speed Control: Utilize the foot pedal for variable speed control, especially on intricate or heavy projects.
Maintenance
Regular maintenance ensures the longevity and optimal performance of your sewing machine.
1. Cleaning
- Daily: Use a small brush to remove lint and dust from the bobbin area and feed dogs.
- Weekly/After Heavy Use: Remove the needle plate and clean thoroughly around the bobbin case and hook area.
- Do not use compressed air as it can push lint further into the machine.
2. Oiling
- Refer to your official Singer manual for specific oiling points. Generally, a few drops of sewing machine oil are applied to moving metal parts.
- Oil sparingly; excessive oil can attract lint.
3. General Care Schedule
- Needle Replacement: Change needles every 8-10 hours of sewing or when they become dull/bent.
- Professional Servicing: Consider professional servicing every 1-2 years, especially with frequent use.
Troubleshooting
This section addresses common issues you might encounter and provides solutions.
| Problem | Possible Cause | Solution |
|---|---|---|
| Skipped Stitches | Incorrect needle, improperly threaded, bent needle. | Replace needle, re-thread machine, ensure needle is inserted correctly. |
| Bird's Nest (Tangled thread underneath fabric) | Upper tension too loose, improper threading, presser foot not down. | Increase upper tension, re-thread upper and bobbin, lower presser foot. |
| Broken Thread | Poor quality thread, incorrect needle size, tension too tight, burr on needle plate. | Use quality thread, change needle, adjust tension, check for burrs. |
| Uneven Seams | Inconsistent fabric feeding, incorrect presser foot pressure. | Guide fabric gently, adjust presser foot pressure if available. |
| Noisy Operation | Lack of lubrication, lint buildup, loose parts. | Clean and oil machine, check for loose screws, consult service if persistent. |
Specifications
Key specifications for the Singer Heavy Duty 4452 sewing machine.
- Model: Singer Heavy Duty 4452
- Stitch Count: Typically 32 built-in stitches (including 1-step buttonhole)
- Needle Threader: Automatic
- Top Drop-in Bobbin: Yes
- Frame: Heavy Duty Metal Frame
- Motor: High-speed sewing (up to 1,100 stitches per minute)
- Presser Foot Lift: Extra High
- Accessories: Various presser feet, needles, bobbins, seam ripper, lint brush.
Note: Specific features and included accessories may vary slightly by region or production batch.
Warranty and Support
This document is an independent user guide. For official warranty information, product registration, or direct technical support for your Singer Heavy Duty 4452 sewing machine, please refer to the official documentation provided with your machine or visit the official Singer website. Contacting Singer directly will ensure you receive the most accurate and up-to-date information regarding your product's warranty and service options.
For general inquiries or to locate authorized service centers, please visit www.singer.com.


