
1. Introduction
This manual provides comprehensive instructions for the installation, operation, maintenance, and troubleshooting of your AITEK SIGMA-MT151 15-inch Touchscreen LED Monitor. Please read this manual thoroughly before using the product to ensure proper functionality and to prevent damage.
2. Safety Information
Observe the following safety precautions to ensure safe operation and to extend the life of your monitor:
- Do not expose the monitor to rain, moisture, or extreme temperatures.
- Avoid placing the monitor in direct sunlight or near heat sources.
- Use only the power adapter supplied with the monitor.
- Do not open the monitor casing. Refer all servicing to qualified personnel.
- Keep the monitor away from strong magnetic fields.
- Ensure proper ventilation around the monitor.
- Unplug the monitor from the power outlet before cleaning.
3. Package Contents
Verify that all items are present in the package:
- 1x AITEK SIGMA-MT151 Touchscreen Monitor
- 1x HDMI Cable
- 1x USB Cable
- 1x BNC Cable
- 1x Touch Stylus
- 1x Power Adapter
- 1x Instruction Manual (This document)
4. Product Overview
The AITEK SIGMA-MT151 is a 15-inch LED touchscreen monitor designed for versatile applications. It features a 10-point touch interface, HD resolution, and multiple connectivity options.
4.1 Front View
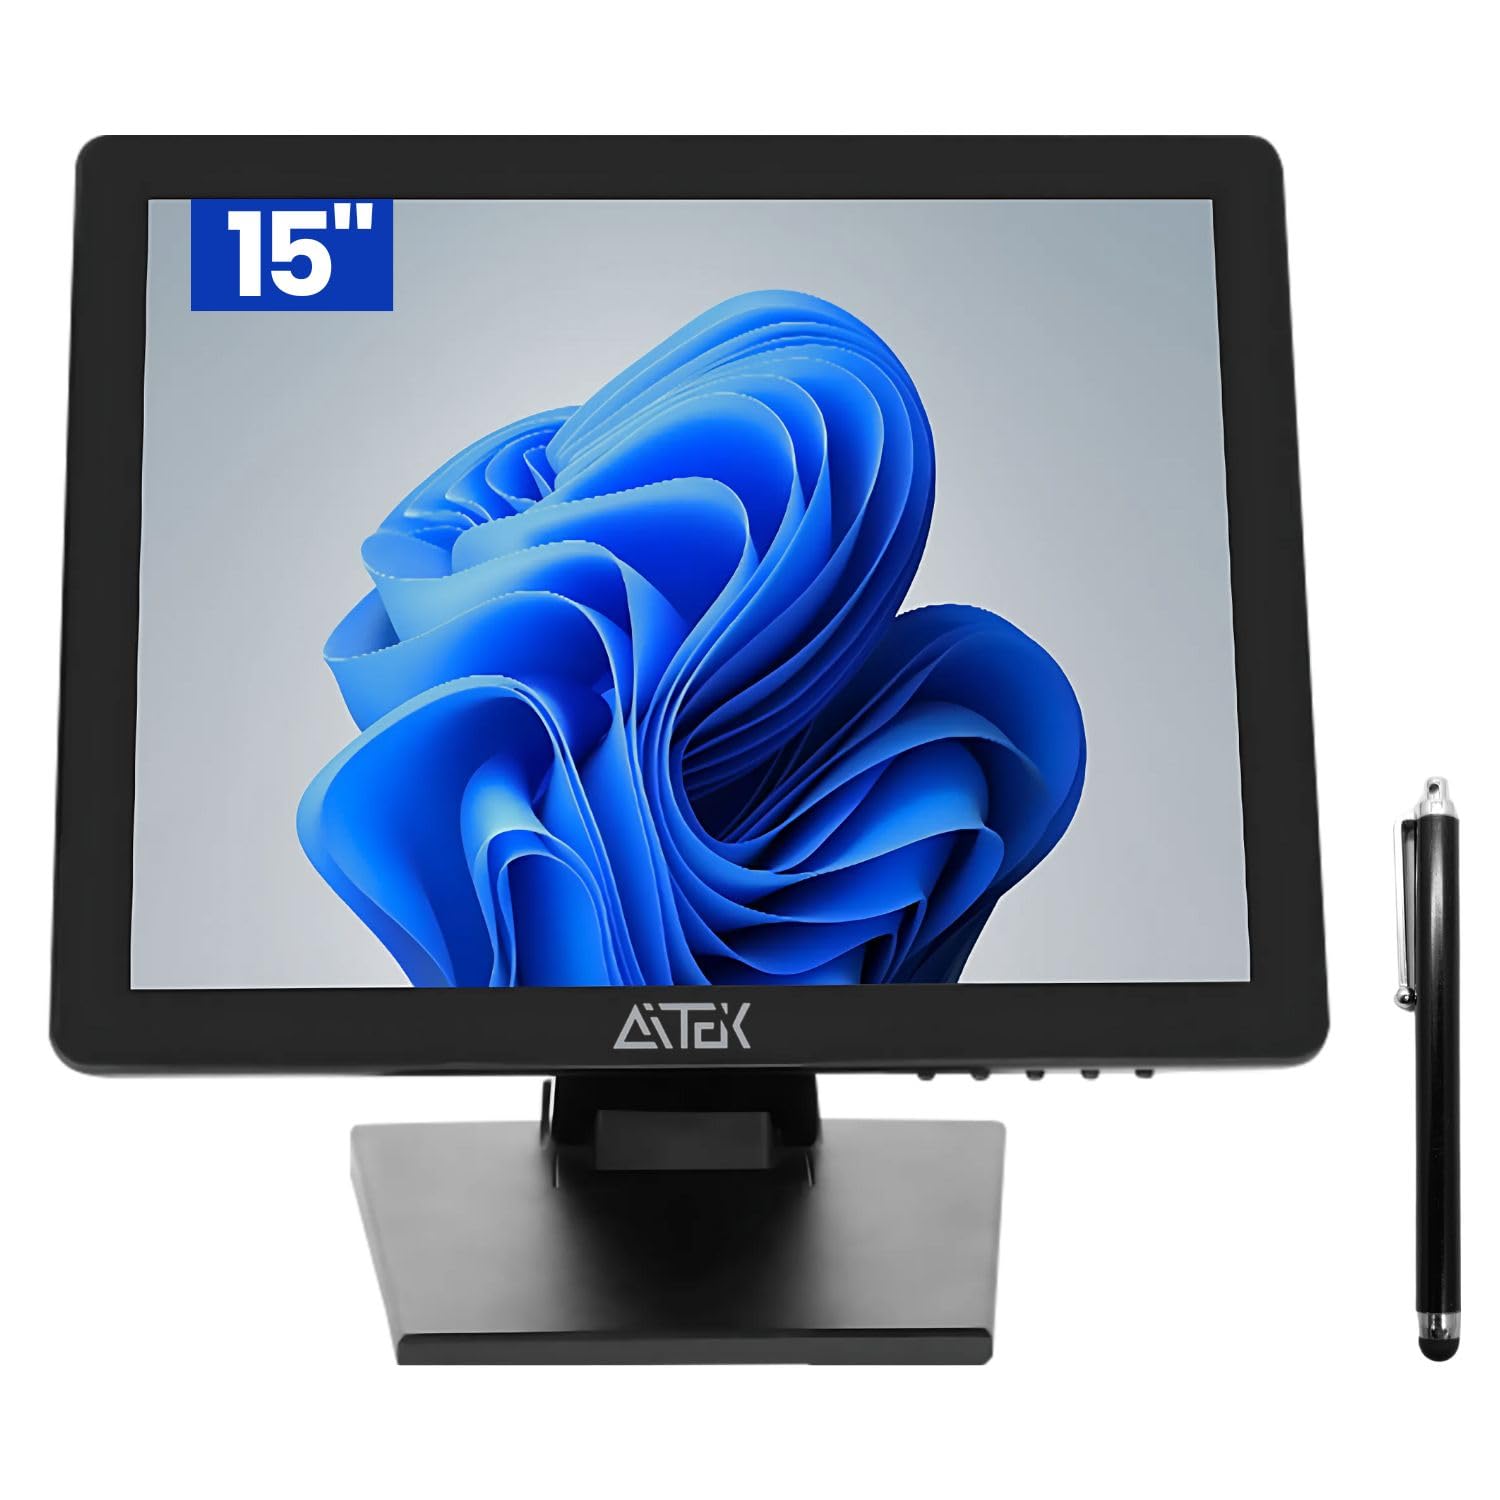
Figure 4.1: Front view of the AITEK SIGMA-MT151 monitor, showing the 15-inch display and the AITEK logo at the bottom center.
4.2 Rear View and Label

Figure 4.2: Rear view of the AITEK SIGMA-MT151 monitor, displaying the product label with model number (SIGMA-MT151) and EAN (3187062014101).
4.3 Connectivity Ports

Figure 4.3: Detailed view of the monitor's rear connectivity panel, showing ports for power, VGA, HDMI, AV (RCA), 3.5mm audio, USB, and BNC.
5. Setup
5.1 Stand Assembly
The monitor typically comes with a pre-assembled stand. If not, attach the base to the monitor arm using the provided screws, ensuring it is securely fastened. The stand allows for height adjustment.
5.2 Connecting the Monitor
- Power Connection: Connect the power adapter to the monitor's DC input port and then plug the adapter into a power outlet.
- Video Connection:
- For digital video and audio, connect an HDMI cable from your source device to the monitor's HDMI port.
- For analog video, connect a VGA cable from your source device to the monitor's VGA port.
- For composite video, connect AV (RCA) cables from your source device to the monitor's AV ports.
- For security camera systems, connect a BNC cable from your source device to the monitor's BNC port.
- USB Touch Connection: To enable touchscreen functionality, connect the supplied USB cable from the monitor's USB port to an available USB port on your computer.
- Audio Connection: If using VGA or AV inputs, connect an audio cable from your source device's audio output to the monitor's 3.5mm Audio In port. The monitor also has a 3.5mm Audio Out port for headphones or external speakers.
Note: Ensure all connections are secure before powering on the monitor.
6. Operating Instructions
6.1 Powering On/Off
Press the power button located on the monitor's front or side panel to turn the monitor on or off. The power indicator light will illuminate when the monitor is on.
6.2 Input Source Selection
Use the OSD (On-Screen Display) menu buttons, typically located on the bottom or side of the monitor, to navigate and select the desired input source (VGA, AV, HDMI, BNC).
6.3 Touchscreen Operation
The monitor supports 10-point multi-touch. You can interact with the screen using your finger or the provided touch stylus. Ensure the USB touch cable is connected to your computer for touch functionality to work.
- Calibration: If touch response is inaccurate, refer to your operating system's display settings for touchscreen calibration.
- Stylus Use: The included stylus can provide more precise input for certain applications.
6.4 Adjusting Display Settings
Access the OSD menu using the physical buttons on the monitor to adjust settings such as:
- Brightness: Adjust the overall luminance of the screen.
- Contrast: Modify the difference between light and dark areas.
- Color Temperature: Change the color balance (e.g., warm, cool, user-defined).
- Aspect Ratio: Select between 4:3 or other available aspect ratios.
- Volume: Adjust audio output if using the monitor's internal speakers or audio out port.
7. Maintenance
7.1 Cleaning the Monitor
- Always unplug the monitor before cleaning.
- Use a soft, lint-free cloth lightly dampened with water or a non-abrasive screen cleaner.
- Do not spray cleaner directly onto the screen.
- Avoid using harsh chemicals, solvents, or abrasive materials.
7.2 General Care
- Protect the screen from sharp objects to prevent scratches.
- Avoid placing heavy objects on the monitor.
- Store the monitor in a cool, dry place if not in use for extended periods.
8. Troubleshooting
If you encounter issues with your monitor, refer to the following common problems and solutions:
| Problem | Possible Cause | Solution |
|---|---|---|
| No image on screen |
|
|
| Touchscreen not responding |
|
|
| No audio |
|
|
If the problem persists after trying these solutions, contact customer support.
9. Specifications
| Feature | Detail |
|---|---|
| Brand | AITEK |
| Model | SIGMA-MT151 |
| Screen Size | 15 inches |
| Display Type | LED Touchscreen |
| Resolution | 1024 x 768 pixels (HD) |
| Aspect Ratio | 4:3 |
| Refresh Rate | 60Hz |
| Brightness | 300 cd/m² |
| Dynamic Contrast Ratio | 1000:1 |
| Response Time | 5ms |
| Viewing Angle | 135° |
| Touch Method | Finger or specialized stylus |
| Touch Points | 10 points |
| Driver | Plug and Play |
| Inputs | VGA, AV, HDMI, USB, 3.5mm Audio In, BNC |
| Audio Output | 3.5mm Headphone Jack |
| Input Voltage | AC 110-240V |
| Total Power | 35W |
| Operating Temperature | 0 to 50°C |
| Operating Humidity | 80% RH |
| Storage Humidity | 10 to 90% RH |
| Dimensions (H x W x D) | 20 x 35 x 36 cm (approx.) |
| Weight | 2.97 kg (approx.) |
10. Warranty and Support
Warranty Information: Specific warranty terms and conditions are typically provided with your purchase documentation or by the retailer. Please refer to these documents for details regarding your product's warranty period and coverage.
Customer Support: For technical assistance, service, or further inquiries, please contact your retailer or the official AITEK customer support channels. Keep your purchase receipt and product model number (SIGMA-MT151) ready when contacting support.