
Introduction
This manual provides essential information for the safe and efficient use of your AOC CU34G2XP/BK 34-inch WLED Curved Gaming Monitor. Please read this manual thoroughly before operating the device and retain it for future reference. This monitor features a 3440x1440 WQHD resolution, 180Hz refresh rate, 1ms GtG response time, FreeSync Premium, and VESA Certified DisplayHDR 400 for an immersive gaming and viewing experience.
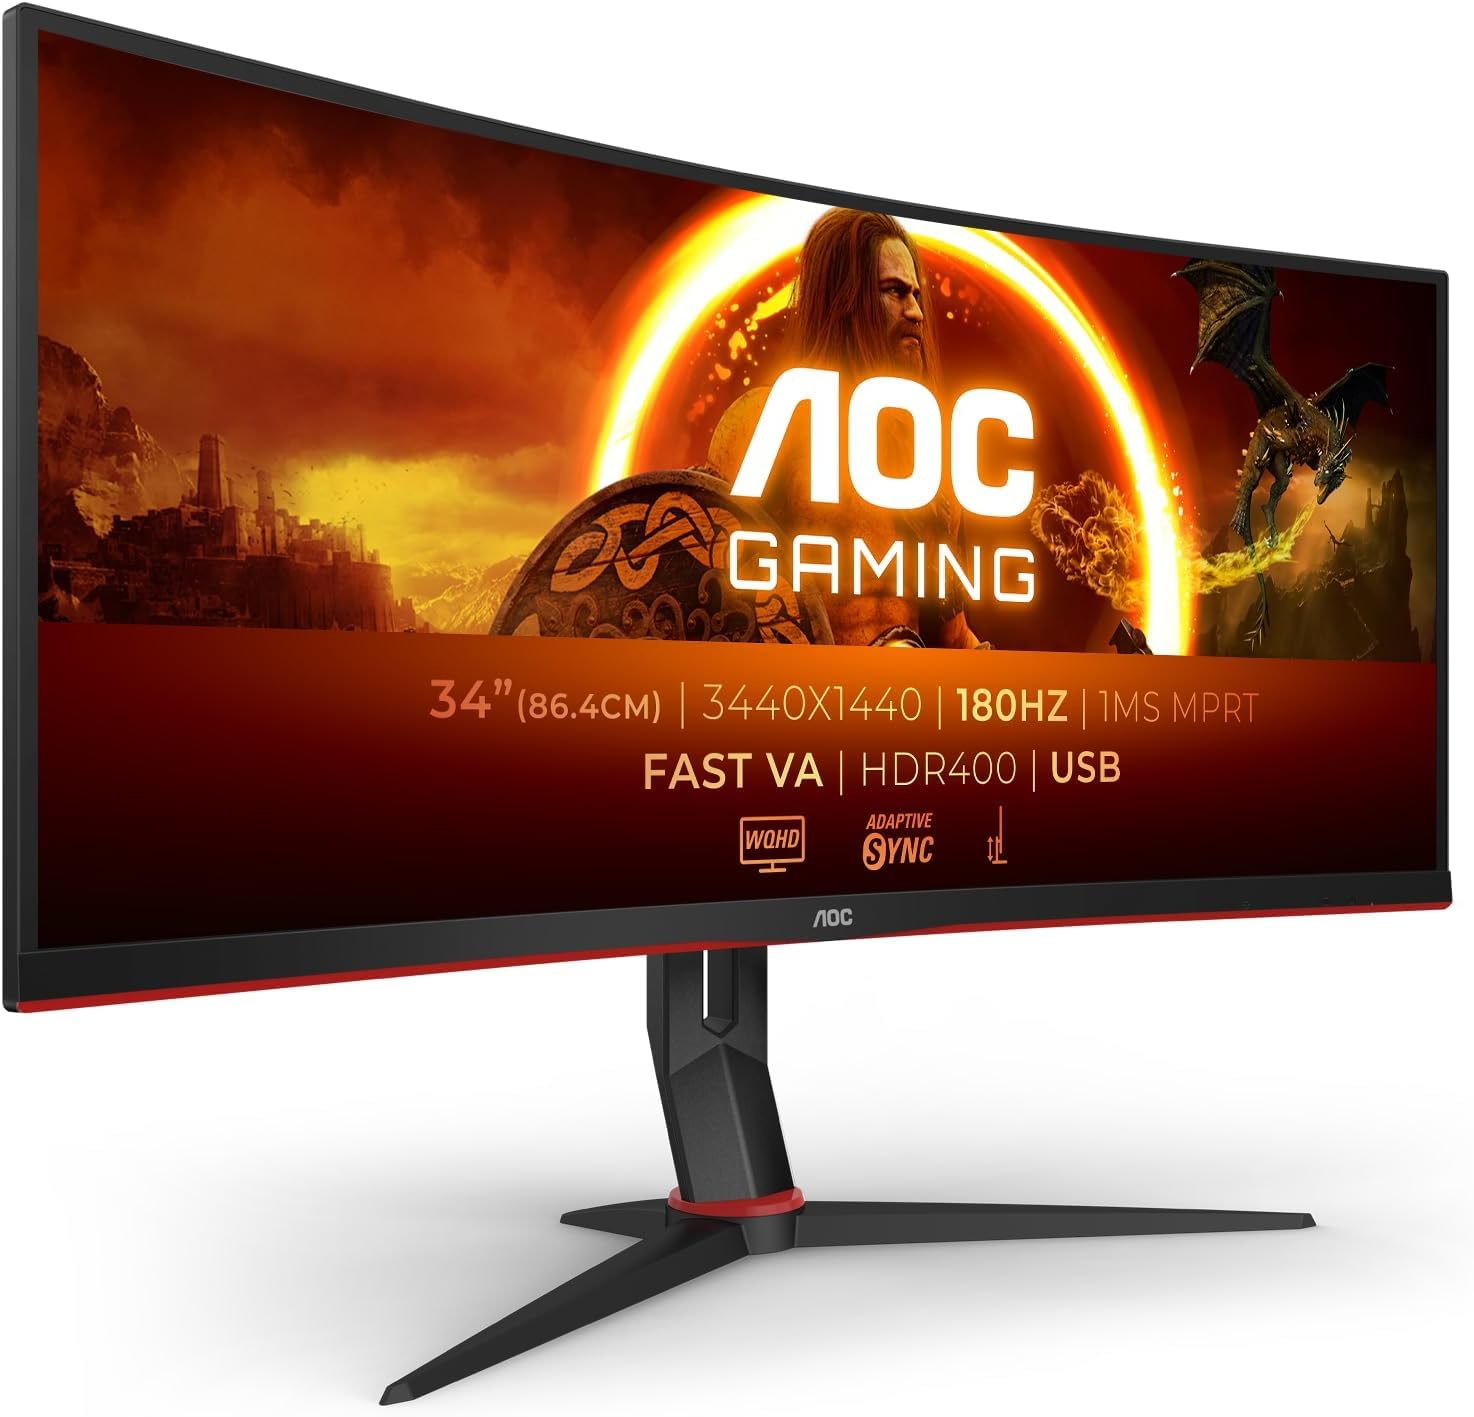
Figure 1: Front view of the AOC CU34G2XP/BK monitor, showcasing its curved display and stand.
Setup
1. Unpacking and Assembly
Carefully remove all components from the packaging. Ensure all parts are present before proceeding with assembly. The package typically includes the monitor panel, stand base, stand neck, power cable, HDMI cable, DisplayPort cable, and USB upstream cable.
- Attach the stand neck to the monitor panel. Ensure it clicks securely into place or is fastened with screws as indicated in the quick start guide.
- Attach the stand base to the stand neck, securing it with the provided screw.
- Place the assembled monitor on a stable, flat surface.

Figure 2: Rear view of the monitor, showing the attachment point for the stand and VESA mounting holes.
2. Connecting Cables
Connect the necessary cables to the corresponding ports on the monitor and your computer.
- Power Cable: Connect one end of the power cable to the monitor's power input and the other end to a grounded electrical outlet.
- Video Cable: Connect either an HDMI cable or a DisplayPort cable from your computer's graphics card to the corresponding input on the monitor. For optimal performance (180Hz refresh rate), a DisplayPort connection is recommended.
- USB Upstream Cable: Connect the USB upstream cable from your computer to the monitor's USB-B port to enable the monitor's USB hub functionality.
- Audio Out: If desired, connect external speakers or headphones to the monitor's audio out port.

Figure 3: Detailed view of the monitor's connectivity ports, including HDMI, DisplayPort, USB hub, USB-B upstream, and audio out.
3. Initial Power On
After connecting all cables, press the power button on the monitor. The power indicator light will illuminate, and the AOC logo should appear on the screen. If no image appears, ensure your computer is powered on and the correct input source is selected on the monitor.
Operating Instructions
1. Power On/Off
Press the power button located on the bottom center of the monitor to turn it on or off. The power LED indicates the monitor's status (e.g., blue for on, amber for standby).
2. On-Screen Display (OSD) Menu Navigation
The OSD menu allows you to adjust various monitor settings. Navigate the OSD using the joystick or buttons typically located on the bottom or rear of the monitor.
- Press the joystick/button to open the OSD menu.
- Move the joystick up/down or use the corresponding buttons to navigate through menu options.
- Move the joystick left/right or use the corresponding buttons to adjust values or enter sub-menus.
- Press the joystick/button again to confirm a selection or exit a sub-menu.
3. Key OSD Settings
- Luminance: Adjust brightness, contrast, and gamma settings to suit your viewing environment.
- Color Setup: Modify color temperature, individual RGB levels, or select preset color modes.
- Picture Boost: Enhance specific areas of the screen.
- OSD Setup: Adjust OSD language, position, and transparency.
- Game Setting: Access gaming-specific features:
- Game Mode: Select from preset modes (FPS, Racing, RTS, Game 1, Game 2) or customize your own.
- Shadow Control: Adjust dark areas without affecting the rest of the image.
- Low Input Lag: Minimize input delay for faster response times.
- FreeSync Premium: Enable/disable adaptive sync technology to prevent screen tearing and stuttering.
- Overdrive: Adjust pixel response time for reduced motion blur.
- Input Select: Manually switch between HDMI and DisplayPort inputs.

Figure 4: Illustration of various game mode presets available in the OSD menu, including FPS, Racing, and RTS.
4. Optimizing Display Settings on Your Computer
To fully utilize the monitor's capabilities, ensure your computer's display settings are correctly configured:
- Set the display resolution to 3440 x 1440.
- Set the refresh rate to 180Hz. This can usually be found in your operating system's display settings or your graphics card control panel (e.g., NVIDIA Control Panel, AMD Radeon Software).
- Enable FreeSync Premium in your graphics card software if you are using an AMD GPU.
Maintenance
1. Cleaning the Monitor
- Screen: Gently wipe the screen with a soft, lint-free cloth. For stubborn marks, lightly dampen the cloth with water or a specialized screen cleaner. Never spray liquid directly onto the screen. Avoid using alcohol, ammonia, or abrasive cleaners.
- Casing: Use a soft, dry cloth to clean the monitor casing.
2. Ventilation
Ensure the monitor's ventilation openings are not blocked. Adequate airflow prevents overheating and prolongs the life of the device.
3. Storage
If storing the monitor for an extended period, disconnect it from power, pack it in its original packaging if possible, and store it in a cool, dry place away from direct sunlight and extreme temperatures.
Troubleshooting
| Problem | Possible Cause | Solution |
|---|---|---|
| No power | Power cable disconnected; Power outlet faulty | Check power cable connection to monitor and outlet; Test outlet with another device. |
| No image on screen | Video cable disconnected; Incorrect input source selected; Computer not powered on | Ensure video cable (HDMI/DP) is securely connected; Select correct input source via OSD; Verify computer is powered on and functioning. |
| Screen flickering | FreeSync Premium enabled with incompatible GPU/driver; Faulty video cable; Incorrect refresh rate | Disable FreeSync Premium in OSD or graphics card settings if issues persist; Try a different video cable; Ensure refresh rate is set correctly (180Hz) in PC display settings. |
| Image distorted or blurry | Incorrect resolution; Poor cable quality | Set display resolution to 3440 x 1440; Use a high-quality DisplayPort or HDMI cable. |
| Ghosting or motion blur | Overdrive setting too high/low; FreeSync not enabled/configured | Adjust Overdrive setting in OSD; Ensure FreeSync Premium is enabled and working correctly with compatible hardware. |
| USB ports not working | USB upstream cable not connected; USB drivers not installed | Connect the USB upstream cable from the monitor to your computer; Install necessary USB drivers for your operating system. |
If the problem persists after attempting these solutions, please refer to the support section or contact AOC customer service.
Specifications
| Feature | Detail |
|---|---|
| Brand | AOC |
| Model Number | CU34G2XP/BK |
| Screen Size | 34 Inches |
| Resolution | WQHD 3440 x 1440 |
| Aspect Ratio | 21:9 |
| Refresh Rate | 180 Hz |
| Response Time | 1 Milliseconds (GtG) |
| Display Type | WLED Curved VA |
| Brightness | 400 cd/m² |
| Contrast Ratio | 3000:1 |
| Connectivity | HDMI (2x 2.0), DisplayPort, USB Hub (1x USB-B upstream, 4x USB 3.0 downstream), Audio Out |
| Adaptive Sync Technology | FreeSync Premium |
| HDR Support | VESA Certified DisplayHDR 400 |
| Mounting Type | VESA Mount |
| Specific Uses | Gaming |
Warranty Information
This AOC CU34G2XP/BK monitor typically comes with a 90 days limited warranty. The specific terms and conditions of your warranty may vary based on your region and point of purchase. For detailed warranty information, including coverage, duration, and how to make a claim, please refer to the documentation provided with your product or visit the official AOC website.
Support
For further assistance, technical support, driver downloads, or additional documentation, please visit the official AOC support website. You can typically find FAQs, troubleshooting guides, and contact information for customer service there.
AOC Official Website: www.aoc.com


