
Introduction
This manual provides detailed instructions for the setup, operation, and maintenance of your Bmax Mini PC B1 Pro. Please read this manual thoroughly before using the device to ensure proper functionality and to prevent damage.
Package Contents
Upon unpacking, please verify that all items listed below are present and in good condition:
- Bmax Mini PC B1 Pro unit
- Power Adapter
- HDMI Cable
- User Manual (this document)
- Mounting Bracket (if included)
If any items are missing or damaged, please contact Bmax customer support.
Product Overview
The Bmax Mini PC B1 Pro is a compact computing solution designed for home and office use. It features various ports for connectivity and expansion.
Internal Chassis View
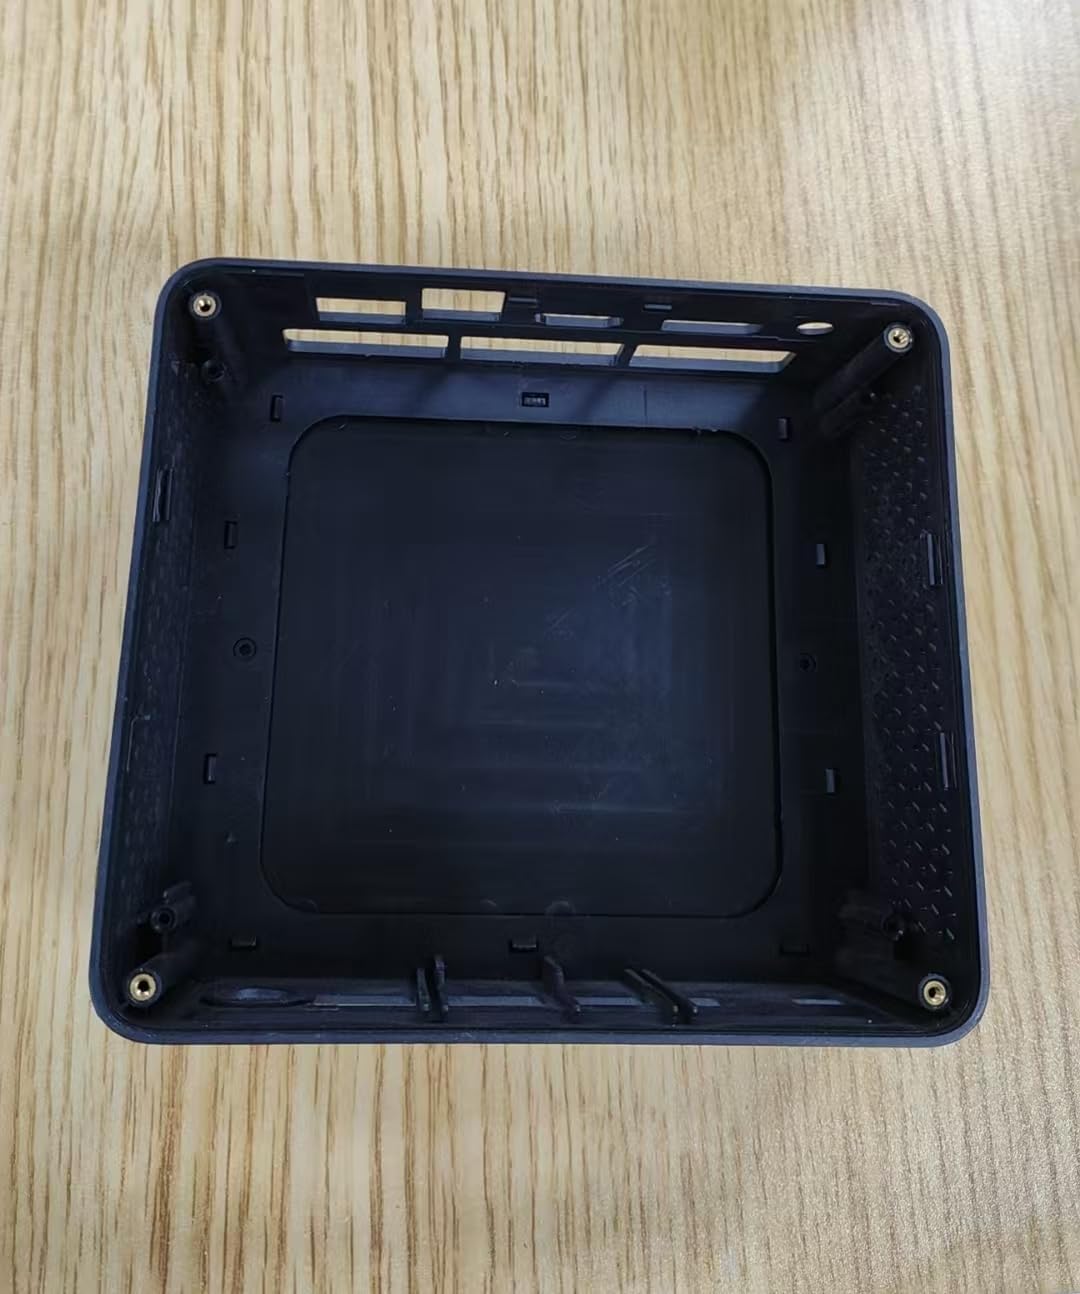
This image displays the internal housing of the Bmax Mini PC B1 Pro, showing the structural components and mounting points within the device's casing. It illustrates the design of the enclosure without the internal electronic components installed.
Port Layout (Typical)
The B1 Pro typically includes the following ports:
- HDMI Port: For connecting to a display (supports 4K 60Hz).
- USB 3.0 Ports: Two ports for high-speed data transfer and peripheral connection.
- USB 2.0 Ports: Two ports for connecting standard peripherals.
- Gigabit Ethernet Port: For wired network connection.
- Power Input: For connecting the power adapter.
- Audio Jack: For headphones or speakers.
Setup
1. Connecting Peripherals
- Connect your monitor or TV to the HDMI port using an HDMI cable.
- Connect your keyboard and mouse to the available USB ports (USB 2.0 or USB 3.0).
- (Optional) For a wired internet connection, connect an Ethernet cable to the Gigabit Ethernet port.
- (Optional) Connect speakers or headphones to the audio jack.
2. Powering On
- Connect the power adapter to the power input port on the Mini PC.
- Plug the power adapter into a wall outlet.
- Press the power button (location may vary, typically on the front or side) to turn on the device.
- The power indicator light will illuminate, and the system will begin to boot.
3. Initial Configuration
Follow the on-screen instructions to complete the initial setup of the operating system (e.g., Windows, Linux). This typically includes setting up user accounts, network connections, and regional settings.
Operating Instructions
Basic Usage
- Power On/Off: Press the power button to turn on. To shut down, use the operating system's shutdown function. A short press of the power button can put the device to sleep.
- Restart: Use the operating system's restart function.
- Connecting USB Devices: Insert USB drives, external hard drives, or other peripherals into the available USB 2.0 or USB 3.0 ports.
Connecting to Network
- Wi-Fi: The B1 Pro supports Dual-Band Wi-Fi. Access your operating system's network settings, select your desired Wi-Fi network, and enter the password.
- Ethernet: If you connected an Ethernet cable during setup, the system should automatically detect and connect to the wired network.
- Bluetooth: The B1 Pro features Bluetooth 5.0. Enable Bluetooth in your operating system settings to pair with compatible devices like keyboards, mice, or headphones.
Display Output
The Mini PC supports 4K resolution at 60Hz via its HDMI port. Ensure your display and HDMI cable are compatible with these specifications for optimal performance.
Maintenance
- Cleaning: Use a soft, dry cloth to clean the exterior of the Mini PC. Avoid liquid cleaners directly on the device. Use compressed air to clear dust from vents periodically.
- Software Updates: Regularly update your operating system and drivers to ensure optimal performance and security.
- Ventilation: Ensure the Mini PC is placed in a well-ventilated area to prevent overheating. Do not block the ventilation holes.
Troubleshooting
| Problem | Possible Cause | Solution |
|---|---|---|
| No power | Power adapter not connected or faulty outlet. | Check power connections. Try a different outlet. |
| No display output | Incorrect HDMI connection, faulty cable, or incorrect input selected on monitor. | Ensure HDMI cable is securely connected. Try a different HDMI cable. Select correct input source on your monitor. |
| Wi-Fi not connecting | Incorrect password, out of range, or router issue. | Verify Wi-Fi password. Move closer to the router. Restart router. |
| Slow performance | Too many applications running, insufficient storage, or outdated drivers. | Close unnecessary applications. Free up disk space. Update operating system and drivers. |
For further assistance, please contact Bmax customer support.
Specifications
| Feature | Detail |
|---|---|
| Model | B1 Pro |
| Processor | Intel Celeron (2.4 GHz) |
| RAM | LPDDR4 |
| Storage | 128 GB SSD (PCIE x 4 interface) |
| Graphics | Integrated, 8 GB Graphics RAM |
| Operating System | OS (Pre-installed or user-installable) |
| USB Ports | 2x USB 3.0, 2x USB 2.0 |
| Video Output | HDMI (supports 4K 60Hz) |
| Network | Gigabit Ethernet, Dual-Band Wi-Fi, Bluetooth 5.0 |
| Dimensions | 10.5 x 6 x 2.8 inches |
| Weight | 1.3 pounds |
| Intended Use | Business, Home & Office |
Safety Information
- Do not expose the device to extreme temperatures, humidity, or direct sunlight.
- Avoid dropping or subjecting the device to strong impacts.
- Do not attempt to disassemble or repair the device yourself. Refer to qualified service personnel.
- Use only the provided power adapter.
- Keep the device away from liquids.
Warranty and Support
The Bmax Mini PC B1 Pro comes with a standard manufacturer's warranty. Please refer to the warranty card included in your package or visit the official Bmax website for detailed warranty terms and conditions.
For technical support, troubleshooting, or service inquiries, please contact Bmax customer support through their official channels. Contact information can typically be found on the Bmax website or on the product packaging.
Bmax Official Website: Visit the Bmax Store on Amazon


