1. Introduction
This manual provides essential instructions for the safe and efficient operation, installation, and maintenance of your Elevon QD-NEW-EL-4.5PWM Portable Washing Machine. Please read this manual thoroughly before using the appliance and retain it for future reference.
2. Important Safety Instructions
To reduce the risk of fire, electric shock, or injury to persons when using your appliance, follow basic precautions, including the following:
- Read all instructions before using the appliance.
- Do not wash articles that have been previously cleaned in, washed in, soaked in, or spotted with gasoline, dry-cleaning solvents, or other flammable or explosive substances, as they emit vapors that could ignite or explode.
- Do not add gasoline, dry-cleaning solvents, or other flammable or explosive substances to the wash water. These substances emit vapors that could ignite or explode.
- Do not allow children to play on or in the appliance. Close supervision of children is necessary when the appliance is used near children.
- Before the appliance is removed from service or discarded, remove the door to the washing compartment.
- Do not reach into the appliance if the tub or agitator is moving.
- Do not install or store this appliance where it will be exposed to the weather.
- Do not tamper with controls.
- Do not repair or replace any part of the appliance or attempt any servicing unless specifically recommended in the user-maintenance instructions or in published user-repair instructions that you understand and have the skills to carry out.
- Always follow the fabric care instructions supplied by the garment manufacturer.
- Do not use hot water above 122°F (50°C).
- Ensure the appliance is properly grounded.
3. Package Contents
Verify that all components are present and undamaged:
- 1 x Elevon Portable Washing Machine
- 1 x Water Inlet Hose
- 1 x Hose Clamp
- 1 x User Manual (this document)
4. Product Overview
Familiarize yourself with the main components of your washing machine.

Figure 4.1: Control Panel and Key Features. This image displays the top view of the washing machine, highlighting the water inlet, wash timer (0-15 mins), wash selector (3 modes), spin timer (0-5 mins), and various clothing icons indicating suitable wash types (shirts, skirts, underwear, socks, pants, others).

Figure 4.2: Detailed Components. This image shows close-ups of various parts: Water Inlet, Drainage Hose, Spin Dryer Safety Cover, Spin Dryer Cover, Filter, Inlet Pipe Collet, Visible Cover, and Washing Tubs.
4.1. Control Panel
- Wash Timer: Sets the washing duration (0-15 minutes).
- Wash Selector: Chooses the wash mode (e.g., Gentle, Standard, Drain).
- Spin Timer: Sets the spinning duration (0-5 minutes).
4.2. Tubs
- Washing Tub: For washing clothes. Capacity: 12 lbs.
- Spin Tub: For spinning clothes to remove excess water. Capacity: 8 lbs.
5. Setup and Installation
5.1. Placement
- Place the washing machine on a firm, level surface to minimize vibration and noise.
- Ensure adequate space around the unit for ventilation and operation.
- Avoid direct sunlight or extreme temperatures.
- Suitable for dormitories, apartments, and RVs due to its compact size.

Figure 5.1: Versatile Placement Options. This image illustrates the washing machine's suitability for various small living spaces such as RV camping, apartments, dormitories, and homes.
5.2. Water Connection
- Connect the provided water inlet hose to a water faucet.
- Insert the other end of the water inlet hose into the water inlet port on the washing machine (refer to Figure 4.2).
- Ensure all connections are secure to prevent leaks.
5.3. Drainage
- Position the drainage hose to direct wastewater into a sink, bucket, or drain.
- Ensure the drainage hose is not kinked or blocked.
- The machine features a built-in pump and extended drain hose for convenience.

Figure 5.2: Dimensions and Drain Hose. This image illustrates the compact dimensions of the washing machine (14.96"D x 24.8"W x 28.54"H) and highlights the built-in pump with an extended drain hose, shown draining into a sink.
5.4. Power Connection
- Plug the power cord into a grounded 115 Volt electrical outlet.
- Do not use extension cords or adapters.
6. Operating Instructions
6.1. Washing Clothes
- Load Clothes: Open the visible cover and place clothes into the washing tub. Do not exceed the 12 lbs washing capacity.
- Add Detergent: Add the appropriate amount of detergent directly into the washing tub.
- Fill with Water: Turn on the water faucet to fill the washing tub with water to the desired level.
- Set Wash Timer: Turn the Wash Timer knob to select the desired washing duration (up to 15 minutes).
- Select Wash Mode: Turn the Wash Selector knob to choose the appropriate wash mode (e.g., Gentle, Standard).
- Start Washing: The machine will begin washing automatically.
- Drain Water: Once washing is complete, turn the Wash Selector to the "Drain" position to empty the water from the washing tub.
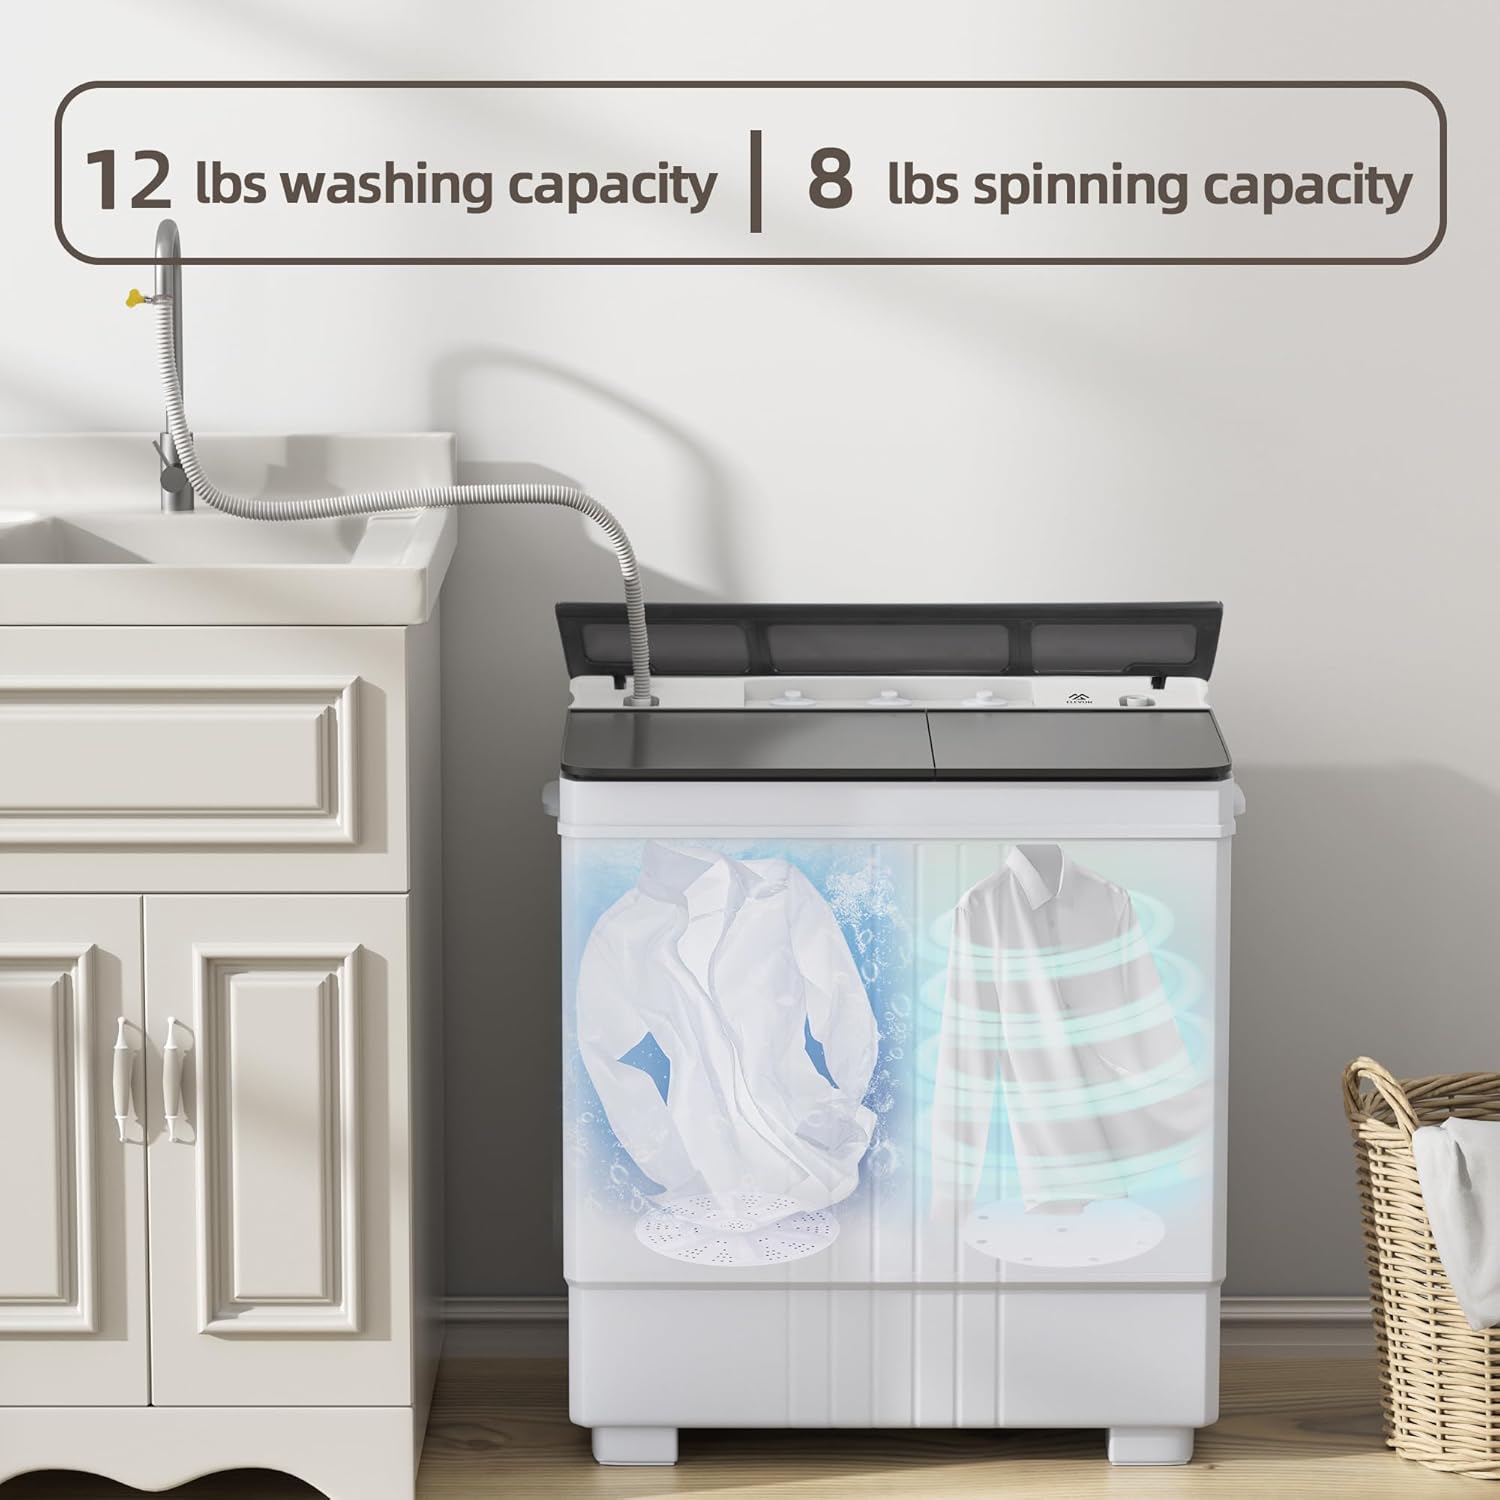
Figure 6.1: Washing and Spinning Capacity. This image visually represents the 12 lbs washing capacity in the left tub and the 8 lbs spinning capacity in the right tub, illustrating the twin-tub operation.
6.2. Spinning Clothes
- Transfer Clothes: Carefully transfer the washed clothes from the washing tub to the spin tub. Do not exceed the 8 lbs spinning capacity.
- Place Cover: Place the spin dryer cover and safety cover on top of the laundry in the spin tub to prevent high-speed shaking and ensure safety.
- Set Spin Timer: Turn the Spin Timer knob to select the desired spinning duration (up to 5 minutes).
- Start Spinning: The machine will begin spinning.
- Remove Clothes: Once spinning is complete, remove the clothes.
7. Maintenance and Care
7.1. Cleaning the Filter
- The side of the washing tub is equipped with a filter. Regularly remove and clean the filter to prevent lint and debris buildup.
- Rinse the filter under running water and reinsert it.
7.2. Exterior Cleaning
- Wipe the exterior of the machine with a soft, damp cloth.
- Do not use abrasive cleaners or solvents.
7.3. Storage
- Before storing, ensure the machine is completely drained and dry.
- Store in a cool, dry place away from direct sunlight.
8. Troubleshooting
| Problem | Possible Cause | Solution |
|---|---|---|
| Machine does not start | Power cord not plugged in; Power outage; Timer not set. | Ensure power cord is securely plugged in; Check power supply; Set the wash/spin timer. |
| Water does not fill | Water faucet off; Water inlet hose kinked or blocked. | Turn on water faucet; Straighten or clear the inlet hose. |
| Water does not drain | Drain hose kinked or blocked; Drain selector not set to "Drain". | Straighten or clear the drain hose; Set the wash selector to "Drain". |
| Excessive vibration/noise during spin | Uneven load; Machine not on a level surface; Spin dryer cover not placed. | Redistribute clothes evenly; Place machine on a level surface; Ensure spin dryer cover is properly placed. |
| Poor washing performance | Overloading; Insufficient detergent; Incorrect wash mode. | Reduce load size; Use appropriate amount of detergent; Select correct wash mode. |
9. Specifications
| Feature | Detail |
|---|---|
| Brand | Elevon |
| Model Number | QD-NEW-EL-4.5PWM |
| Type | Portable Twin Tub Washing Machine |
| Washing Capacity | 12 lbs |
| Spinning Capacity | 8 lbs |
| Total Capacity | 20 lbs |
| Rated Wash Input Power | 260 W |
| Rated Spin Input Power | 140 W |
| Voltage | 115 Volts |
| Product Dimensions (D x W x H) | 14.96" x 24.8" x 28.54" |
| Item Weight | 31.97 lbs |
| Material | ABS, Polypropylene |
| Control Type | Knob |
| Access Location | Top Load |
| Special Features | Lightweight, Portable, Built-in Drain Pump |
10. Warranty and Support
For warranty information or technical support, please refer to the warranty card included with your purchase or contact Elevon customer service directly. Contact details can typically be found on the official Elevon website or on your purchase receipt.
Please have your model number (QD-NEW-EL-4.5PWM) and purchase date ready when contacting support.


