
Introduction
This manual provides detailed instructions for the installation, operation, and maintenance of your VEVOR 10-inch Exhaust Fan, Model HA-250ME. This wall-mounted fan is designed for efficient air circulation and temperature/humidity control in various environments such as garages, greenhouses, and sheds. It features a variable speed EC motor, automatic shutters, and an intelligent controller to maintain optimal air quality and climate.
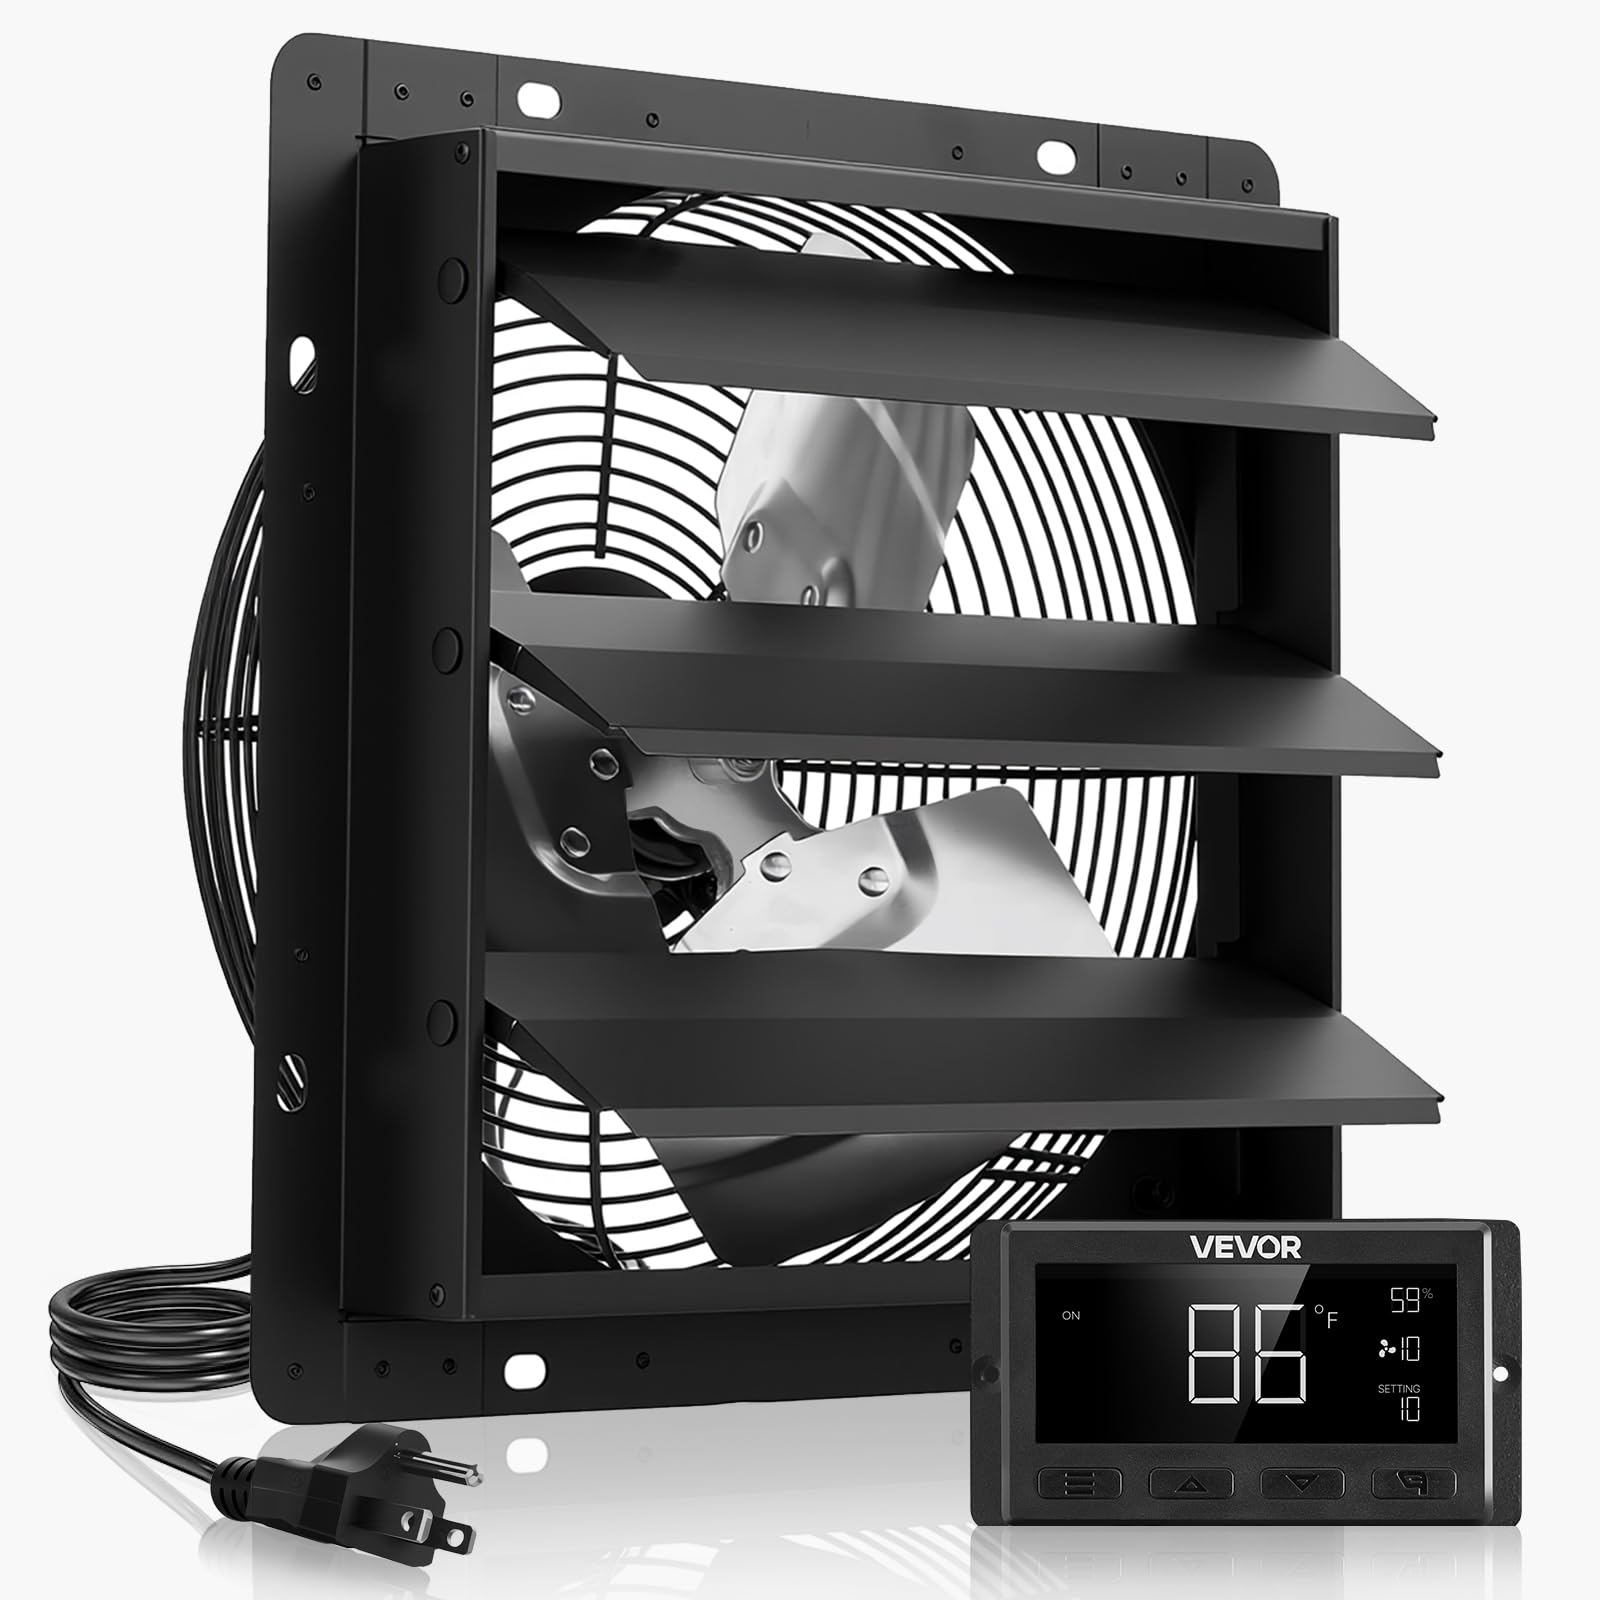
Image: The VEVOR 10-inch Exhaust Fan with its smart controller, ready for installation.
Safety Instructions
Please read all safety instructions carefully before installation and operation. Failure to follow these instructions may result in electric shock, fire, or serious injury.
- Always disconnect power before servicing or cleaning the fan.
- Ensure the fan is installed by a qualified electrician in accordance with all local and national electrical codes.
- Do not operate the fan with a damaged cord or plug.
- Keep hands, clothing, and other loose objects away from moving parts.
- Do not use this fan in areas where flammable liquids or gases are present.
- Ensure proper grounding to prevent electrical shock.
- This appliance is not intended for use by persons (including children) with reduced physical, sensory or mental capabilities, or lack of experience and knowledge, unless they have been given supervision or instruction concerning use of the appliance by a person responsible for their safety.
Package Contents
Verify that all items are present and undamaged upon opening the package:
- 1 x Shutter Exhaust Fan
- 1 x Controller
- 1 x Temperature & Humidity Sensor Cable (2.5 m)
- 1 x Audio Cable (3 m)
- 4 x Screws
- 4 x Rubber Plugs
Product Overview
The VEVOR 10-inch Exhaust Fan is engineered for robust performance and durability, featuring an EC motor for quiet and efficient operation, and an intelligent controller for precise environmental management.

Image: The 10-inch exhaust fan installed on an exterior wall, illustrating its function in maintaining a comfortable environment.

Image: Diagram showing the fan's 1000 CFM airflow, effectively removing heat, humidity, and odors.

Image: Detailed view of the EC motor, highlighting its long service life, low noise operation, and stable performance.

Image: Close-up of the programmable controller, showing its display for temperature, humidity, fan speed, and mode settings.
Key Features:
- Rapid Venting: Delivers 1000 CFM to quickly expel stale air, dirt, heat, and odors.
- Smart Programming: Intelligent controller with temperature and humidity triggers, offering 10 speed settings and multiple modes.
- Premium EC Motor: Operates at 1900 RPM with 30W power, providing 7.2 m/s airflow with low noise.
- Tough Build: All-metal steel construction ensures high rigidity and resistance to deformation, suitable for harsh weather.
- Rain Guard: Automatic shutters open for ventilation and close when off to protect against rain and debris.
Setup and Installation
Proper installation is crucial for the fan's performance and longevity. Follow these steps for a secure setup.
Installation Steps:
- Choose Location: Select a suitable wall location, ensuring adequate space for airflow and access for maintenance. Consider the fan's dimensions (12.36"D x 7.09"W x 12.36"H) and the required opening size.
- Prepare Opening: Create an opening in the wall that matches the fan's dimensions. Ensure the opening is clean and free of obstructions.
- Mount Fan: Insert the fan into the prepared opening. Secure it using the provided screws and rubber plugs. Ensure the fan is level and firmly attached to the wall structure.
- Connect Controller: Connect the fan to the intelligent controller using the provided audio cable (3m). Connect the temperature and humidity sensor cable (2.5m) to the controller.
- Power On: Plug the fan's power cord into a compatible 100-240V AC outlet.

Image: Visual guide showing the two main steps for easy installation: mounting the fan and connecting the power.
Installation Video:
Video: Official VEVOR video demonstrating the shutter exhaust fan with smart thermostat control, including installation overview.
Operating Instructions
The intelligent controller allows for precise management of your fan's operation based on temperature and humidity.
Controller Functions:
- Power On/Off: Press the power button to turn the unit on or off.
- Mode Selection: Use the 'Mode' button to cycle through different operating modes (e.g., Auto, Manual, Timer).
- Temperature/Humidity Settings: In Auto mode, use the 'Up' and 'Down' buttons to set desired temperature and humidity thresholds. The fan will automatically adjust speed or activate/deactivate based on these settings.
- Fan Speed Adjustment: In Manual mode, use the 'Up' and 'Down' buttons to select from 10 fan speed settings.
- Timer Function: Set a timer for the fan to operate for a specific duration.
- Alarm: The controller features an alarm function for critical temperature or humidity deviations.
Video: Official VEVOR video demonstrating the variable speed controller and its functions.
Maintenance
Regular maintenance ensures optimal performance and extends the lifespan of your exhaust fan.
- Cleaning: Periodically clean the fan blades and housing to prevent dust and debris buildup, which can reduce efficiency. Disconnect power before cleaning. Use a soft cloth and mild detergent.
- Shutter Inspection: Check the automatic shutters regularly to ensure they open and close freely without obstruction. Clean any debris that might hinder their movement.
- Cable Check: Inspect all cables for any signs of wear or damage. Replace damaged cables immediately.
- Mounting Security: Verify that the fan remains securely mounted to the wall. Tighten any loose screws if necessary.
Troubleshooting
If you encounter issues with your VEVOR exhaust fan, refer to the following common problems and solutions:
| Problem | Possible Cause | Solution |
|---|---|---|
| Fan does not turn on. | No power, loose connection, faulty controller. | Check power supply. Ensure all cables are securely connected. Verify controller settings. |
| Fan runs but airflow is weak. | Blocked fan blades, incorrect speed setting, dirty fan. | Clean fan blades. Adjust fan speed setting on the controller. |
| Shutters do not open/close properly. | Obstruction, mechanical issue. | Remove any debris blocking the shutters. Inspect for damage. |
| Unusual noise during operation. | Loose parts, debris in fan, motor issue. | Inspect for loose screws or foreign objects. Clean the fan. If noise persists, contact support. |
Specifications
Detailed technical specifications for the VEVOR 10-inch Exhaust Fan HA-250ME:
| Feature | Specification |
|---|---|
| Model Name | 10 inch Shutter Exhaust Fan |
| Model Number | HA-250ME |
| Brand | VEVOR |
| Product Dimensions (D x W x H) | 12.36" x 7.09" x 12.36" (314 x 180 x 314 mm) |
| Item Weight | 7.9 pounds (3.6 kg) |
| Air Flow Capacity | 1000 CFM |
| Speed | 1900 RPM |
| Motor Type | EC Motor |
| Wattage | 80 watts (1000 CFM at 30W for standby power shutoff) |
| Voltage | 100-240 volts (Wide Voltage) |
| Noise Level | 62 dB |
| Number of Speeds | 10 |
| Material | Metal (Powder Coated) |
| Control Method | Touch / Button Control |
| Special Feature | Smart Programming, Automatic Shutter |

Image: Technical drawing showing the dimensions and key specifications of the VEVOR 10-inch Exhaust Fan.
Warranty and Support
VEVOR products are designed for durability and performance. For warranty information or technical support, please refer to the official VEVOR website or contact their customer service directly.
You can typically find support resources, FAQs, and contact details on the manufacturer's website. Please have your model number (HA-250ME) and purchase information ready when contacting support.
For additional resources, you may visit the VEVOR Store on Amazon.

