Introduction
This manual provides essential instructions for the safe operation, assembly, maintenance, and troubleshooting of your HART 8 Gallon 6 Peak HP Stainless Steel Wet/Dry Vacuum. Please read this manual thoroughly before using the product to ensure proper function and to prevent injury or damage.
Important Safety Information
Always follow basic safety precautions when using this appliance to reduce the risk of fire, electric shock, or injury. Keep this manual for future reference.
- Do not leave the vacuum unattended when plugged in. Unplug from outlet when not in use and before servicing.
- Do not use with damaged cord or plug. If appliance is not working as it should, has been dropped, damaged, left outdoors, or dropped into water, return it to a service center.
- Do not pull or carry by cord, use cord as a handle, close a door on cord, or pull cord around sharp edges or corners. Do not run appliance over cord. Keep cord away from heated surfaces.
- Do not unplug by pulling on cord. To unplug, grasp the plug, not the cord.
- Do not handle plug or appliance with wet hands.
- Do not put any object into openings. Do not use with any opening blocked; keep free of dust, lint, hair, and anything that may reduce air flow.
- Keep hair, loose clothing, fingers, and all parts of body away from openings and moving parts.
- Do not pick up anything that is burning or smoking, such as cigarettes, matches, or hot ashes.
- Use extra care when cleaning on stairs.
- Do not use to pick up flammable or combustible liquids, such as gasoline, or use in areas where they may be present.
- Do not use without filters in place.
- Connect to a properly grounded outlet only. See grounding instructions.
- This appliance is not intended for use by persons (including children) with reduced physical, sensory or mental capabilities, or lack of experience and knowledge, unless they have been given supervision or instruction concerning use of the appliance by a person responsible for their safety.
- Children should be supervised to ensure that they do not play with the appliance.
Package Contents
Verify that all items listed below are included in your package:
- HART 8 Gallon Stainless Steel Wet/Dry Vacuum Unit
- 7' x 1-7/8" Premium Hose
- (2) Extension Wands
- Utility Nozzle
- Crevice Tool
- Floor Brush/Squeegee Nozzle
- Cartridge Filter (for dry vacuuming)
- Foam Wet Filter (for liquid pick-up)
- Collection Bag

Figure 1: HART 8 Gallon Wet/Dry Vacuum with included hose and floor nozzle.
Assembly and Setup
Follow these steps to assemble your wet/dry vacuum before first use.
- Unpack Components: Carefully remove all components from the packaging.
- Attach Casters: Insert the casters into the designated slots on the vacuum base. Ensure they click securely into place for easy mobility.
- Install Filters:
- For dry vacuuming, install the cartridge filter over the filter cage. Secure it with the filter nut.
- For wet vacuuming, remove the cartridge filter and install the foam wet filter over the filter cage.
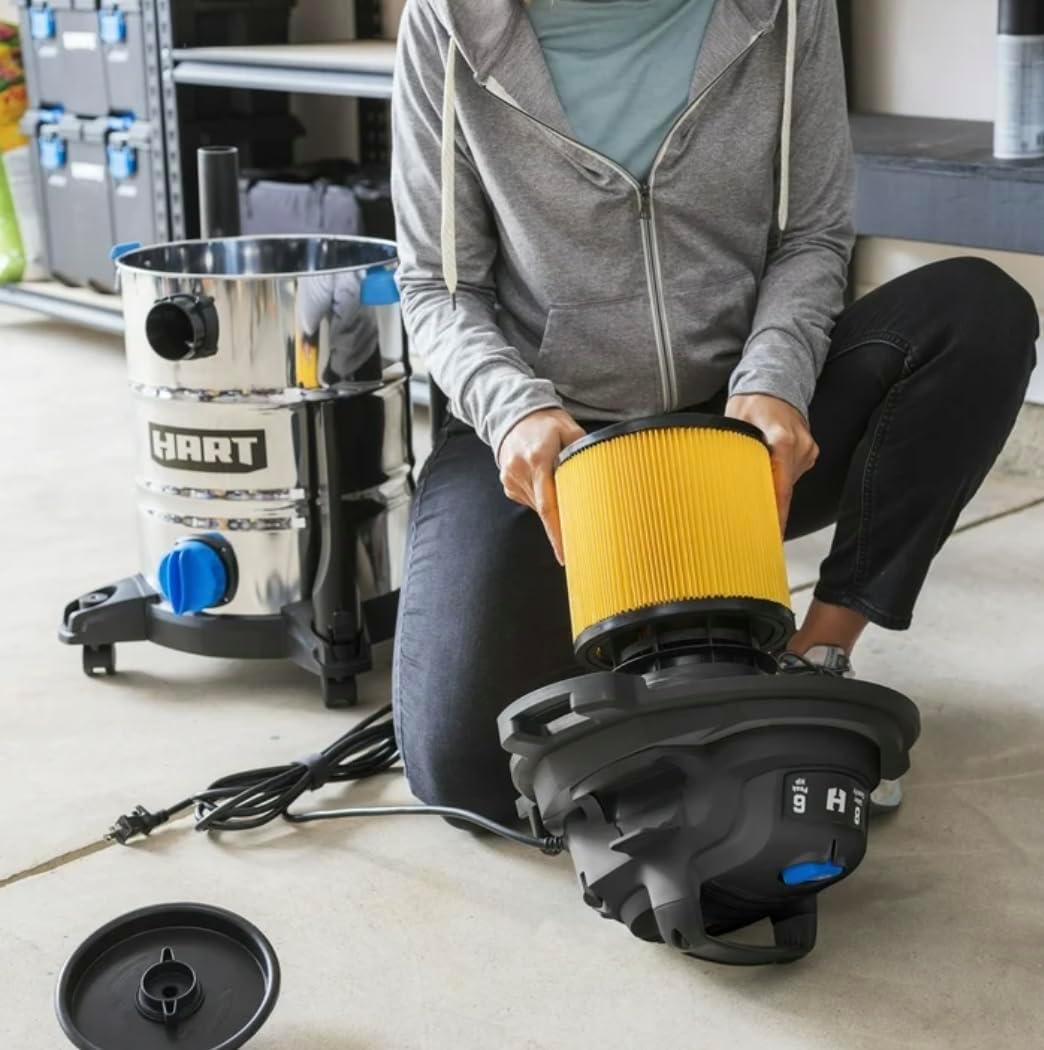
Figure 2: Proper installation of the cartridge filter for dry vacuuming.
- Secure Motor Head: Place the motor head onto the tank, aligning the latches. Press down on the latches until they securely lock the motor head to the tank.
- Connect Hose: Insert the larger end of the premium hose into the vacuum's inlet port on the tank. Twist to lock it in place.
- Attach Accessories: Connect the desired extension wands and nozzle (utility, crevice, or floor brush/squeegee) to the free end of the hose. The locking accessories ensure they won't detach during use.
Operation
A. Dry Vacuuming
- Ensure the cartridge filter is correctly installed.
- Plug the power cord into a grounded electrical outlet.
- Turn the vacuum ON using the large dust-sealed switch.
- Guide the nozzle over the dry debris to be collected.
- When finished, turn the vacuum OFF and unplug it.
- Empty the tank as needed.
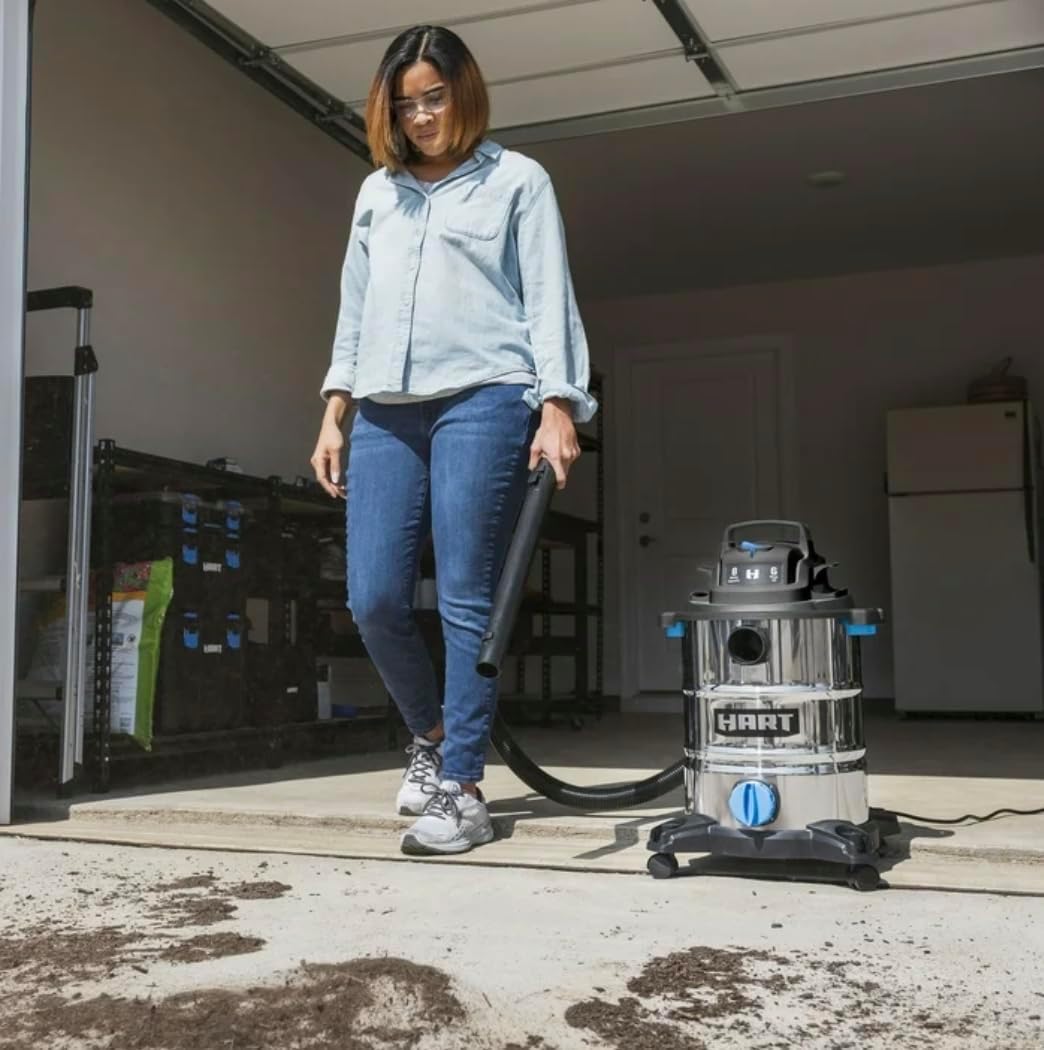
Figure 3: Using the vacuum for dry debris collection in a garage.
B. Wet Vacuuming
- Remove the cartridge filter and install the foam wet filter.
- Plug the power cord into a grounded electrical outlet.
- Turn the vacuum ON using the large dust-sealed switch.
- Guide the nozzle over the liquid to be collected. The vacuum will automatically shut off when the tank is full.
- When finished, turn the vacuum OFF and unplug it.
- Empty the tank by using the extra-large drain port.
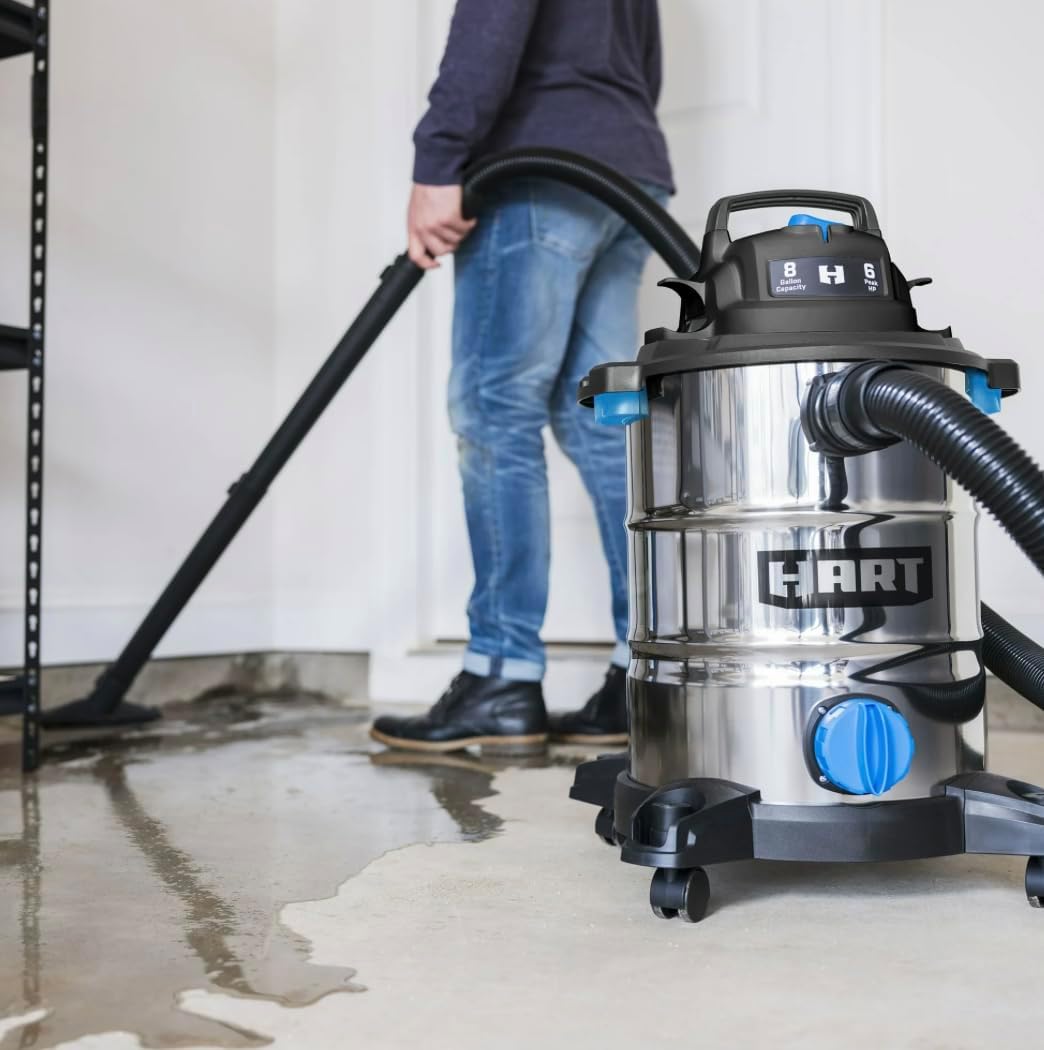
Figure 4: Demonstrating wet vacuuming on a garage floor.
C. Blower Function
- Locate the blower port on the motor head.
- Remove the hose from the vacuum inlet port.
- Insert the hose into the blower port and twist to lock it in place.
- Plug the power cord into a grounded electrical outlet.
- Turn the vacuum ON. The vacuum will now function as a blower, useful for clearing debris from driveways or workshops.
- When finished, turn the vacuum OFF and unplug it.
Maintenance
Regular maintenance ensures optimal performance and extends the life of your vacuum.
A. Emptying the Tank
- Always unplug the vacuum before emptying.
- For dry debris, unlatch the motor head and lift it off. Carefully remove the collection bag (if used) and dispose of contents.
- For liquids, open the extra-large drain port at the bottom of the tank to empty the liquid.
- Clean the inside of the tank with a damp cloth if necessary.
B. Filter Care
- Cartridge Filter (Dry):
- Remove the filter and gently tap it to dislodge dust.
- For heavy dirt, the filter can be rinsed with water. Allow it to air dry completely before reinstallation.
- Replace the cartridge filter if it is damaged or excessively dirty.
- Foam Wet Filter (Wet):
- Rinse the foam filter with water after each wet use.
- Squeeze out excess water and allow it to air dry completely before storing or using for dry applications.
C. Storage
- Ensure the tank is empty and clean, and filters are dry before storing.
- Utilize the on-board hose, cord, and accessory storage to keep all attachments organized and in one place.
- Store the vacuum in a dry, indoor area.

Figure 5: The vacuum stored with its hose and accessories on board.
Troubleshooting
Refer to this section for common issues and their solutions.
| Problem | Possible Cause | Solution |
|---|---|---|
| Vacuum does not turn on. | No power to outlet; Power cord not fully plugged in; ON/OFF switch in OFF position. | Check power outlet with another appliance; Ensure power cord is securely plugged in; Move switch to ON position. |
| Reduced suction. | Tank is full; Filter is clogged; Hose or nozzle is blocked; Motor head latches not secured. | Empty the tank; Clean or replace filter; Clear any blockages from hose or nozzle; Ensure motor head latches are fully engaged. |
| Liquid overflow during wet vacuuming. | Foam filter not installed; Automatic shut-off float is stuck. | Ensure foam filter is installed for wet use; Check and clear the float mechanism for free movement. |
| Motor runs, but no suction. | Hose not connected properly; Large obstruction in hose or inlet. | Ensure hose is securely connected to the inlet port; Check and clear any large obstructions. |
Specifications
- Model: VOC812SF 3703
- Tank Size: 8 Gallons (actual tank volume)
- Peak Horsepower: 6 HP (Note: Peak Horsepower is a term used for consumer comparison and does not denote operational horsepower output.)
- Hose Diameter: 1-7/8 inches
- Hose Length: 7 feet
- Power Cord Length: 10 feet
- Cleaning Reach: 17 feet (with hose and power cord)
- Filter Type: Cartridge (dry), Foam (wet)
- Dimensions (L x W x H): 16.6" x 16.4" x 25"
- Weight: 18 pounds
- Manufacturer: HART

Figure 6: Product dimensions for the HART 8 Gallon Wet/Dry Vacuum.
Warranty Information
This HART 8 Gallon 6 Peak HP Stainless Steel Wet/Dry Vacuum is covered by a 3 Year Limited Warranty. For specific terms and conditions, please refer to the warranty card included with your product or contact HART customer support.
Customer Support
If you have any questions, require assistance, or need to report a problem with your HART Wet/Dry Vacuum, please contact HART customer support. Refer to the product packaging or the official HART website for the most current contact information.


