
1. Introduction
The Jesverty SPS-1362 is a compact and robust AC-to-DC switching power supply designed for various applications, including amateur radio and laboratory use. It provides a stable and precise output, with adjustable voltage from 9-15V and a switchable fixed 13.8V output, capable of delivering up to 60 Amperes. This manual will guide you through the proper installation, operation, and maintenance of your power supply.

Image: The Jesverty SPS-1362 power supply shown in a setup with various radio communication devices, demonstrating its wide range of applications.
2. Safety Instructions
Please read all safety instructions carefully before operating the device. Failure to follow these instructions may result in electric shock, fire, or damage to the unit.
- Indoor Use Only: This power supply is designed for indoor use in dry environments. Do not expose it to rain, moisture, or high humidity.
- Proper Ventilation: Ensure adequate ventilation around the unit. Do not block ventilation openings. Maintain at least 10 cm (4 inches) of space around the power supply for proper airflow.
- Power Source: Connect the power supply only to an AC outlet with the correct voltage and frequency as specified on the unit's label.
- Grounding: Ensure the power cord is properly grounded.
- Avoid Overload: Do not exceed the maximum output current (60A) or power (900W) of the unit.
- Disconnect Power: Always disconnect the power cord from the AC outlet before performing any maintenance or if the unit is not in use for an extended period.
- No User Serviceable Parts: Do not attempt to open or repair the unit. Refer all servicing to qualified service personnel.
- Liquid Contact: Keep liquids away from the power supply. In case of accidental liquid spill, immediately disconnect power and have the unit inspected by a qualified technician.
- Temperature: Operate the unit within the specified ambient temperature range.
3. Package Contents
Verify that all items are present in the package:
- SPS-1362 Power Supply Unit
- AC Power Cord (type may vary by region)
- Test Leads (optional, may not be included with all units)
4. Product Overview
Familiarize yourself with the front and rear panels of the Jesverty SPS-1362 power supply.
4.1. Front Panel

Image: Detailed view of the Jesverty SPS-1362 front and rear panels, showing all controls, displays, and connection points.
- Digital Display: 3-digit LED display showing output voltage (V) or current (A).
- Voltage Adjust Knob: Used to fine-tune the output voltage when in adjustable mode.
- Noise Offset Knob: Adjusts noise compensation.
- Power Switch: ON/OFF switch for the unit.
- 13.8V Fixed/Adjustable Voltage Switch: Toggles between fixed 13.8V output and adjustable 9-15V output.
- Cigarette Lighter Socket (Max 10A): For connecting devices with a cigarette lighter plug.
- Output Terminals (Anderson PowerPole compatible): Main DC output terminals for high current applications. Red is positive (+), Black is negative (-).
- USB-C Port: For charging or powering compatible USB-C devices.
4.2. Rear Panel
- Cooling Fan: Intelligent cooling fan for thermal management.
- AC Input Socket: For connecting the AC power cord.
- Ground Terminal: For external grounding connection.
- Fuse Box: Contains the replaceable fuse for circuit protection.


Image: Left: Rear view highlighting the DC 13.8V output terminals (Max 60A). Right: Rear view showing the intelligent cooling fan for efficient heat dissipation.
5. Setup
Follow these steps to set up your Jesverty SPS-1362 power supply:
- Placement: Place the power supply on a stable, flat surface with adequate ventilation. Ensure no objects are blocking the air vents on the sides and rear of the unit.
- AC Power Connection: Connect the provided AC power cord to the AC input socket on the rear panel of the power supply, then plug the other end into a suitable wall outlet.
- Grounding (Optional but Recommended): For enhanced safety, connect a grounding wire from the ground terminal on the rear panel to a reliable earth ground.
- Initial Power On: Ensure the power switch on the front panel is in the "OFF" position. Then, turn on the power switch. The digital display should illuminate.

Image: The compact and robust casing of the Jesverty SPS-1362. Note that the AC power cord and mains input settings may vary depending on the destination from the factory.
6. Operating Instructions
The Jesverty SPS-1362 offers both fixed and adjustable voltage output modes.
6.1. Fixed 13.8V Output Mode
- Ensure the power supply is connected to AC power and turned ON.
- Set the 13.8V Fixed/Adjustable Voltage Switch to the "13.8V" position.
- The digital display will show "13.8V". The Voltage Adjust knob will be inactive in this mode.
- Connect your device to the main output terminals (Anderson connectors) or the cigarette lighter socket. Ensure correct polarity (Red for positive, Black for negative).
6.2. Adjustable 9-15V Output Mode
- Ensure the power supply is connected to AC power and turned ON.
- Set the 13.8V Fixed/Adjustable Voltage Switch to the "ADJ" (Adjustable) position.
- Use the Voltage Adjust Knob to set the desired output voltage between 9V and 15V. Observe the digital display for the current voltage setting.
- Connect your device to the main output terminals (Anderson connectors) or the cigarette lighter socket. Ensure correct polarity.


Image: Left: Voltage adjustment knob and noise compensation control. Right: Cigarette lighter socket and output shift control.
6.3. Using the USB-C Port
The integrated USB-C port can be used to charge or power compatible devices. It operates independently of the main voltage output settings.
6.4. Noise Offset Adjustment
The Noise Offset Knob can be used to minimize interference or noise in sensitive applications, particularly useful for radio communication equipment. Adjust this knob slowly while monitoring your connected device for optimal performance.
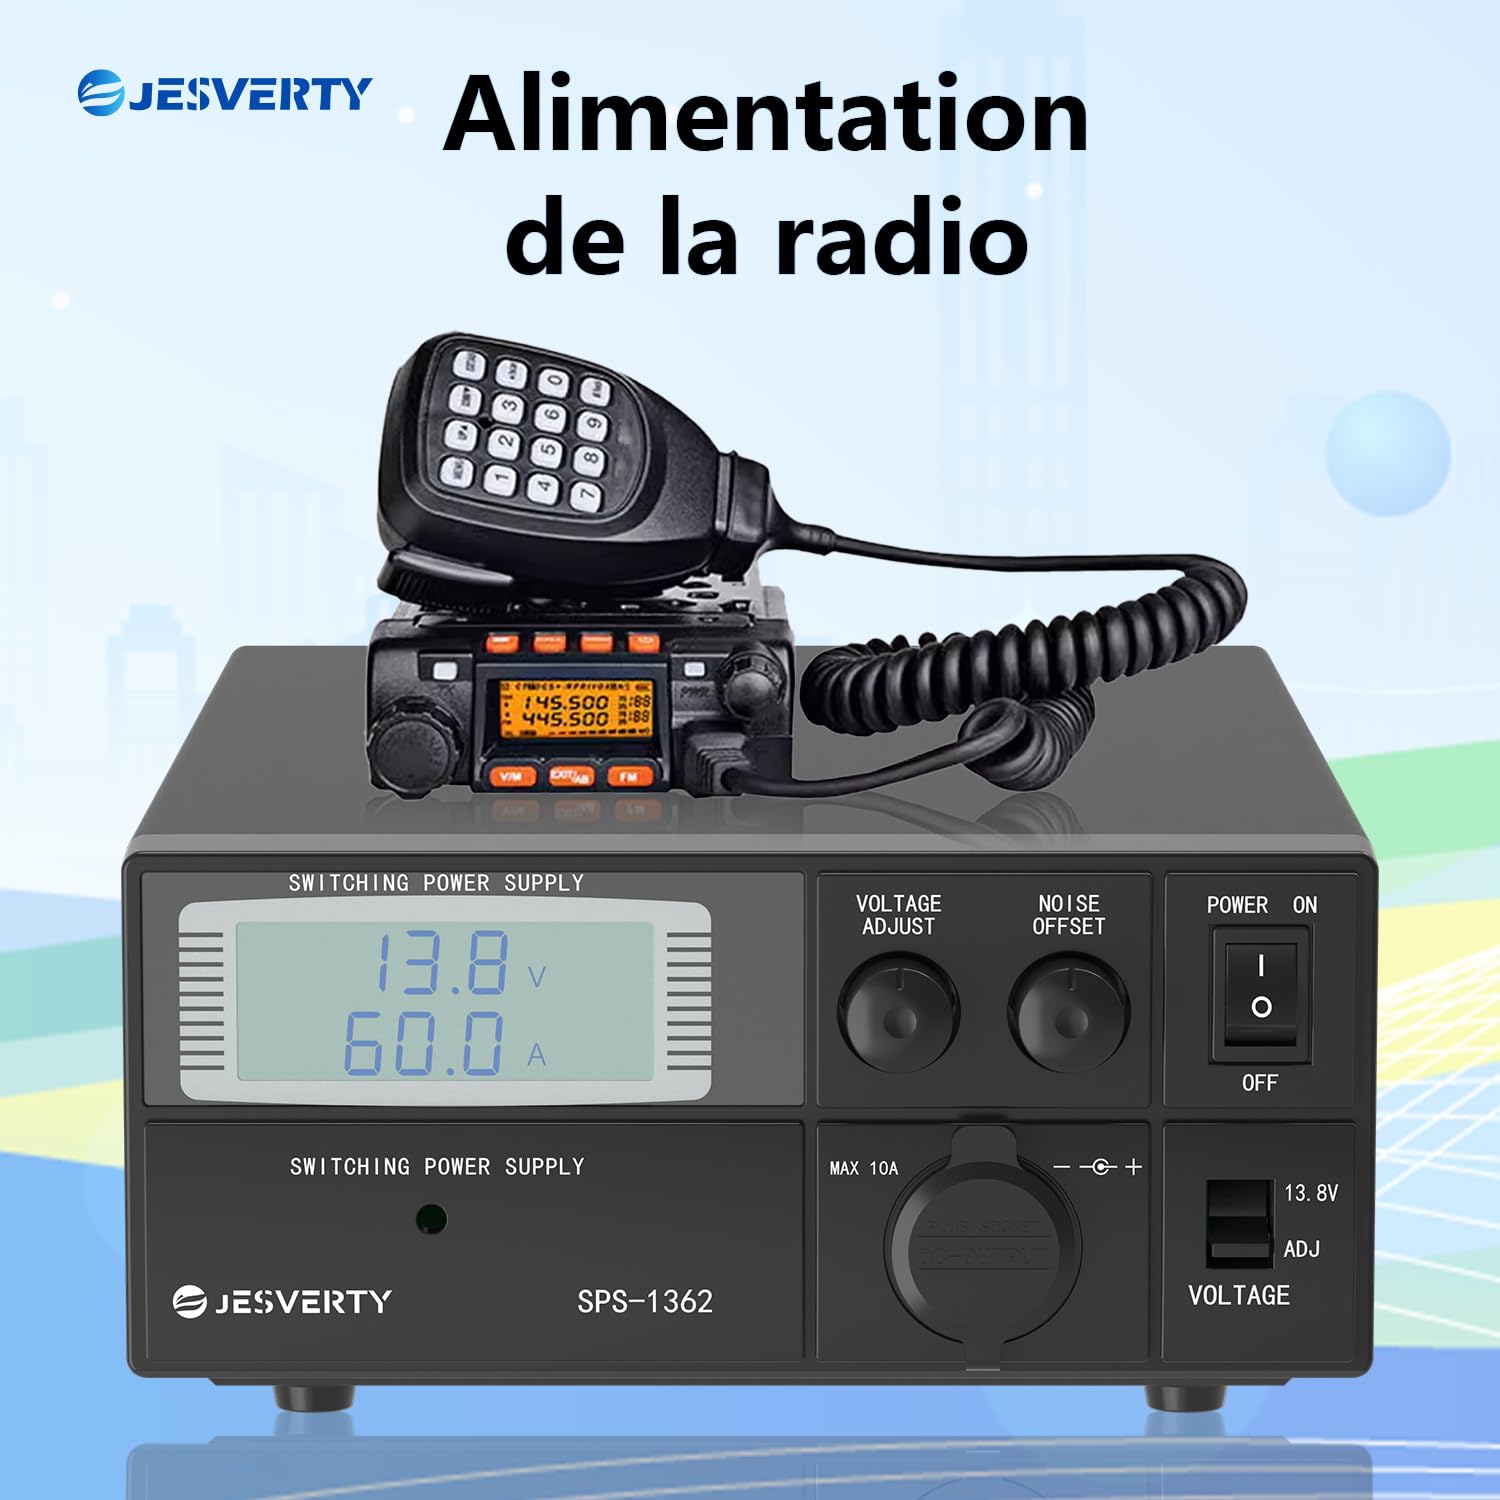
Image: The Jesverty SPS-1362 providing power to a radio, illustrating a typical application.

Image: Examples of the Jesverty SPS-1362 power supply used in different radio communication environments.
7. Maintenance
Proper maintenance ensures the longevity and reliable operation of your power supply.
- Cleaning: Disconnect the power supply from the AC outlet before cleaning. Use a soft, dry cloth to wipe the exterior. Do not use liquid cleaners or solvents.
- Ventilation: Regularly check that the ventilation openings are free from dust and debris. Use compressed air to gently clear any blockages if necessary.
- Fuse Replacement: If the unit fails to power on, the fuse may need replacement. Disconnect the power cord, open the fuse box on the rear panel, and replace the fuse with one of the same type and rating.
8. Troubleshooting
If you encounter issues with your Jesverty SPS-1362, refer to the following common problems and solutions:
| Problem | Possible Cause | Solution |
|---|---|---|
| Unit does not power on. | No AC power; Power switch OFF; Blown fuse. | Check AC power connection; Ensure power switch is ON; Replace fuse. |
| No output voltage/current. | Output terminals not connected; Voltage set to 0V (in ADJ mode); Overload protection activated. | Verify connections; Adjust voltage knob; Reduce load, then cycle power. |
| Output voltage is unstable. | Loose connections; Excessive load; Poor ventilation. | Check all connections; Reduce load; Ensure proper ventilation. |
| Unit is overheating. | Blocked ventilation; Excessive ambient temperature; Overload. | Clear vents; Move unit to cooler environment; Reduce load. |
| Excessive noise/interference. | Noise offset not adjusted; Grounding issue. | Adjust Noise Offset knob; Verify proper grounding. |
9. Specifications
Detailed technical specifications for the Jesverty SPS-1362 power supply:
| Feature | Specification |
|---|---|
| Model Number | SPS-1362 |
| Input Voltage | AC 220-240V (typical for EU market, check label for specific range) |
| Output Voltage | Adjustable 9-15V DC, Fixed 13.8V DC (switchable) |
| Output Current | 60 A (Maximum) |
| Maximum Power | 900 Watt |
| Display Accuracy | Voltage: 0.1V, Current: 0.1A |
| Connectors | Anderson PowerPole compatible, USB-C, Cigarette Lighter Socket (Max 10A) |
| Cooling | Intelligent Cooling Fan |
| Dimensions (L x W x H) | Approximately 280 x 195 x 85 mm (11 x 7.5 x 3.34 inches) |
| Weight | 3.43 Kilograms |
| Material | Plastic, Aluminum |
| Certifications | CE |

Image: Dimensions and weight of the Jesverty SPS-1362 power supply. The image indicates an approximate weight of 2.5 kg (5.51 lb). Suitable for amateur radio, CB radio, and scanner radio.

Image: Precise 3-digit LED display, showing voltage accurate to 0.1V and current accurate to 0.1A, alongside measurement equipment.
10. Warranty Information
Jesverty products are manufactured to high-quality standards. This product comes with a standard manufacturer's warranty. Please refer to the warranty card included with your purchase or contact Jesverty customer support for specific warranty terms and conditions.
Note: The warranty typically covers defects in materials and workmanship under normal use. It does not cover damage caused by misuse, accidents, unauthorized modifications, or improper installation.
11. Customer Support
For technical assistance, troubleshooting not covered in this manual, or warranty inquiries, please contact Jesverty customer support.
- Website: Visit the official Jesverty website for FAQs and support resources.
- Email: Refer to your product packaging or the Jesverty website for customer service email addresses.
- Online Retailer: For purchase-related issues, you may also contact the retailer where you purchased the product.
