1. Introduction
Thank you for choosing the BOTSLAB G300H Plus 4K Dual Dash Cam. This manual provides detailed instructions for the installation, operation, and maintenance of your device. The G300H Plus is designed to capture high-quality video footage from both the front and rear of your vehicle, enhancing driving safety and providing crucial evidence in case of incidents. It features 4K front and 1080P rear recording, a STARVIS 2 sensor for superior low-light performance, 24/7 parking monitoring, wide-angle lenses, and convenient voice control.
2. Package Contents
Please verify that all items are present in your package:
- BOTSLAB G300H Plus Front Dash Cam
- Rear Camera
- Type C Hardwire Kit (for parking monitoring)
- User Manual
- Power Cable (USB Type-C)
- Rear Camera Connection Cable
- Mounting Accessories
3. Setup and Installation
3.1 Inserting the MicroSD Card
Before installation, insert a high-speed (Class 10 or higher, U3 recommended) MicroSD card into the front dash cam's slot. Ensure the card is inserted correctly until it clicks into place. Format the card within the dash cam settings upon first use.
3.2 Front Camera Installation
- Clean the windshield area where the dash cam will be mounted.
- Attach the adhesive mount to the front camera.
- Mount the camera behind the rearview mirror to ensure it does not obstruct your view.
- Adjust the lens angle to capture the road ahead clearly.

Image: Illustration of the front and rear dash cam setup, showing 4K front and 1080P rear recording clarity.
3.3 Rear Camera Installation
- Identify a suitable location on your rear windshield, typically at the top center, ensuring a clear view.
- Clean the area thoroughly.
- Attach the rear camera with its adhesive mount.
- Connect the rear camera to the front camera using the provided rear camera connection cable. Route the cable neatly along the vehicle's interior trim.
3.4 Power Connection
- Connect the Type C power cable to the front dash cam.
- Plug the other end of the power cable into your vehicle's cigarette lighter socket or a suitable USB power source.
- For 24/7 parking monitoring, connect the included Type C Hardwire Kit to your vehicle's fuse box according to the hardwire kit's specific instructions. This ensures continuous power even when the vehicle is off.
3.5 Initial Power On and Settings
Once powered, the dash cam will automatically turn on and begin recording. Follow the on-screen prompts to set the date, time, and other preferences. Ensure the MicroSD card is formatted for optimal performance.
4. Operating Instructions
4.1 Automatic Recording
The dash cam automatically starts recording when your vehicle's ignition is turned on and stops when the ignition is turned off. Footage is saved in continuous loops, overwriting the oldest files when the MicroSD card is full, unless protected by emergency lock.
4.2 Voice Control
The G300H Plus supports hands-free voice commands for safer operation. Keep your focus on the road by using commands such as:
- "Take photo": Captures a still image.
- "Video start": Initiates video recording.

Image: A driver using voice commands like "Take photo" and "Video start" to control the dash cam, emphasizing hands-free operation.
4.3 24/7 Parking Monitoring
With the Type C Hardwire Kit installed, the dash cam provides continuous surveillance when your vehicle is parked. It offers two modes:
- Time-Lapse Recording: Records at 1 frame per second, compressing hours of footage into minutes for extended surveillance.
- Collision Detection: Automatically locks a 1-minute video segment upon detecting an impact, ensuring critical event footage is saved.
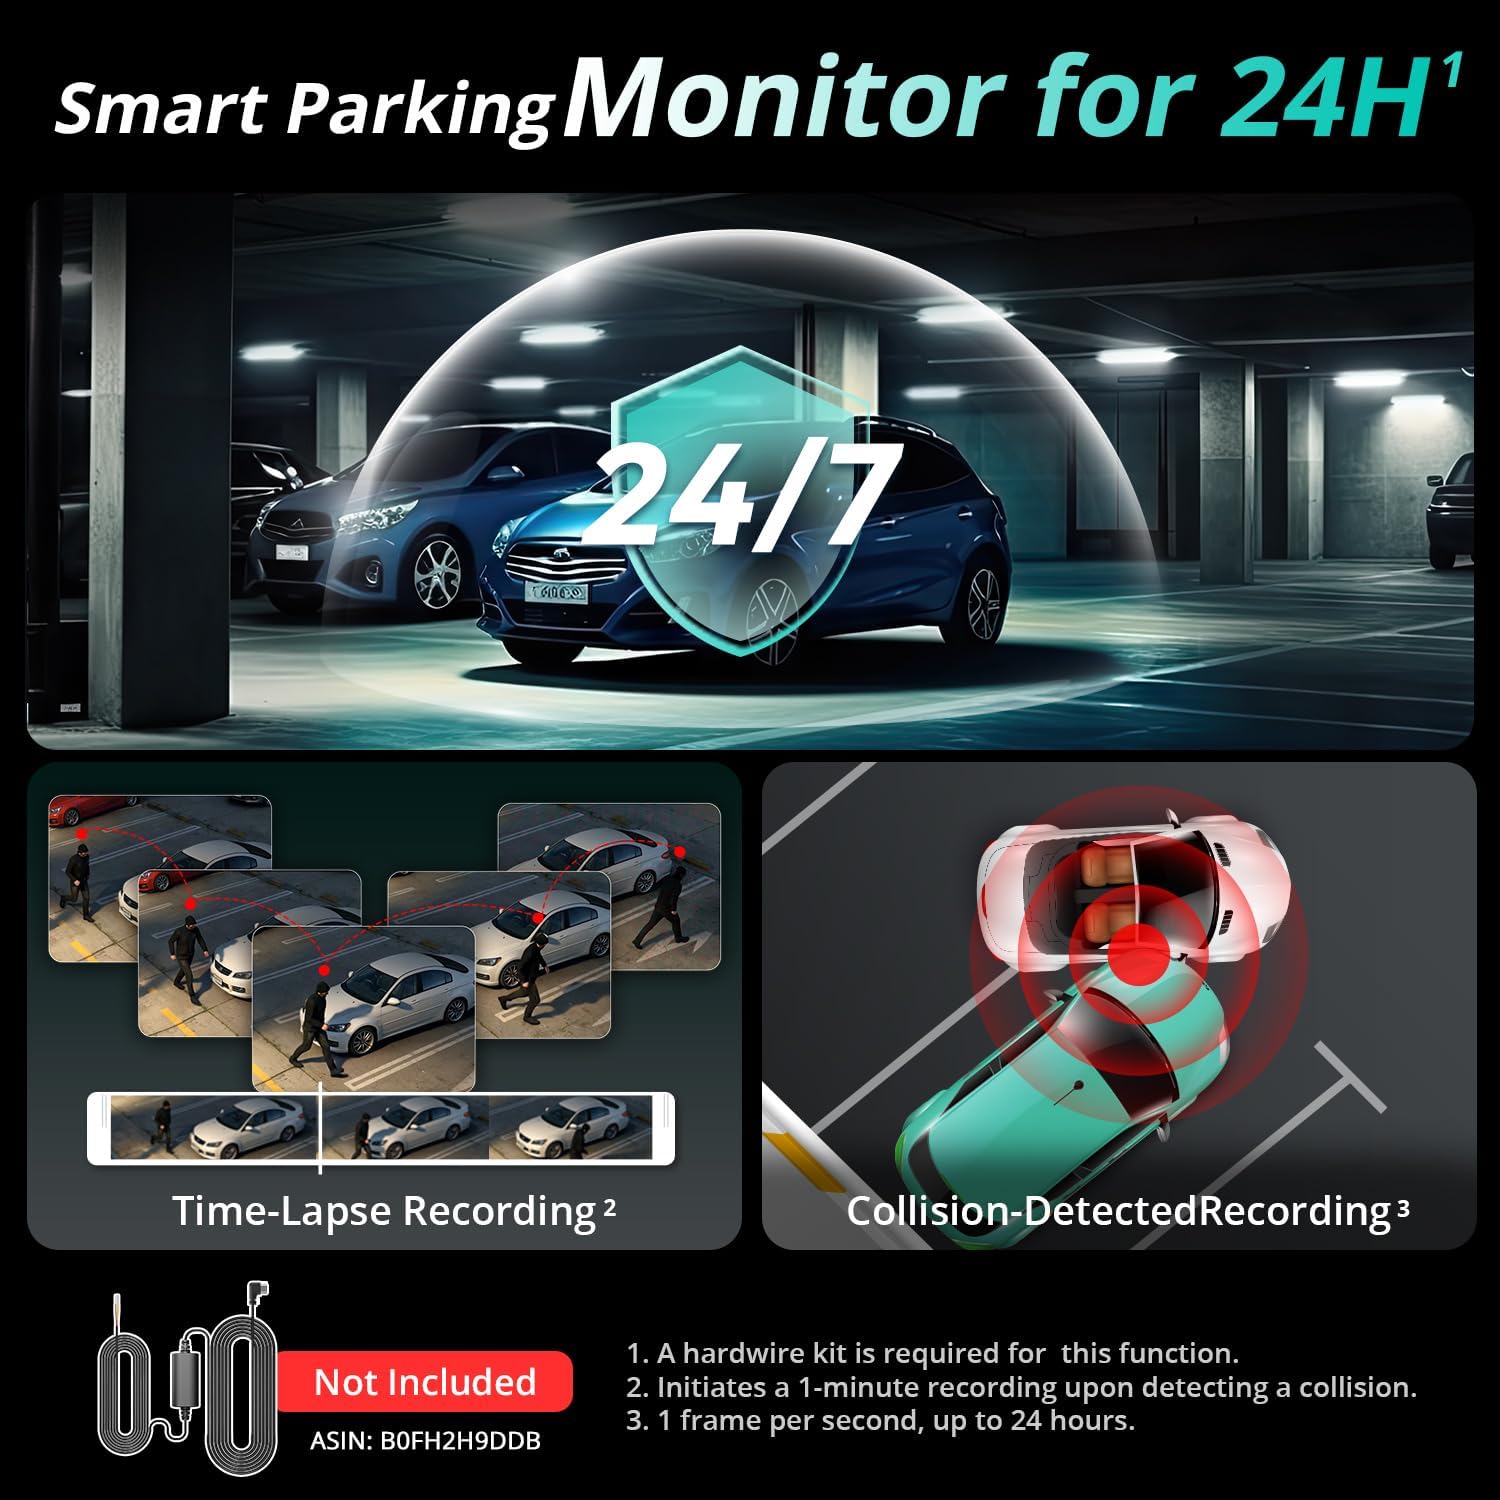
Image: Visual representation of the 24/7 parking monitoring feature, showing time-lapse recording and collision-detected recording modes.
4.4 Superior Night Vision
Equipped with a STARVIS 2 sensor and F1.5 (front) / F2.0 (rear) apertures, the G300H Plus delivers clear and detailed footage even in low-light conditions, enhancing visibility and safety during nighttime driving.
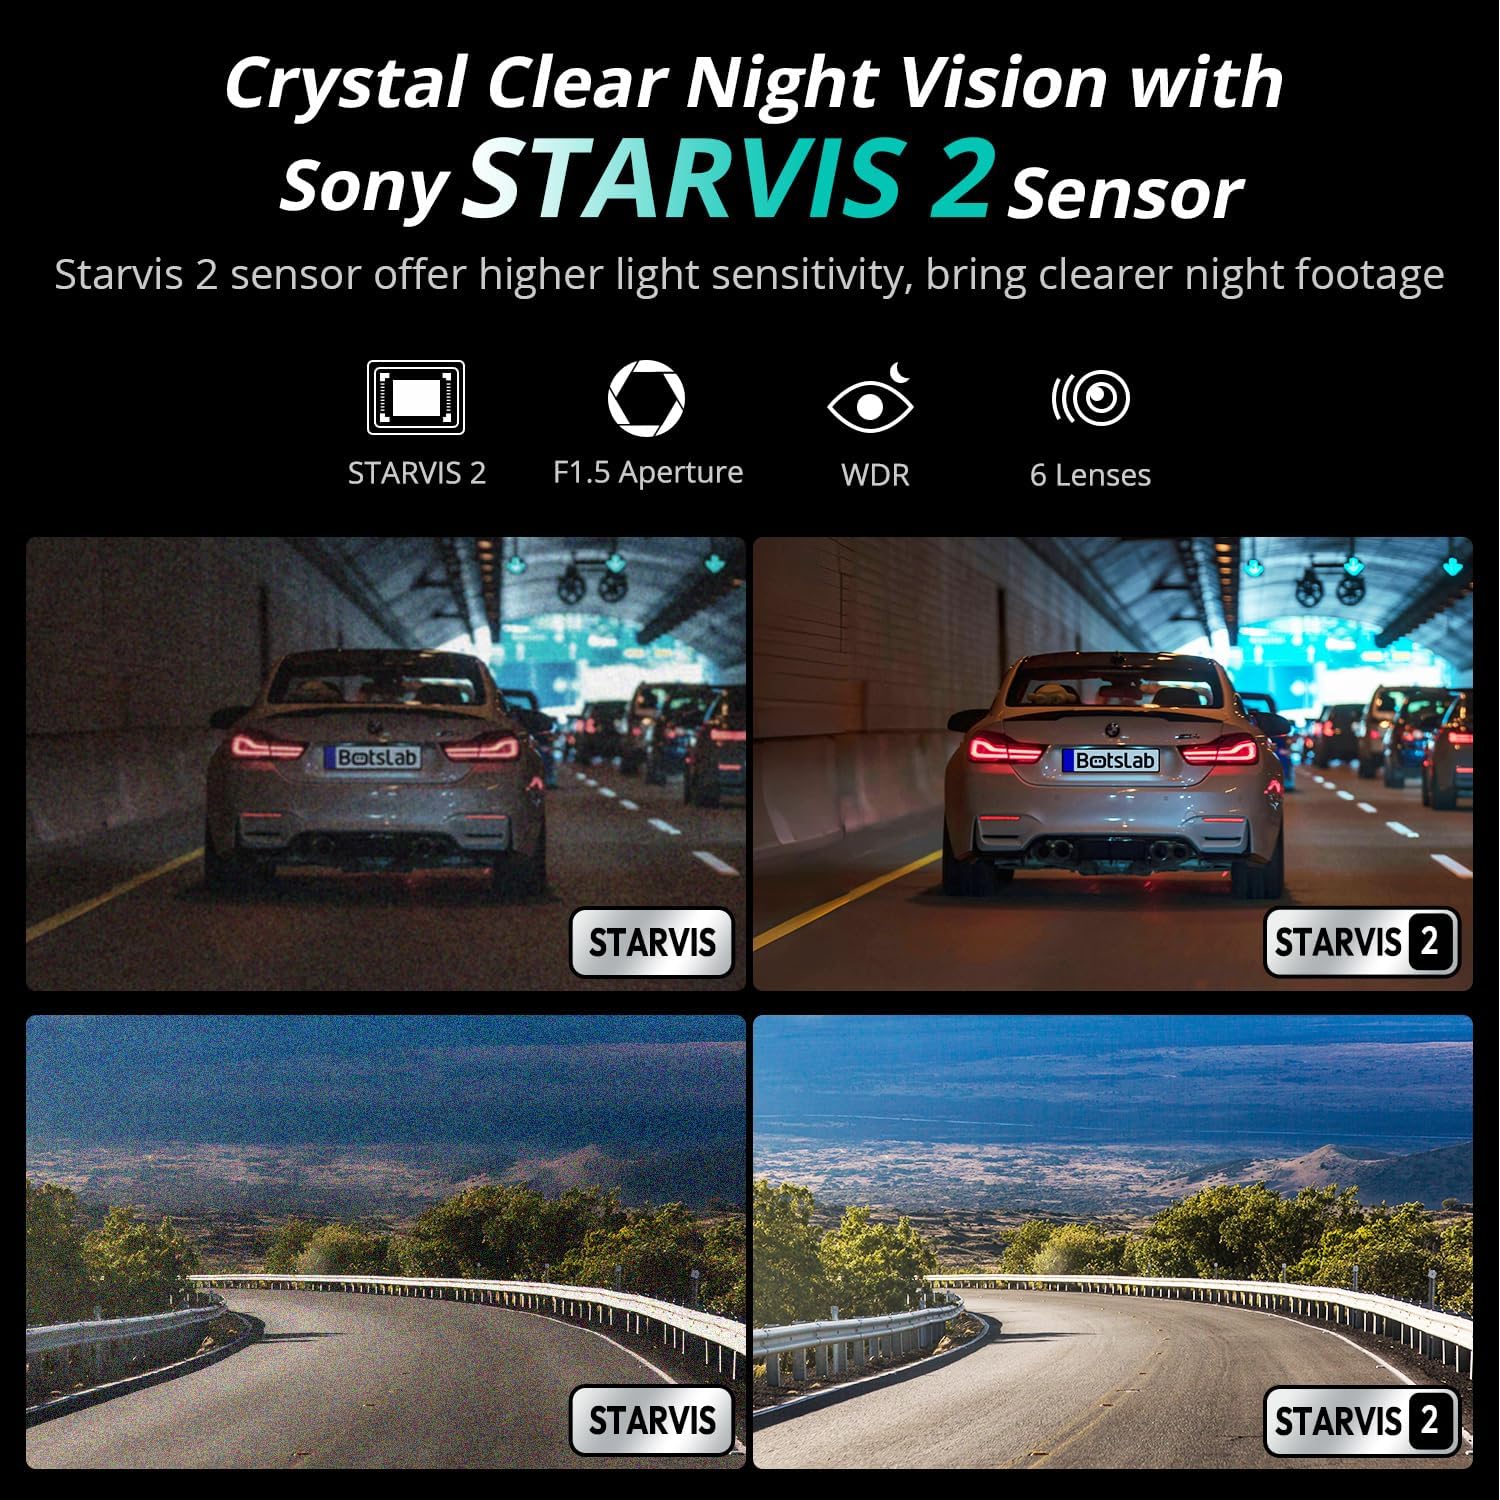
Image: Comparison of night vision quality with and without the STARVIS 2 sensor, demonstrating enhanced clarity in low light.
4.5 Wide-Angle Coverage
The dash cam features a 170° front and 150° rear wide-angle lens, minimizing blind spots and providing comprehensive coverage of the road and surroundings.

Image: Diagram illustrating the 170° front and 150° rear wide-angle coverage, showing how it reduces blind spots.
4.6 Seamless Trip Tracking (GPS)
The integrated GPS functionality provides precise location and speed data, which can be viewed alongside your video footage. This feature allows for detailed trip tracking and route analysis.

Image: A visual showing the dash cam display with GPS data and a smartphone app interface displaying trip tracking on a map.
4.7 Botslab App Integration
Connect your dash cam to the Botslab app on your smartphone for easy access to recorded footage, settings adjustments, and sharing options. The app allows you to capture, edit, and share your videos conveniently.
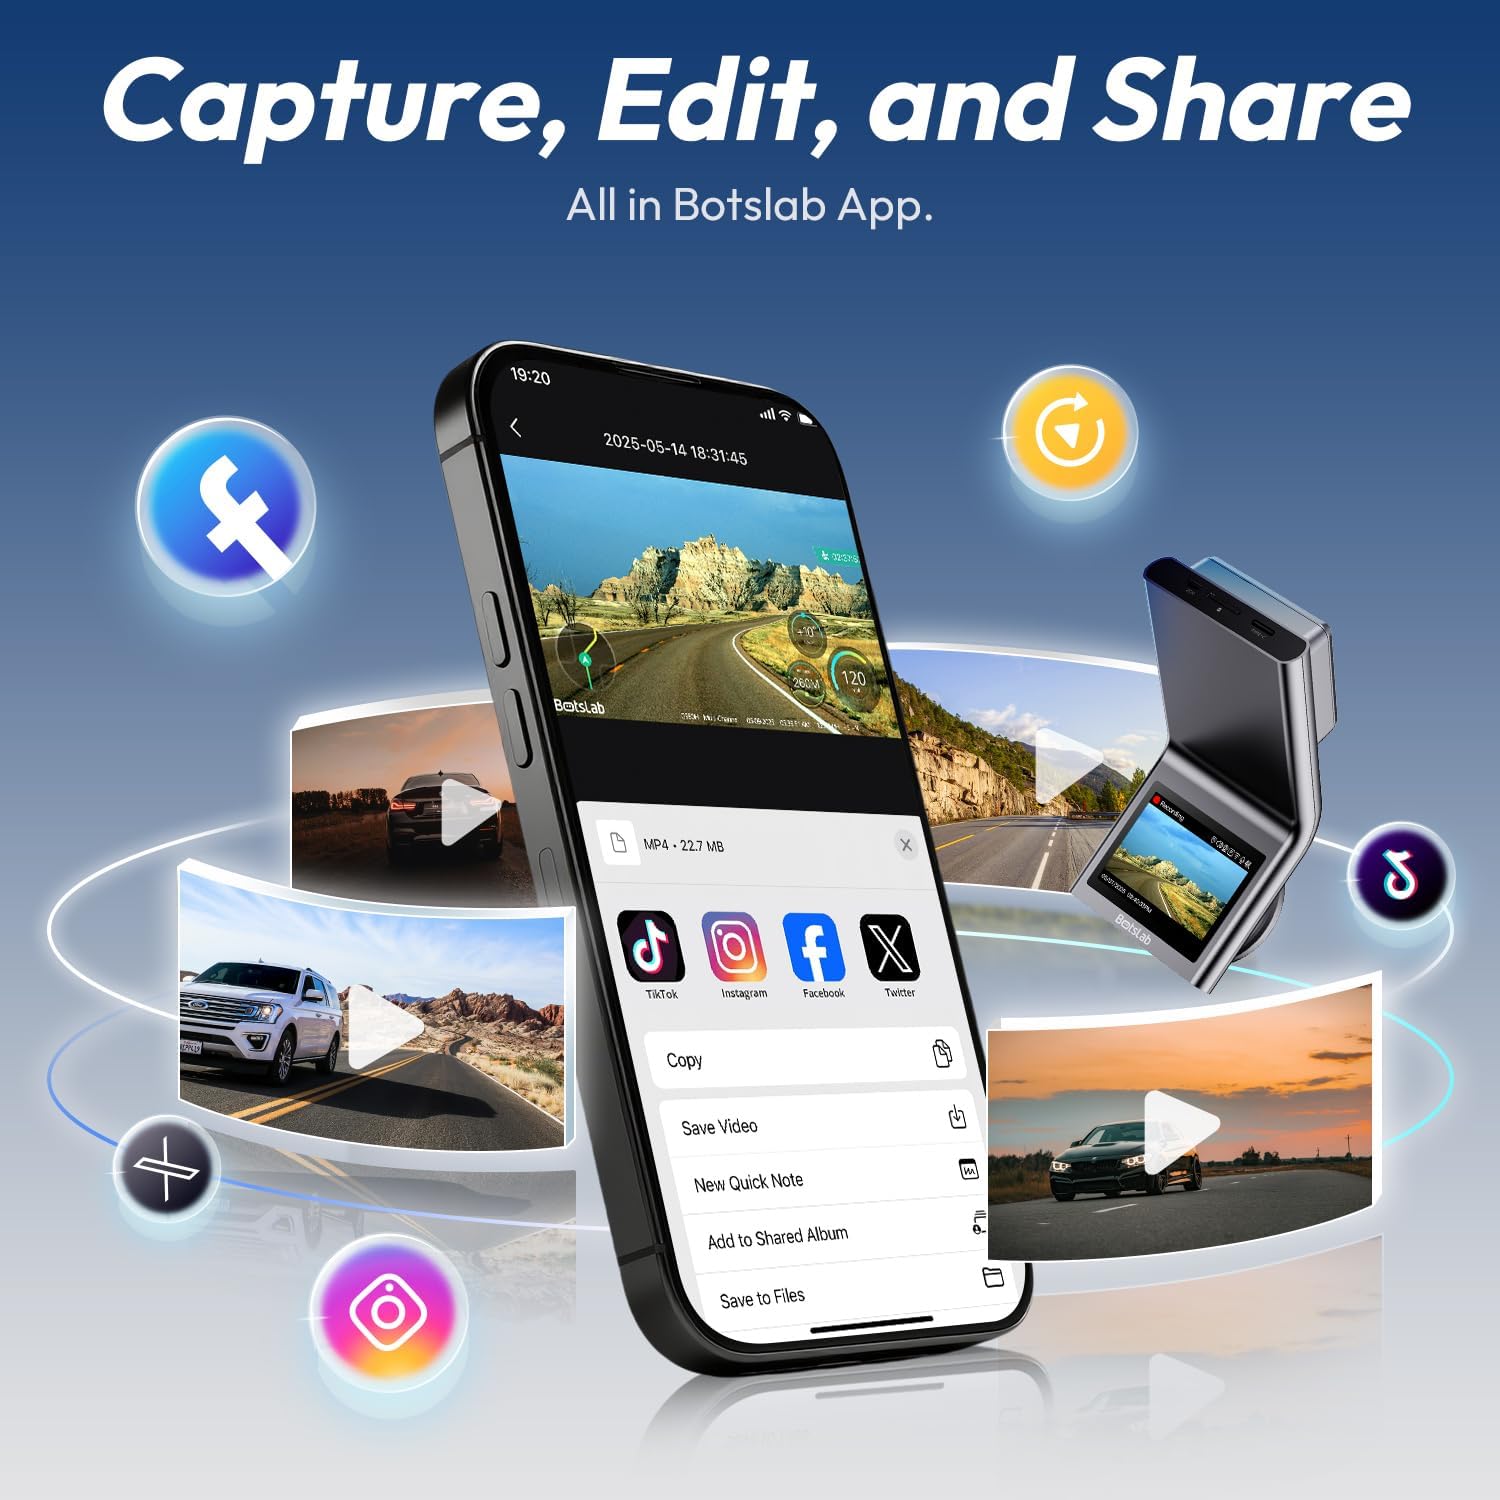
Image: A smartphone displaying the Botslab app interface for managing dash cam footage, with icons for various social media sharing options.
4.8 Official Product Videos
For visual guidance on setup and features, please refer to these official product videos:
Video: Detailed overview and setup guide for the BOTSLAB G300H Plus Dash Cam (Duration: 9:58).
Video: Comprehensive guide to the features and functions of the BOTSLAB G300H Plus (Duration: 5:36).
Video: Quick start and essential features of the BOTSLAB G300H Plus Dash Cam (Duration: 1:55).
5. Maintenance
5.1 MicroSD Card Management
To ensure optimal performance and prevent data corruption, it is recommended to format the MicroSD card within the dash cam settings every 2-4 weeks. Replace the MicroSD card if it shows signs of degradation or error messages.
5.2 Cleaning the Device
Use a soft, dry cloth to clean the dash cam lenses and body. Avoid using abrasive cleaners or solvents that could damage the device. Ensure lenses are free of dust and smudges for clear recording.
6. Troubleshooting
- Dash Cam Not Powering On: Check the power cable connection to both the dash cam and the vehicle's power source. Ensure the vehicle's ignition is on if not using the hardwire kit. Test the power source with another device.
- Recording Issues (e.g., freezing, corrupted files): Format the MicroSD card within the dash cam. Ensure you are using a high-speed (Class 10, U3) MicroSD card from a reputable brand. Replace the MicroSD card if issues persist.
- Rear Camera Not Displaying: Verify the rear camera cable is securely connected to both the front and rear cameras. Check for any damage to the cable.
- Voice Control Not Responding: Ensure the environment is not excessively noisy. Speak clearly and directly towards the dash cam. Check settings to ensure voice control is enabled.
- App Connectivity Problems: Ensure Wi-Fi is enabled on your smartphone and you are connected to the dash cam's Wi-Fi network. Restart both the dash cam and your smartphone.
7. Specifications
| Model Name | G300H Plus |
| Brand | BOTSLAB |
| Video Capture Resolution | 4K (3840x2160) Front + 1080P (1920x1080) Rear |
| Field Of View | 170 Degrees (Front) |
| Special Features | Night Vision, Time Lapse, Emergency Lock, Voice Control, GPS |
| Connectivity Technology | USB Type-C, Wireless |
| Included Components | Hardwire Kit, Type C Hardwire Kit, User Manual |
| Vehicle Service Type | Car |
| Color | Black |
8. Warranty and Support
The BOTSLAB G300H Plus Dash Cam comes with a standard manufacturer's warranty. For specific warranty details, registration, or technical support, please refer to the official BOTSLAB website or contact their customer service directly. Keep your purchase receipt as proof of purchase.
For further assistance, visit: www.botslab.com


