
Introduction
Thank you for purchasing the HOMVILLA G60 Digital Alarm Clock. This manual provides detailed instructions for setting up, operating, and maintaining your new alarm clock. Please read this manual thoroughly before use to ensure proper function and to maximize your product experience.
Package Contents
- HOMVILLA G60 Digital Alarm Clock
- Power Adapter (Mains Powered)
- User Manual
Note: AAA backup batteries are not included and must be purchased separately.
Product Overview
Familiarize yourself with the various components and controls of your HOMVILLA G60 Digital Alarm Clock.
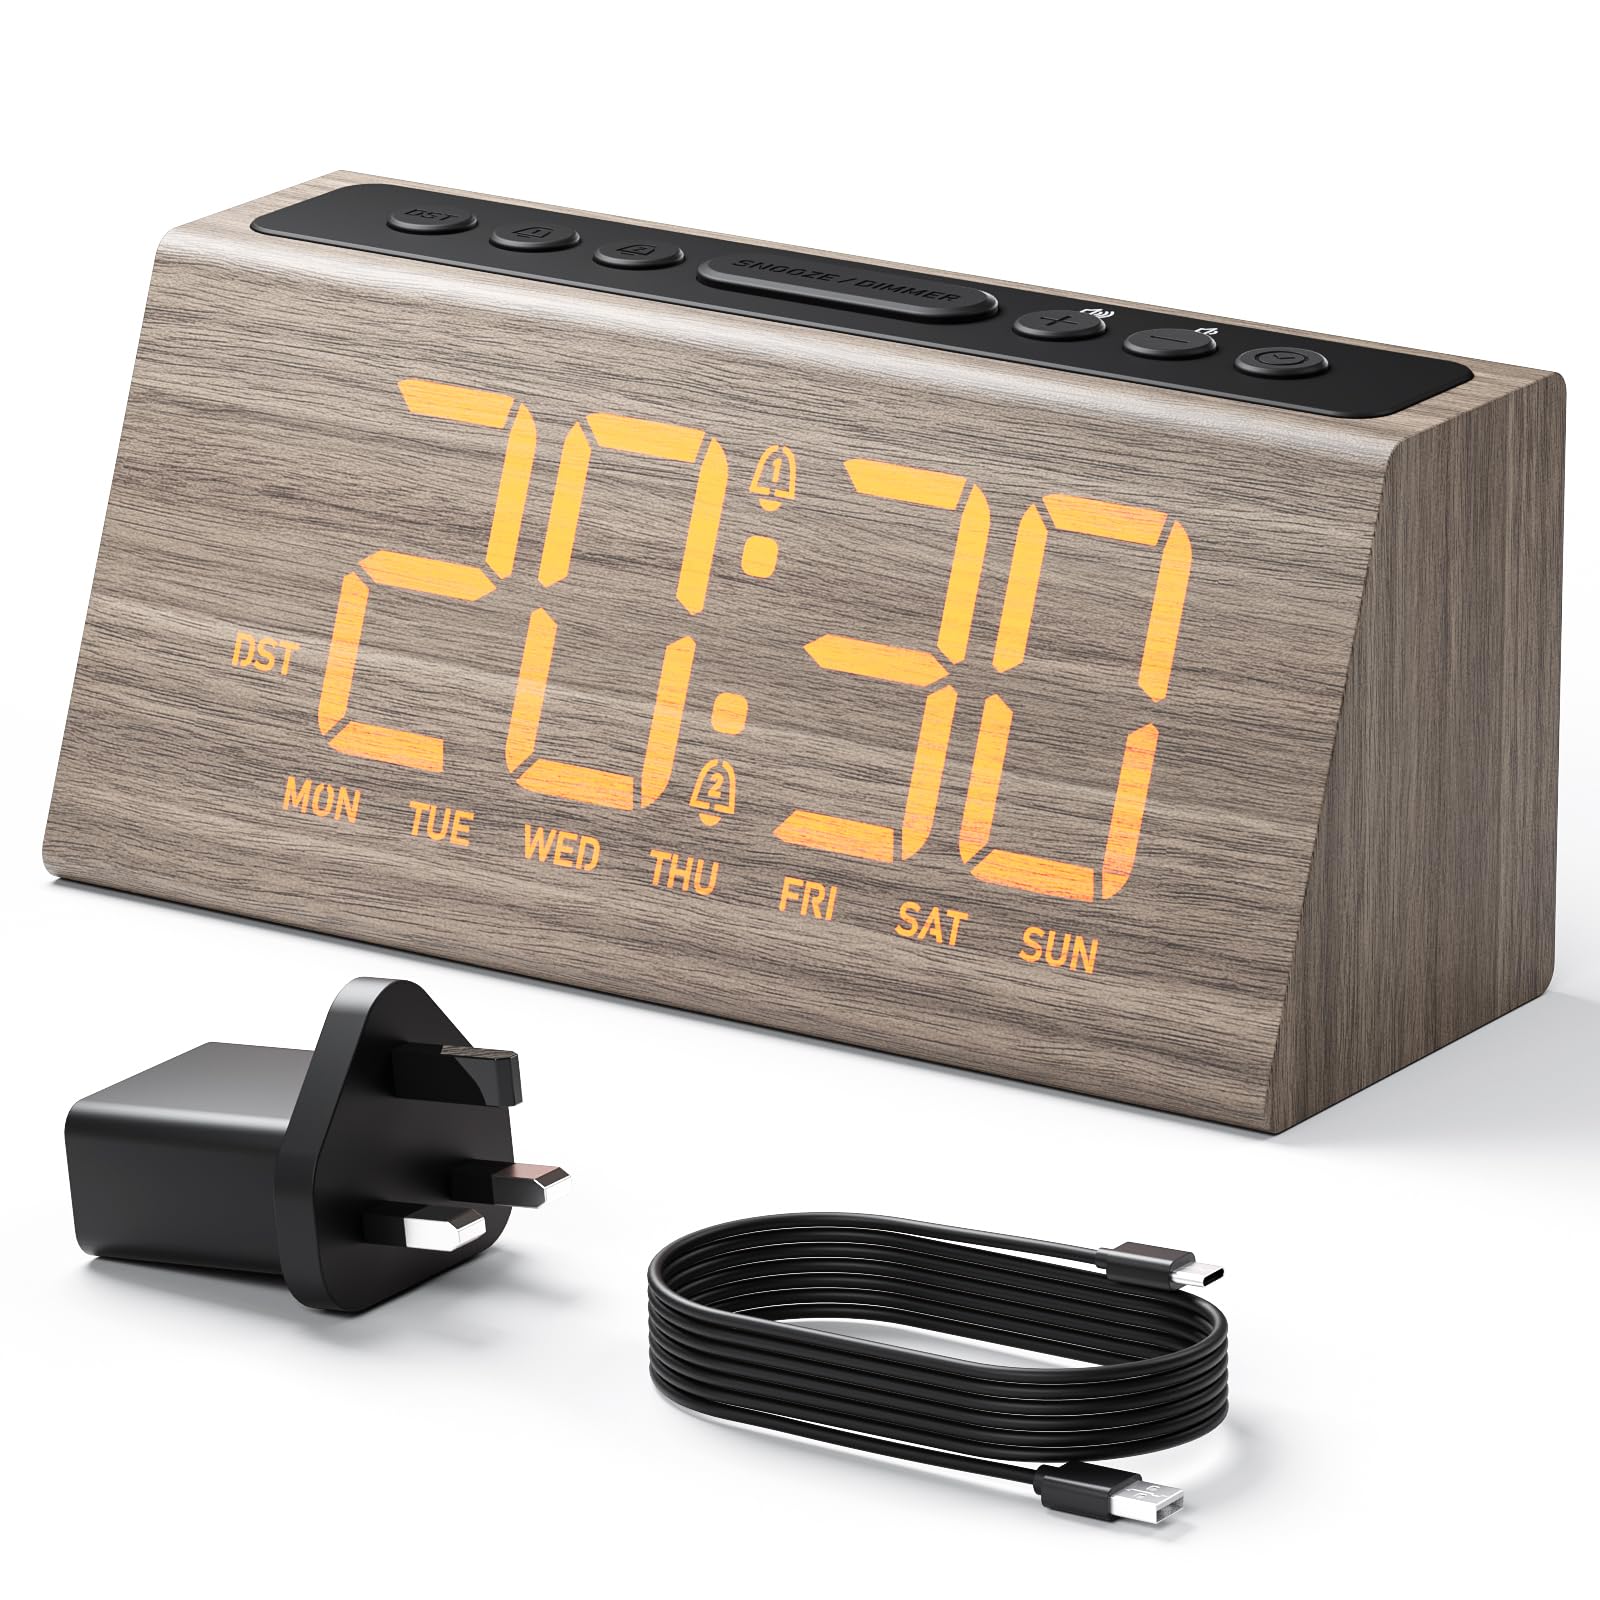
Image 1: Front view of the HOMVILLA G60 Digital Alarm Clock, showing the large LED display and control buttons.
Control Buttons and Ports:
- TIME SET: Press to enter time setting mode.
- ALARM 1/2: Press to set Alarm 1 or Alarm 2.
- SNOOZE/DIMMER: Press to activate snooze or adjust display brightness.
- +/-: Adjust time, alarm, volume, or brightness values.
- DST: Press to activate/deactivate Daylight Saving Time.
- USB Charging Port: For charging external devices.
- DC IN: Power input port.
- Battery Compartment: For backup batteries (2x AAA, not included).
Setup
1. Power Connection
- Connect the provided power adapter to the "DC IN" port on the back of the alarm clock.
- Plug the power adapter into a standard wall outlet. The display will light up.
Note: This alarm clock operates solely on AC power. The backup batteries are only for retaining settings during a power outage.
2. Installing Backup Batteries (Optional)
- Open the battery compartment cover on the bottom of the clock.
- Insert two (2) AAA batteries (not included), ensuring correct polarity (+/-).
- Close the battery compartment cover.
These batteries will preserve your time and alarm settings in case of a power interruption.
Operating Instructions
1. Setting the Time
- Press and hold the TIME SET button until the hour digits flash.
- Use the +/- buttons to adjust the hour.
- Press TIME SET again to confirm the hour and move to minute setting.
- Use the +/- buttons to adjust the minutes.
- Press TIME SET again to confirm and exit time setting mode.
2. Setting Alarms (Alarm 1 & Alarm 2)
The clock features two independent alarms (Alarm 1 and Alarm 2).
- Press and hold the ALARM 1/2 button. The alarm icon and hour digits for Alarm 1 will flash.
- Use the +/- buttons to adjust the alarm hour.
- Press ALARM 1/2 again to confirm the hour and move to minute setting.
- Use the +/- buttons to adjust the alarm minutes.
- Press ALARM 1/2 again to select the alarm mode:
- Weekdays (Mon-Fri): Alarm sounds only on weekdays.
- Weekends (Sat-Sun): Alarm sounds only on weekends.
- Daily (Mon-Sun): Alarm sounds every day.
- Press ALARM 1/2 again to confirm the alarm mode and exit setting.
- To set Alarm 2, repeat the process by pressing ALARM 1/2 until Alarm 2 icon flashes.
To activate/deactivate an alarm, short press the ALARM 1/2 button. The corresponding alarm icon will appear/disappear on the display.
3. Snooze Function
When the alarm sounds, press the SNOOZE/DIMMER button to activate the snooze function. The alarm will pause for 9 minutes and then sound again. To turn off the alarm completely, press any other button.
4. Display Brightness Adjustment
The clock offers 3 brightness levels and an OFF mode.
- Short press the SNOOZE/DIMMER button (when alarm is not sounding) to cycle through brightness levels: High → Medium → Low → OFF.
- Select the desired brightness level for comfortable viewing.
5. Volume Control
The alarm volume can be adjusted to 4 levels.
- During alarm setting, after selecting the alarm mode, press ALARM 1/2 again. The volume level will flash.
- Use the +/- buttons to adjust the volume from L1 (lowest) to L4 (highest).
- Press ALARM 1/2 to confirm and exit.
6. Daylight Saving Time (DST) Function
To adjust the time for Daylight Saving Time:
- Short press the DST button. The time will advance or recede by one hour, and a DST indicator will appear/disappear on the display.
7. USB Charging Port
The integrated USB port allows you to charge compatible electronic devices (e.g., smartphones, smartwatches) directly from the alarm clock. Simply connect your device's USB charging cable to the USB port on the back of the clock.
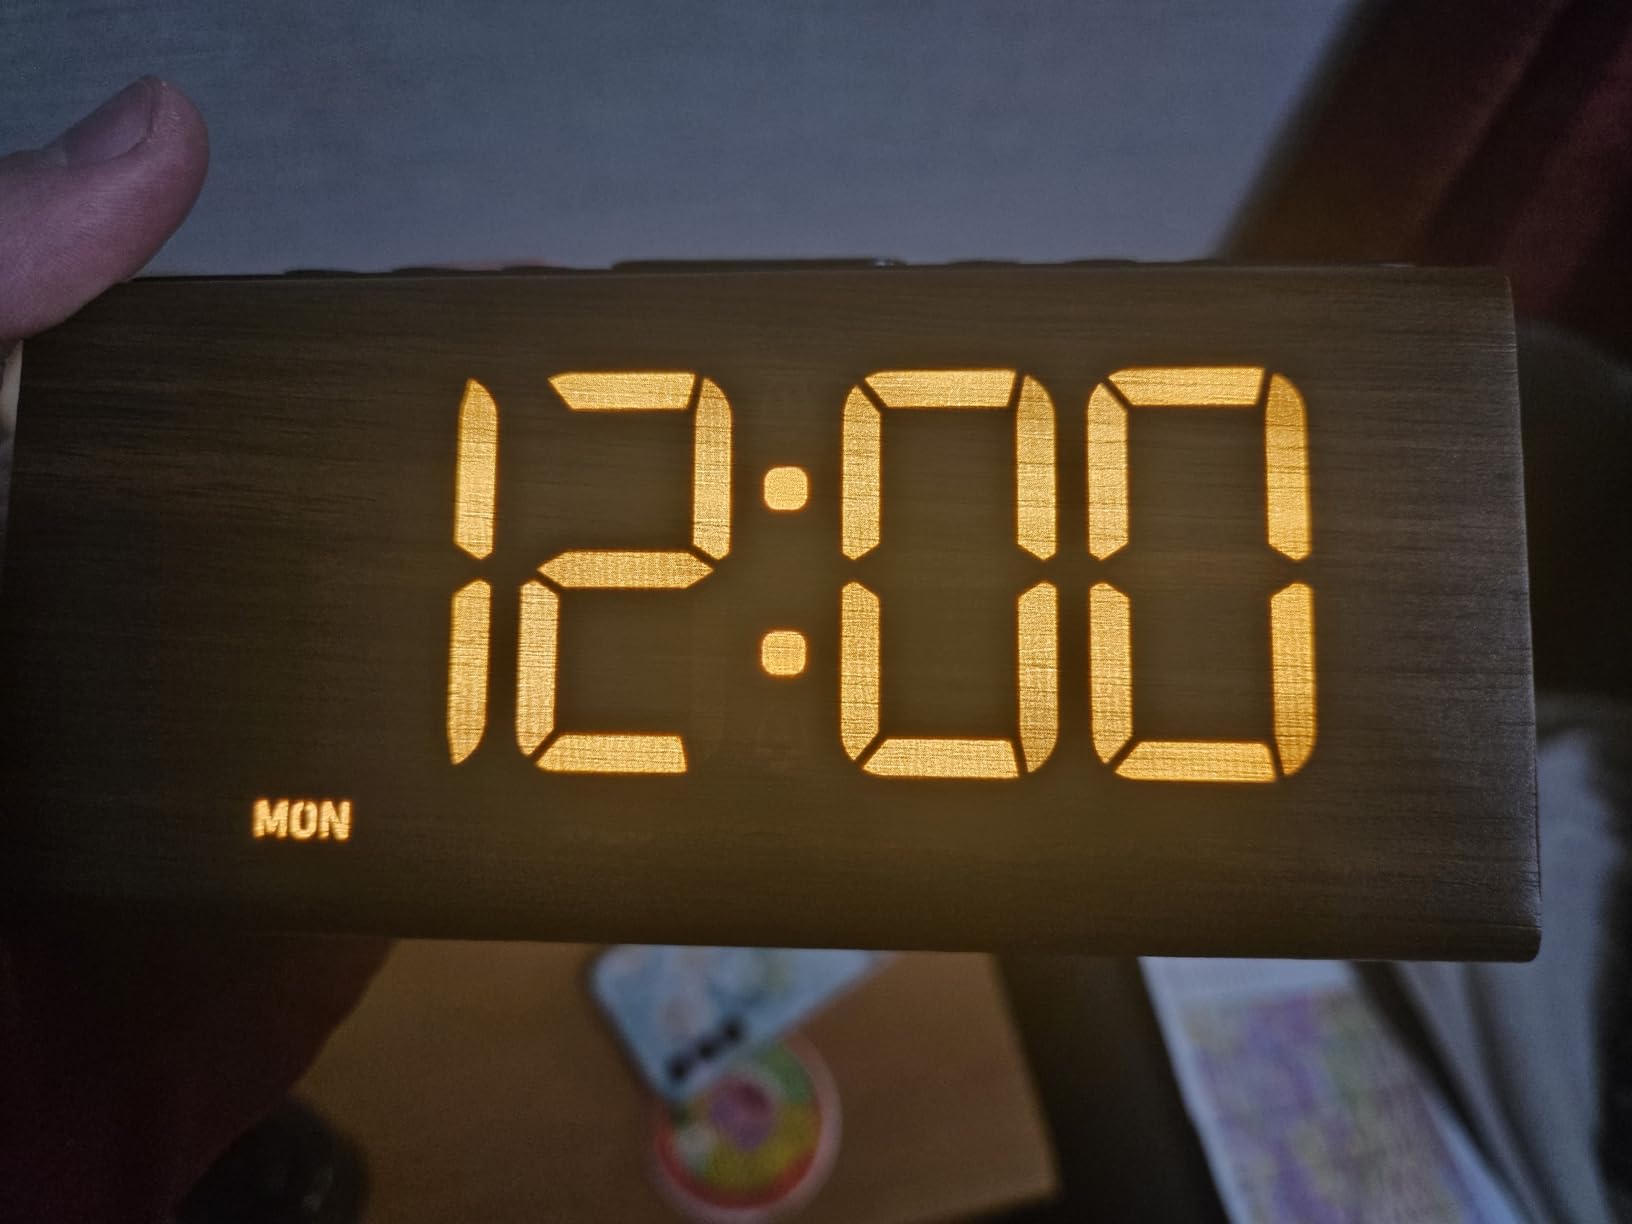
Image 2: Rear view of the HOMVILLA G60 Digital Alarm Clock, highlighting the USB charging port.
Maintenance
- Clean the clock with a soft, dry cloth. Do not use abrasive cleaners or solvents.
- Keep the clock away from direct sunlight, extreme temperatures, and high humidity.
- Ensure proper ventilation around the unit.
- If not using the clock for an extended period, remove the backup batteries to prevent leakage.
Troubleshooting
| Problem | Possible Cause | Solution |
|---|---|---|
| Display is blank. | No power connection. | Ensure the power adapter is securely plugged into the clock and a working wall outlet. |
| Alarm does not sound. | Alarm is not activated or volume is too low. | Check if the alarm icon is displayed. If not, activate the alarm. Increase the alarm volume. |
| Time/settings reset after power outage. | Backup batteries are not installed or are depleted. | Install new AAA backup batteries. |
| USB charging not working. | Device not compatible or cable faulty. | Ensure your device is compatible with USB charging. Try a different USB cable. |
Specifications
- Model: G60
- Brand: HOMVILLA
- Power Input: AC Powered (Adapter included)
- Backup Battery: 2 x AAA (not included)
- Display: LED with 3 brightness levels + OFF mode
- Alarms: Dual Alarms with 3 schedule modes (Weekdays, Weekends, Daily)
- Snooze Duration: 9 minutes
- Volume Levels: 4 levels
- Additional Features: USB Charging Port, DST Function
Warranty and Support
For warranty information or technical support, please refer to the documentation provided at the time of purchase or contact HOMVILLA customer service through their official website or the retailer where the product was purchased.
Please retain your purchase receipt for warranty claims.

