
1. Introduction
Thank you for choosing the AWOW Mini PC W-11 Pro Core i5-13500HX. This compact and powerful mini PC is designed for a wide range of applications, from everyday office tasks and web browsing to software development and graphic design. This manual provides essential information for setting up, operating, maintaining, and troubleshooting your device to ensure optimal performance and longevity.
2. Product Features
- Powerful Processor: Equipped with an Intel Core i5-13500HX processor (14 cores, 20 threads, up to 4.7GHz turbo clock speed) for efficient multitasking and demanding applications.
- Ample Memory & Storage: Features 16GB DDR4 RAM (expandable) and a 512GB M.2 PCIe 3.0 SSD for fast boot-up and application loading. An additional M.2 SATA slot is available for storage expansion.
- Versatile Connectivity: Includes Wi-Fi 6 (AX201) and Bluetooth 5.2 for high-speed wireless connections. Multiple ports such as USB 3.2, USB 2.0, Full-Function USB-C, Data USB-C, HDMI 2.1, DisplayPort 1.4, and a 2.5G Gigabit LAN port.
- Triple Display Support: Connect up to three displays simultaneously via HDMI 2.1, DisplayPort 1.4, and the Full-Function USB-C port, all supporting 4K@60Hz resolution.
- Compact Design: A sleek silver metal body with a compact footprint, ideal for saving desk space. VESA mount compatibility allows for discreet mounting behind a monitor.
- Pre-installed OS: Comes with Windows 11 Pro pre-installed for immediate use.

Image: The Intel Core i5-13500HX processor, highlighting its 14 cores, 20 threads, 4.7GHz turbo frequency, 55W TDP, Intel 7 process technology, and 24MB Intel Smart Cache.
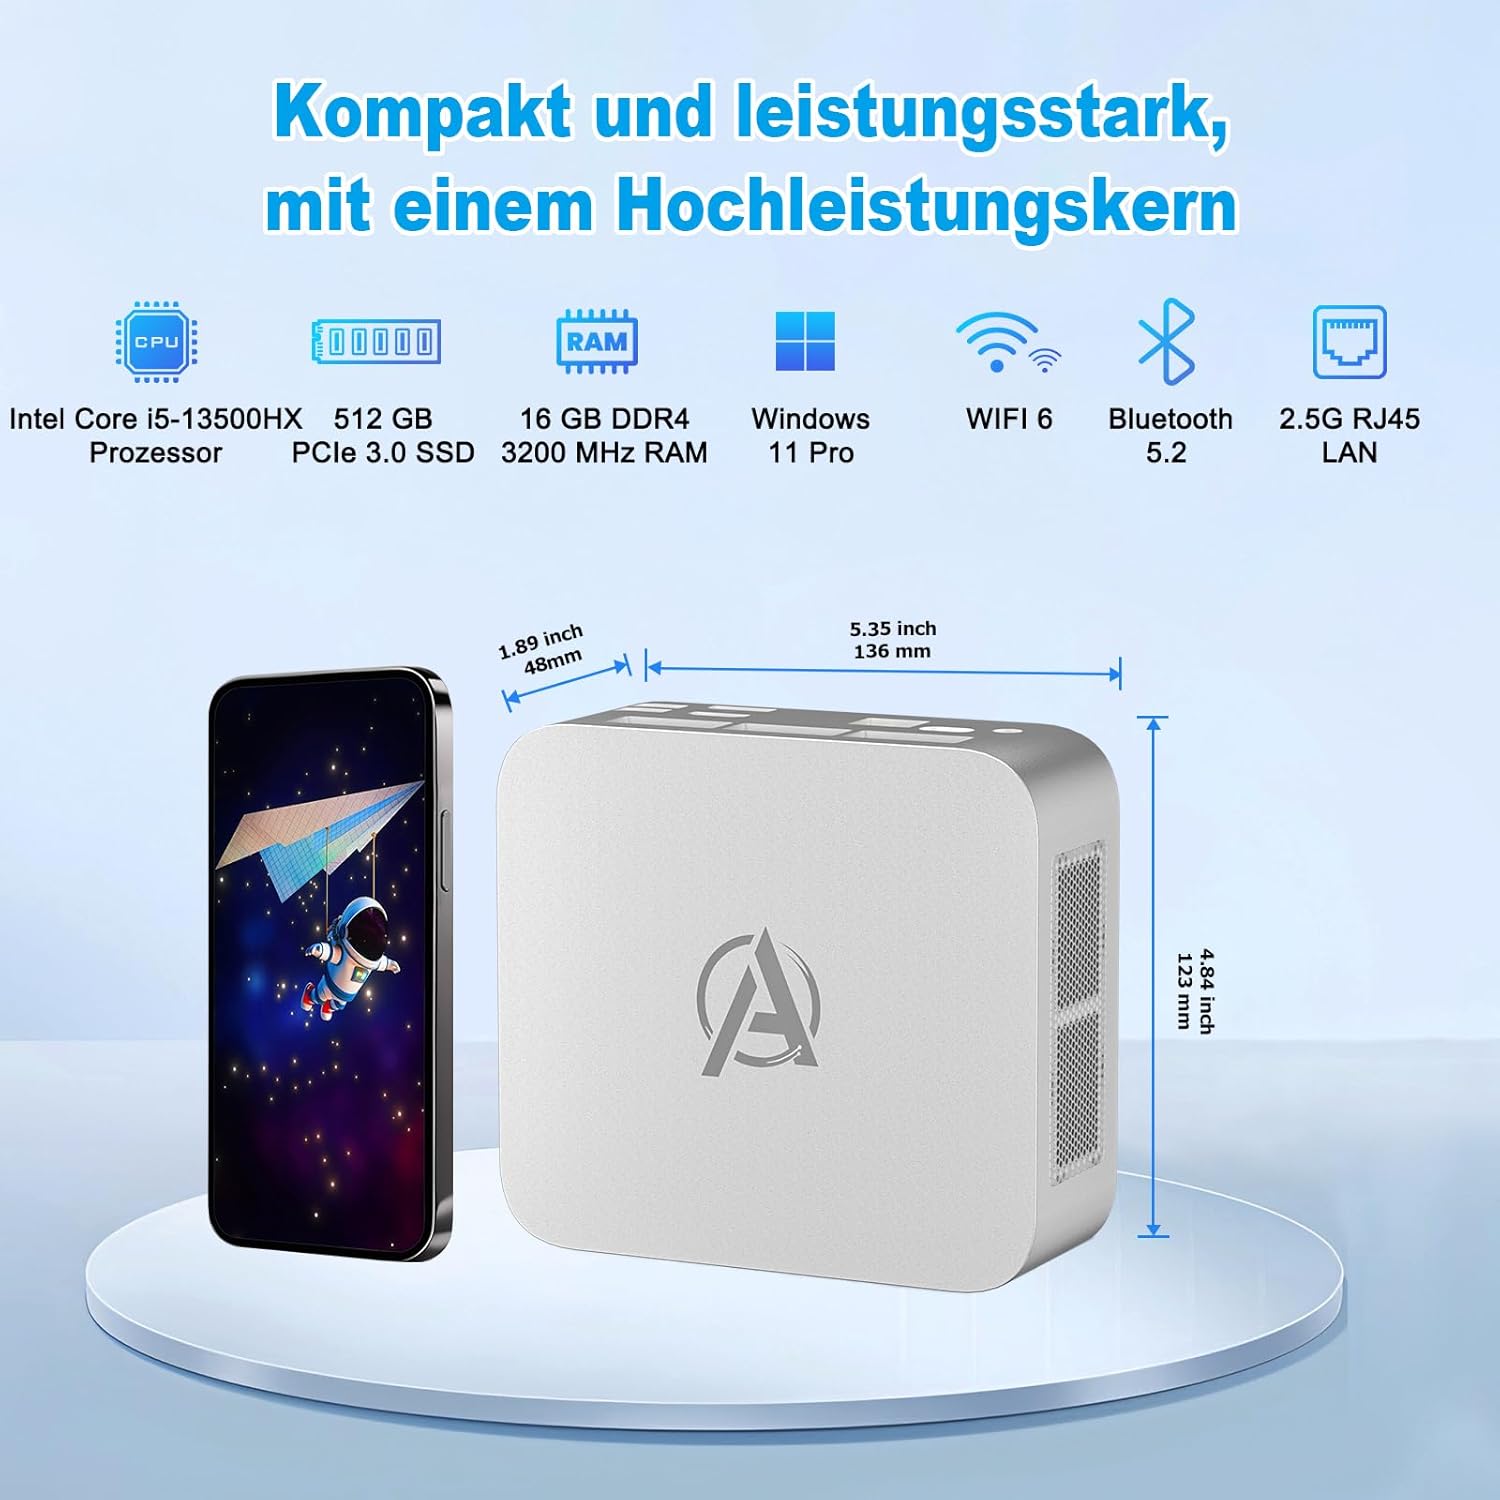
Image: An overview of the AWOW Mini PC's compact design and key specifications including Intel Core i5-13500HX processor, 512GB PCIe 3.0 SSD, 16GB DDR4 RAM, Windows 11 Pro, Wi-Fi 6, Bluetooth 5.2, and 2.5G RJ45 LAN. Dimensions are shown as 1.89 inches (48mm) width, 5.35 inches (136mm) length, and 4.84 inches (123mm) height.

Image: Detailed diagram of the AWOW Mini PC's front and rear ports. Front ports include 2x USB 3.2, Power Button, 3.5mm Audio+Mic Combo Jack, Type-C (Data Transfer), and CMOS reset. Rear ports include DC IN, Full-Function Type-C, RJ45-LAN (2.5 Gbit/s), HDMI 2.1 (4K@60Hz), DisplayPort 1.4 (4K@60Hz), and 2x USB 2.0.
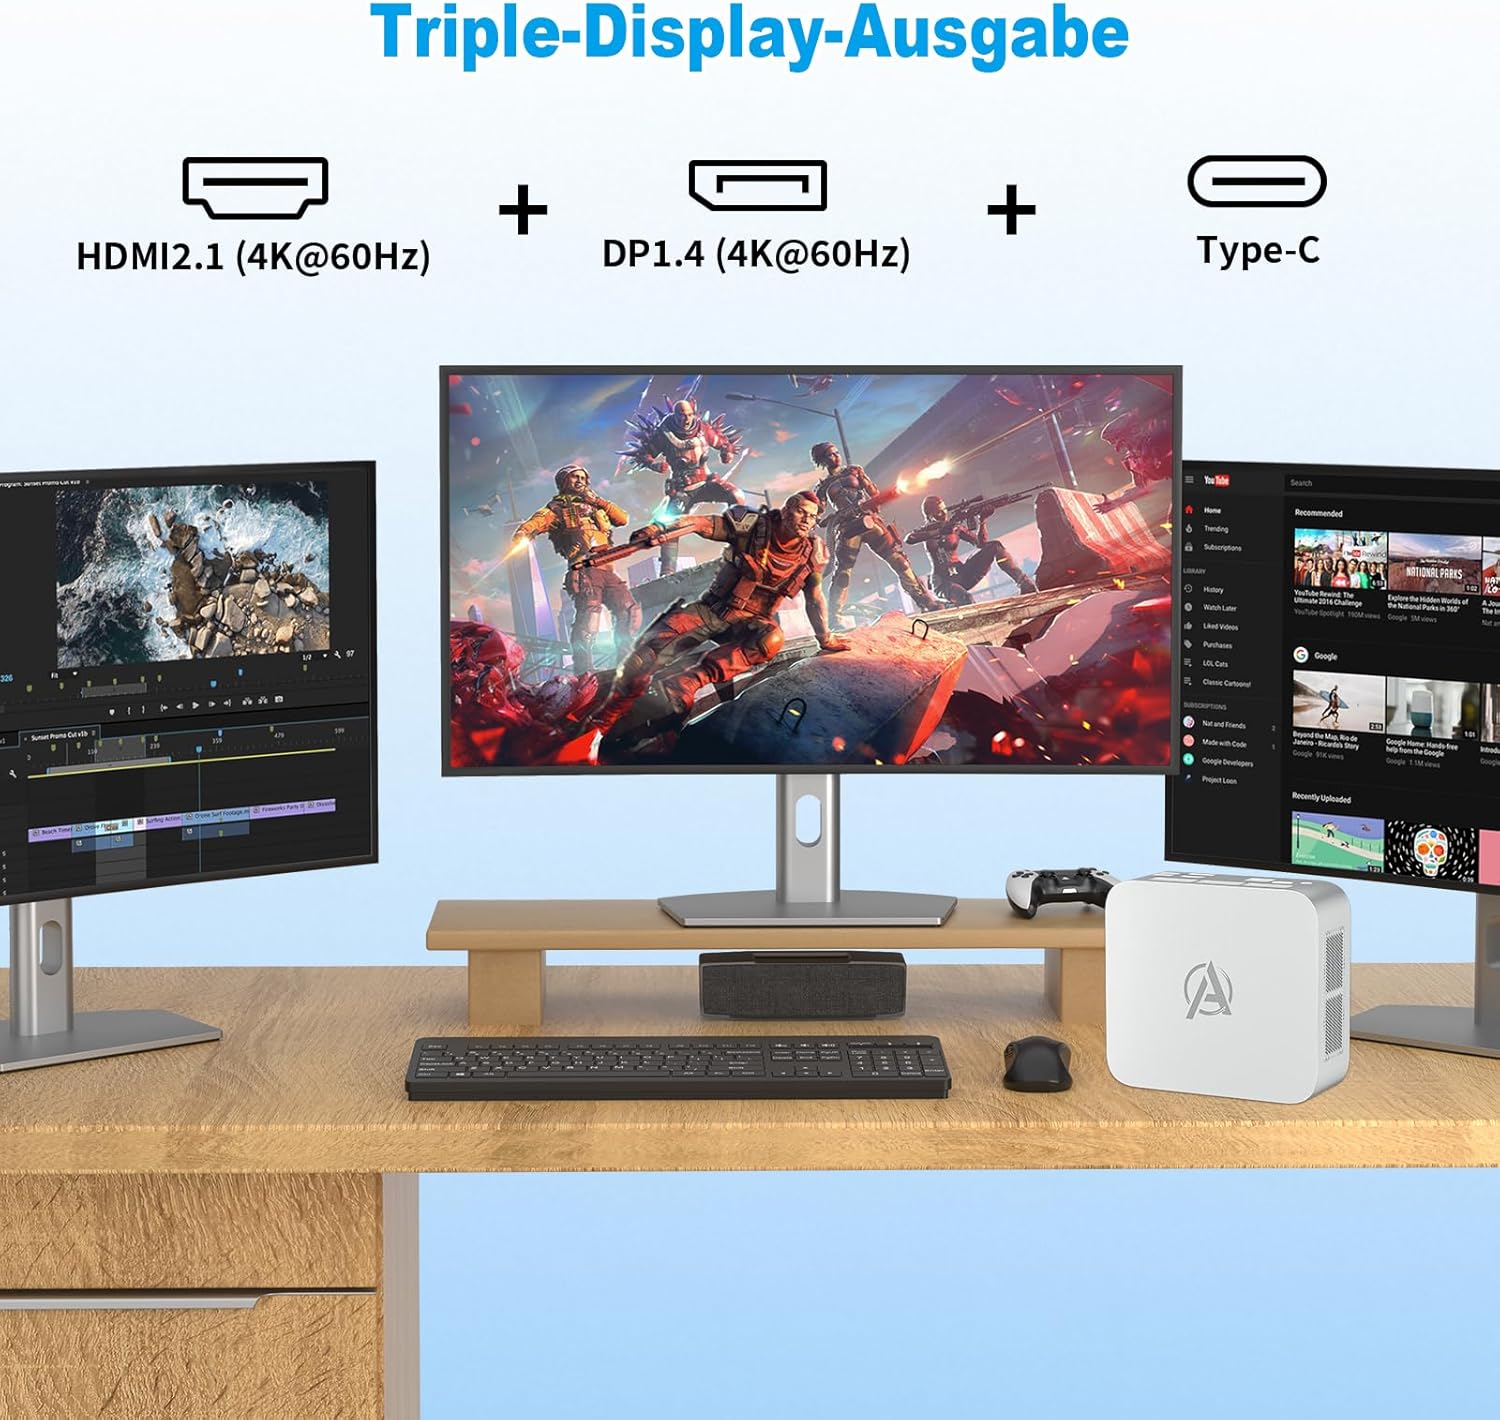
Image: Illustration of the AWOW Mini PC connected to three monitors, demonstrating its triple display output capability via HDMI 2.1, DisplayPort 1.4, and Type-C, all supporting 4K@60Hz.

Image: Graphic illustrating the advanced wireless connectivity of the AWOW Mini PC, featuring Wi-Fi 6 (up to 9.6Gbps, 270% faster than Wi-Fi 5) and Bluetooth 5.2 (2Mbps, 100% faster than BT4.2).
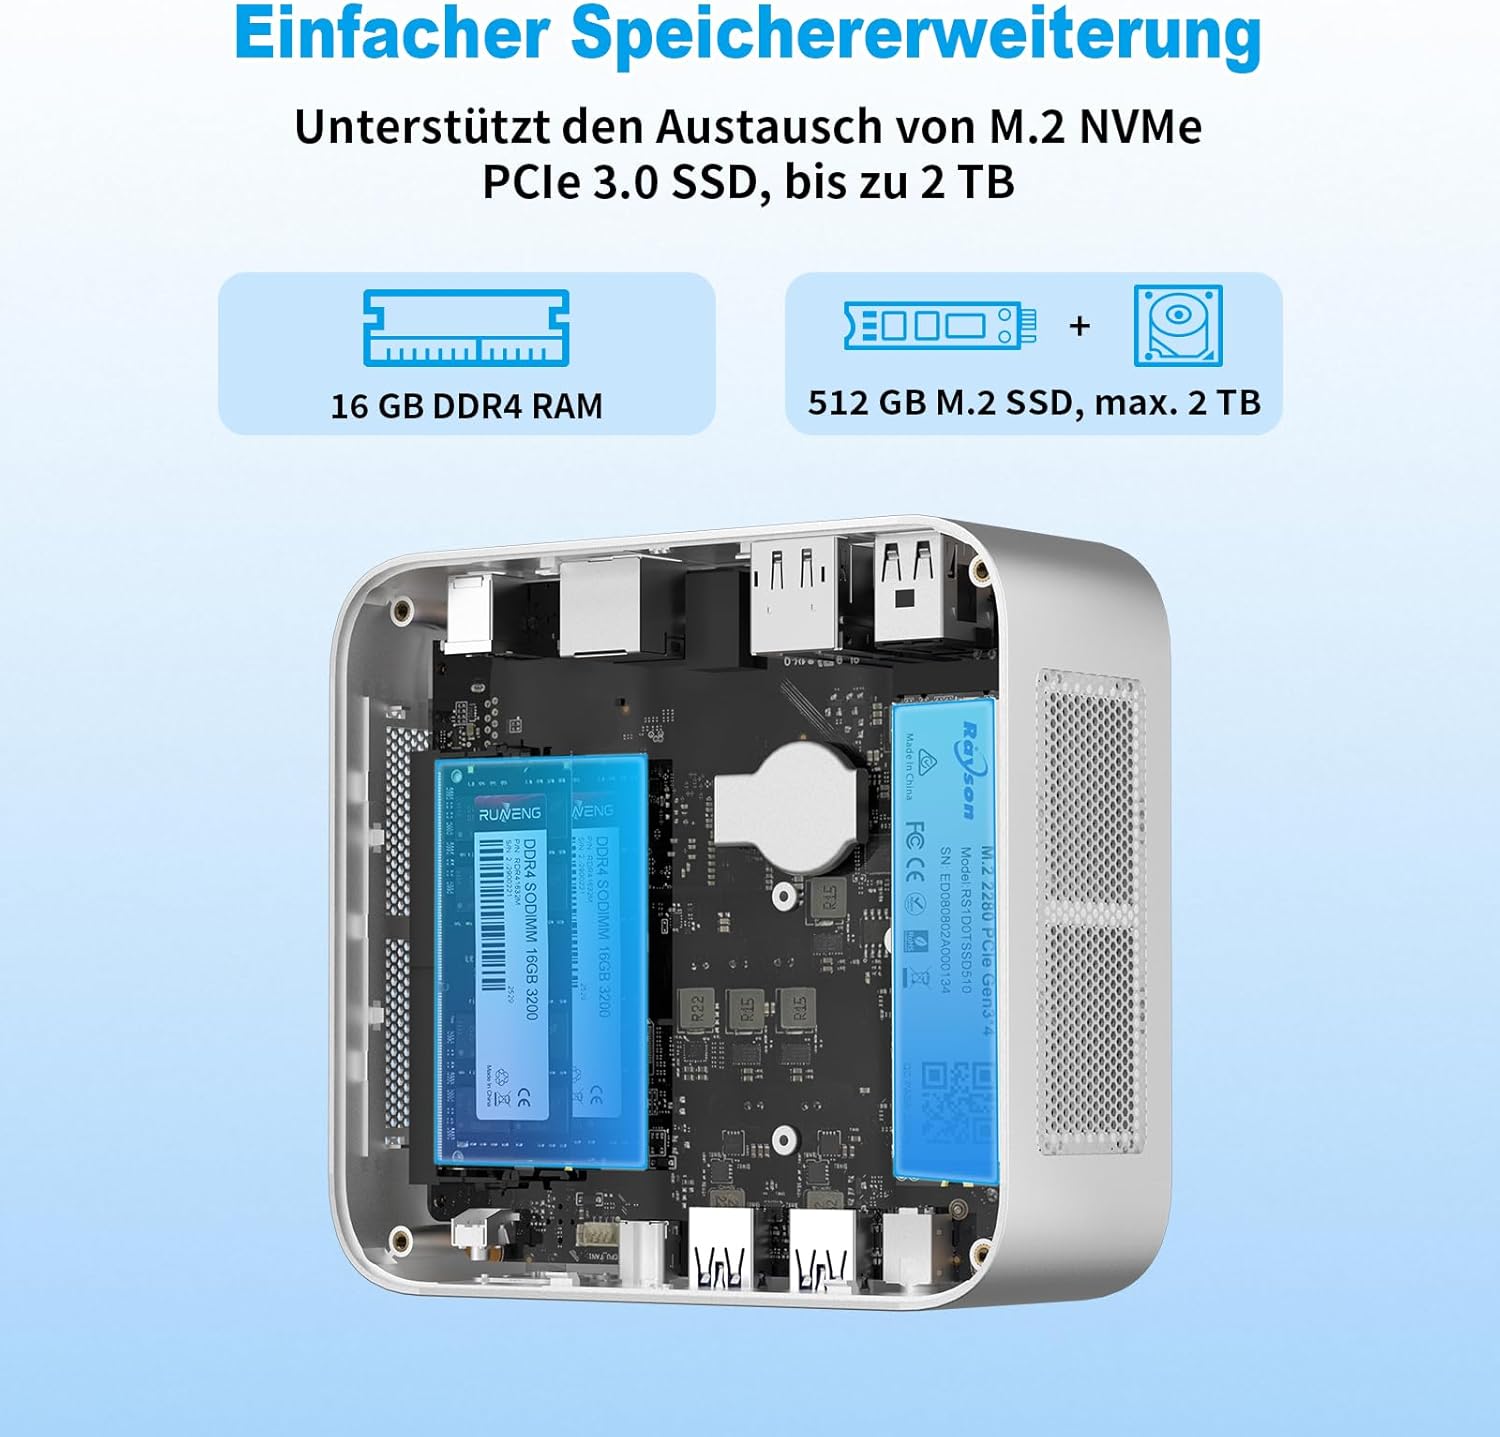
Image: Internal view of the AWOW Mini PC showing the 16GB DDR4 RAM and the 512GB M.2 SSD, with an indication that storage can be expanded up to 2TB via an M.2 NVMe PCIe 3.0 SSD.

Image: Four panels demonstrating the compact size and versatility of the AWOW Mini PC. It shows desktop use, VESA mounting behind a monitor, portability (fitting in a bag), and a size comparison next to a smartphone, reiterating its dimensions.
3. Package Contents
Upon opening the package, please verify that all the following items are included:
- AWOW Mini PC W-11 Pro Core i5-13500HX
- Power Adapter(s)
- HDMI Cable
- User Manual (this document)
- VESA Mount (for monitor attachment)
4. Setup Guide
4.1 Connecting Peripherals
- Connect Display: Use the provided HDMI cable to connect your monitor to the HDMI 2.1 port on the Mini PC. Alternatively, use a DisplayPort cable for the DP 1.4 port or a compatible USB-C to DisplayPort/HDMI cable for the Full-Function USB-C port.
- Connect Keyboard and Mouse: Plug your USB keyboard and mouse into any available USB 2.0 or USB 3.2 ports.
- Connect Network (Optional): For a wired internet connection, connect an Ethernet cable from your router to the 2.5G Gigabit LAN port. For wireless, Wi-Fi 6 is available and will be configured during initial setup.
- Connect Power: Plug the power adapter into the DC IN port on the Mini PC, then plug the adapter into a power outlet.
4.2 Powering On
Press the power button located on the front of the Mini PC. The power indicator light will illuminate, and the system will begin to boot up.
4.3 Initial Windows 11 Pro Setup
Follow the on-screen instructions to complete the initial setup of Windows 11 Pro. This typically involves selecting your region, keyboard layout, connecting to a Wi-Fi network (if not using wired Ethernet), and creating a user account.
4.4 VESA Mount Installation (Optional)
If you wish to mount your Mini PC behind a monitor, attach the included VESA mount to the back of your monitor using the appropriate screws. Then, secure the Mini PC to the VESA mount.
5. Operating Instructions
5.1 Basic Operation
Once Windows 11 Pro is set up, you can use your Mini PC like any standard desktop computer. Navigate the operating system using your connected keyboard and mouse. Access applications, browse the web, and manage files.
5.2 Network Connectivity
- Wired Connection: Ensure an Ethernet cable is connected to the 2.5G Gigabit LAN port for a stable and high-speed internet connection.
- Wireless Connection: To connect to Wi-Fi, click the network icon in the Windows taskbar, select your desired Wi-Fi network, and enter the password. The Mini PC supports Wi-Fi 6 for enhanced performance.
5.3 Using Ports
- USB Ports: Use the USB 3.2 ports for high-speed data transfer with external drives and peripherals. USB 2.0 ports are suitable for keyboards, mice, and other less demanding devices.
- HDMI & DisplayPort: These ports are for connecting external displays. Ensure your cables and monitors support the desired resolution (up to 4K@60Hz).
- Type-C Ports: The Full-Function USB-C port supports data transfer, video output, and power delivery. The other USB-C port is for data transfer only.
- Audio Jack: Connect headphones or external speakers to the 3.5mm audio+microphone combo jack.
5.4 Triple Display Setup
To utilize the triple display feature, connect your primary monitor to the HDMI port, a second monitor to the DisplayPort, and a third monitor to the Full-Function USB-C port (using a compatible adapter/cable if necessary). Windows will automatically detect the displays, and you can configure their arrangement and resolution in the Display Settings.
6. Maintenance
6.1 General Care
- Keep the Mini PC in a well-ventilated area to prevent overheating.
- Avoid exposing the device to extreme temperatures, humidity, or direct sunlight.
- Clean the exterior with a soft, dry cloth. Do not use liquid cleaners.
- Ensure all cables are securely connected.
6.2 Storage Expansion
The Mini PC includes a free M.2 SATA slot for additional storage. To install an M.2 SATA SSD:
- Power off the Mini PC and disconnect all cables.
- Carefully open the casing of the Mini PC (refer to specific instructions if provided with the device for safe opening).
- Locate the M.2 SATA slot.
- Insert the M.2 SATA SSD into the slot and secure it with the provided screw.
- Close the casing and reconnect all cables.
- Upon booting, you may need to initialize and format the new SSD through Windows Disk Management before it can be used.
7. Troubleshooting
If you encounter issues with your AWOW Mini PC, please refer to the following common troubleshooting steps:
- No Power: Ensure the power adapter is securely connected to both the Mini PC and a working power outlet. Try a different outlet if necessary.
- No Display: Verify that the monitor is powered on and the display cable (HDMI, DP, or USB-C) is firmly connected to both the Mini PC and the monitor. Try a different display cable or monitor if available.
- System Overheating/Unexpected Shutdowns: Ensure the Mini PC is placed in a location with adequate airflow and that its ventilation vents are not obstructed. Avoid placing it on soft surfaces that can block airflow. If the issue persists, reduce heavy workload or contact support.
- Driver Issues After Reinstallation: If you perform a fresh installation of Windows, you may need to download specific drivers from the AWOW official website to ensure all hardware components function correctly. It is recommended to back up existing drivers before a fresh OS install.
- Peripheral Not Detected: Try connecting the peripheral to a different USB port. Ensure the peripheral's drivers are installed if required.
- Network Connectivity Problems: For wired connections, check the Ethernet cable and router status. For Wi-Fi, ensure you are connected to the correct network and have entered the password correctly. Restart your router and the Mini PC.
For more complex issues, please consult the AWOW support website or contact customer service.
8. Specifications
| Feature | Specification |
|---|---|
| Brand | AWOW |
| Model Number | BI13 |
| Processor | Intel Core i5-13500HX (14 Cores, 20 Threads, 2.5GHz base, up to 4.7GHz turbo) |
| RAM | 16 GB DDR4 3200MHz (Expandable up to 64 GB) |
| Storage | 512 GB M.2 PCIe 3.0 SSD (with additional M.2 SATA slot for expansion up to 2TB) |
| Graphics | Integrated Intel Graphics |
| Operating System | Windows 11 Pro |
| Wireless Connectivity | Wi-Fi 6 (802.11ax), Bluetooth 5.2 |
| Wired Connectivity | 2.5G Gigabit Ethernet (RJ45) |
| USB Ports | 2x USB 3.2, 2x USB 2.0, 1x Full-Function USB-C, 1x Data USB-C |
| Video Output | 1x HDMI 2.1 (4K@60Hz), 1x DisplayPort 1.4 (4K@60Hz), 1x Full-Function USB-C (4K@60Hz) |
| Audio | 3.5mm Audio+Microphone Combo Jack |
| Dimensions | Approx. 136 x 123 x 48 mm (5.35 x 4.84 x 1.89 inches) |
| Color | Silver |
9. Warranty and Support
AWOW products are covered by a limited warranty. For detailed warranty information, terms, and conditions, please refer to the warranty card included in your package or visit the official AWOW support website. If you require technical assistance, driver downloads, or have questions not covered in this manual, please contact AWOW customer support through their official channels.


