
1. Introduction
Thank you for choosing the Cubonic VividGo Mi7 Portable Gaming Console. This manual provides essential information for setting up, operating, maintaining, and troubleshooting your device. Please read it carefully to ensure optimal performance and longevity of your console.
2. Product Overview
The Cubonic VividGo Mi7 is a portable gaming console designed for an immersive retro gaming experience. It features a 4.3-inch HD display, a vast library of pre-installed games, and an ergonomic design for comfortable play.
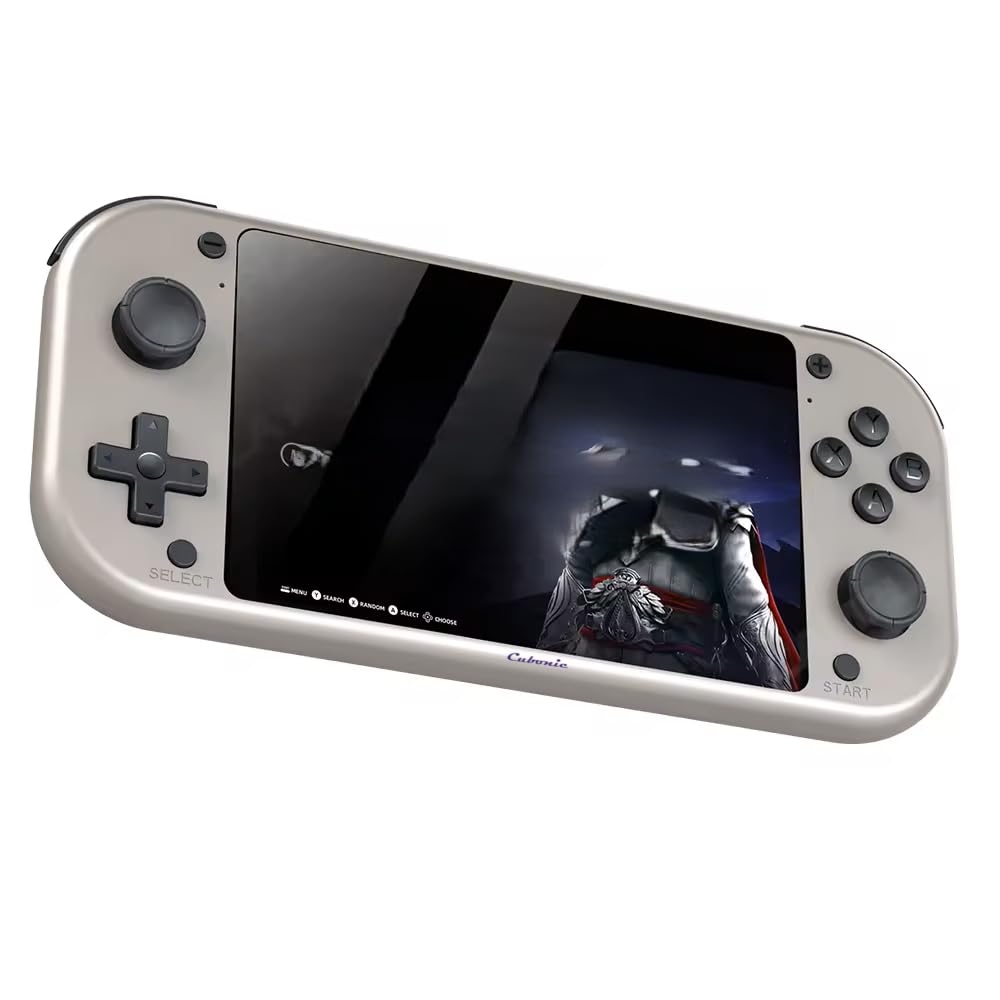
Image 2.1: Front view of the Cubonic VividGo Mi7 Portable Gaming Console.
Key Features:
- Expansive Game Library: Over 20,000 pre-installed retro games with multiplatform emulator support.
- High-Quality Display: 4.3-inch HD LCD screen with eye-care technology for vibrant visuals.
- Versatile Connectivity: Includes a 64GB memory card, headphone jack, and built-in stereo speakers.
- Ergonomic Design: Classic button layout with dual joysticks for comfortable extended gaming sessions.
- Enhanced Features: Expandable storage and a long-lasting battery with USB charging capability.
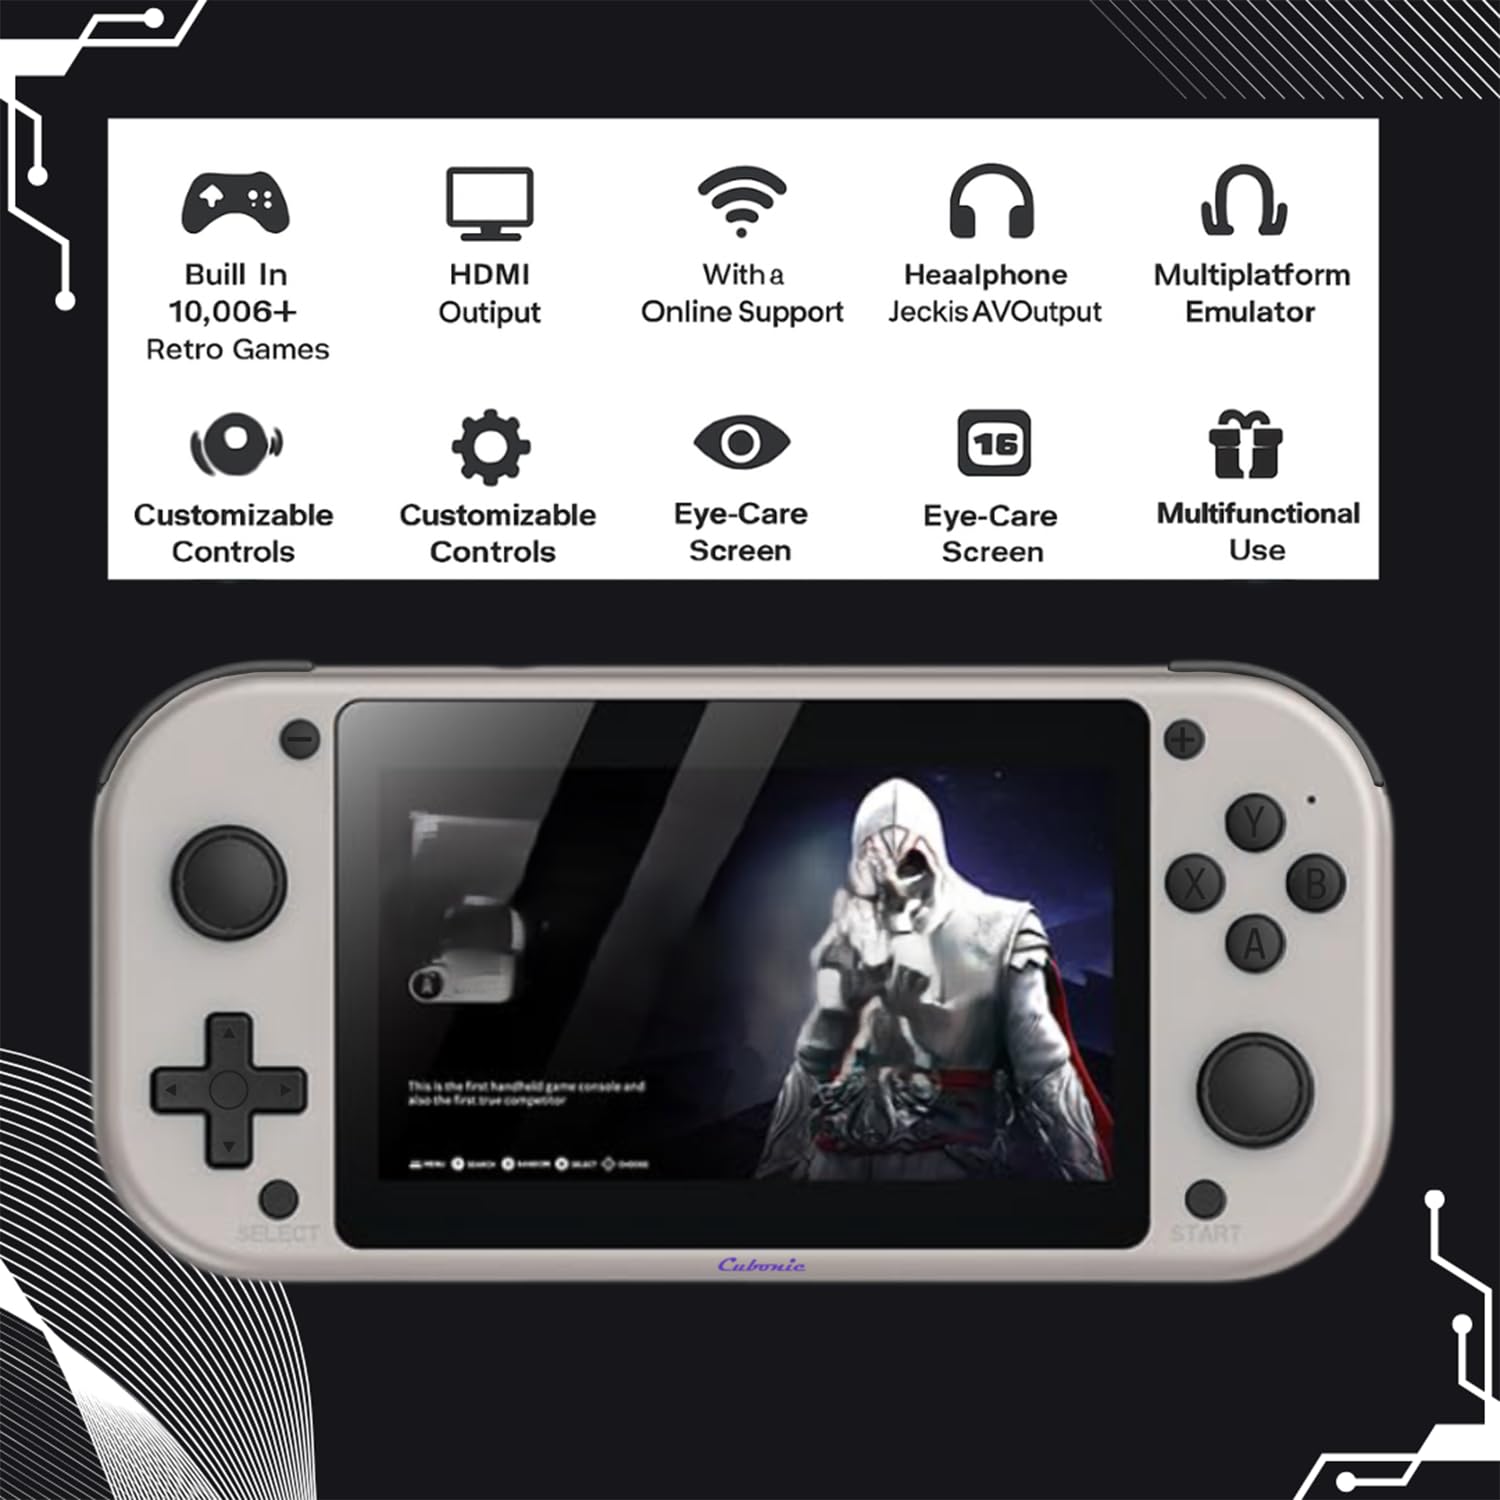
Image 2.2: Overview of console features including HDMI output, headphone jack, and multiplatform emulator support.

Image 2.3: Rear view of the console, highlighting the TF card slot and USB port.
3. Setup
3.1 Charging the Console
Before first use, fully charge the console. Connect the provided USB charging cable to the console's USB port and a compatible USB power adapter (not included) or a computer's USB port. The charging indicator will illuminate during charging and turn off when fully charged.
3.2 Inserting the Memory Card
The console comes with a 64GB memory card pre-installed. If you need to access or replace it:
- Locate the TF card slot on the top edge of the console (refer to Image 2.3).
- Gently insert or remove the memory card. Ensure the console is powered off before inserting or removing the card to prevent data corruption.
3.3 Initial Power On
Press and hold the power button located on the top of the console for a few seconds until the screen illuminates. The console will boot up to the main menu.
4. Operating Instructions
4.1 Basic Controls
The VividGo Mi7 features a classic control layout:
- Directional Pad (D-Pad): For menu navigation and in-game movement.
- Analog Joysticks: For precise character or camera control in supported games.
- Action Buttons (A, B, X, Y): Primary gameplay interactions.
- L/R Triggers: Typically used for aiming, shooting, or other actions.
- SELECT / START Buttons: For menu access, pausing games, or confirming selections.

Image 4.1: Detailed view of the console's control layout.
4.2 Navigating the Menu
Use the D-Pad or left analog joystick to navigate through the main menu options. Press the 'A' button to select an option or enter a sub-menu. Press the 'B' button to go back to the previous screen.
4.3 Starting a Game
- From the main menu, select the 'Games' or 'Emulator' option.
- Browse through the list of pre-installed games or emulators.
- Select your desired game and press 'A' to launch it.
4.4 Saving and Loading Game States
Many emulators support 'save states' which allow you to save your progress at any point in a game. Refer to the specific emulator's in-game menu (often accessed by pressing SELECT + START simultaneously or a dedicated menu button) for options to save and load states.

Image 4.2: Console displaying game save state options and multimedia functions.
4.5 Audio Output
The console has built-in stereo speakers. For private listening, connect 3.5mm headphones to the headphone jack located on the top of the device.
5. Maintenance
5.1 Cleaning the Console
Use a soft, dry, lint-free cloth to clean the console's screen and body. Do not use liquid cleaners, sprays, or abrasive materials, as these can damage the device.
5.2 Battery Care
- Avoid exposing the console to extreme temperatures.
- Do not leave the console uncharged for extended periods. Charge it periodically even if not in use.
- Use only compatible charging cables and adapters.
5.3 Storage
When not in use, store the console in a cool, dry place away from direct sunlight and dust.
6. Troubleshooting
If you encounter issues with your Cubonic VividGo Mi7, please refer to the following common problems and solutions:
| Problem | Possible Cause | Solution |
|---|---|---|
| Console does not power on. | Low battery or power button not pressed correctly. | Charge the console for at least 30 minutes. Press and hold the power button firmly for 3-5 seconds. |
| Games are freezing or lagging. | Software issue, memory card problem, or system overload. | Restart the console. Ensure the memory card is properly inserted. Close any background applications if applicable. Some emulated games may have performance limitations. |
| No sound from speakers/headphones. | Volume too low, headphones not fully inserted, or software glitch. | Increase the volume. Re-insert headphones. Restart the console. |
| Screen is blank or distorted. | Console frozen or display issue. | Perform a hard reset by holding the power button for 10 seconds. If the issue persists, contact support. |
| Cannot save game progress. | Memory card full or corrupted, or incorrect save procedure. | Check available storage on the memory card. Ensure you are using the correct in-game or emulator save state function. |
7. Specifications
- Model: VividGo Mi7
- Display: 4.3-inch HD LCD with Eye-Care Technology
- Preloaded Games: 20,000+ (Multiplatform Emulator Support)
- Storage: Expandable, includes 64GB Memory Card
- Battery: Long-lasting, USB Charging Capability (1 C battery included)
- Audio: Built-in Stereo Speakers, 3.5mm Headphone Jack
- Controls: Dual Joysticks, D-Pad, Action Buttons (A, B, X, Y), L/R Triggers, SELECT/START
- Dimensions: 19 x 8.6 x 2.1 cm
- Weight: 180 g
- Languages: English, Mandarin Chinese
8. Warranty and Support
For warranty information and technical support, please contact Cubonic India Customer Care. Details are provided below:
- Manufacturer: Cubonic India
- Address: R 1/5 Rajnagar, Ghaziabad, U.P.-201001
- Customer Care (Whatsapp): +91 7011410155
Please retain your proof of purchase for any warranty claims.