
1. Introduction and Safety Guidelines
This manual provides essential information for the safe and proper use of your MEGA MOTION ME1 Electric Scooter. Please read all instructions carefully before assembly and operation. Retain this manual for future reference.
Important Safety Information
- Always wear appropriate protective gear, including a helmet, knee pads, and elbow pads.
- Ensure the scooter is fully charged before each use.
- Do not ride in wet conditions, on uneven surfaces, or at night without adequate lighting.
- Supervise children at all times while operating the scooter.
- Adhere to local traffic laws and regulations regarding electric scooter use.
- The maximum weight capacity for this scooter is 50 kg.

Figure 1: MEGA MOTION ME1 Electric Scooter. This image shows the scooter's overall design, highlighting its grey frame and yellow wheels and handlebars.
2. Setup and Assembly
The MEGA MOTION ME1 scooter is designed for straightforward assembly. A basic tool kit is included to assist with the process.
Assembly Steps
- Unpack Components: Carefully remove all parts from the packaging. Verify that all components listed in the packing list are present.
- Attach Handlebar: Insert the handlebar stem into the main frame tube. Ensure it is fully seated and aligned.
- Secure Handlebar: Use the provided tools to tighten the clamping mechanism or screws that secure the handlebar in place. Ensure there is no wobble.
- Initial Charge: Before first use, fully charge the scooter's battery. Connect the charger to the charging port and a power outlet. The indicator light on the charger will typically change color when charging is complete.

Figure 2: Key features including adjustable handlebar, digital display, folding, and motor details. This diagram illustrates various functional aspects of the scooter relevant to setup and operation.
3. Operating Instructions
Power On/Off and Speed Modes
- Power On: Press and hold the power button on the handlebar display until the screen illuminates.
- Power Off: Press and hold the power button again until the display turns off.
- Speed Modes: The scooter features three speed modes, selectable via the control panel:
- E (Economy): Approximately 8 km/h (5 mph) - Ideal for beginners.
- N (Normal): Approximately 12 km/h (7.5 mph) - Balanced speed for general riding.
- S (Sport): Approximately 16 km/h (10 mph) - For experienced riders.
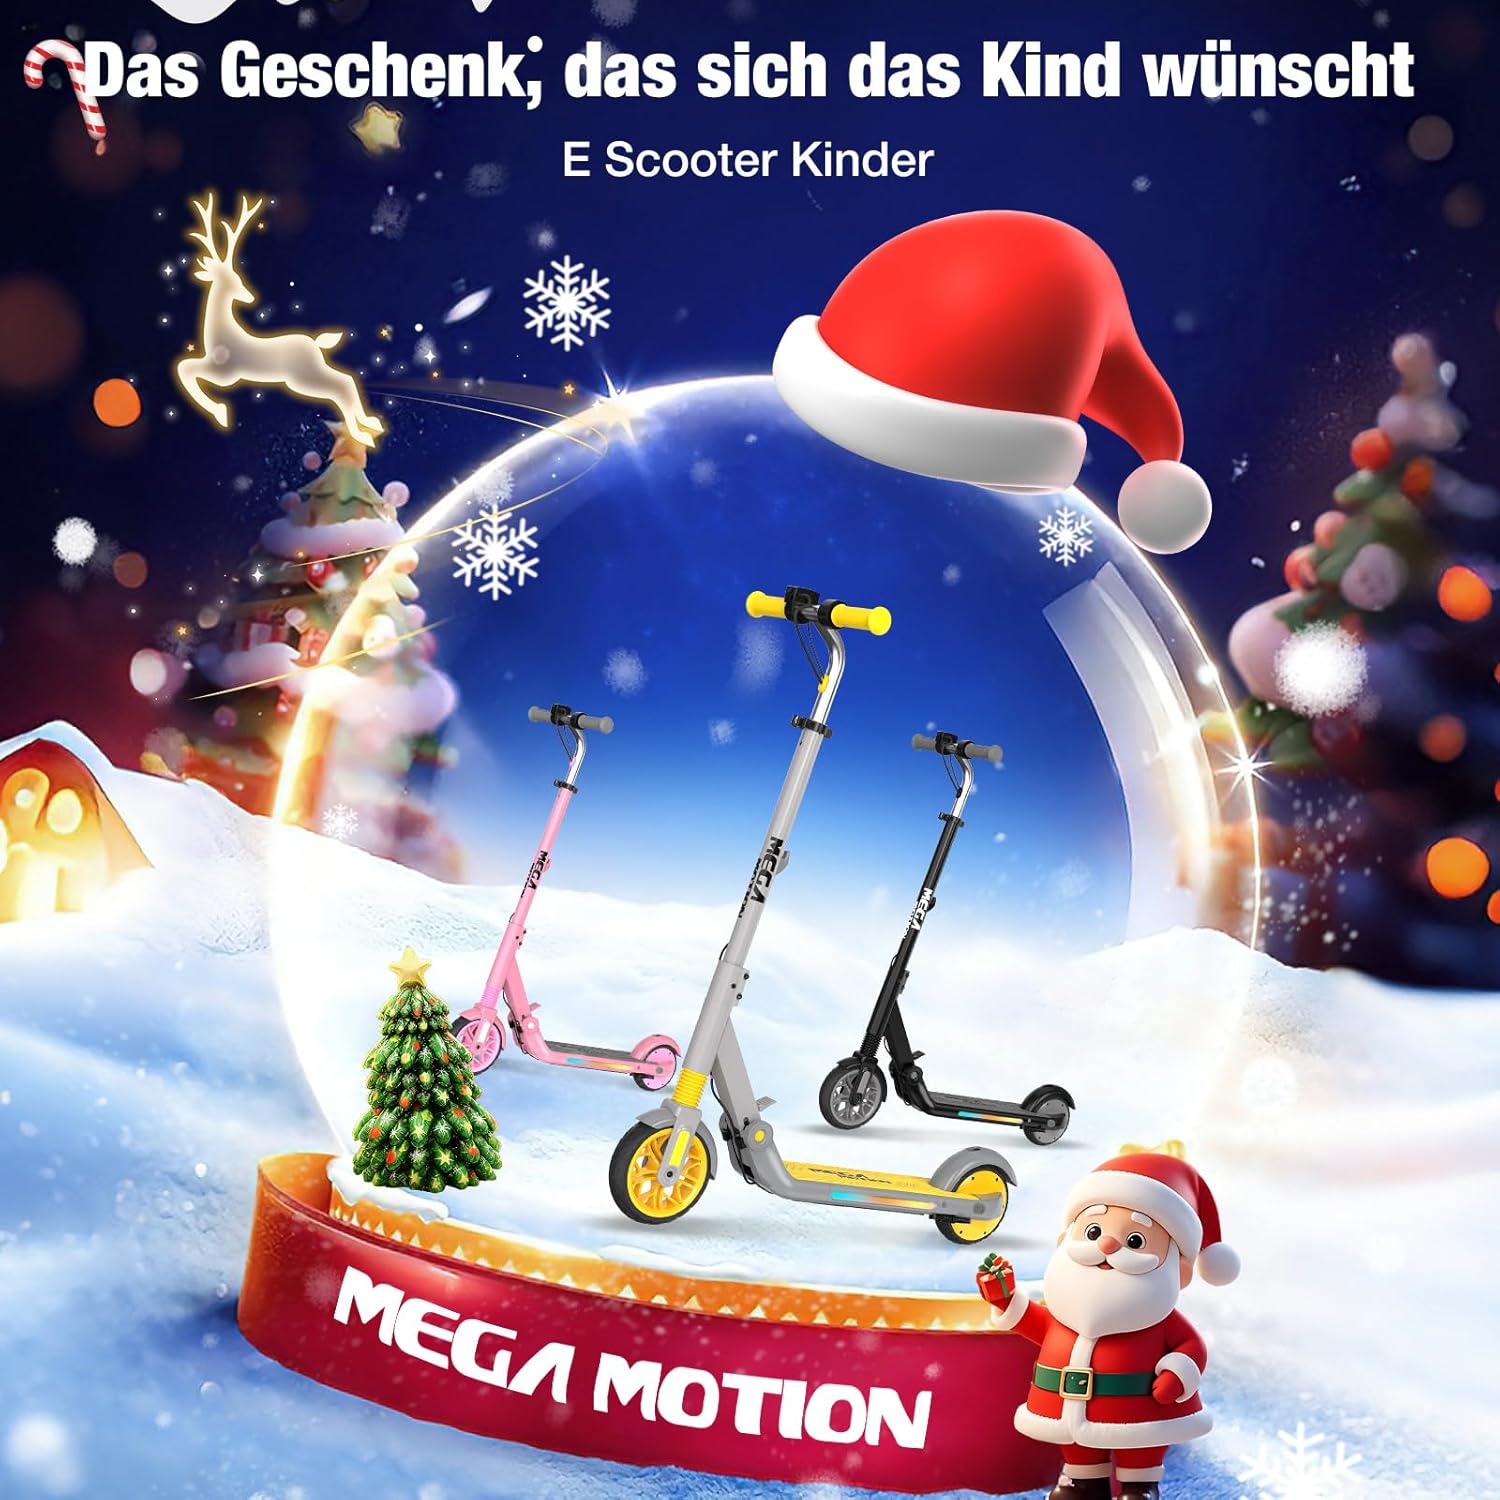
Figure 3: LED display indicating the three available speed modes and their maximum speeds. This display helps riders monitor their current speed setting.
Riding and Braking
- Starting: Place one foot on the deck and push off with the other foot to gain initial momentum. Once moving, place both feet on the deck. The motor will engage when a certain speed is reached and pressure is applied to the deck.
- Acceleration: Use the thumb accelerator lever on the handlebar to control speed.
- Braking: The scooter is equipped with a dual braking system:
- Thumb Brake: Located on the handlebar for convenient front wheel braking.
- Rear Fender Brake: Press down on the rear fender with your foot for additional braking power.

Figure 4: Handlebar controls, including the rubber grip, brake lever, and accelerator. These are the primary interfaces for controlling the scooter's movement.
Adjustable Handlebar and LED Lighting
- Handlebar Height: The handlebar can be adjusted to three different heights (95cm, 100cm, 103cm) to accommodate growing children. To adjust, locate the quick-release lever or adjustment pins on the stem, set to the desired height, and secure firmly.
- LED Side Lights: The scooter features integrated LED neon lights on the side of the deck, enhancing visibility and adding a stylish element. These lights typically activate when the scooter is powered on.

Figure 5: Illuminated LED strip on the scooter's deck. These lights improve visibility, especially in low-light conditions.
Folding Mechanism
The scooter features a foldable design for easy transport and storage.
- To Fold: Locate the folding latch or lever near the base of the handlebar stem. Engage the mechanism to release the stem, then carefully fold the handlebar down towards the deck until it locks into place.
- To Unfold: Release the folding latch, lift the handlebar stem until it clicks securely into the upright position. Ensure the locking mechanism is fully engaged before riding.

Figure 6: The scooter shown in its folded configuration, demonstrating its portability and ease of storage.
4. Maintenance
Battery Charging
- Use only the charger provided with the scooter.
- Charge the battery in a dry, well-ventilated area, away from flammable materials.
- Do not overcharge the battery; disconnect the charger once charging is complete.
- If the scooter will not be used for an extended period, charge the battery every 30-60 days to maintain its health.
Cleaning and Storage
- Clean the scooter with a damp cloth. Do not use harsh chemicals or abrasive cleaners.
- Avoid spraying water directly onto electrical components.
- Store the scooter in a cool, dry place, away from direct sunlight and extreme temperatures.
- Ensure the scooter is clean and dry before storing.
5. Troubleshooting
If you encounter issues with your scooter, please refer to the following common solutions:
- Scooter not turning on: Ensure the battery is charged. Check all cable connections for looseness.
- Motor not engaging: Confirm the scooter has sufficient initial momentum (kick-start). Ensure the accelerator is being pressed correctly.
- Reduced performance: This may indicate a low battery charge. Fully charge the scooter. Check for any obstructions around the wheels.
- Unusual noises: Inspect wheels and bearings for debris or damage. Ensure all screws and bolts are tightened.
For persistent issues not covered here, please contact customer support.
6. Specifications
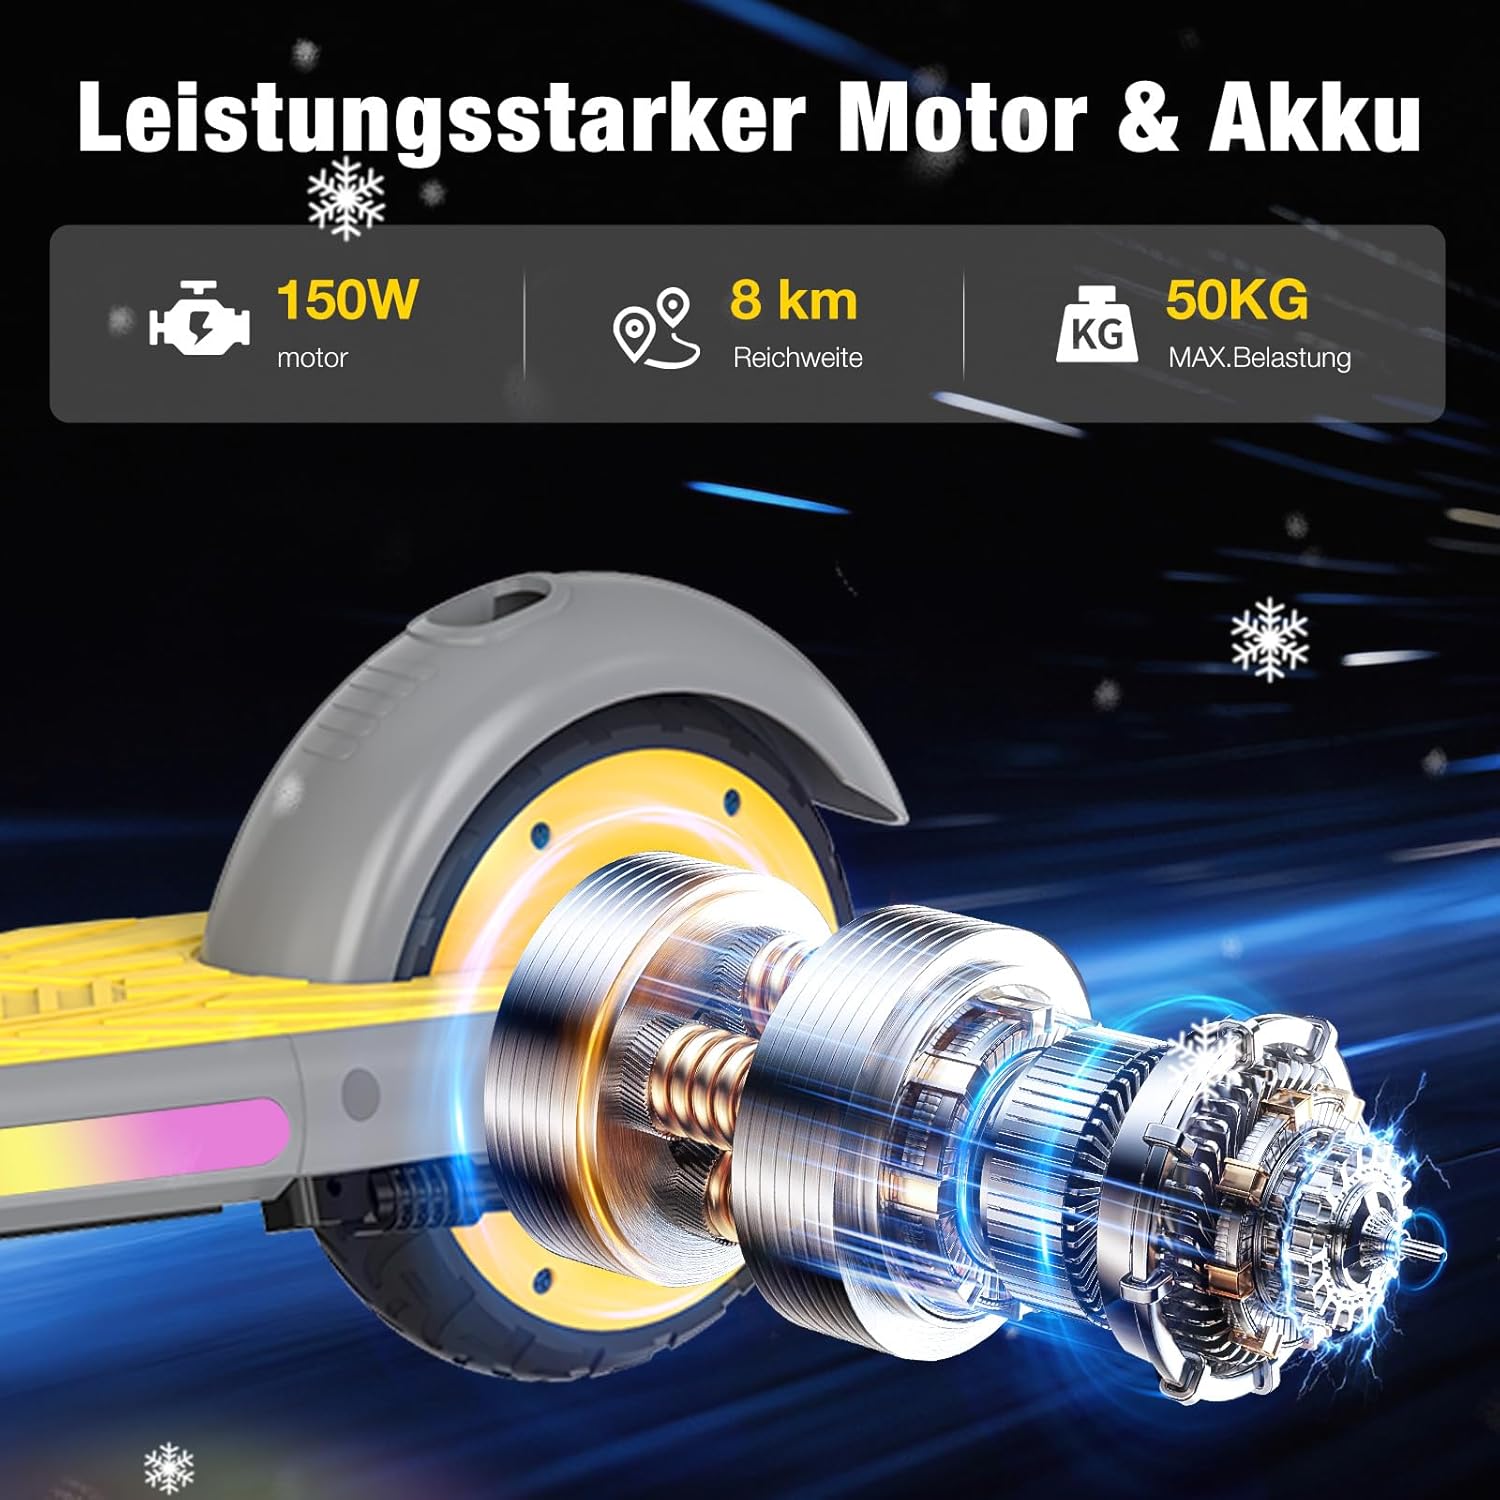
Figure 7: Visual representation of the scooter's motor and key performance metrics. This highlights the power and capacity of the ME1 model.
| Feature | Specification |
|---|---|
| Model Number | ME1 |
| Brand | MEGA MOTION |
| Motor Power | 150W |
| Maximum Speed | 16 km/h (Sport Mode) |
| Range | Up to 8 km |
| Maximum Load Capacity | 50 kg |
| Product Dimensions (L x W x H) | 84 x 34 x 103 cm |
| Item Weight | 7.28 kg |
| Wheel Size | Front: 7 inches, Rear: 6 inches (Urethane) |
| Frame Material | Aluminum |
| Brake Type | Thumb brake (front), Rear fender brake |
| Age Range | Child (Recommended 6-12 years) |
| Special Features | LED lighting, Adjustable handlebar height, Foldable design |
| Battery Type | Lithium-polymer (included) |
7. Warranty and Support
For warranty information or technical support, please refer to the documentation included with your purchase or contact the seller directly. Keep your proof of purchase for any warranty claims.