
Introduction
The Princess Capsule and Latte Pro Coffee Machine is designed to deliver a premium coffee experience with ease. This fully automatic machine is compatible with Nespresso capsules and features an integrated milk system for a variety of coffee beverages.
- Instant Barista Coffee: Easily prepare espresso, cappuccino, or latte with a single button press, thanks to the 20-bar pump and automatic milk system.
- Effortless Cleaning: Removable milk system parts and drip tray are dishwasher-safe. The water reservoir and capsule tray are also easy to clean.
- Safe Operation: Automatic shut-off and overheat protection ensure a safe experience, even during busy mornings.
- Daily Convenience: Features a removable 0.8L water tank, BPA-free materials, and non-slip feet for practical and secure use.
- Popular Capsule Compatibility: Use Nespresso capsules and other similar-sized capsules to enjoy your favorite blends.
Important Safety Instructions
Please read all instructions carefully before using the appliance. Keep this manual for future reference.
- Ensure the voltage indicated on the appliance corresponds to your local mains voltage before connecting.
- Do not immerse the appliance, power cord, or plug in water or any other liquid.
- Always unplug the appliance from the power outlet before cleaning, maintenance, or if it is not in use.
- Keep the appliance out of reach of children.
- Do not operate the appliance if the power cord or plug is damaged, or if the appliance malfunctions or has been damaged in any way.
- Use only original accessories and spare parts.
- Avoid contact with hot surfaces. Use handles or knobs.
- The appliance features an automatic shut-off function for safety.
Product Components
Familiarize yourself with the main parts of your Princess Capsule and Latte Pro Coffee Machine.

- Water Tank: Removable tank for fresh water.
- Capsule Holder: For Nespresso-compatible capsules.
- Coffee Spout: Where the brewed coffee is dispensed.
- Control Panel: Buttons for power, espresso, and lungo/milk functions.
- Milk System: Integrated reservoir and frother for milk-based drinks.
- Drip Tray: Collects excess liquid and supports cups.
- Used Capsule Container: Stores used capsules for easy disposal.
Setup
1. Unpacking and Initial Cleaning
- Remove all packaging materials and stickers from the appliance.
- Clean the water tank, milk reservoir, drip tray, and used capsule container with warm soapy water. Rinse thoroughly and dry.
- Wipe the exterior of the machine with a damp cloth.
2. Positioning the Machine
Place the coffee machine on a stable, flat, heat-resistant surface, away from water sources and heat.

3. Filling the Water Tank
- Remove the water tank from the back of the machine.
- Fill the tank with fresh, cold drinking water up to the MAX level. Do not exceed the MAX mark.
- Place the water tank back onto the machine securely.
4. First Use / Priming the Machine
- Plug the appliance into a grounded power outlet.
- Place an empty cup under the coffee spout.
- Press the power button to turn on the machine. The buttons will flash as the machine heats up.
- Once the buttons stop flashing and remain steady, the machine is ready.
- Press the Lungo button (larger coffee icon) to run a full cycle of hot water through the system without a capsule. Repeat this 2-3 times to clean and prime the internal components.
Operating Instructions
1. Making Espresso or Lungo
- Ensure the water tank is filled.
- Lift the lever to open the capsule holder.
- Insert a Nespresso-compatible capsule into the holder.
- Close the lever firmly.
- Place a cup on the drip tray under the coffee spout.
- Press the Espresso button (smaller coffee icon) for a short coffee or the Lungo button (larger coffee icon) for a longer coffee.
- The machine will brew the coffee and stop automatically.
- After brewing, lift the lever to eject the used capsule into the container.

2. Using the Automatic Milk System for Cappuccino or Latte
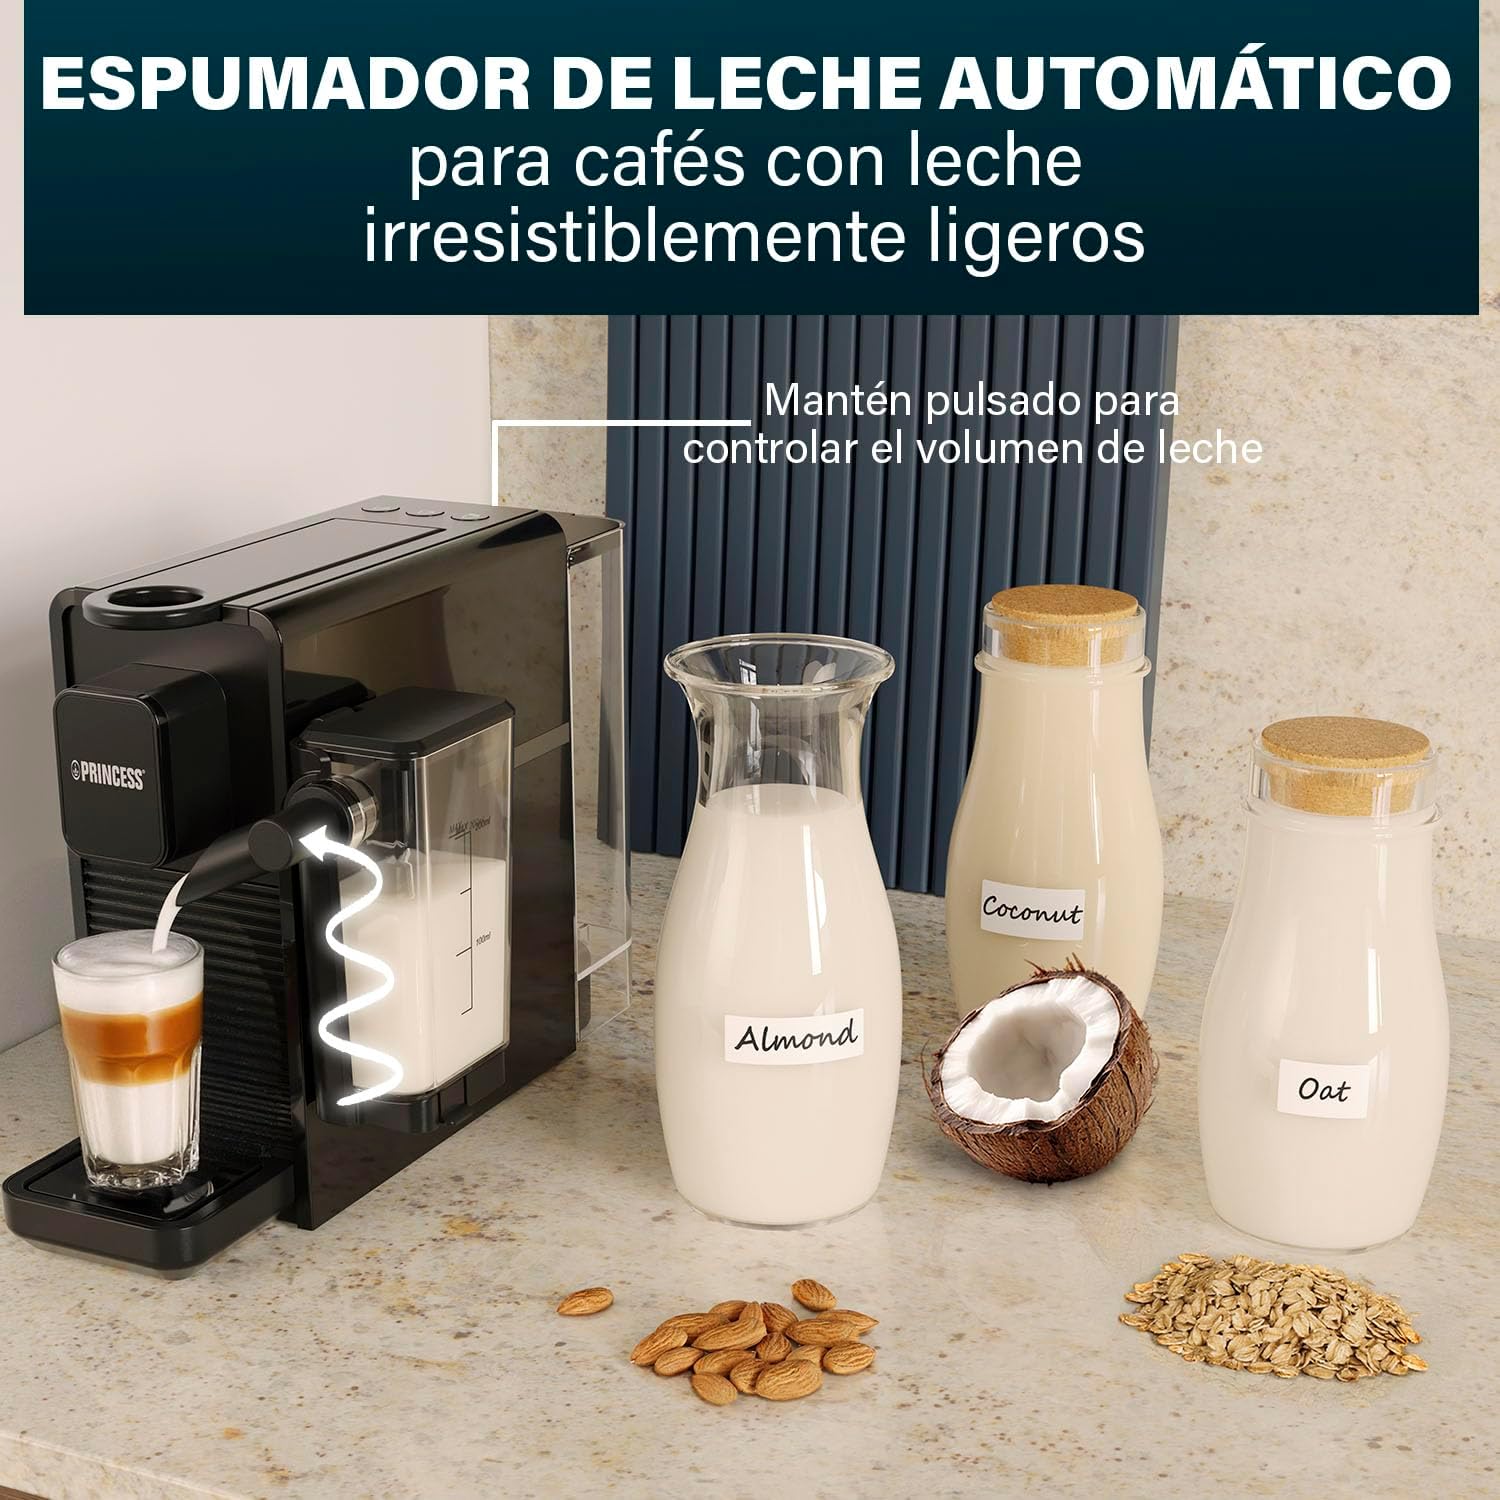
- Fill the milk reservoir with fresh, cold milk (dairy or plant-based) up to the desired level.
- Attach the milk reservoir to the machine.
- Insert a coffee capsule as described above.
- Place a larger cup or latte glass under both the coffee spout and the milk frother nozzle.
- Press the milk button (often combined with Lungo or a dedicated milk icon) to start the milk frothing and coffee brewing process.
- The machine will first froth and dispense milk, then brew the coffee.
- To control the volume of milk, press and hold the milk button until the desired amount is dispensed, then release.

3. Adjusting Coffee Volume
The machine comes with pre-set volumes for Espresso and Lungo. You can customize these settings:
- Place a cup under the coffee spout.
- Insert a capsule.
- Press and hold either the Espresso or Lungo button.
- Release the button once the desired coffee volume is reached. The machine will remember this setting for future brews of that type.
Cleaning and Maintenance
Regular cleaning ensures optimal performance and extends the lifespan of your coffee machine.
1. Daily Cleaning
- Empty and rinse the drip tray and used capsule container after each use.
- Wipe the coffee spout and exterior of the machine with a damp cloth.
- Empty and rinse the water tank daily.
2. Cleaning the Milk System
The milk system should be cleaned after each use to prevent blockages and ensure hygiene.
- Remove the milk reservoir from the machine.
- Disassemble the milk system components (reservoir, frothing nozzle).
- Wash all removable parts with warm soapy water or place them in the dishwasher (if indicated as dishwasher-safe).
- Rinse thoroughly and ensure no milk residue remains.
- Reassemble the milk system.


3. Descaling
Descaling is essential to remove mineral deposits and maintain machine performance. The frequency depends on water hardness and usage.
- Use a suitable descaling solution designed for coffee machines.
- Follow the instructions provided with the descaling solution.
- Typically, this involves filling the water tank with the descaling solution and running several cycles through the machine without a capsule.
- After descaling, rinse the water tank thoroughly and run several cycles with fresh water to flush out any remaining descaling solution.
Troubleshooting
| Problem | Possible Cause | Solution |
|---|---|---|
| No coffee is dispensed. | Water tank is empty; machine not primed; capsule not inserted correctly; machine is clogged. | Fill water tank; prime the machine; reinsert capsule; descale the machine. |
| Coffee is cold. | Machine not preheated sufficiently; cups are cold. | Allow machine to fully preheat; preheat cups with hot water. |
| Milk is not frothing properly. | Milk system is dirty or clogged; incorrect milk type/temperature; milk reservoir not properly attached. | Clean the milk system thoroughly; use fresh, cold milk (full-fat dairy often works best); ensure milk reservoir is securely attached. |
| Machine leaks water. | Water tank not properly seated; internal component issue. | Ensure water tank is correctly positioned; if problem persists, contact customer support. |
| Buttons are flashing continuously. | Machine is heating up; descaling needed. | Wait for buttons to become steady; if flashing persists after heating, refer to descaling instructions. |
Specifications
| Feature | Detail |
|---|---|
| Brand | Princess |
| Model Number | 01.249455.01.001 |
| Color | Black |
| Product Dimensions (L x W x H) | 22.3 x 15 x 32 cm |
| Product Weight | 3.2 kg |
| Voltage | 230 Volts |
| Wattage | 1400 Watts |
| Pump Pressure | 20 Bar |
| Water Tank Capacity | 0.8 Liters |
| Coffee Maker Type | Espresso Coffee Machine |
| Operating Mode | Fully Automatic |
| Compatibility | Nespresso-compatible capsules |
| Special Features | Automatic Milk System, BPA-free materials, Automatic Shut-off, Overheat Protection, Dishwasher-safe parts (milk system, drip tray) |
Warranty and Support
For warranty information, please refer to the warranty card included with your product or visit the official Princess website. In case of technical issues or questions not covered in this manual, please contact Princess customer support.
Keep your proof of purchase for any warranty claims.