Introduction
This manual provides detailed instructions for the safe and efficient operation and maintenance of your Garvee Single Tap Kegerator. Please read this manual thoroughly before installation and use, and retain it for future reference.
Key Features:
- Large interior capacity to accommodate one full-size keg (15.5 gal), a quarter keg (7.75 gal), or two 5 gal commercial kegs.
- Ultra-quiet performance and high energy efficiency.
- Thermostatic temperature control with a range of 35°F to 50°F (1.7°C to 10°C).
- Dual functionality as a draft beer machine or a standard refrigerator with adjustable storage racks.
- Durable dispensing kit with high-quality components and a stainless steel base plate for easy keg loading.
- Removable drip tray for easy cleaning.
Safety Information
Always follow basic safety precautions when using electrical appliances to reduce the risk of fire, electrical shock, and injury. Ensure the unit is unplugged before cleaning or performing any maintenance. Keep children away from the appliance. Do not store explosive substances such as aerosol cans with a flammable propellant in this appliance.
Package Contents
Your Garvee Kegerator package includes the main refrigerator unit, a beer kegerator dispensing kit, a removable drip tray, and adjustable storage racks. Please verify all components are present upon unpacking.

Image: The complete dispense kit for the Garvee Kegerator, featuring a single tap tower, drip tray, and various internal components for setup.
Setup
Follow these steps to set up your Garvee Kegerator:
- Unpacking: Carefully remove all packaging materials and inspect the unit for any damage.
- Caster Installation: Attach the included casters to the bottom of the unit for mobility. Ensure the two front casters with locks are installed at the front.
- Guard Rail Installation: Secure the stainless steel guard rail to the top of the kegerator.
- Beer Tower & Tap Installation: Insert the beer line through the opening on the top of the unit, then mount the beer tower and tap. Secure it with the provided screws.
- CO2 Tank Holder & Regulator Assembly: Mount the CO2 tank holder to the back of the unit. Attach the regulator to the CO2 cylinder and then place the cylinder into the holder.
- Connecting Air & Beer Lines: Connect the air line from the regulator to the keg coupler. Connect the beer line from the tap tower to the keg coupler. Ensure all connections are secure to prevent leaks.
- Initial Placement: Allow the unit to stand upright for at least 24 hours before plugging it in to allow the refrigerant to settle.
Video: This video provides a visual guide to the assembly and initial setup of a VEVOR Kegerator, demonstrating the installation of the tap tower, CO2 tank, and line connections.
Video: A detailed guide on setting up a KC2000 series Kegerator, including attaching casters, guard rails, and connecting the CO2 system.
Operation
Temperature Control:
The kegerator features thermostatic temperature control, allowing you to maintain the interior temperature between 35°F and 50°F (1.7°C to 10°C). Use the control panel on the front of the unit to adjust the temperature to your desired setting.
Dispensing Beer:
Once the keg is properly installed and chilled, pull the tap handle forward to dispense beer. Ensure the CO2 pressure is set correctly for optimal flow and carbonation.
Converting to Refrigerator:
To use the unit as a standard refrigerator, remove the keg and dispensing components. Install the adjustable storage racks (included) to store food or beverages. This allows for versatile use beyond just dispensing draft beer.
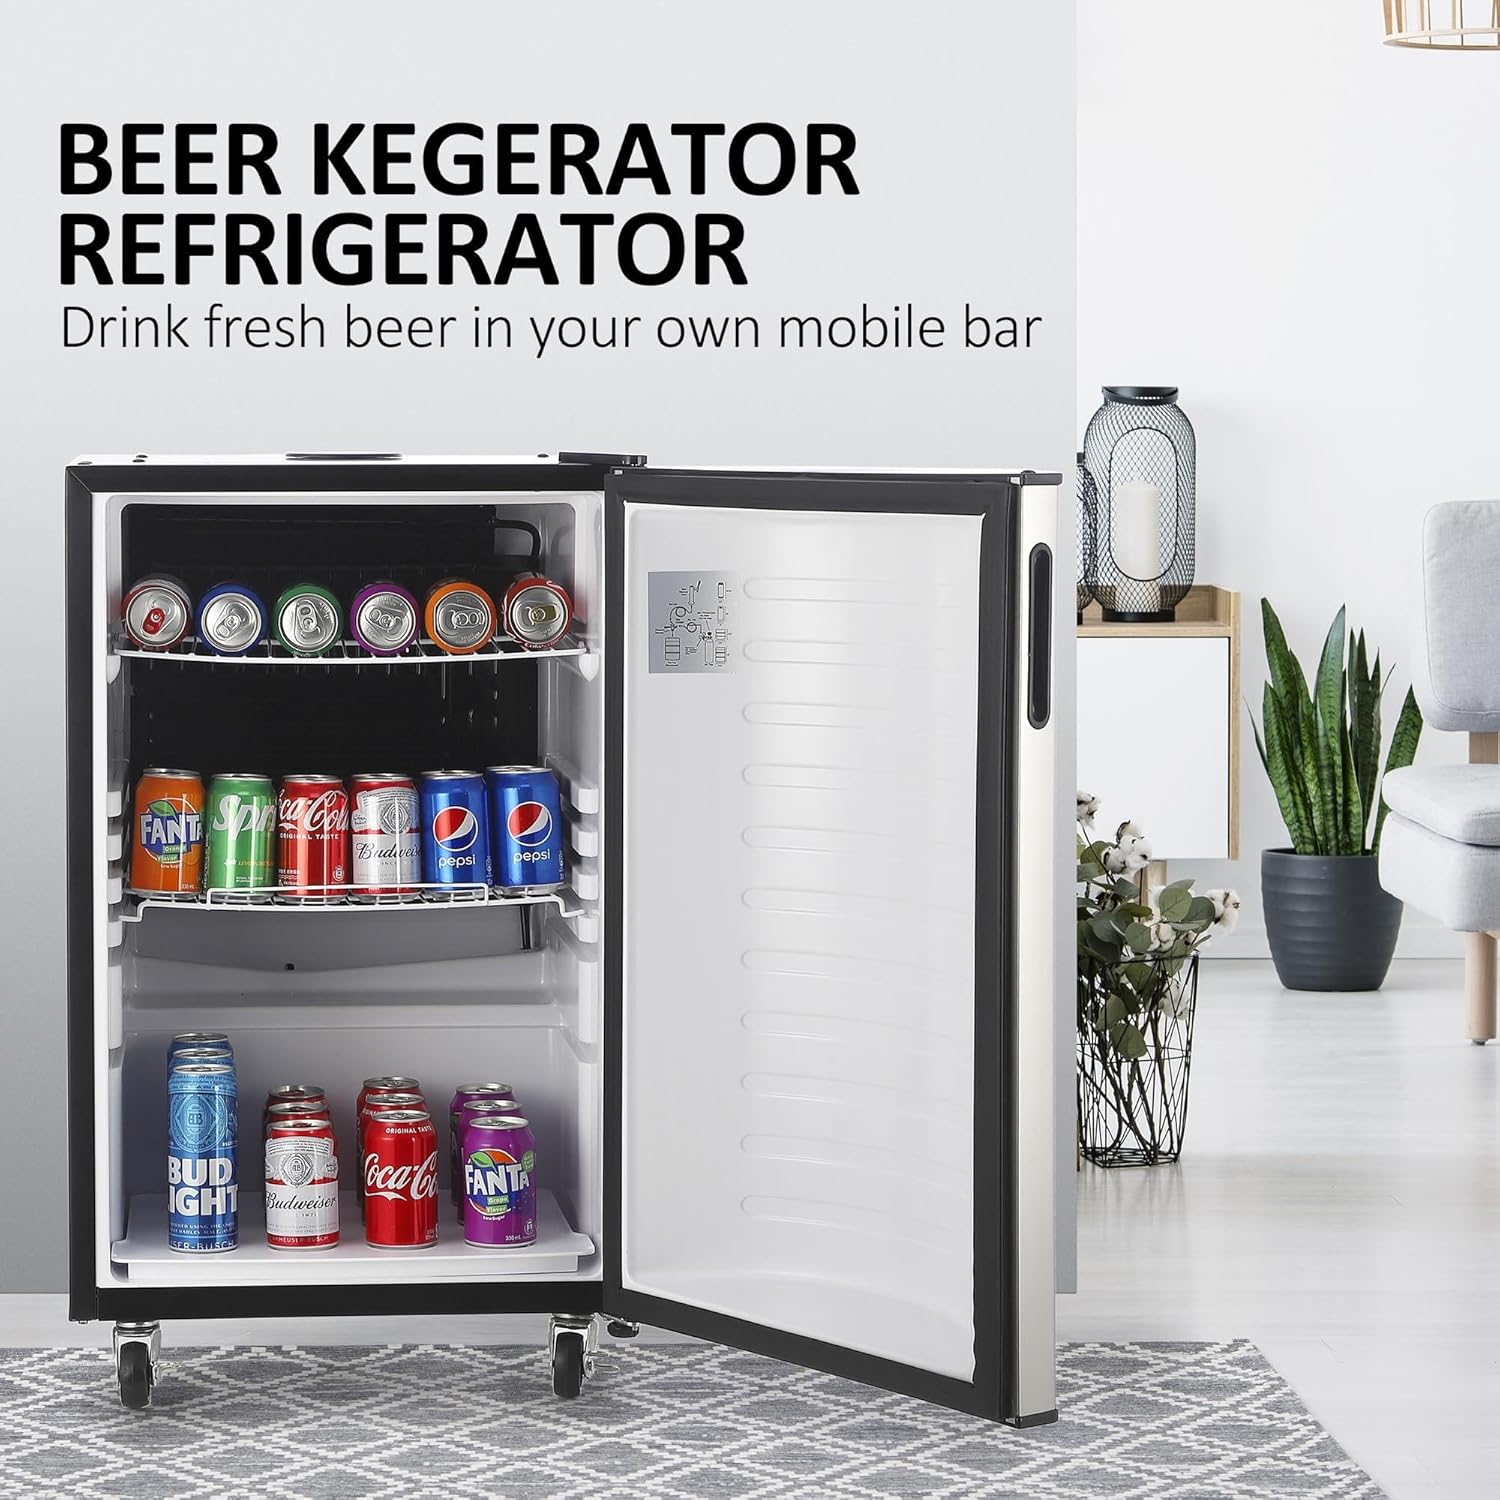
Image: The Garvee Kegerator's interior, showcasing its ability to function as a beverage refrigerator with adjustable shelves.
Maintenance
Cleaning the Drip Tray:
The removable drip tray should be cleaned regularly to prevent spills and maintain hygiene. Simply slide out the tray, empty any liquid, and wash it with warm, soapy water. Rinse thoroughly and dry before reinserting.

Image: A close-up of the removable drip tray, highlighting its easy-to-clean design.
General Cleaning:
Wipe down the exterior of the kegerator with a soft, damp cloth. For stainless steel surfaces, use a specialized stainless steel cleaner to maintain its finish. Clean the interior of the refrigerator periodically with a mild detergent and water. Ensure the unit is unplugged before cleaning.
Troubleshooting
If you encounter any issues with your Garvee Kegerator, please refer to the following common troubleshooting tips:
- No Power: Check if the power cord is securely plugged into an outlet and if the circuit breaker has tripped.
- Not Cooling: Ensure the temperature setting is appropriate and that the unit is not placed in direct sunlight or near a heat source. Verify that the condenser coils are clean and not obstructed.
- Beer Not Dispensing: Check the CO2 tank for sufficient pressure and ensure the regulator is properly connected and turned on. Verify that the keg coupler is correctly attached to the keg and that the beer lines are not kinked or blocked.
- Excessive Foam: Adjust the CO2 pressure, ensure the beer is adequately chilled, and check for any kinks in the beer line.
For more complex issues, please contact customer support.
Specifications
| Brand Name | Garvee |
| Model Info | sB8uywZWcopPyeA1iriptgzCpWb2P |
| Item Weight | 85.3 pounds |
| Product Dimensions | 31.5 x 26.38 x 38.39 inches |
| Capacity | 4.5 Cubic Feet (128 L) |
| Included Components | Beer Kegerator, Dispensing Kit, Drip Tray, Adjustable Racks |
| Temperature Control Range | 35°F - 50°F (1.7°C - 10°C) |

Image: Detailed measurements of the Garvee Kegerator, illustrating its dimensions for placement and capacity planning.
Warranty & Support
For any questions, technical assistance, or support regarding your Garvee Kegerator, please refer to the contact information provided with your purchase or visit the Garvee official website. Specific warranty details are typically included with the product documentation.


