
1. Introduction
Thank you for choosing the ALSTU P50 Rechargeable LED Flashlight. This manual provides essential information for the safe and efficient operation, maintenance, and troubleshooting of your new flashlight. Please read this manual thoroughly before use and retain it for future reference.
2. Package Contents
Verify that all items are present in your package:
- 3x ALSTU P50 Bright Flashlight (with built-in battery)
- 3x USB Charging Cable
- 3x Lanyard
- 1x User Manual
3. Product Overview
The ALSTU P50 is a high-lumen, rechargeable LED flashlight designed for various applications including camping, hiking, home use, and emergencies. It features a durable aluminum alloy housing, multiple lighting modes, and an adjustable beam for versatile illumination.

Key Components:
- LED Chip: Provides powerful and efficient illumination.
- Power Switch: Controls power on/off and mode selection.
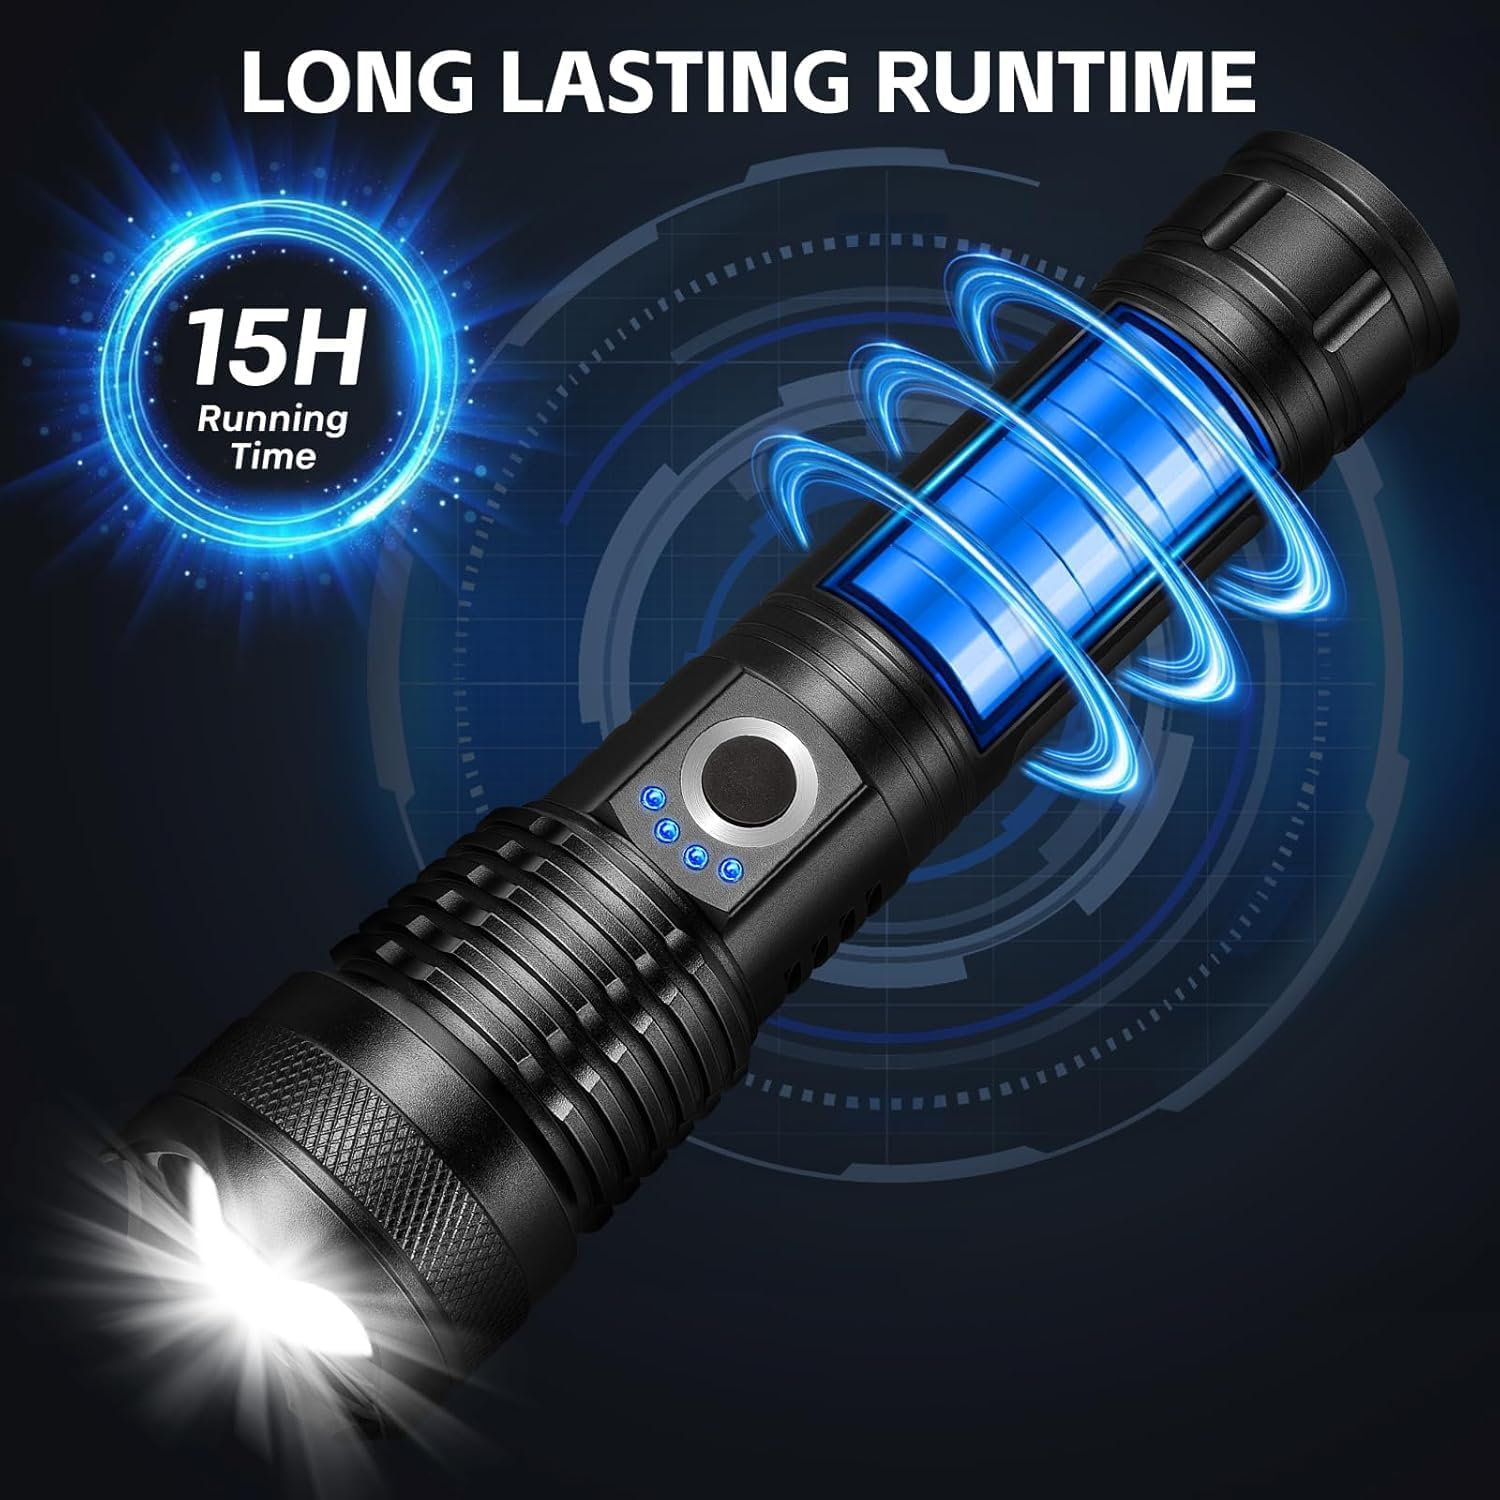
- Indicator Light: Displays battery status during use and charging.
- Adjustable Design: Allows for beam focus adjustment (wide to narrow).
- Non-slip Handle: Ensures a secure grip.
- Safety Hammer: Integrated into the rear cover for emergency use.
4. Setup
4.1 Initial Charging
Before first use, fully charge the flashlight's built-in battery. This ensures optimal performance and battery longevity.
- Locate the charging port on the flashlight (typically covered by a rubber flap).
- Connect one end of the provided USB charging cable to the flashlight's charging port.
- Connect the other end of the USB cable to a compatible USB power source (e.g., wall adapter, computer USB port, power bank).
- The indicator lights will show charging progress. A full charge typically takes 3-5 hours.
- Once fully charged, disconnect the cable and ensure the charging port cover is securely closed to maintain water resistance.

5. Operating Instructions
5.1 Power On/Off
Press the power switch button once to turn the flashlight ON. Press and hold the power switch for approximately 2 seconds to turn the flashlight OFF.
5.2 Changing Light Modes
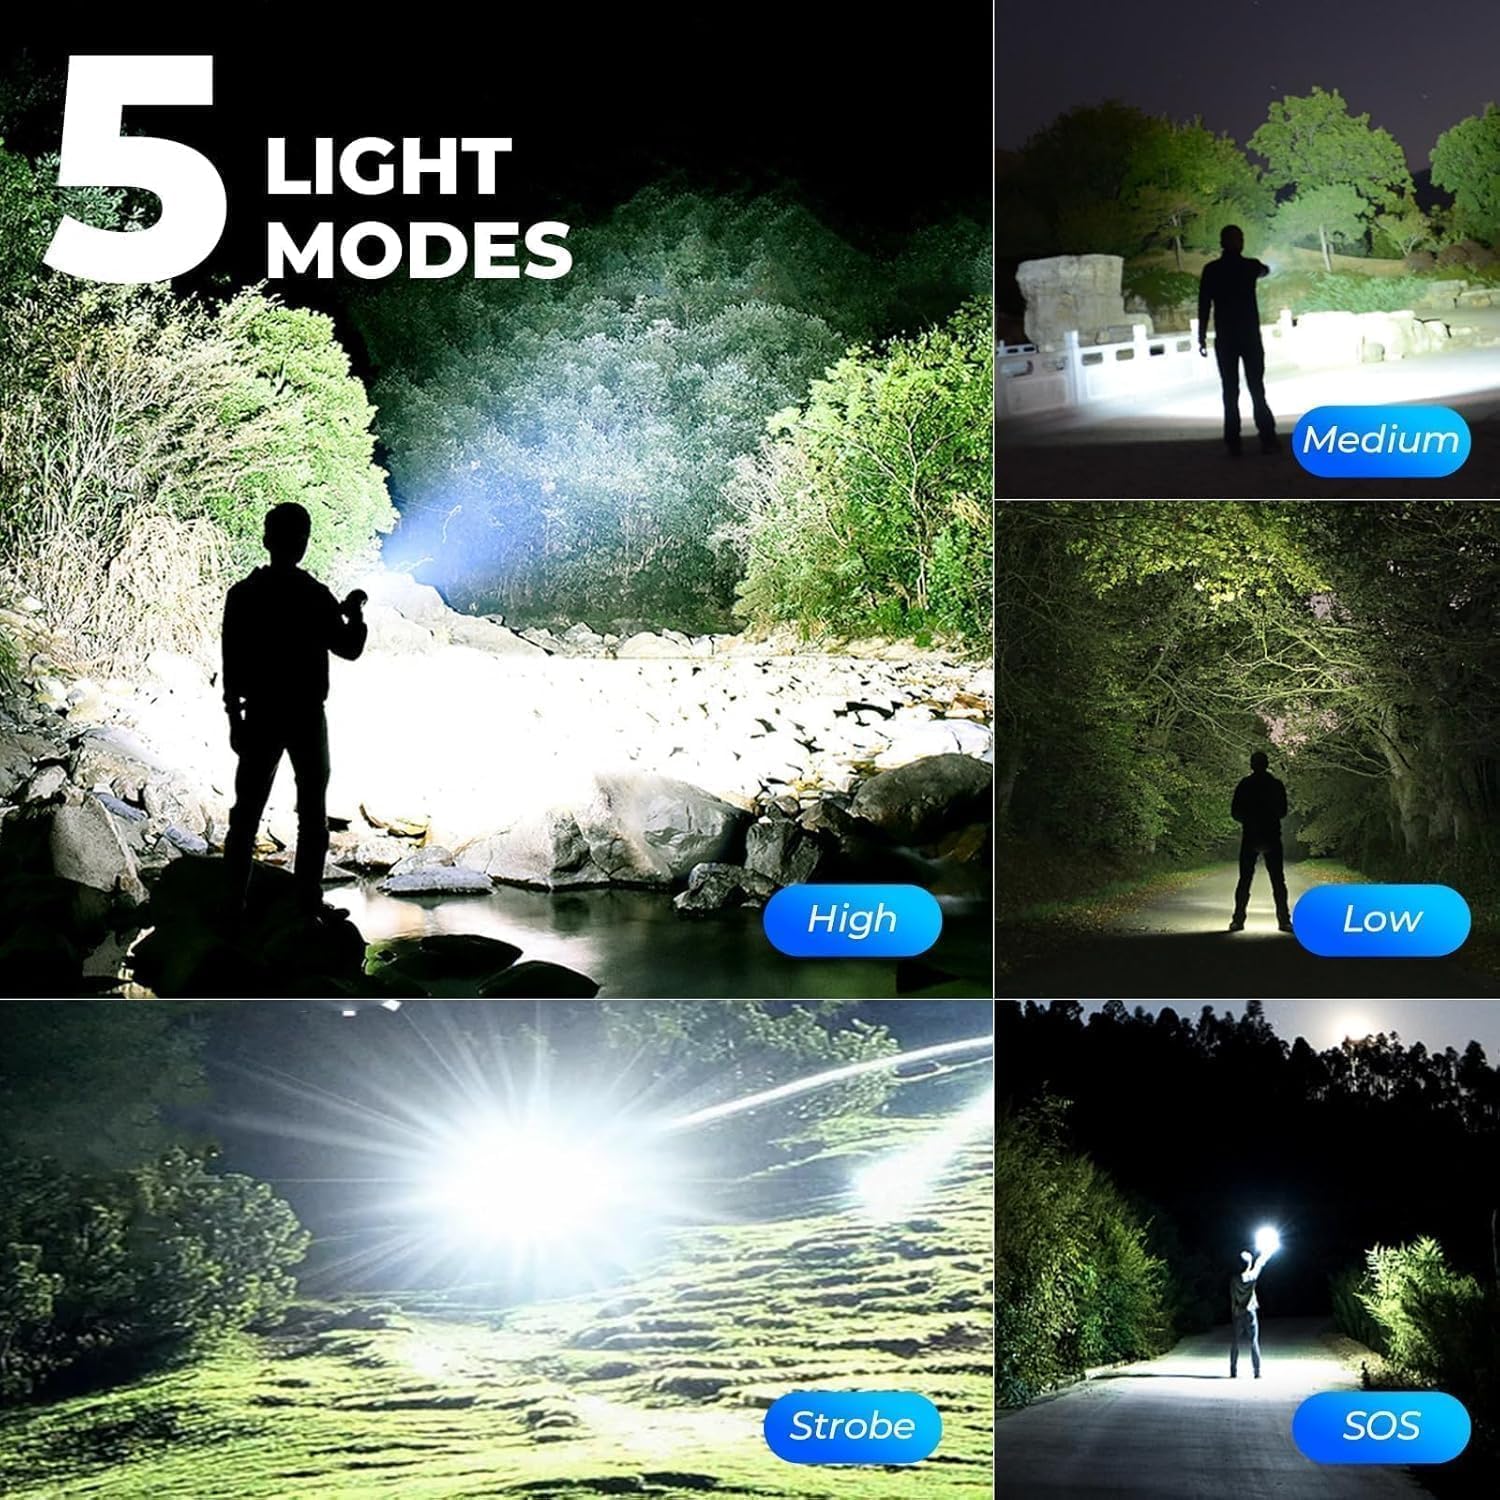
With the flashlight ON, press the power switch button repeatedly to cycle through the available lighting modes:
- High: Maximum brightness for extensive illumination.
- Medium: Balanced brightness for general use.
- Low: Reduced brightness for extended battery life or close-range tasks.
- Strobe: Flashing light for signaling or disorientation.
- SOS: International Morse code signal for emergencies.
5.3 Adjusting Focus
The ALSTU P50 flashlight features an adjustable beam. To change the focus from a wide floodlight to a narrow spotlight, gently push or pull the head of the flashlight forward or backward.
- Wide Beam: Provides a broad area of illumination, ideal for general lighting or close-range tasks.
- Narrow Beam: Concentrates the light into a powerful spotlight, suitable for long-distance viewing.
Video 1: Demonstrating the Super Bright Flashlight. This short video clip shows the flashlight's powerful beam in action, highlighting its brightness and effectiveness in dark environments.
6. Charging
The ALSTU P50 flashlight is equipped with a rechargeable battery and a smart charging port for efficient and safe charging.
6.1 Charging Process
- Ensure the flashlight is turned OFF before charging.
- Open the rubber cover protecting the USB charging port.
- Insert the USB charging cable into the flashlight's port and connect the other end to a 5V USB power adapter.
- The indicator lights on the flashlight will illuminate to show charging status. Typically, blue lights will progressively light up as the battery charges.
- When all indicator lights are solid blue, the flashlight is fully charged.
- Disconnect the USB cable and firmly close the rubber cover to protect the port from dust and water.
6.2 Battery Indicator
The blue indicator lights near the power switch provide an approximate indication of the remaining battery charge:
- 4 Lights: 75-100% charge
- 3 Lights: 50-75% charge
- 2 Lights: 25-50% charge
- 1 Light: Below 25% charge, recharge soon.
The flashlight features over-voltage and over-current protection to ensure safe charging.
7. Maintenance
7.1 Cleaning
Wipe the flashlight's exterior with a soft, damp cloth. Do not use abrasive cleaners or solvents. Ensure the charging port cover is closed before cleaning to prevent water ingress.
7.2 Storage
Store the flashlight in a cool, dry place away from direct sunlight and extreme temperatures. For long-term storage, charge the battery to approximately 50-75% every 3-6 months to maintain battery health.
7.3 Battery Care
Avoid fully depleting the battery frequently. Recharge the flashlight when the battery indicator shows low charge. Do not attempt to replace the built-in battery yourself.
8. Troubleshooting
If you encounter issues with your ALSTU P50 flashlight, refer to the following common problems and solutions:
| Problem | Possible Cause | Solution |
|---|---|---|
| Flashlight does not turn on. | Battery is depleted. | Charge the flashlight fully. |
| Light is dim or flickers. | Low battery charge. | Recharge the flashlight. |
| Flashlight does not charge. | USB cable or power source issue. Charging port not properly connected. | Try a different USB cable or power adapter. Ensure the cable is securely connected to both the flashlight and the power source. Check for debris in the charging port. |
| Cannot change light modes. | Power switch malfunction. | Ensure the flashlight is ON. If the issue persists, contact customer support. |
If the problem persists after attempting these solutions, please contact ALSTU customer service for further assistance.
9. Specifications
Technical specifications for the ALSTU P50 Rechargeable LED Flashlight:
| Feature | Detail |
|---|---|
| Model Number | P50 |
| Light Source Type | LED |
| Brightness | Up to 99,000 Lumens |
| Power Source | Battery Powered (Rechargeable) |
| Battery Capacity | 2750 mAh (Built-in) |
| Charging Time | 3-5 Hours |
| Run Time | Up to 12 hours (low brightness mode) |
| Light Modes | High, Medium, Low, Strobe, SOS |
| Material | Aircraft-grade Aluminum Alloy |
| Water Resistance Level | Waterproof |
| Product Dimensions | 1.3"D x 1.6"W x 6.5"H |
| Item Weight | 0.74 Kilograms (approx. 1.63 lbs) |
| Special Features | Rechargeable, High Power, Adjustable Light Modes, Adjustable Focus, Durable, Impact Resistant, Long Range, Portable |
10. Warranty and Support
10.1 Warranty Information
ALSTU provides an extended warranty for this product. Please refer to the product packaging or the official ALSTU website for specific warranty terms and conditions.
10.2 Customer Support
For any questions, concerns, or issues regarding your ALSTU P50 flashlight, including malfunctions, missing accessories, or damaged packages, please contact ALSTU customer service directly through the Amazon platform where the product was purchased. Our team of engineers is available 24/7 to provide professional assistance.